photo sharing and upload picture albums photo forums search pictures popular photos photography help login
Canon DSLR Challenge | all galleries >> Challenge 53 - In between (hosts: Olaf.dk & Ed Hahn) >> Eligible > Between Sun & Cloud *
previous | next
23-OCT-2005 shu

Between Sun & Cloud *

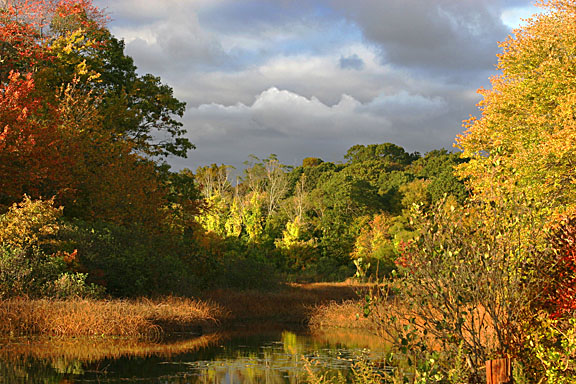
O! What a beautiful day!!

Canon EOS 20D
1/160s f/8.0 at 56.0mm iso200 full exif

other sizes: small medium original auto
share
Canon DSLR Challenge06-Nov-2005 22:51
The aforementioned continuation of the 'Layers tutorial' is here:
http://forums.dpreview.com/forums/read.asp?forum=1019&message=15755592
--
Olaf.dk
alexeig27-Oct-2005 18:48
Nice and peaceful fall atmosphere, good color
Guest 27-Oct-2005 05:00
Traveller, it looks like Shu already edited this, so if you try to follow my steps with this image, you will not get the same result as I did.

Shu, I told you you could do it - now that wasn't too hard, was it? Now it is time for you to jump into the deep end and do the layer thing! Try the same thing using the layers, open the layers palette and you will see three layers: the background layer (the image as it was after you'd applied the unsharp mask) and the two adjustment layers.

The top layer is the last Hue/Saturation adjustment layer, in other words the sky-only layer. Looking at this layer from left to right, first you have an eye-icon which indicates whether the layer is turned on or off. If you click on the eye-icon repeatedly, you are turning the layer visibility on and off. In other words, you can see the effect of the layer by turning it on and off.

What if you like the effect of a certain layer but it is a bit over the top? Simple, use the opacity slider at the top of the layers palette to turn down the effect. If you set it to 40% for example, it means that the layer is 40% visible and 60% transparent to the layers underneath it.

I wanted to write more about layers, but don't have the time right now, so will continue this little Layers-tutorial later...
elips27-Oct-2005 00:01
This really is lovely, Shu. It brightened my gloomy afternoon just seeing it! ~Sharon
Canon DSLR Challenge26-Oct-2005 21:37
Thanks for the detailed instructions, Olaf, I myself may try it latter today or tonight when I have some free time. Sometimes I think that the only way to learn PS is to just continually play with it.
Shu, a simplier solution if you want to just enhance the sky, is to use the lasso tool and roughly trace along the tree line where it meets the sky, and then close it with a line across the top. Go select, inverse, and just saturate the sky alone.
I tend not to do this too much because it seems like cheating and a little bit goes a very long way....Have fun.
BTW, this is a lovely image just the way it is. Best Wishes, Traveller
Guest 26-Oct-2005 20:23
Shu, you can do it! If the layer thing scared you, just follow the same steps, but replace 'Layer>New Adjustment layer>Hue Saturation' with 'Enhance>Adjust color>Hue/Saturation.
Guest 26-Oct-2005 20:15
The polarizer darkens blue skies, but it also cuts glare on all surfaces when rotated to the correct position (determined with your eye looking through the viewfinder). Usually, all the sunlit leaves have white glary highlights on them. The polarizer cuts the glare from the leaves and the result is more colorful foliage.
Canon DSLR Challenge26-Oct-2005 20:13
Not being layer sophisticated,......if you care, to...........show me the results???? Of, course your version may be a winner, but a fine lesson from a fine photgrapher is more valuable to me. shu
Canon DSLR Challenge26-Oct-2005 20:08
Ah -Ha! we're both writing!!!! --------I hope I can folow your great instructions.....???? shu
Canon DSLR Challenge26-Oct-2005 20:06
Olaf -- No, I did not, but you're right......didn't have it with me when I spotted this scene in a heavily populated area near a city. I'm glad these folks have this lovely view, as brief as it is. BTW, for future, reference, how would a polorizing filter improved this landscape? shu
Guest 26-Oct-2005 20:00
Shu, you could make this lovely shot even better by increasing local contrast and saturation. Assuming Elements, here's one way:

1. Increase the local contrast by using Filter>Unsharp Mask, 20%, 20px, 2levels.

2. In the main menu choose Layer>New Adjustment layer>Hue Saturation, +15 on Saturation.

3. Select the sky: choose the magic wand tool and set it to Tolerance 50% check 'Anti-aliased', 'Contiguous', and 'Use all layers'. Click repeatedly in the sky area while holding down the shift-key, until most shades in the sky are selected. Then set the Tolerance to 25% and go to the main menu and choose Select>Similar. Now the whole sky should be selected, even between the tree tops.

4. In the main menu choose Layer>New Adjustment layer>Hue Saturation, +30 on Saturation. Due to the selection in the previous step this will only affect the colors in the sky.

After this you could open the layers palette and fine-tune by adjusting the opacity of the adjustment layers if you like, but I like it just like that, ymmv. Try it and see what you think.
Guest 26-Oct-2005 19:17
This is the kind of image that just cannot be given justice in a 150kb web-sized photo. Did you use a polarizer filter? Indispensable in landscape photography in general and fall color photography in particular.