


|
|
|
|
|
|
| Rogier van Vugt | profile | all galleries >> Orchids from A to Z >> N >> Neofinetia >> Fuukiran potting demo | tree view | thumbnails | slideshow |
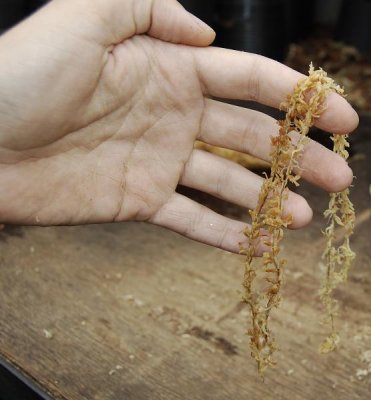
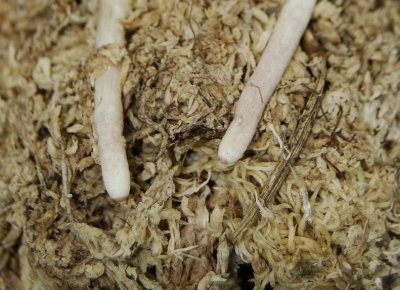 Root tips in late winter. An excelent time to repot the plants as the root tips are asleep and cannot be harmed so easily. |
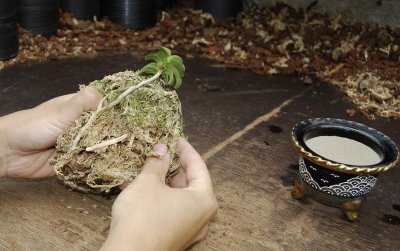 First remove all the old moss/soil. |
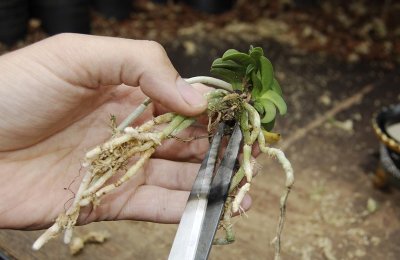
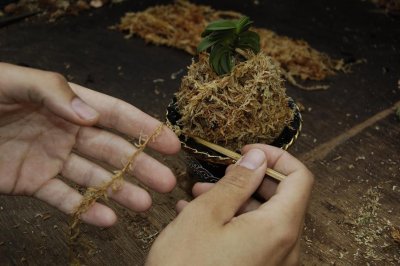
 Pinch out all the dead (brown and soft) roots. these are marked here with red arrows. |
 As wel as any other dead parts of the plant as for example the old rhizome. (Always use a sterilised scissor ) |
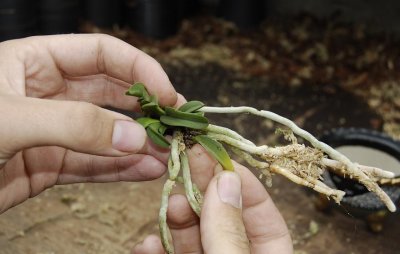 This is also a good moment to remove any old leaves |
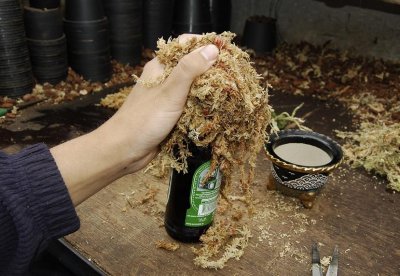 Make a moss ball of good qualtity sphagnum moss around a bottle. |
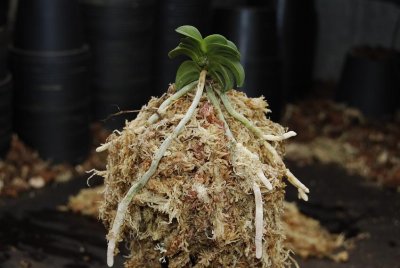 Place the plant on top of the ball. Spread the roots around it |
 Use some more Sphagnum to cover the roots (not to thick) |
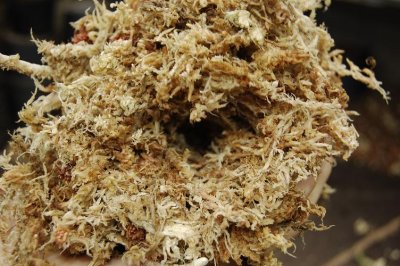 Take the mossbal off the flask. Leaving an airpocket in the place the flask has been. |
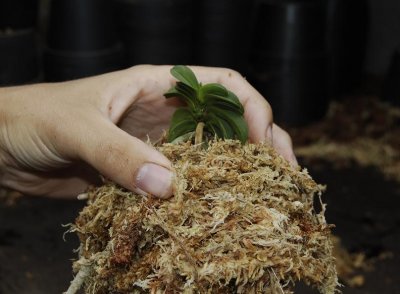
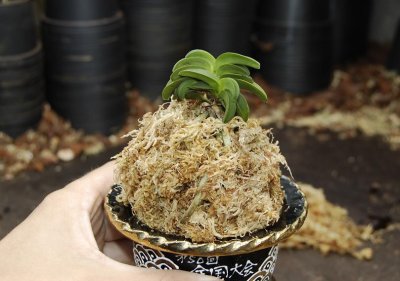 Place the ball in the pot. in so that the plant is perfectly on top of the ball. |
 Now you need long fibered sphagnum moss. |
 Squize the ends of the long fibered moss threads between the mossball and the pot. |
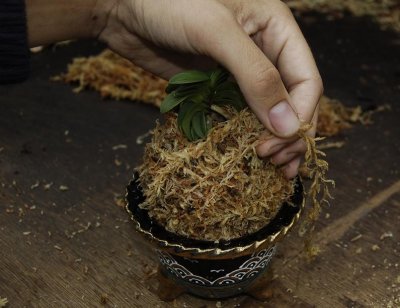 Tighten and shape the ball with the threads. Squize them in on the other end again |
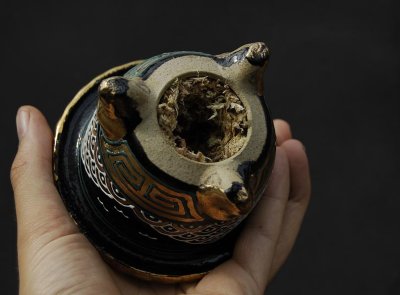 The air pocket fits well onto the hole in the pot so that it ventilates well. |
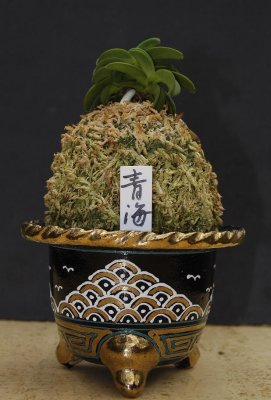 Done.. |
| comment | share |
| micah roush | 17-May-2014 21:21 | |
| Rogier van Vugt | 30-Sep-2010 19:29 | |
| Guest | 08-Aug-2010 19:45 | |
| Brett | 31-Jul-2010 11:51 | |
| Guest | 06-Jul-2008 13:16 | |