13-APR-2008
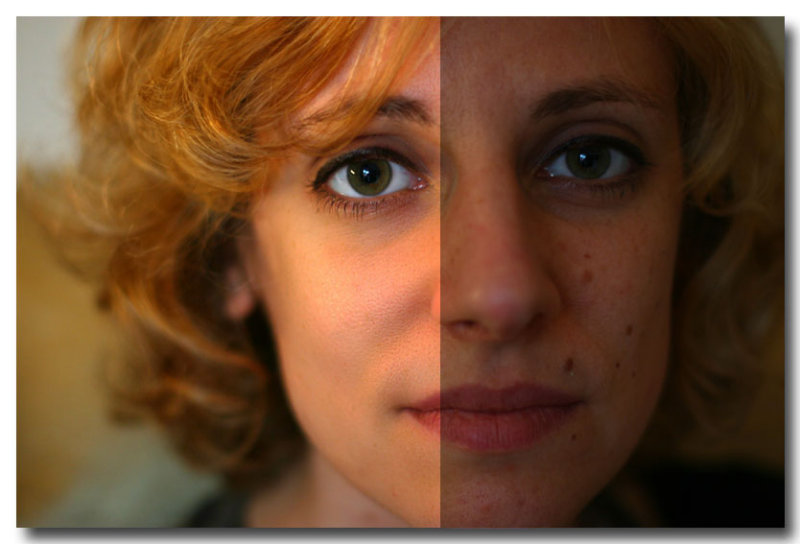
Before / After
This is a small (but efficient!) tutorial about retouching skin with Photoshop Elements 2.0
You'll see how to simply remove moles, lighten and soften the skin!
13-APR-2008
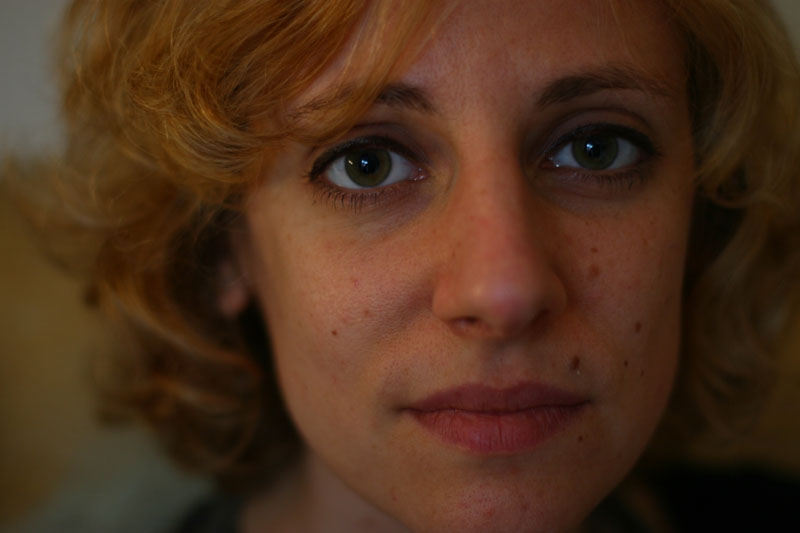
Original
Out of the camera (note that I resized for viewing convenience)
Shot in jpeg mode
13-APR-2008
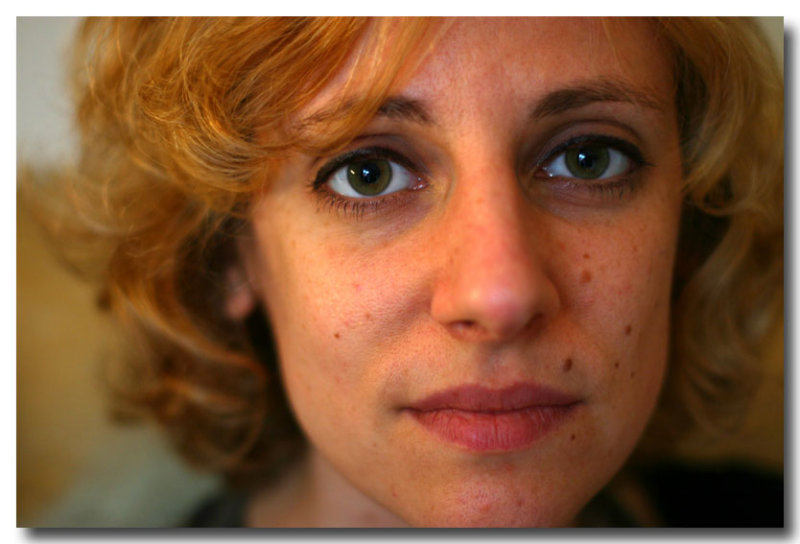
Contrast
Basic Photoshop auto-contrast (not auto-levels) followed by a slight manual brightness adjustment.
The photo is resized to 800*533 at that time.
You can see moles clearly
13-APR-2008
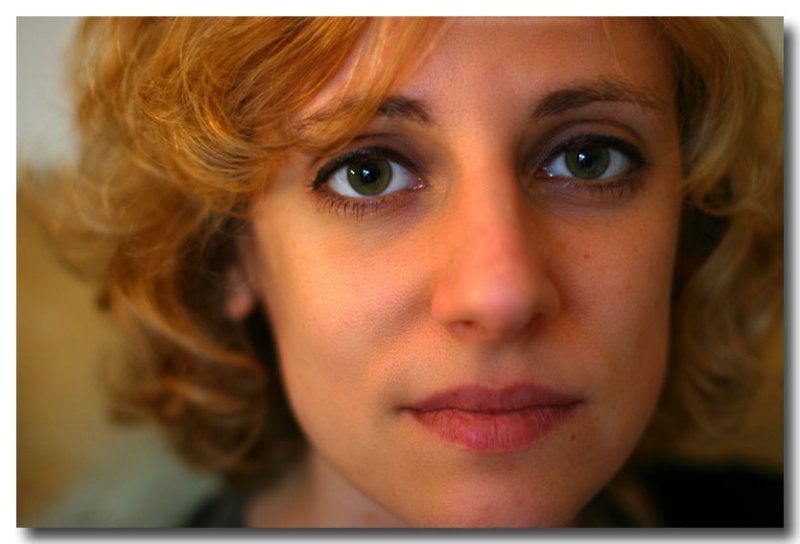
Moles removal
Simply use clone stamp tool.
Select an area near the mole and clone over the mole
13-APR-2008
Skin touch
- Duplicate layer.
- On the duplicated layer, select "overlay".
- Inverse the layer (ctrl+i)
- Filter -> Other -> Highpass: Correct the radius from Left to Right until you consider all skin becomes smooth (in this example I use a radius of 3.8 pixels)
- Filter -> Blur -> Gaussian Blur: Gaussian blur will correct highpass effect. Correct the radius from Right to Left to reveal previous highpass effect till you consider the skin is at your taste ;)
- Merge all layers down
- Save the photo as a Pattern (Menu: Edit -> define pattern)
- Go back to the original photo and select "patterns". a New pattern layer is created. The new layer shows a white "Pattern fill 1".
- Inverse this new layer (select it then ctrl+i). The "Pattern fill 1" becomes black
- Select a white brush and brush the part of the skin you with to correct. The white brush will reveal the pattern underneath the original picture! (this way you can precisely select areas of skin to correct. You can play with the brush transparency as well)