photo sharing and upload picture albums photo forums search pictures popular photos photography help login
914-6 GT | profile | all galleries >> NP - The 914-6 GT Project >> Koni Front Struts - Reinforced tree view | thumbnails | slideshow

Koni Front Struts - Reinforced

Now trying to ditch the Koni Strut Inserts https://pbase.com/9146gt/image/161065684 and go back to the original Koni Strut configuaration in an efford to regain full shock-travel, not to mention improved valving action. To make it easier to service these front struts in the field, Koni decided to introduce an "insert" replacing the strut's internal shock mechanism. Maybe not a bad idea, but with a compromise.

This photo shows the Koni spindle in the factoy installed location, not raised https://pbase.com/9146gt/image/161065702 while this photo shows a modified Koni Front Strut with raised spindles (19mm?) and traingular reinforcements https://pbase.com/image/161065683 - The spindle can only be raised so much, otherwise the ball-joint will eventually come in contact with the wheel rim https://pbase.com/9146gt/image/161065753 - One has to be carefull.
20150818_211327a.jpg
20150818_211327b2.jpg
20150818_211327c.jpg
20150818_211356a.jpg
20150818_211356b.jpg
20150818_211327d.jpg
20150818_211347.jpg
20150818_211347.jpg
20150818_211334.jpg
20150818_211334.jpg
20150818_211327e.jpg
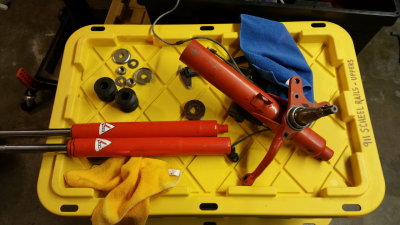
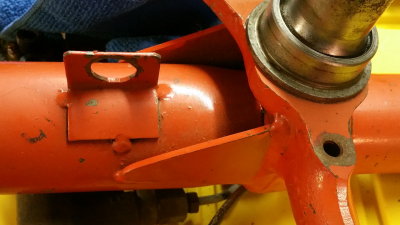
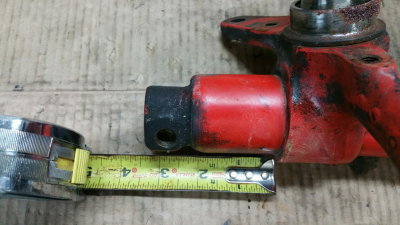
Koni Front Struts / Spindle in Stock Location (not raised) - Photo 1
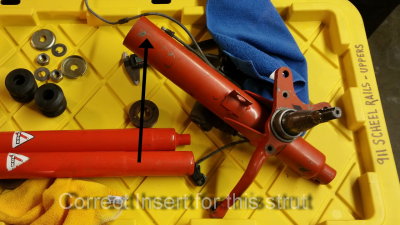
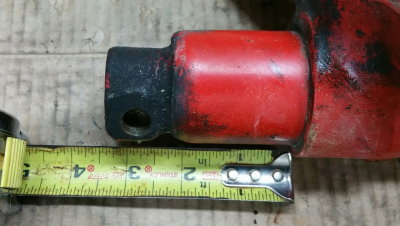
Koni Front Struts / Spindle in Stock Location (not raised) - Photo 2
Rennsport II April2004 - Photo 147
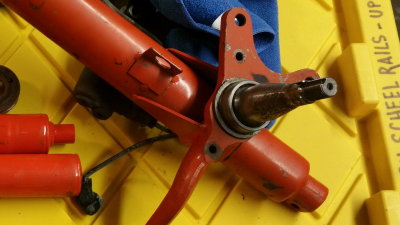
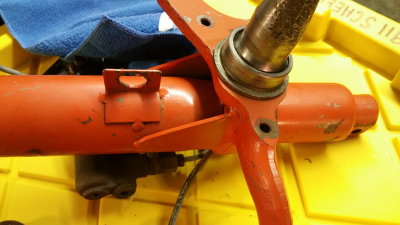
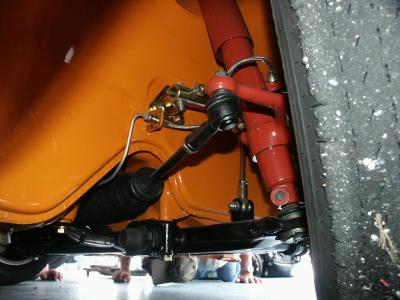
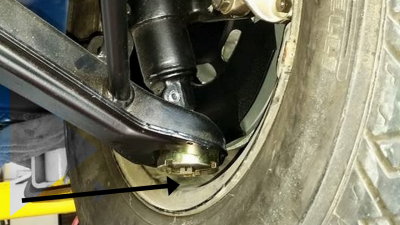
914 Strut Spindle in Stock Factory Location NOT raised Ball Joint Clearance to Wheel Rim - Photo 1