photo sharing and upload picture albums photo forums search pictures popular photos photography help login
Type your message and click Add Comment
It is best to login or register first but you may post as a guest.
Enter an optional name and contact email address. Name
Name Email
help private comment
914-6 GT | profile | all galleries >> NP - HELP! >> 911 RSR / 935 Rocker Shafts 'Barrel' End-Nuts and 'Locking Pin-Washers' tree view | thumbnails | slideshow

911 RSR / 935 Rocker Shafts 'Barrel' End-Nuts and 'Locking Pin-Washers'

While conducting a pre-assembly parts inventory of the 2.8 RSR engine, we noted an incomplete set of rocker shafts 'barrel' end-nuts and their corresponding locking pin-washers. I'm not missing a whole lot, only one 'non-threaded' barrel nut and three pin-washers. Hoping to source these few pieces soon.

If by chance you have the 4 missing pieces we need https://pbase.com/9146gt/image/165235669 to move forward with the 2.8 RSR engine build, please email me at AJSERRANO at MSN dot COM. Thank you.

911 RSR Rocker Shaft 'Non-Threaded Barrel' End-Nut = Qty 1 (the non-threaded nut on the right https://pbase.com/image/165250697)

911 RSR Rocker Shaft 'Locking' Pin-Washer = Qty 3 (these https://pbase.com/9146gt/image/165239225)
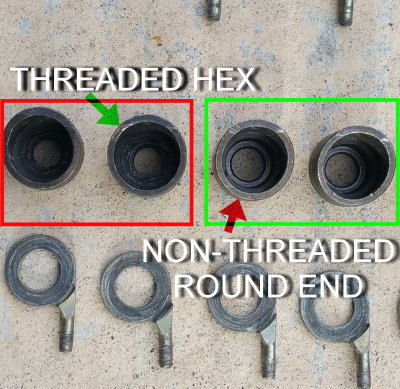
911 RSR / 935 Barrel End-Nuts - Threaded and Non-Threaded (You need both, a set)
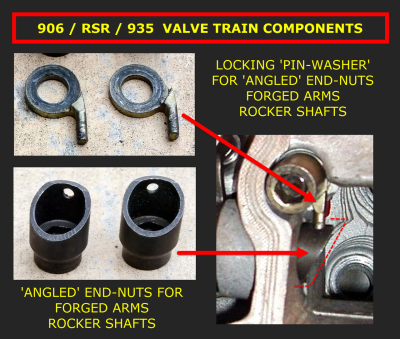
911 RSR / 935 Rocker-Shaft Barrel End-Nut and Locking Pin-Washer Installed in Engine
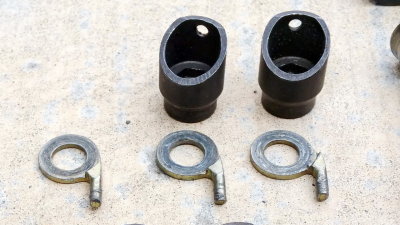
911 RSR / 935 Rocker Shaft Barrel End-Nuts and Locking Pin-Washers - Photo 1
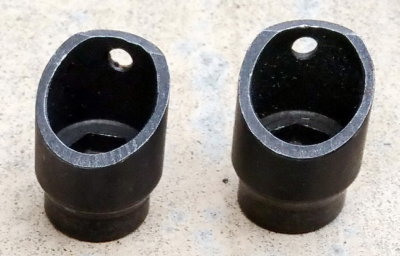
911 RSR / 935 Rocker Shaft Barrel End-Nuts and Locking Pin-Washers - Photo 2
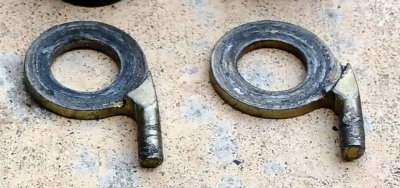
911 RSR / 935 Rocker Shaft Barrel End-Nuts and Locking Pin-Washers - Photo 3