


|
|
|
|
|
|
| Gary Holt | profile | all galleries >> Eve With Other Models Or Special Location Shoots >> Eve And The Jeep.... | tree view | thumbnails | slideshow |
This 86 Jeep Cherokee 4X4 has been sitting a little over a block from our house with a for sale sign on it for weeks. It's originally from New Mexico and is pretty much rust free. There are 183,000 miles on the odometer, but the engine was overhauled about 4,000 miles ago I'm told, and a new radiator put in at the same time. Right now the clutch is out, and it needs a complete brake job. The engine sounds good, but it surges badly at idle and the interior is both dirty AND trashed.
Today I finally bought it...paid all of $400.00 for it so I can't hardly go wrong. Jeeps are very popular up here and I'm sure I could part it out and make plenty of money...but the plan is to make it a dependable and safe driver for us for a year or two....or at least until Eve and I hit the Lottery..!!
Be Sure To Select "ORIGINAL" Size For Best Viewing. (From The Other Sizes List Below Full Sized Photo)
 New Photos Will Be Added To The BACK Of The Album As Work Progresses. |
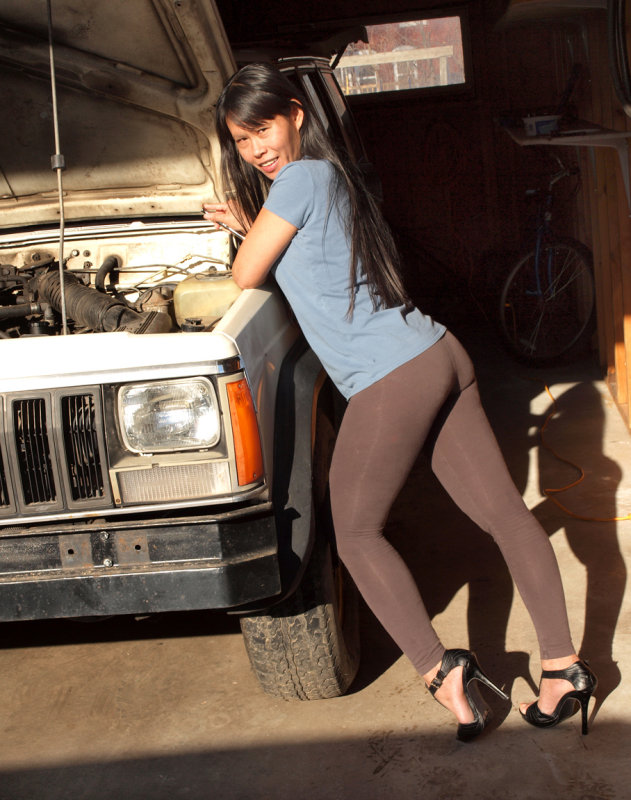
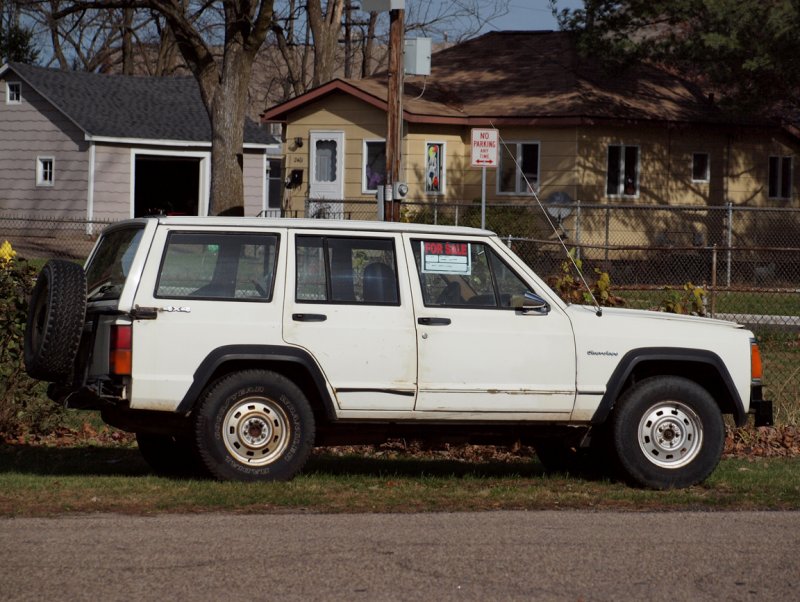 Where It's Been Sitting For Weeks.... |
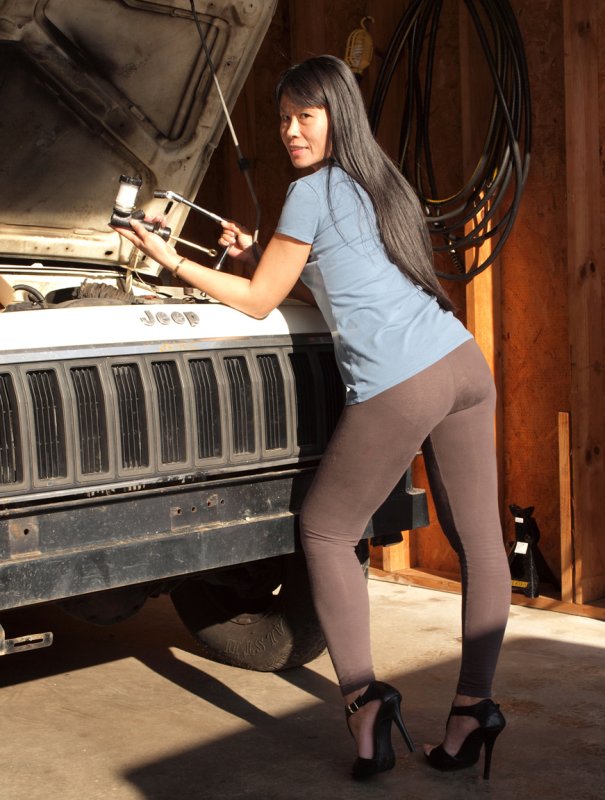
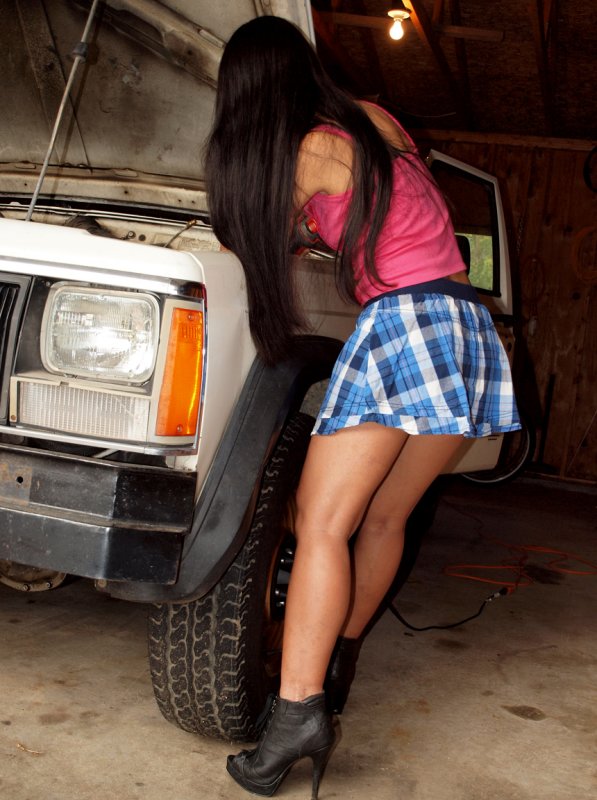
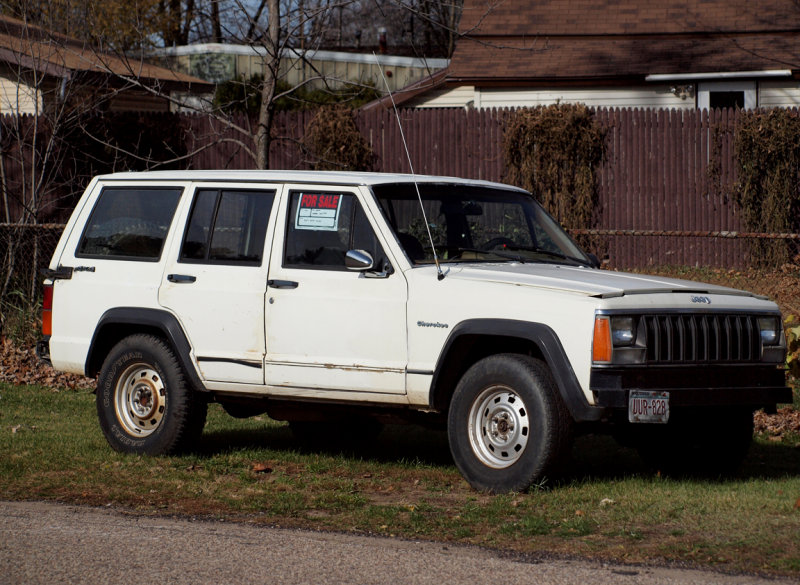 I Just Couldn't Resist Any Longer..!! |
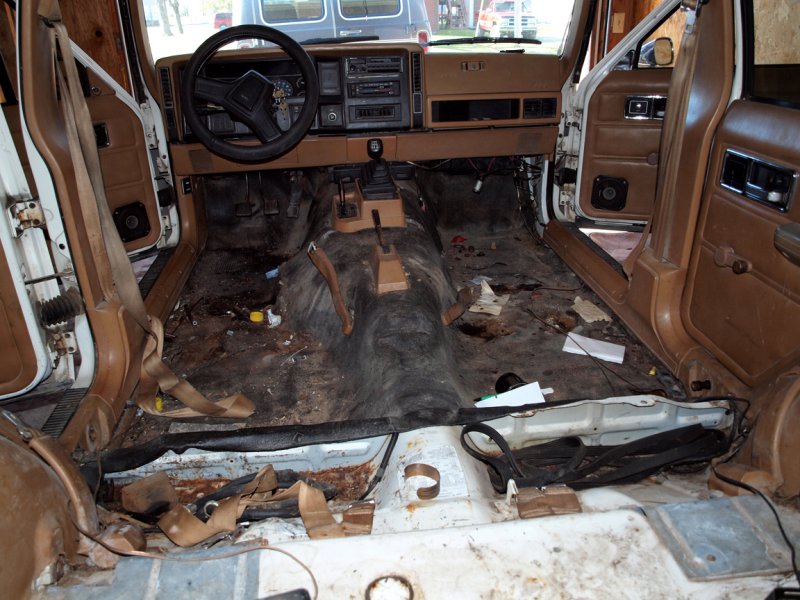
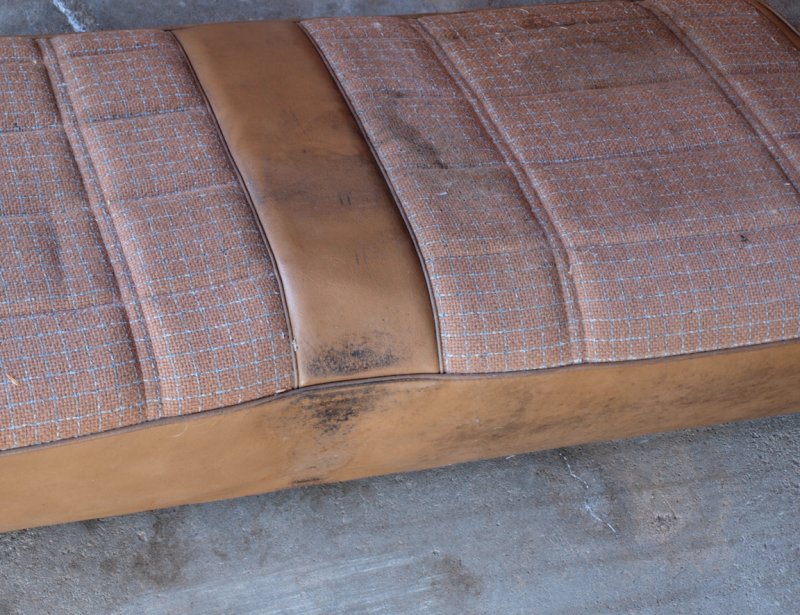
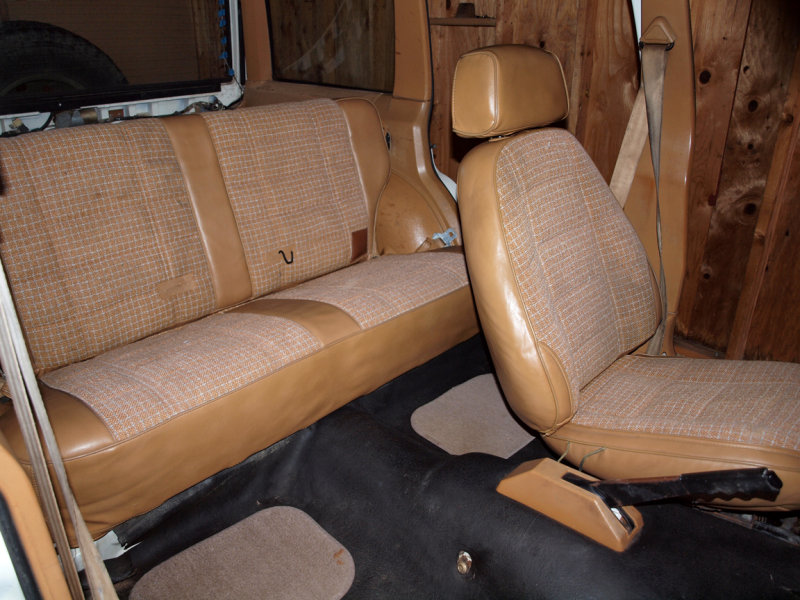
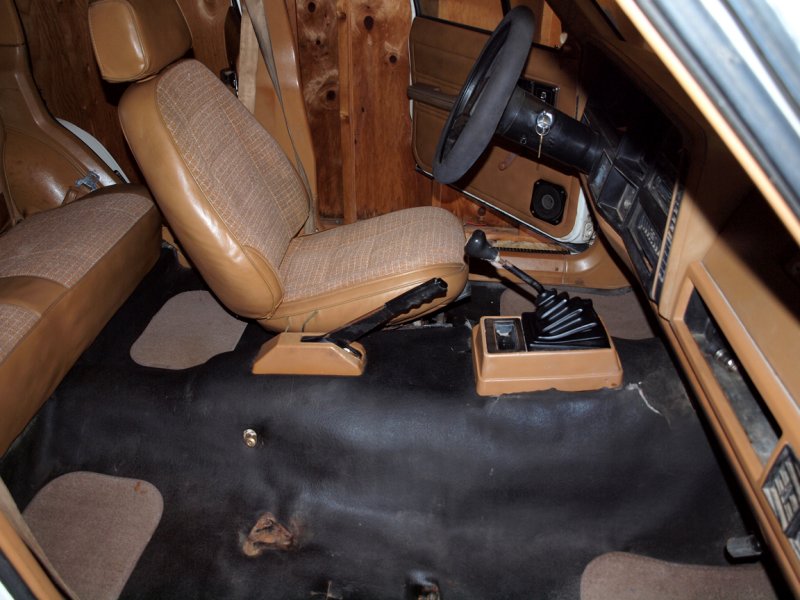
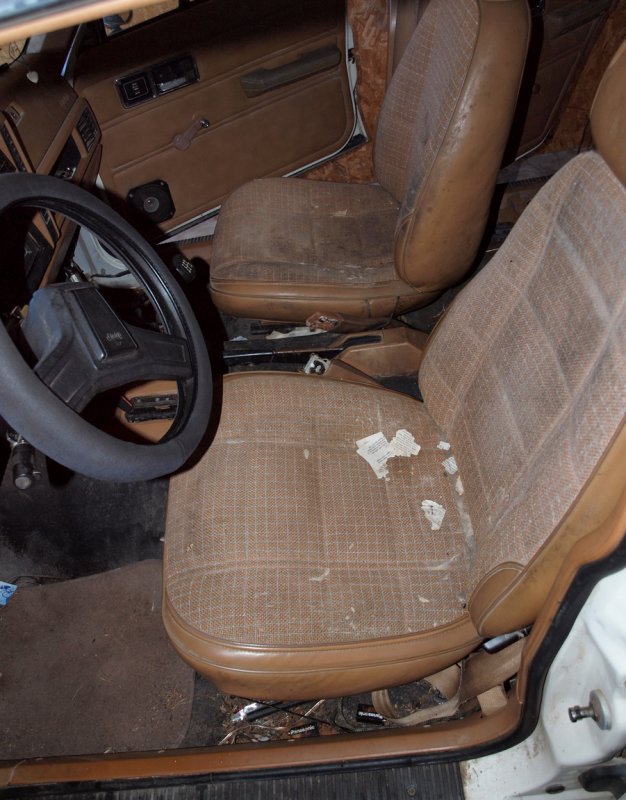 Interior Is Very Dirty |
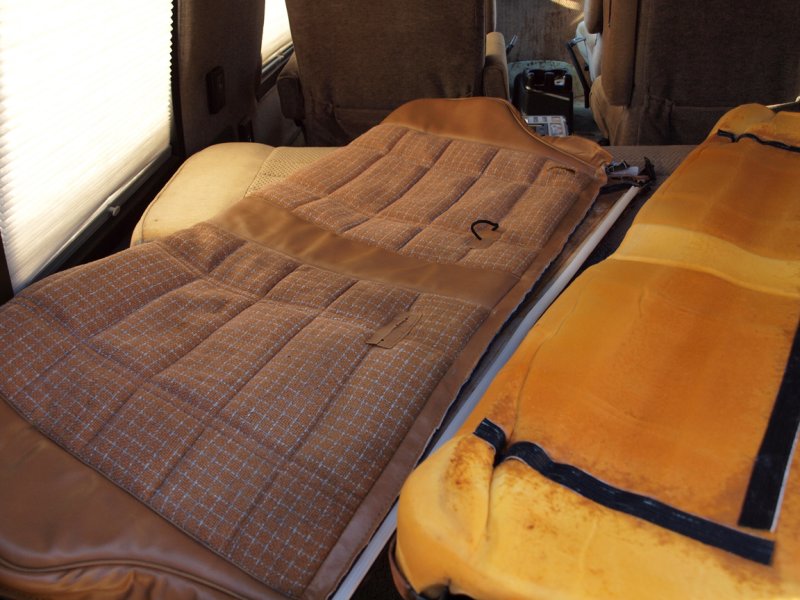
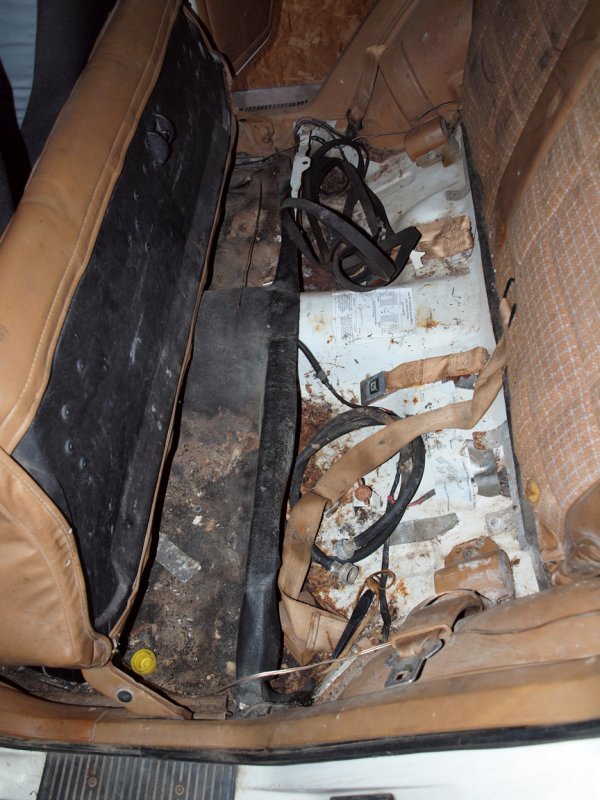 A Look Under The Rear Seat |
 Got The Seats Out...But Not The Garbage |
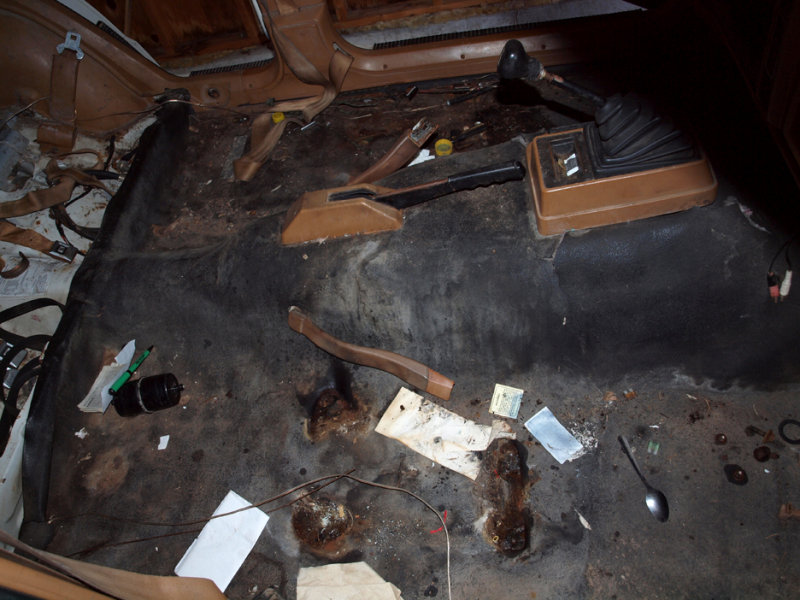 There Is A HUGE Amount Of Dirt And Garbage In Here. |
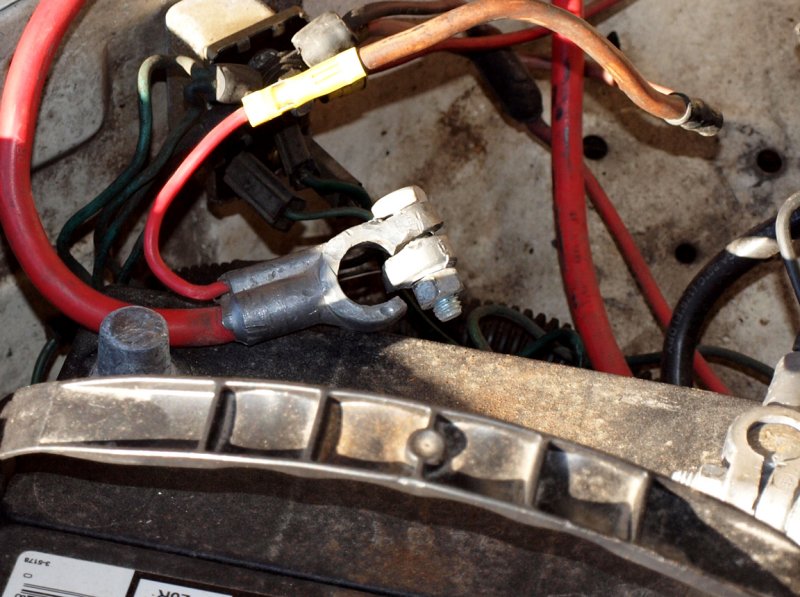 One Of Many Nickle And Dime Repair Needs. |
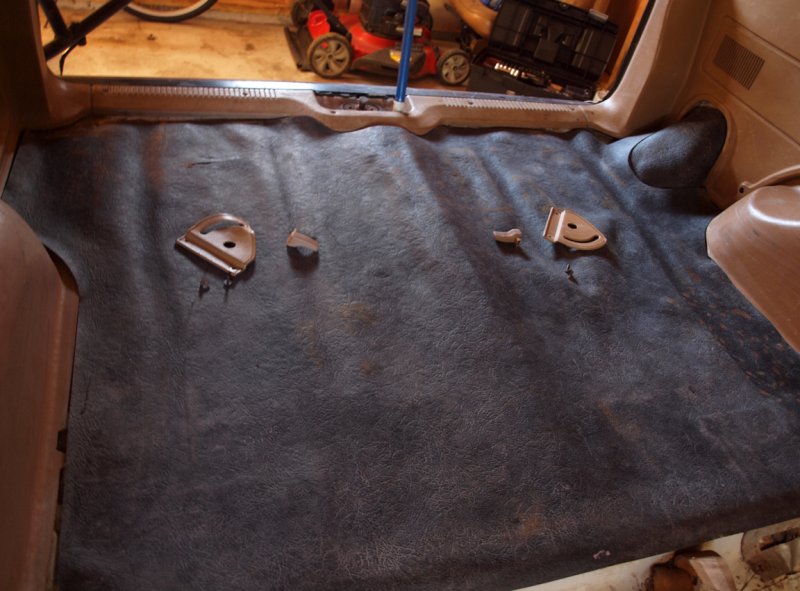 The Rear Area Cleaned And Mat Installed |
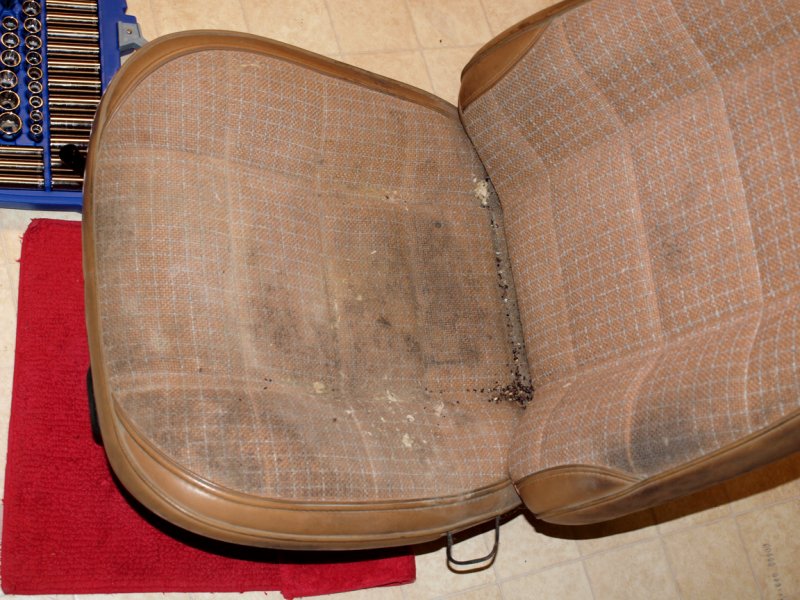
 As Dirty As The Seats Were...And They WERE Dirty... |
 They Cleaned Up Real Nice...After 3 Times Through The Washing Machine |
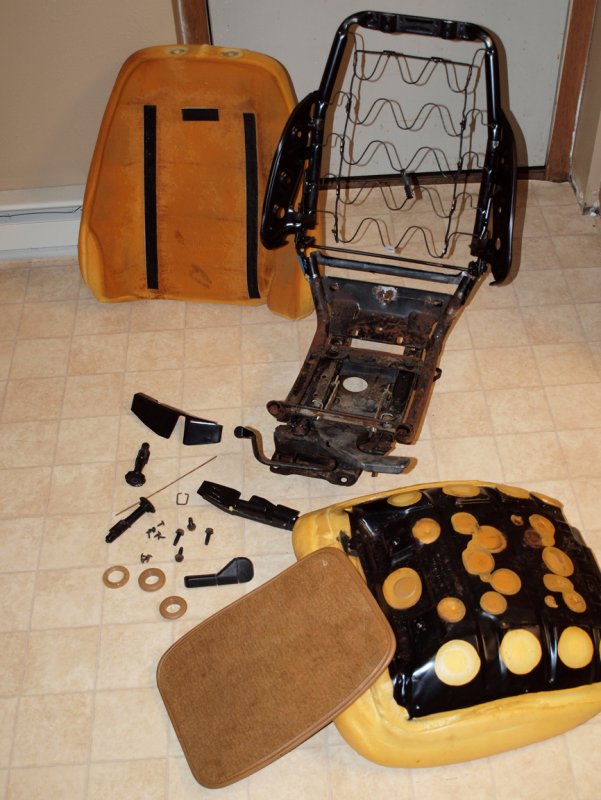
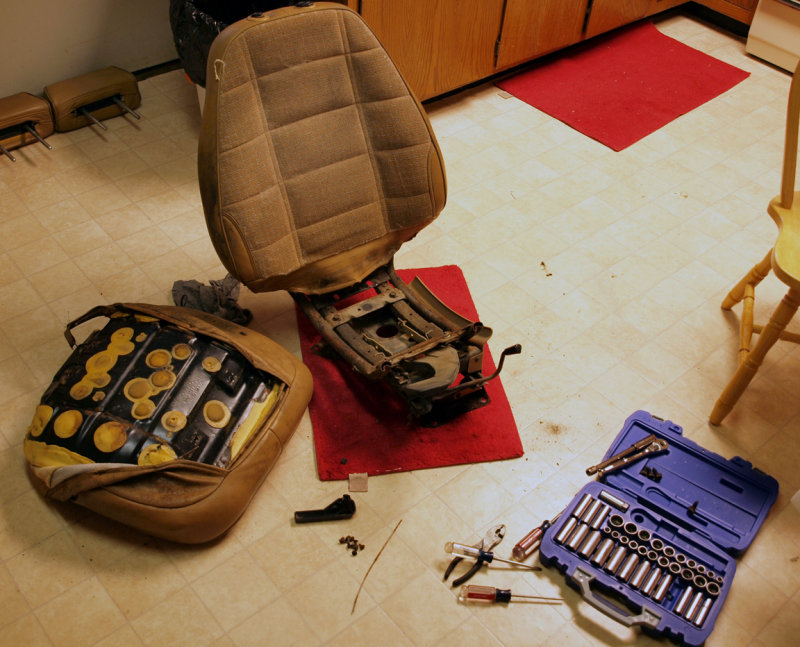 Tearing The First Bucket Seat Apart...It's Warmer In The Kitchen Than Out In Garage. |
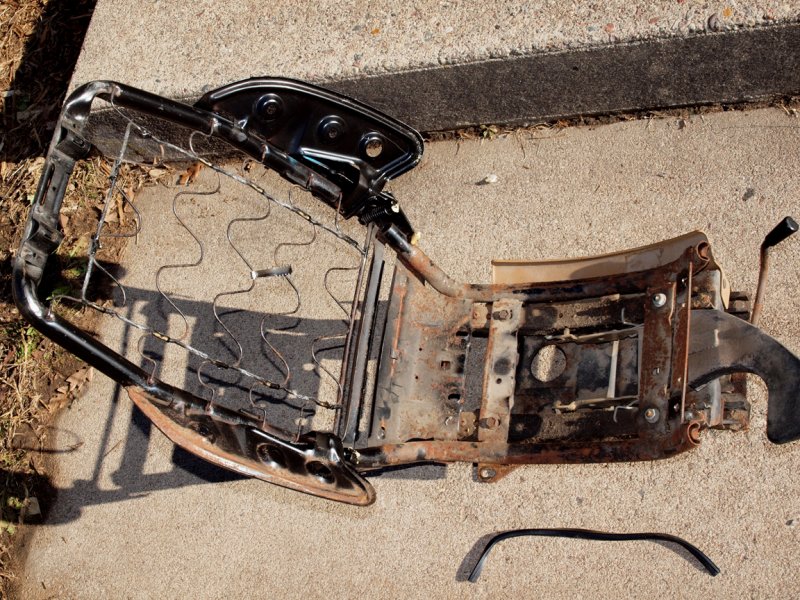 The Bare Seat Frame Ready For A Good Washing. |
 Got Top Half Of The Back Seat Back From Upholstery Shop And Installed. |
 I've Been Able To Do All The Rest Myself...The Interior Looks About 900% Better... |
 The Last Piece...The Passenger Side Bucket Ready For Disassembley. |
 All Tore Apart...The coverings are soaking In The Washing Machine. |
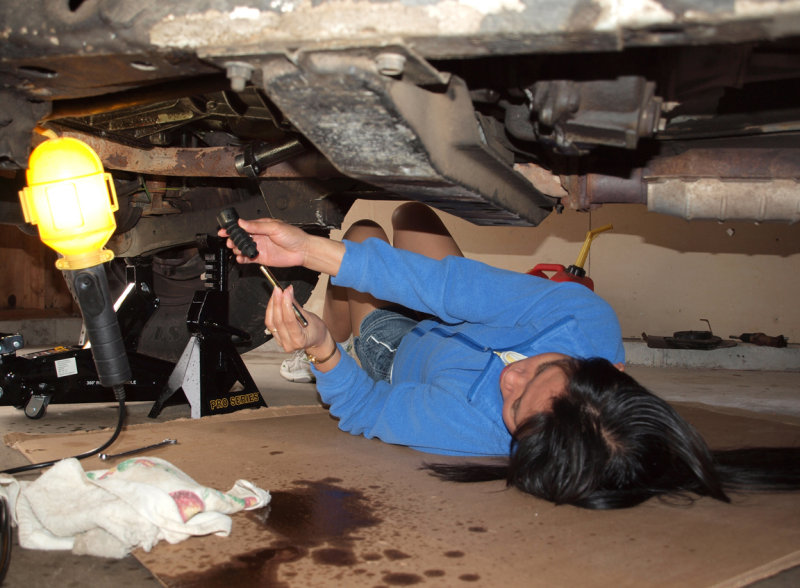
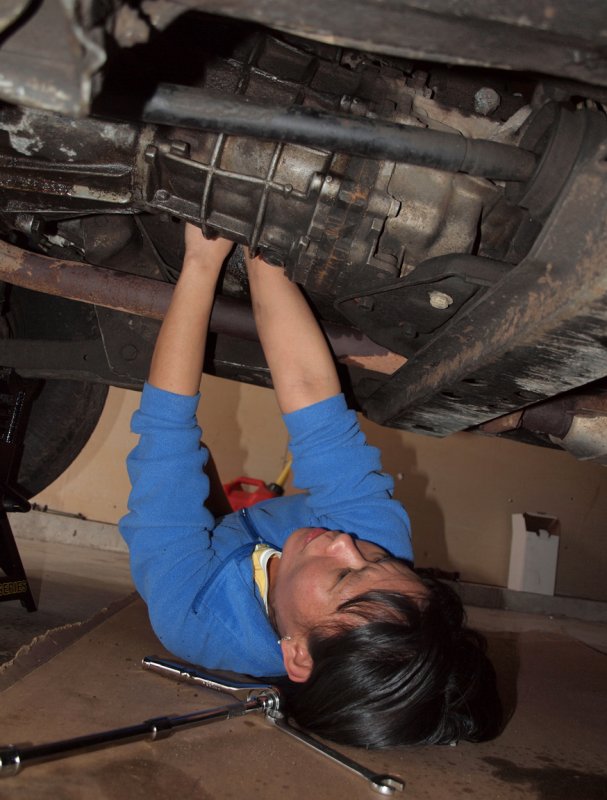
 I Gonna Install Clutch Master Cylinder Now Hon... |
 Why You Not Help Hon..?? |
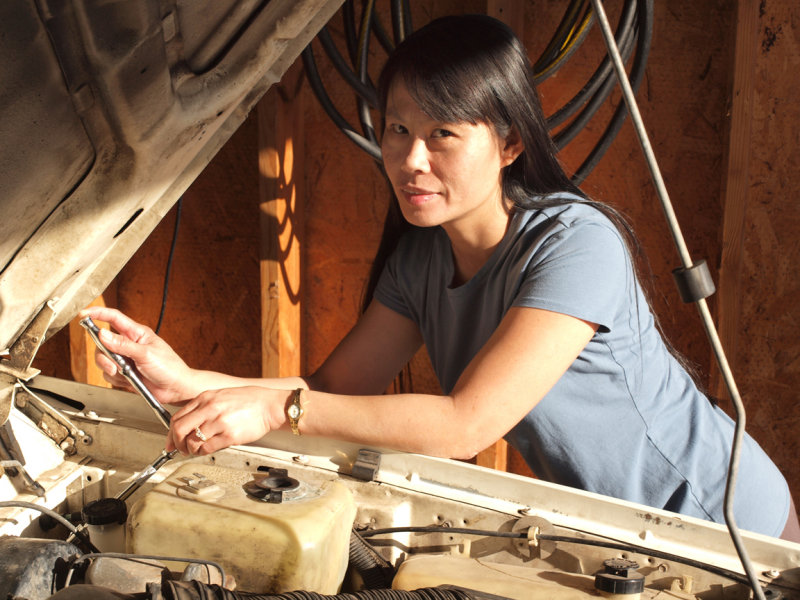
 Bring Me Torque Wrench... |
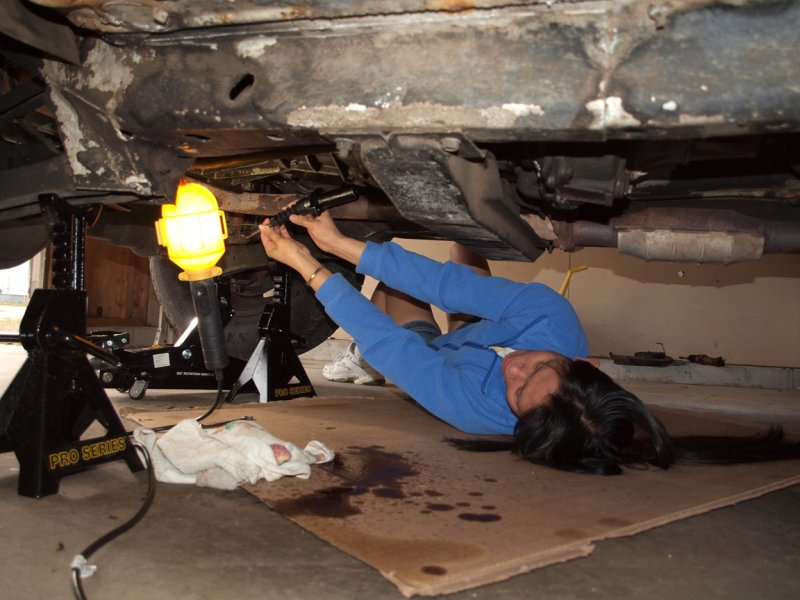
 Now We Install Slave Cylinder... |
 Getting Ready To Install Clutch Slave Cylinder |
 This Is Going To Be A Tight Squeeze |
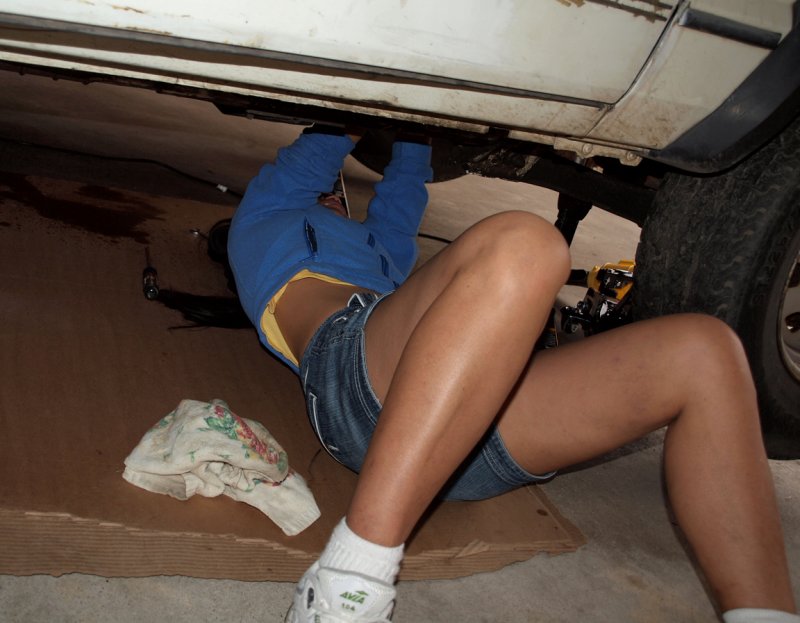
 Getting The Assembled Slave Into Position. |
 The Top Nut Was Wayyy Up There.... |
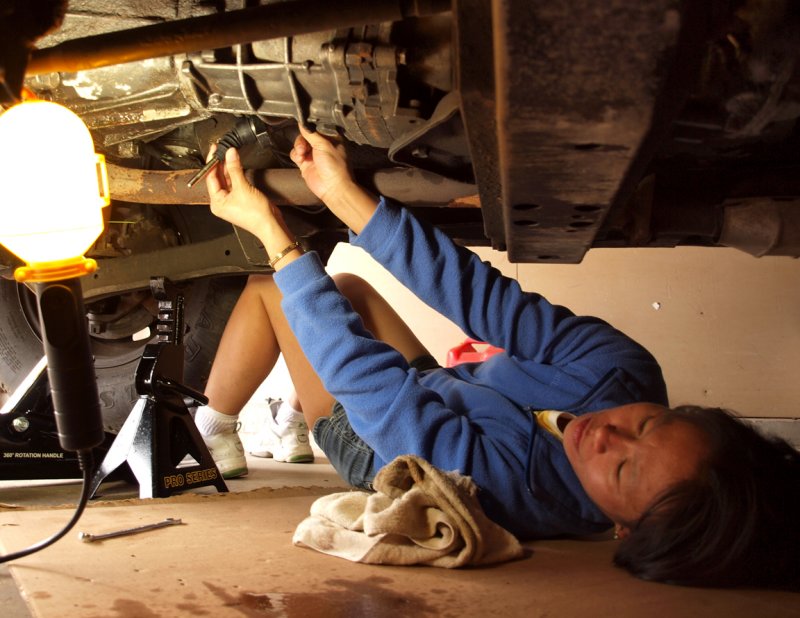
 I Thought Eve Could Reach It From On Top But She Couldn't |
 She Worked For About 10 Minutes To Get That One Nut Started On The Threads |
 That Flesh Colored Part Is Eve's Hand.... |
 I'd Have Never Got That Nut On Without Eve's Help. |
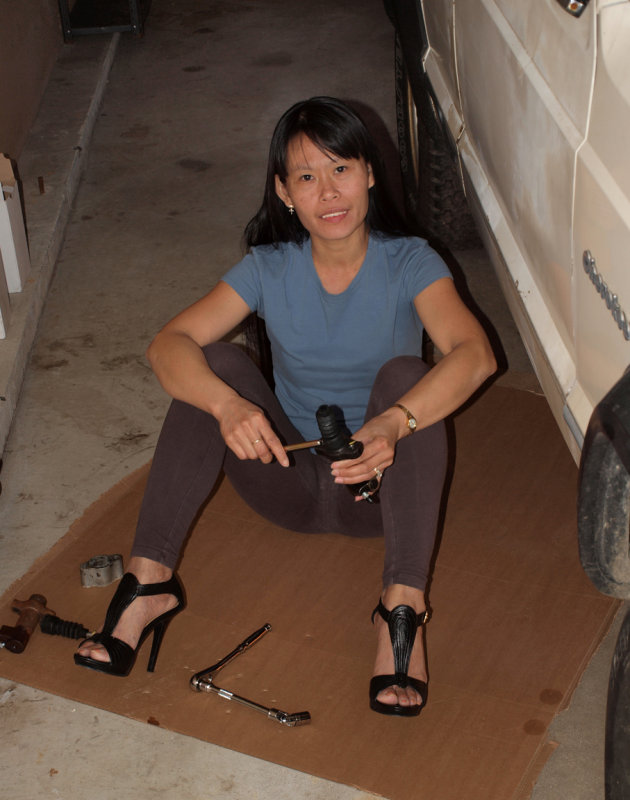
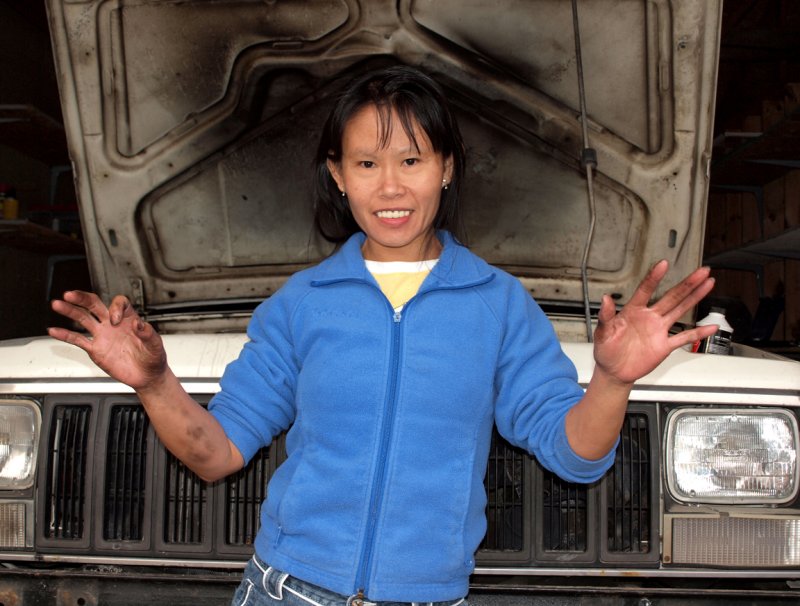 Hon...I Think I Need GoJo..!! |
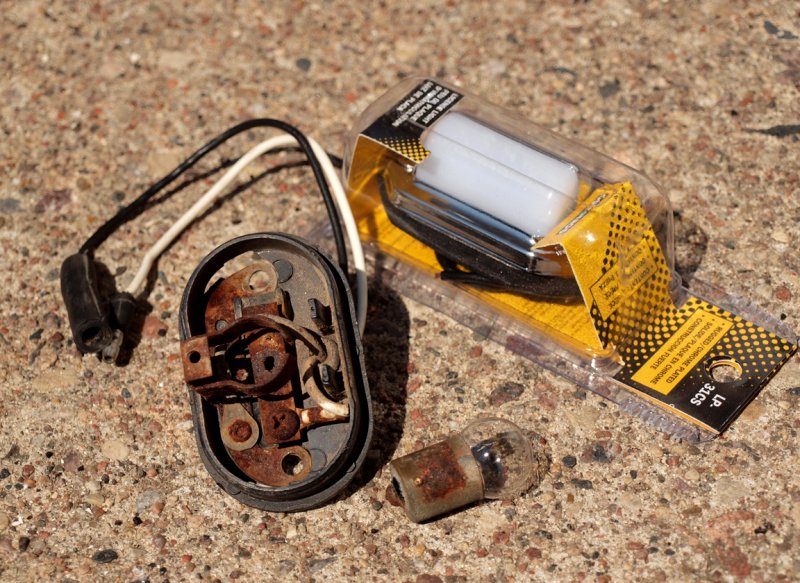 The Old License Plate Light And New Replacement...Check Out That Rust..!! |
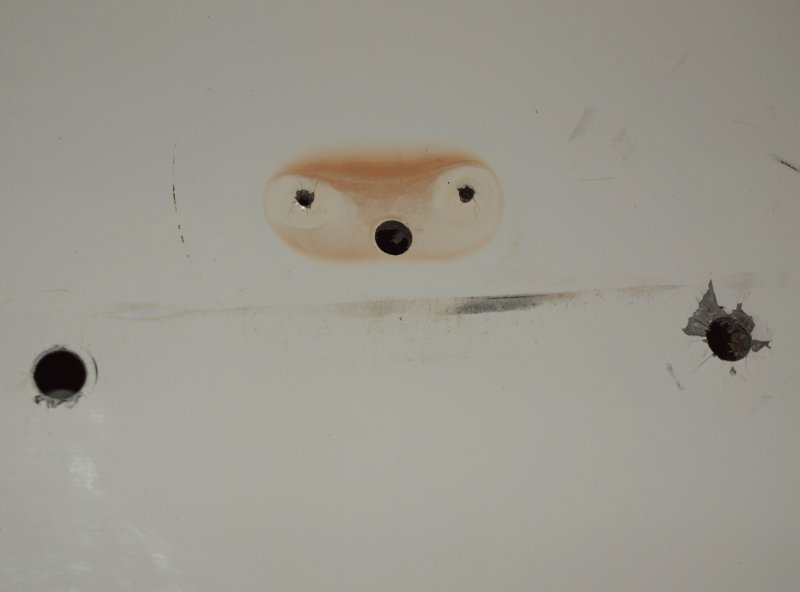 The Mounting Holes Were All Cracked And Damaged But I was Able To Fix With A Little Epoxy |
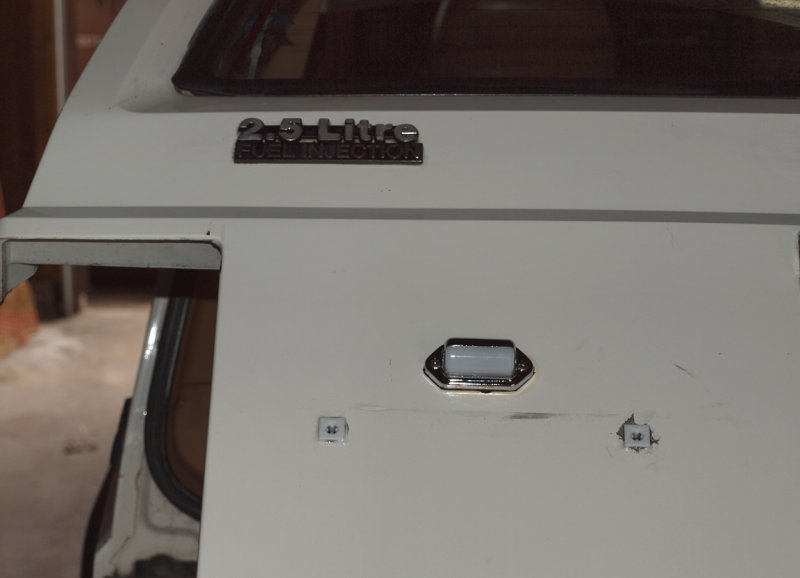 All Done...Only About 100 More Small Fixes To Go..!! |
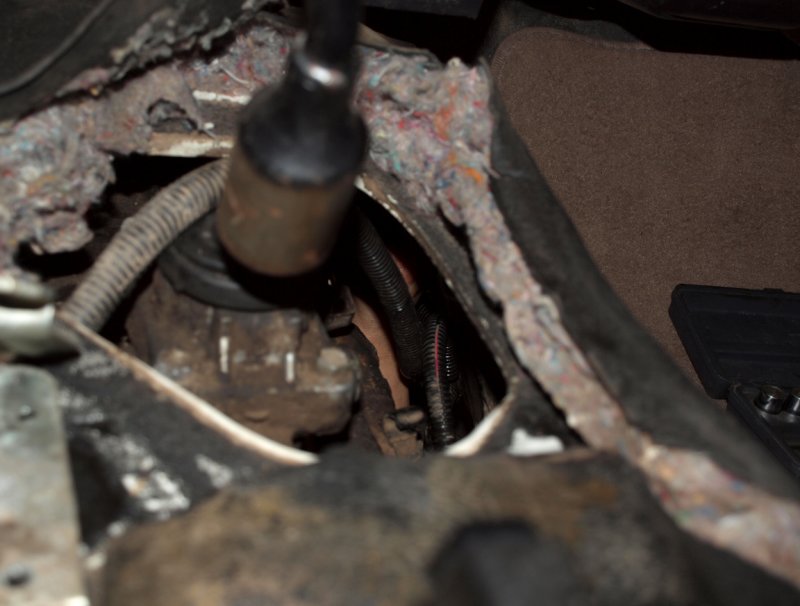
 Looks Like The Rear Seal Might Be Leaking Just A Bit..!! |
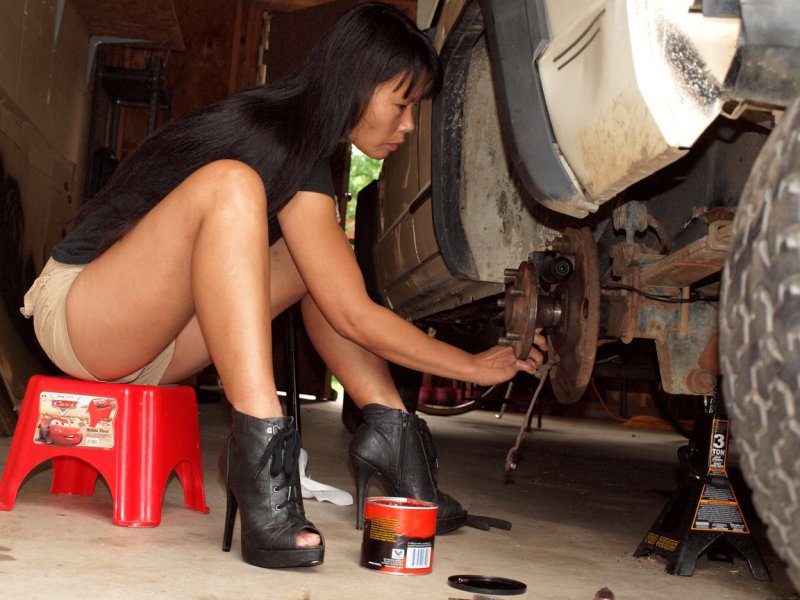
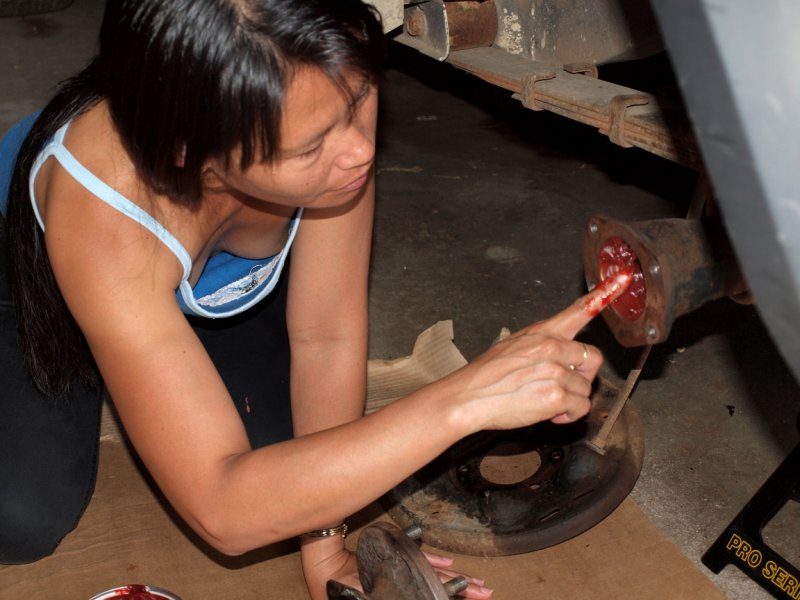 We Finally Got The Axles Back...Had To Have New Bearings And Seals Pressed On. |
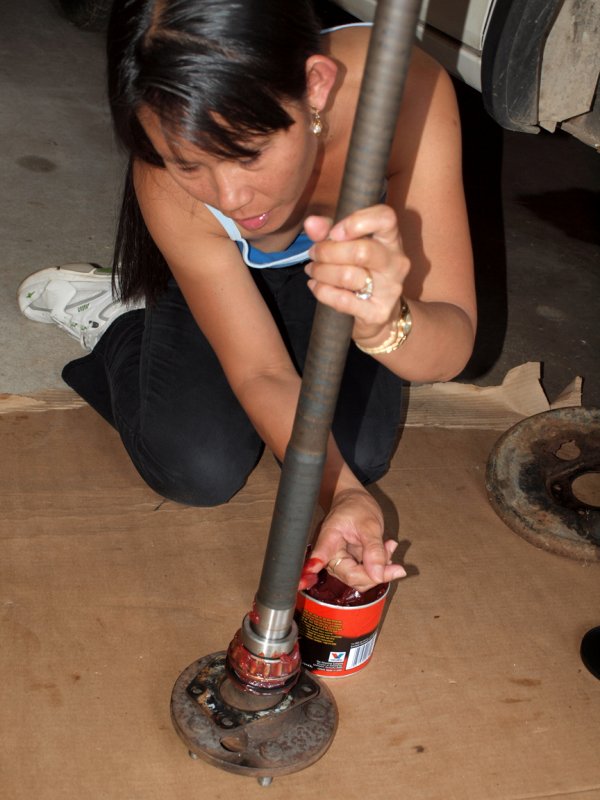 I've Already Installed The Other Side...Now It's Eve's Turn. |
 I Might Have To Snug The Bolts Down A BIt More Though. |
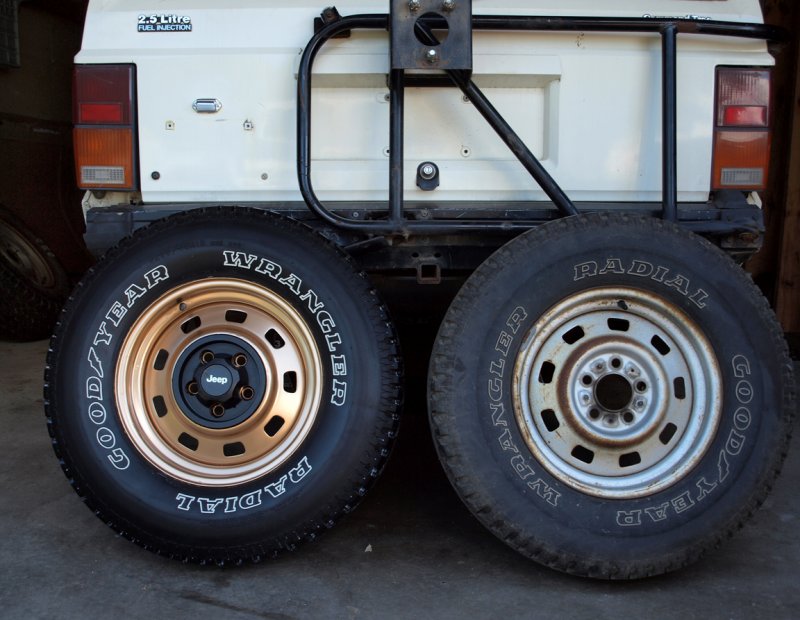
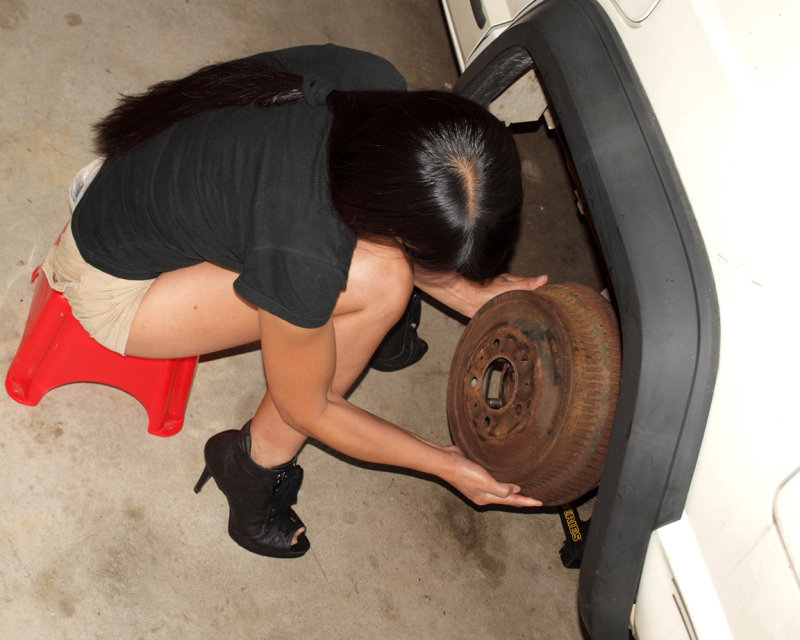
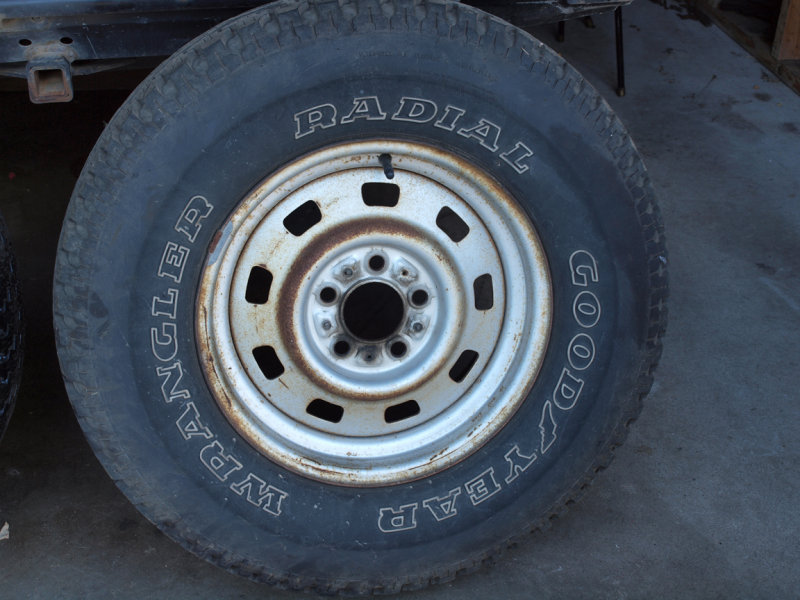 This Was The Best Looking Tire & Wheel As It Came Off The Jeep. |
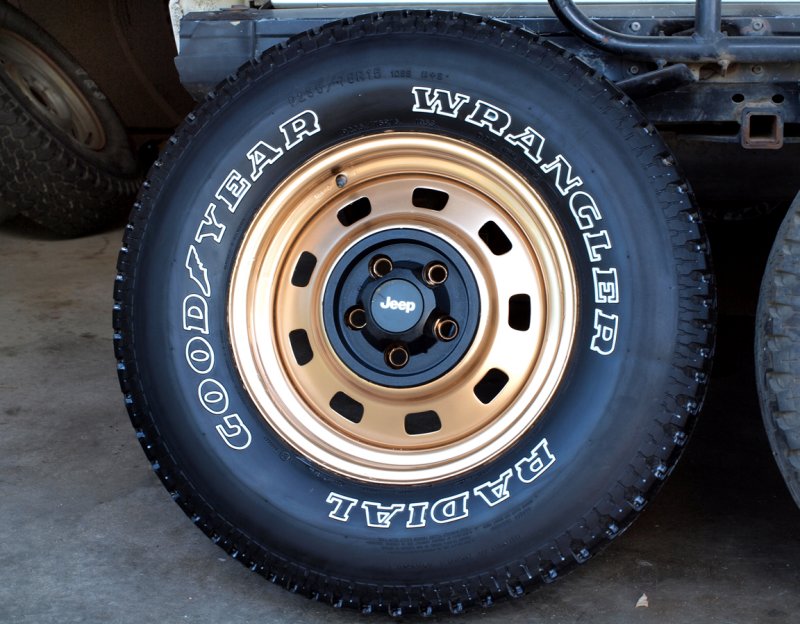 This WAS The Worst One...But It Looks Much Better After Clean Up And Paint. |
 I Got To Find 3 More Centers For The Other Wheels Though. |
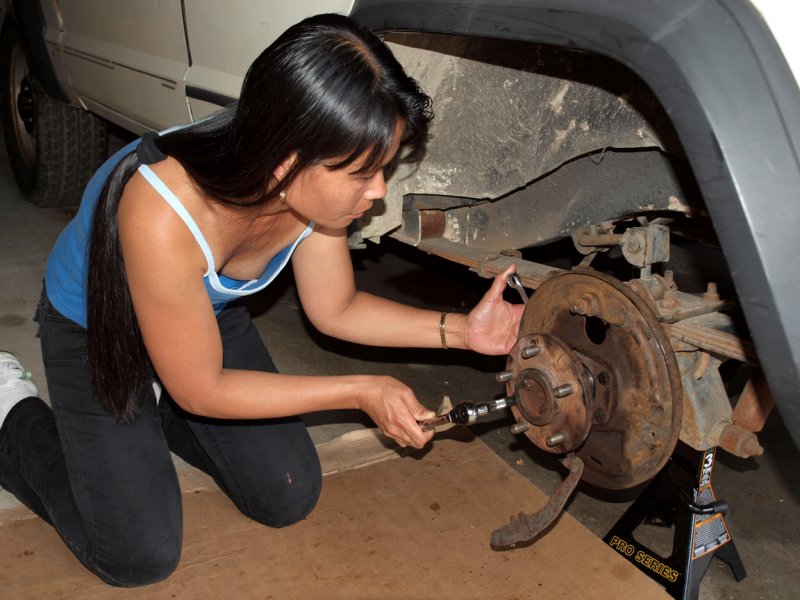
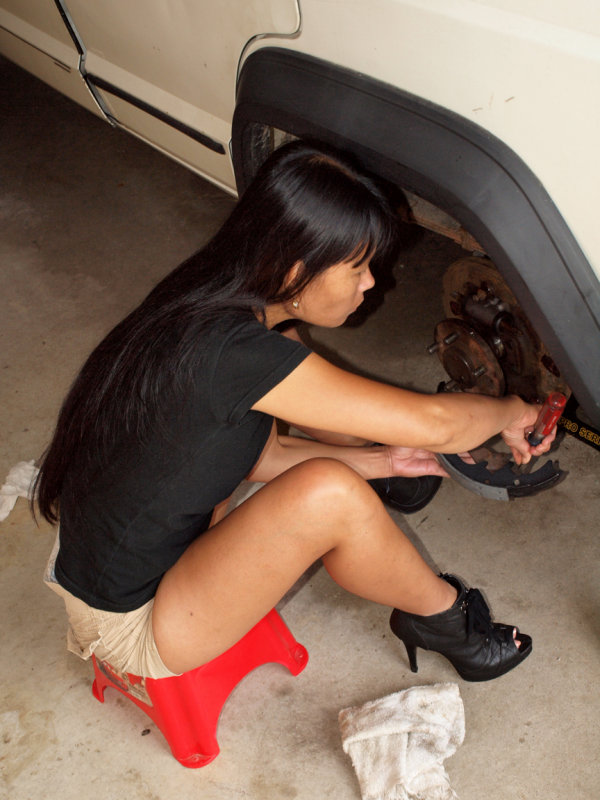
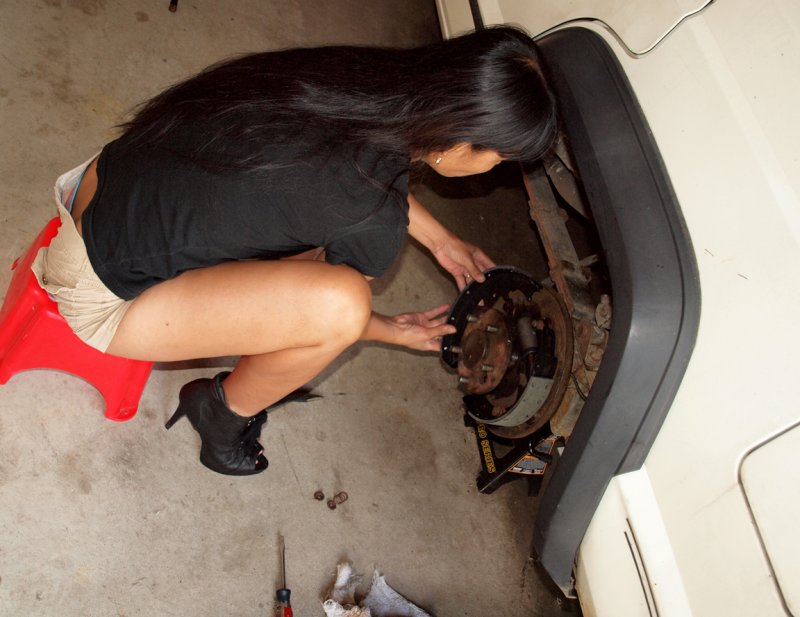
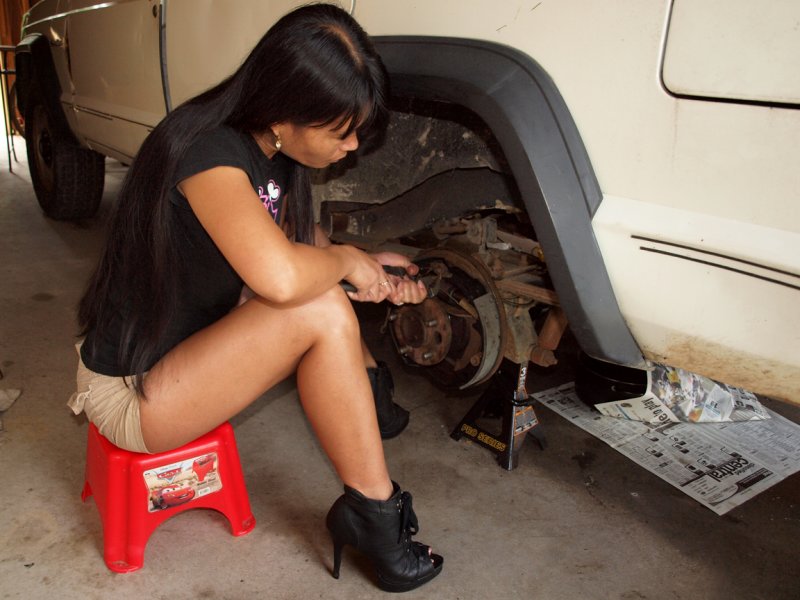
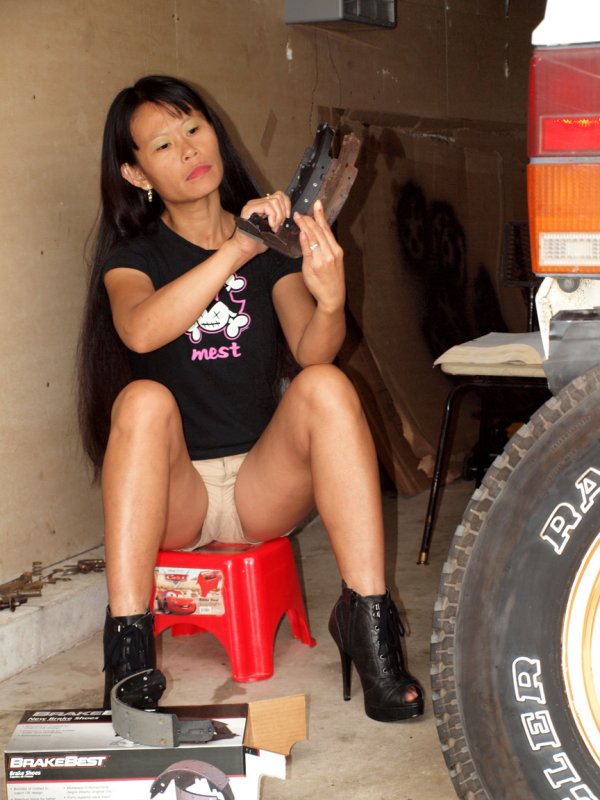 She's Making Sure We Got The Right Parts. |
 Putting Grease On The Backing Plate Pads. |
 Starting On The First Shoe |
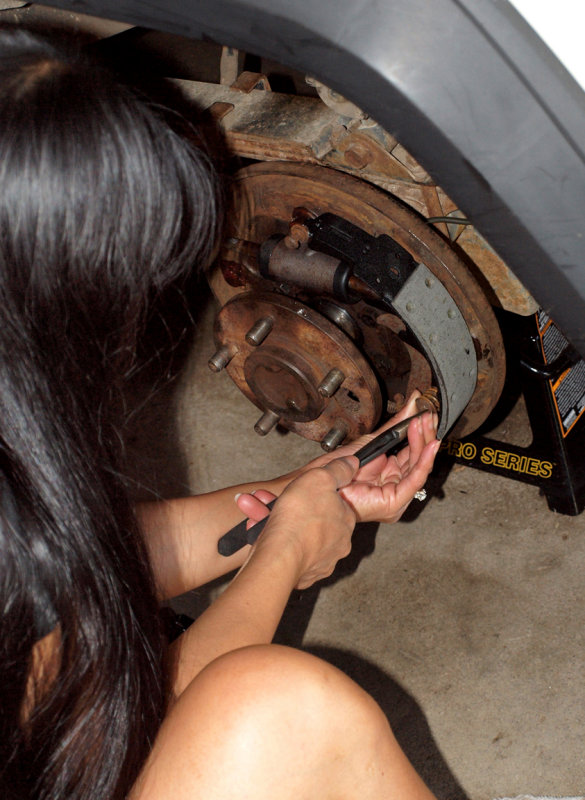 This Is Eve's First Time Working With Drum Brakes |
 2nd Shoe Going On... |
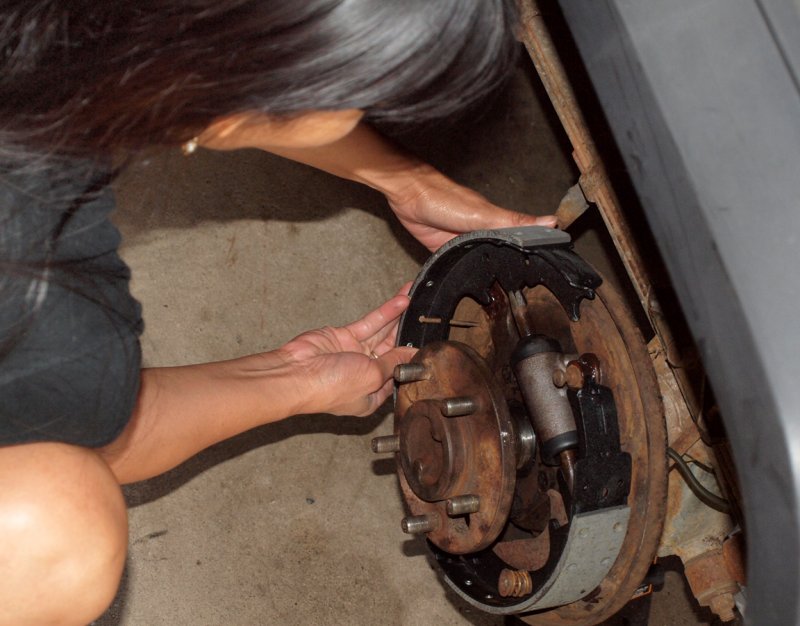 2nd Shoe Going On... |
 Attaching The Return Springs. |
 Using Brake Kleen On The Drums |
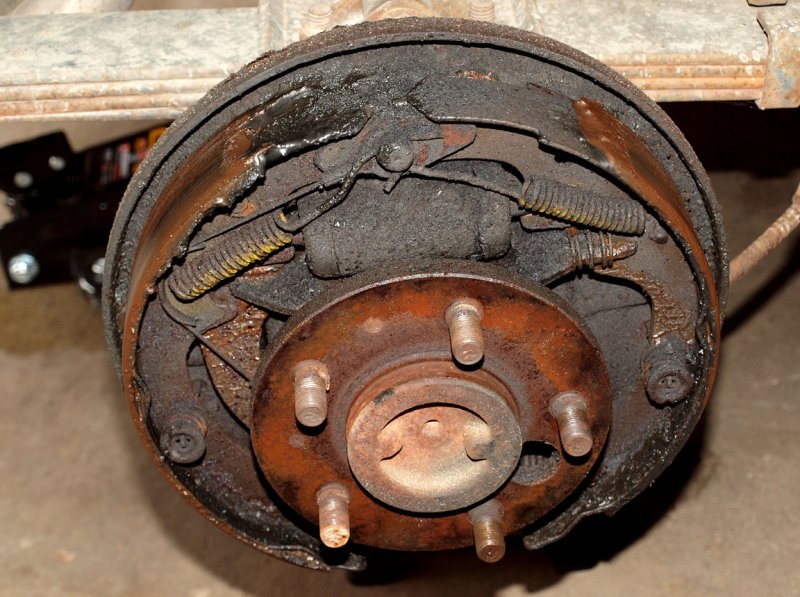
 All Finished...Just Needing A Quick Adjustment. |
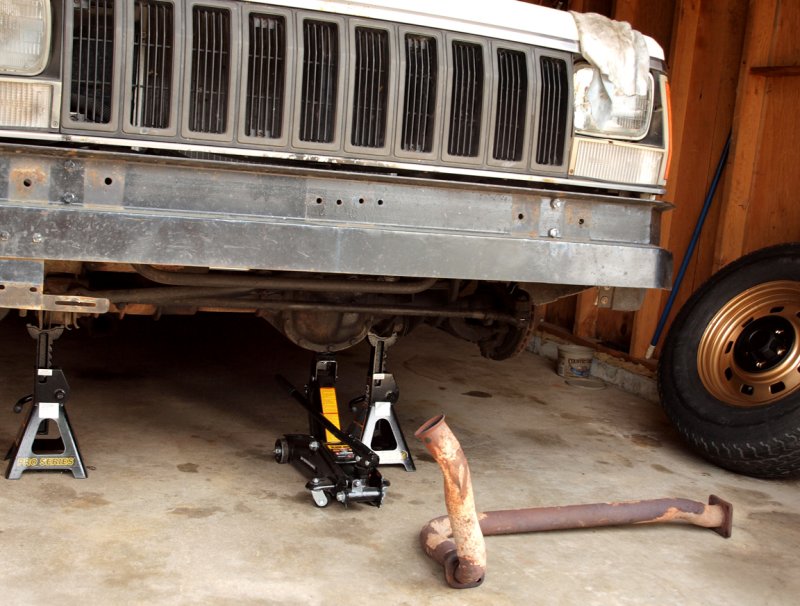 Today I Got The Exhaust Pipe Off...Cleaned And Painted The Front Wheels... |
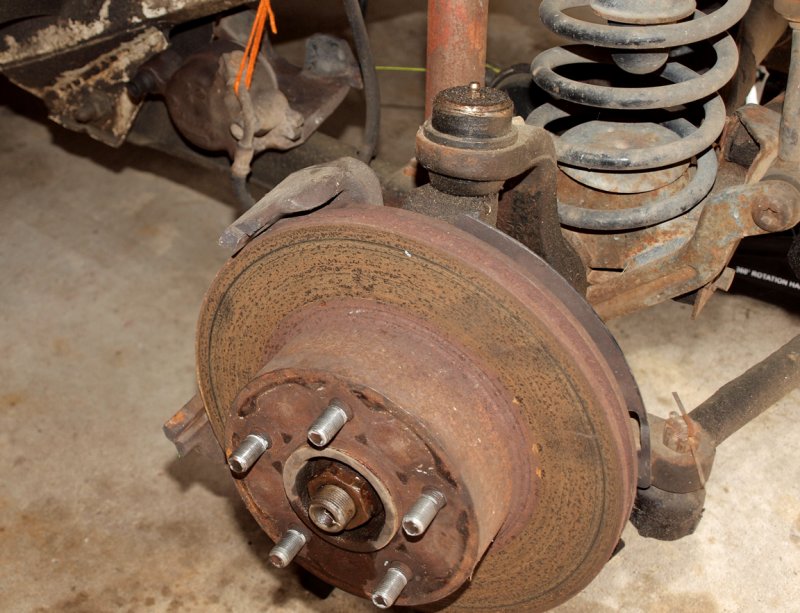 ...And Started Disassembling The Front Brakes...Ya, They Need Work Too..!! |
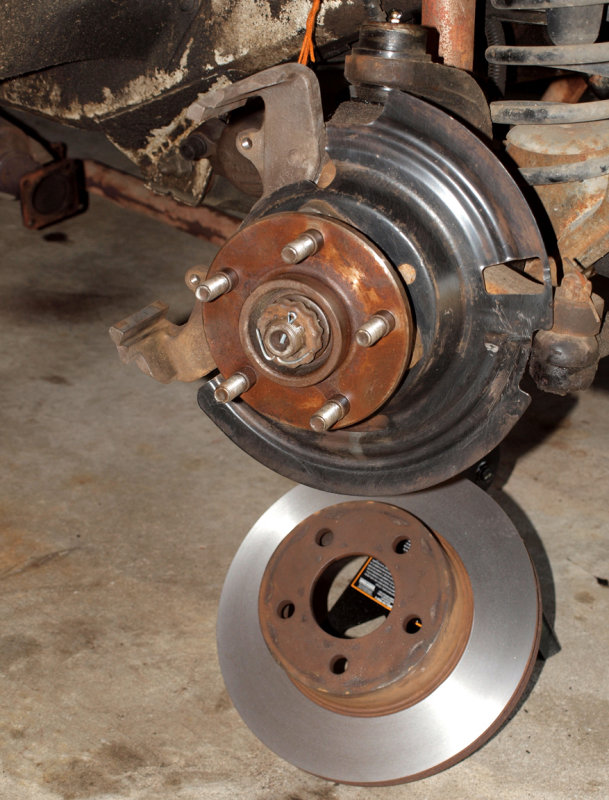 It's Going Too Need A Complete Job Just Like The Rear Did.... |
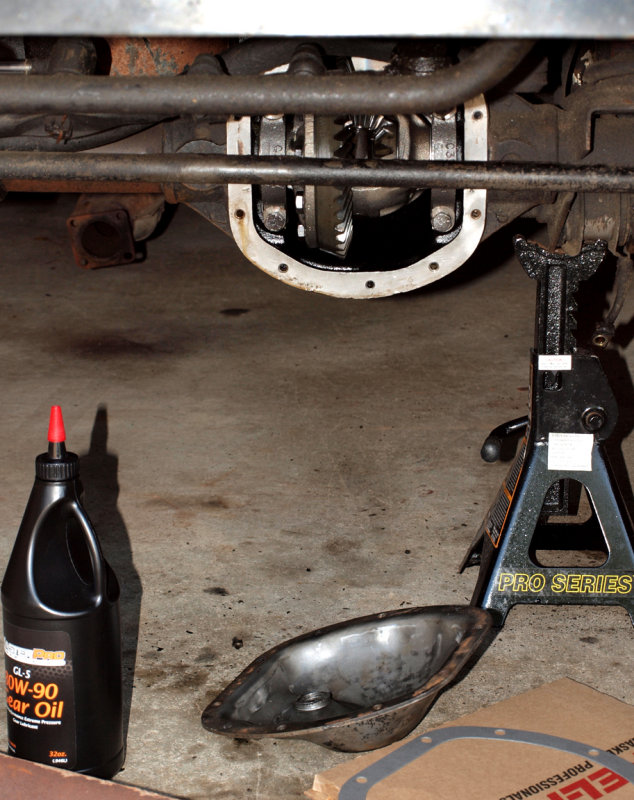 Like The Rear...The Front Axle Needed A Leaking Gasket Replaced And Some Clean Lube. |
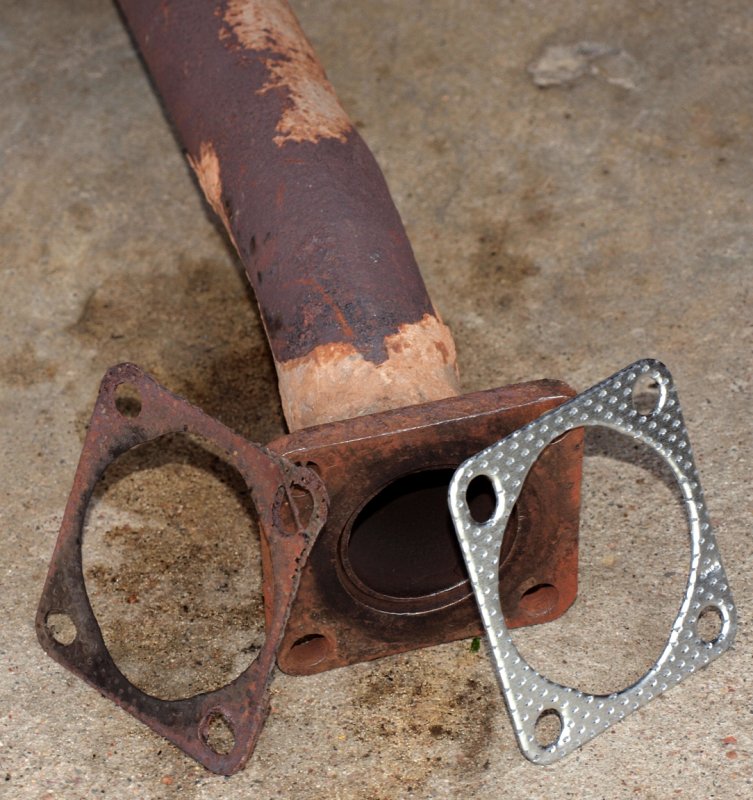 At Least I Got By Cheap On The Exhaust...A Gasket And A Couple New Bolts. |
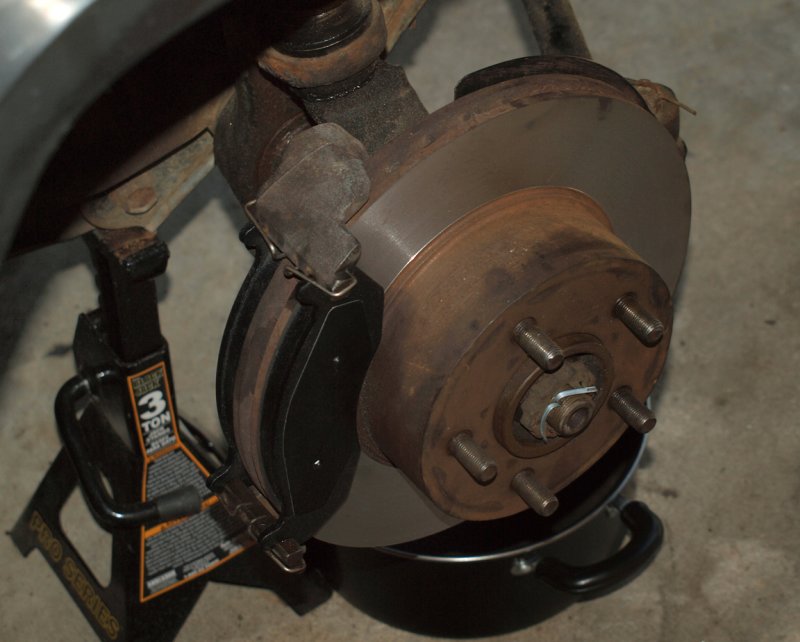 New Pads Installed. |
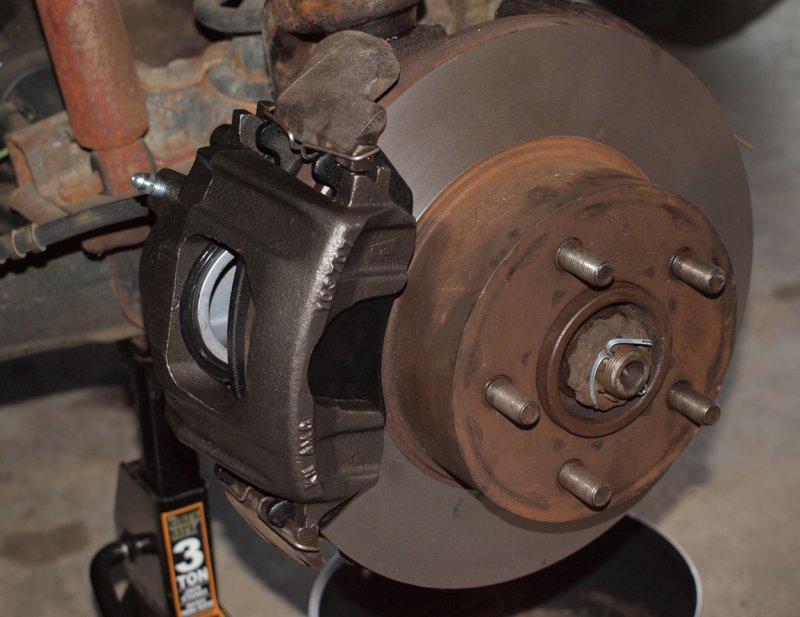 Caliper Installed...All Brake Work Finished...I Hope..!! |
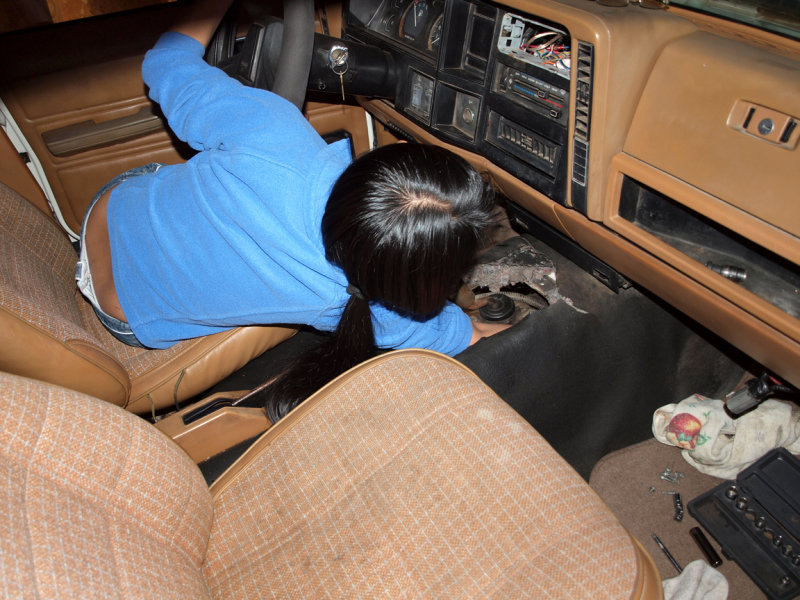
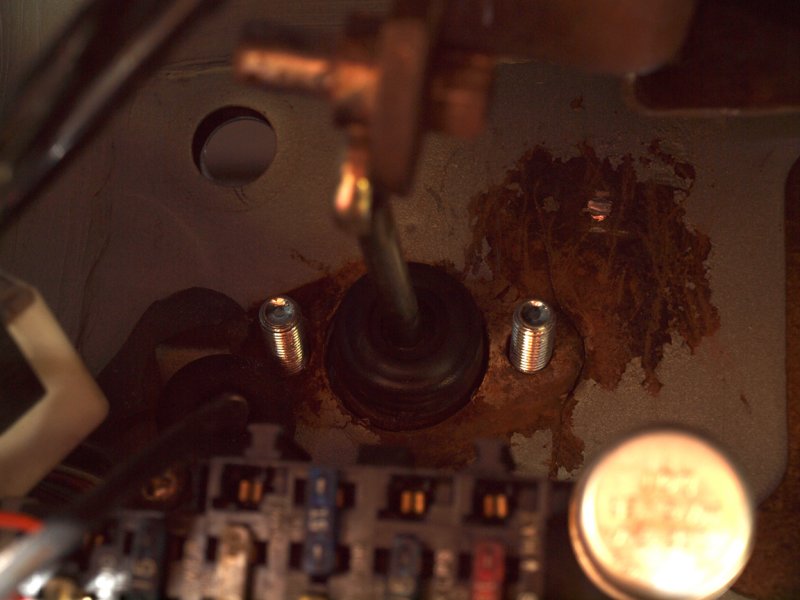
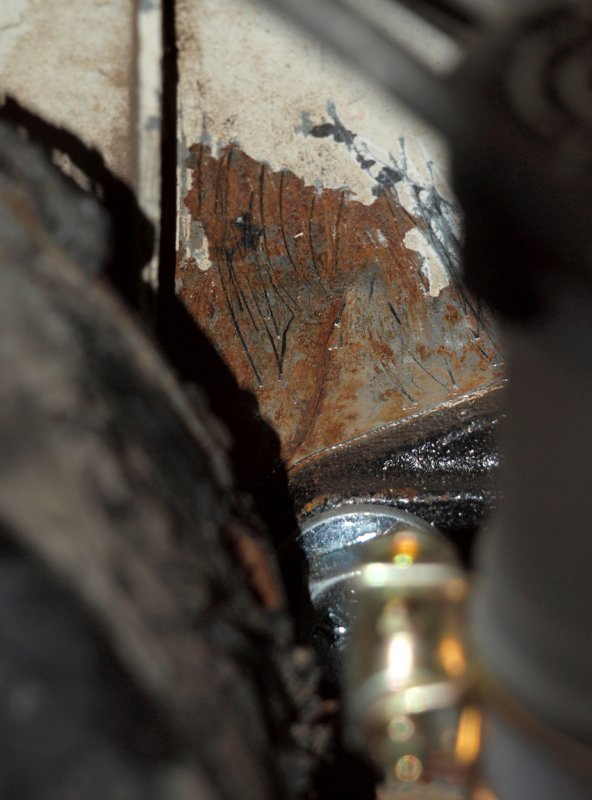 Crack In Firewall Near Clutch Master Cylinder. |
 After I Fix This I'll Be Ready To License Truck And Start Driving It. |
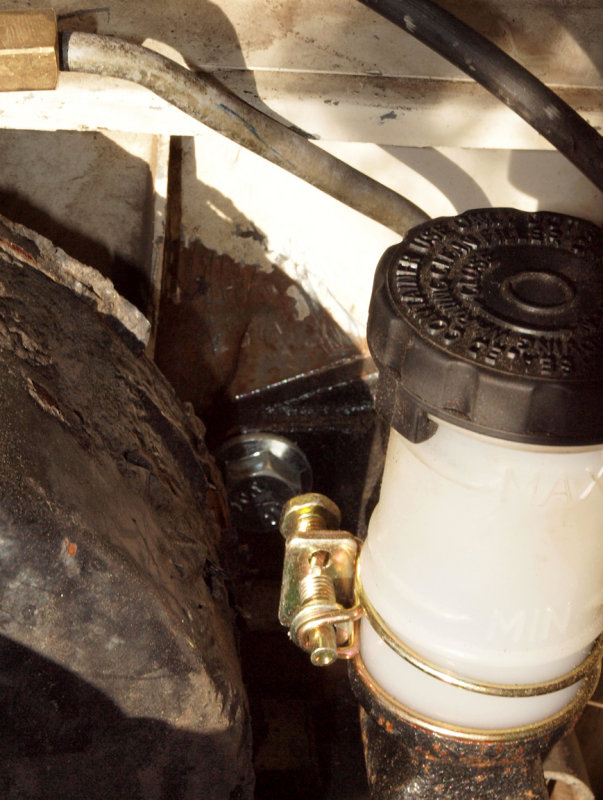
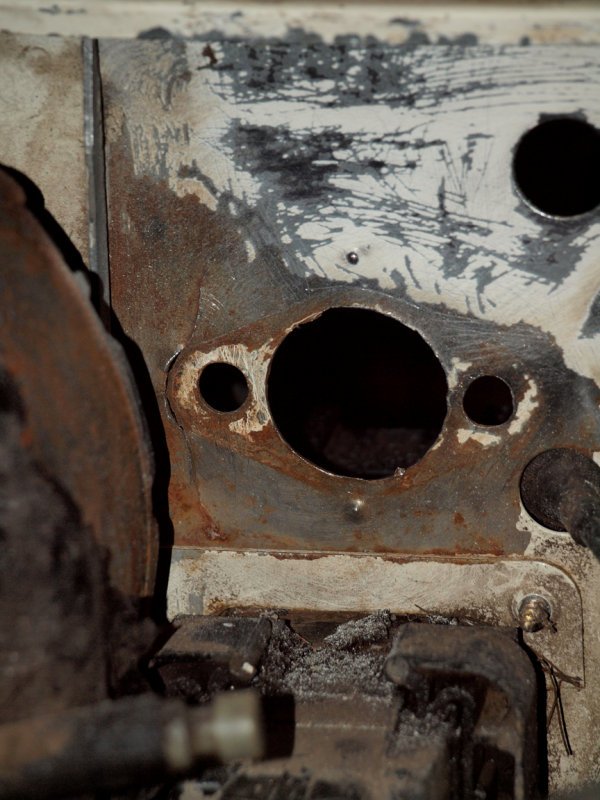 Here's A Better View With Clutch Master Removed. |
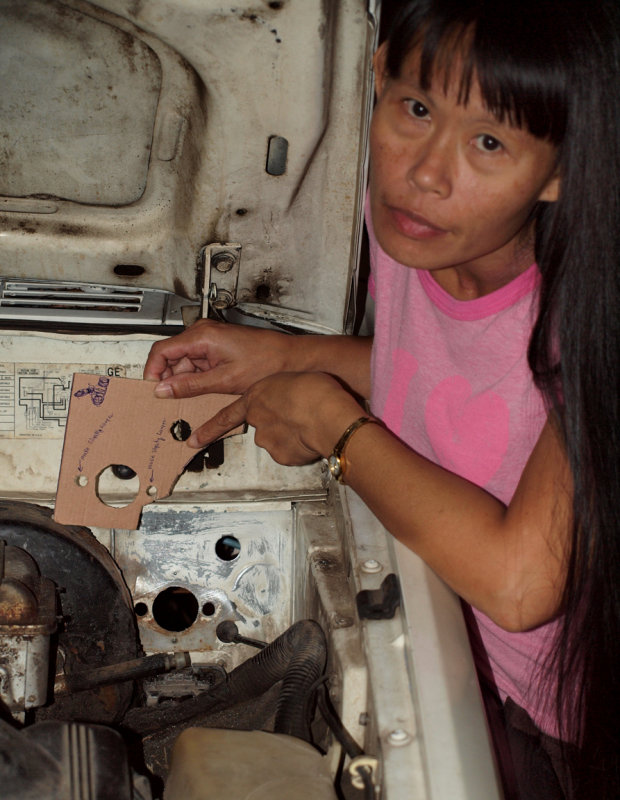 We Made A Cardboard Template... |
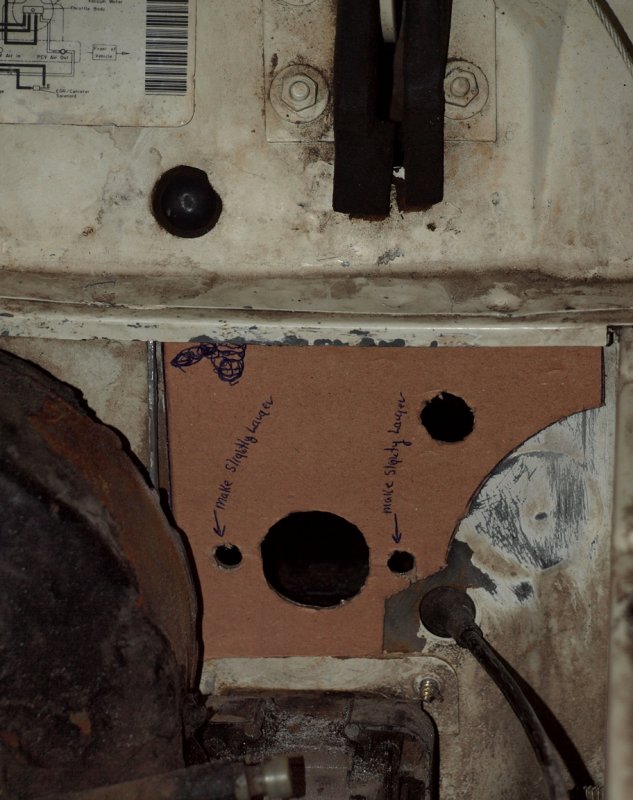 Now I Just Have To Find A Place To Cut Out A Metal One. |
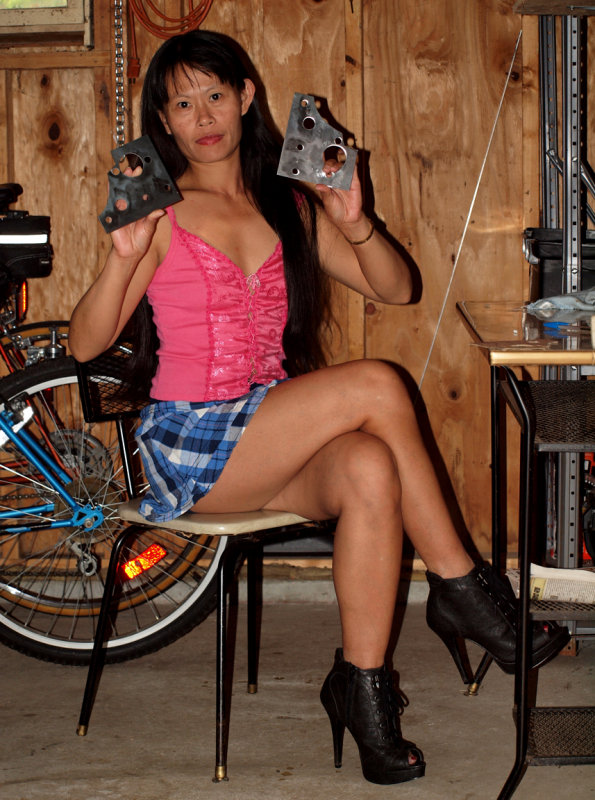 I Had Two 16 Gauge Plates Made...One For Each Side Of The Firewall. |
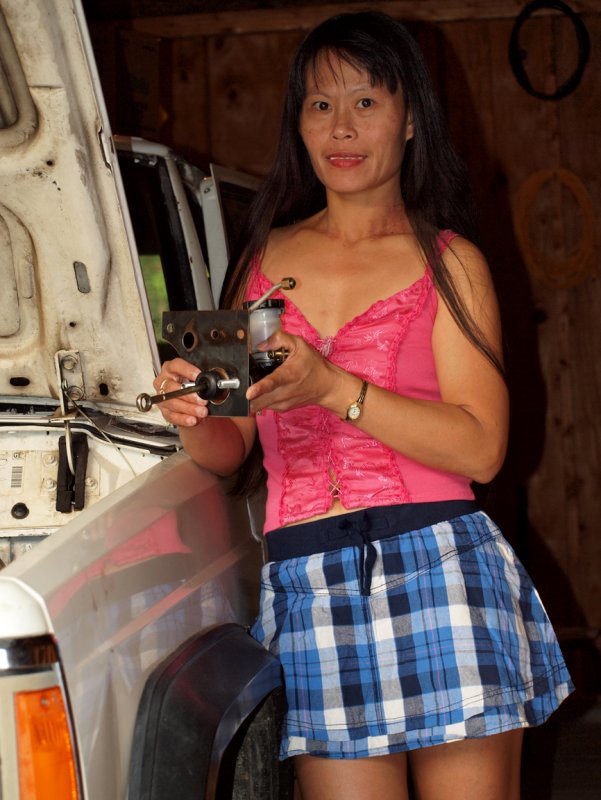 Eve's Ready To Place The Outside Plate And Clutch Master In Position. |
 A view Of The Backside...Under Dash |
 Installing Front Plate And Clutch Master. |
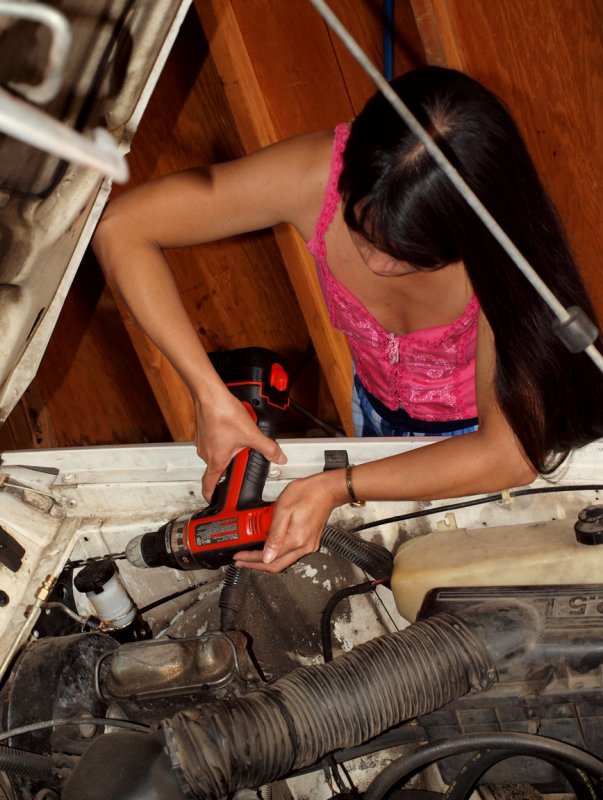 Drilling Holes In Firewall For Additional Bolts. |
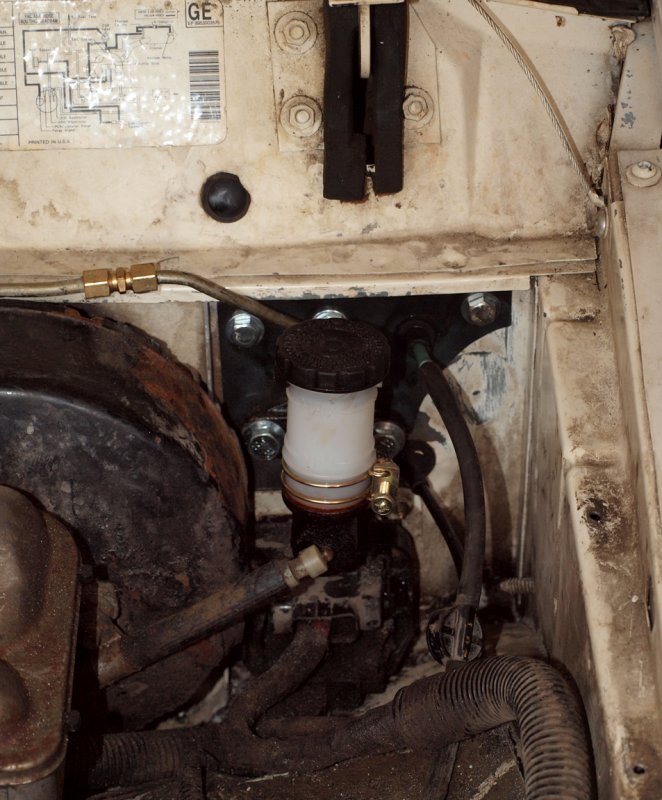 Engine Side View Of Completed Installation. |
 A View Of The 2nd Plate Installed Under Dash. |
 A View Of The 2nd Plate Installed Under Dash. |
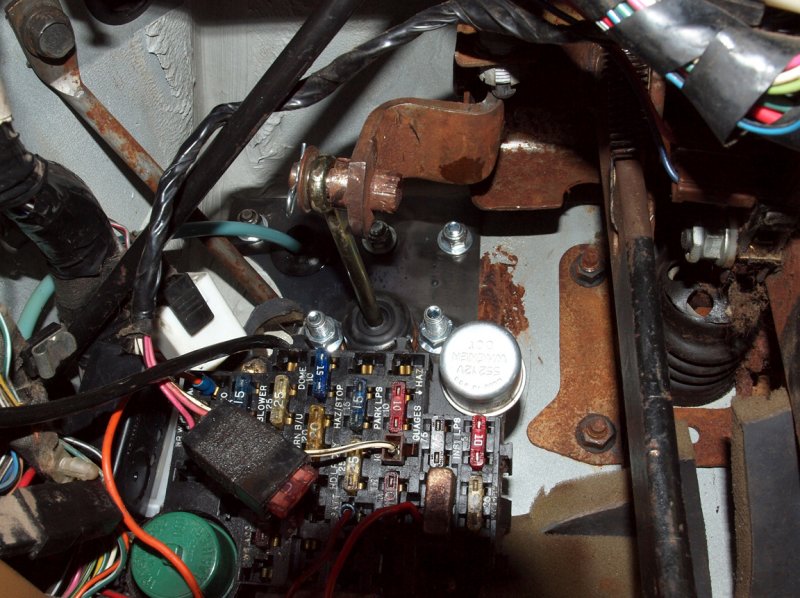
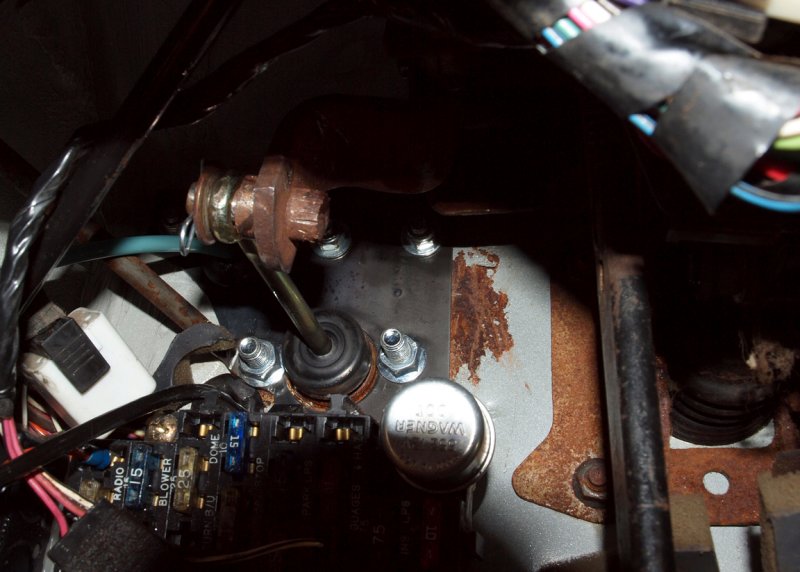
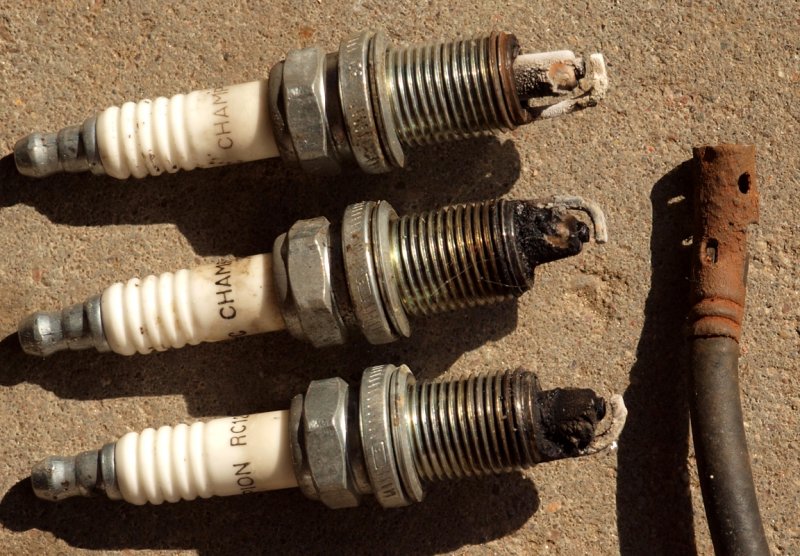 The Coil Wire Had Infinite Ohms...All Four Plugs Were SHOT...I Lost One Before I Took The Photo. |
| OldJohn | 14-Jul-2011 02:40 | |
| Chuck Hall | 01-May-2011 04:14 | |
| gouws | 07-Nov-2010 16:36 | |
| Guest | 31-Oct-2010 12:31 | |