


|
|
|
|
|
|
| Garry | profile | all galleries >> Boats and Projects >> Birder 2 Kayak | tree view | thumbnails | slideshow |
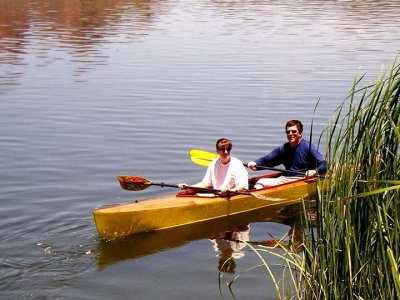 Birder 2 afloat (from the B and B CD) |
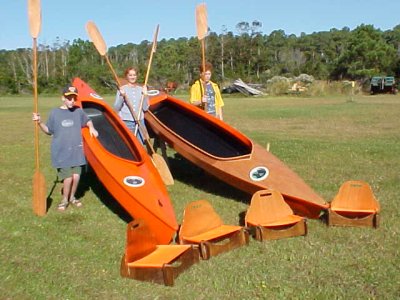 Birder 2s completed (from the B and B CD) |
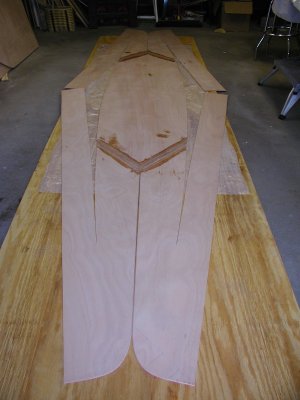 Bow, center and stern sections joined (from the B and B CD) |
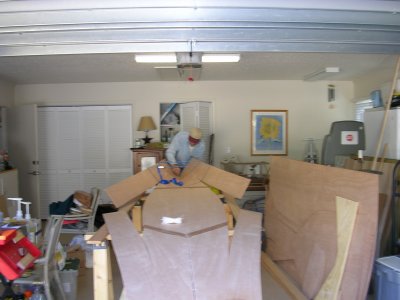
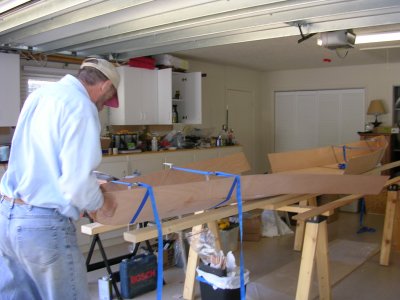
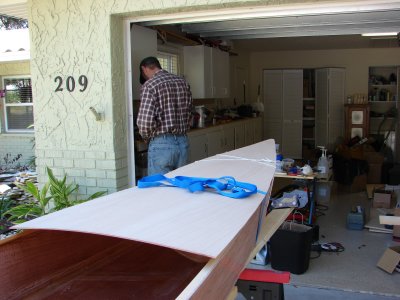
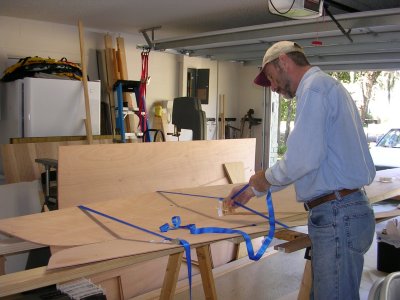 Starting to pull the sides together |
 The bow starts to take shape |
 Forward sides taking shape |
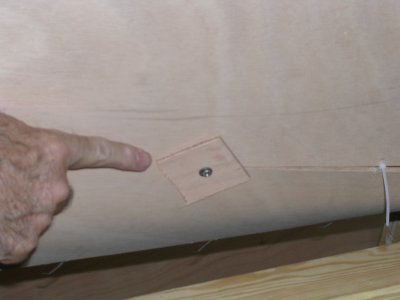 Temporary reinforcement at the end of a cut |
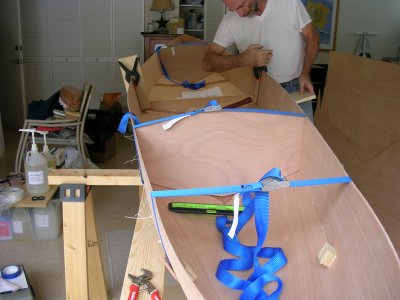
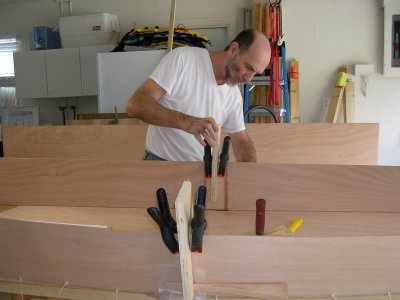
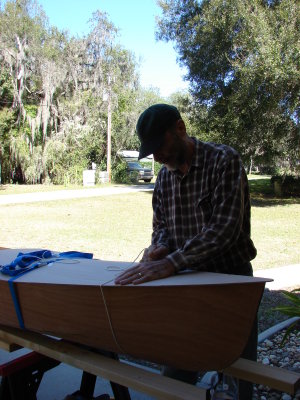
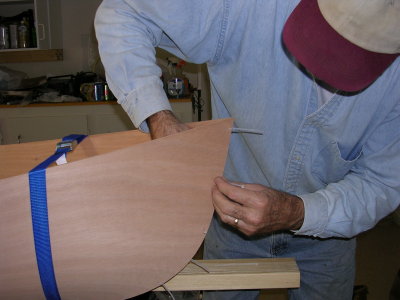 Tieing the bow seam together |
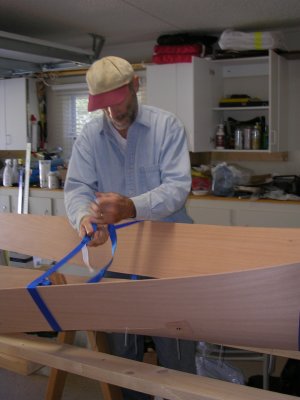 Pulling the sides into place |
 Repeat process for the stern half |
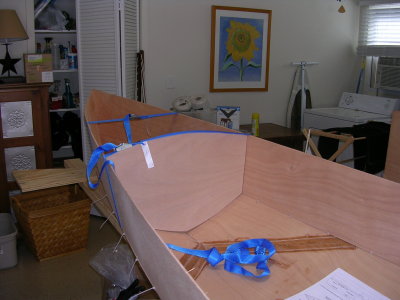
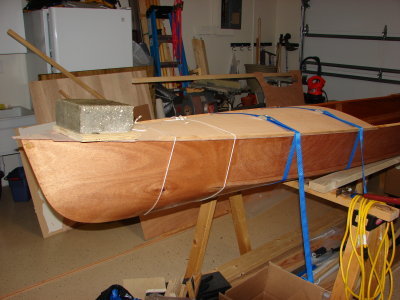
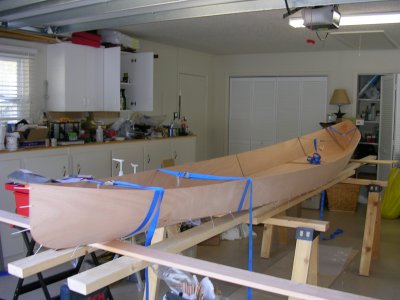 Starting to look like a kayak |
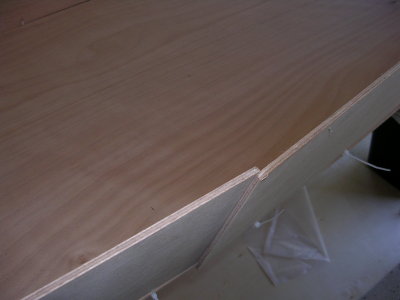 Slight overlap at the mid-seam |
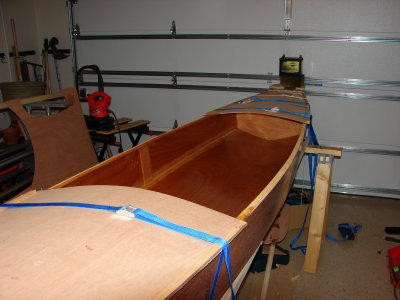
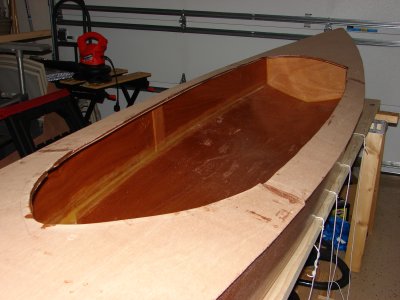
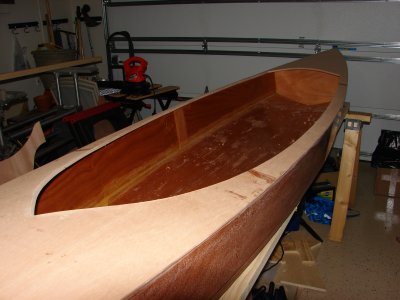
 Fitting the bulkheads |
 Clamping the splice plates over the mid-seam |
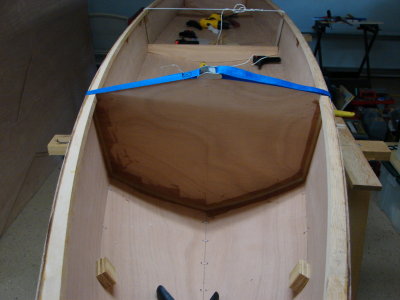
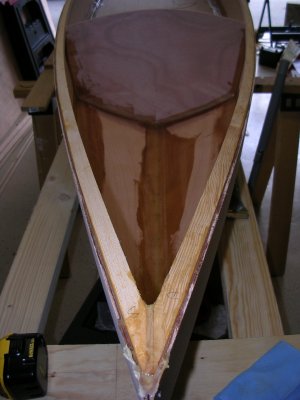
 The forward bulkhead |
 Clamping the inwales |
 Filleting the forward bulkhead |
 Filleting the forward bulkhead |
 Inwales installed, interior seams filleted and taped |
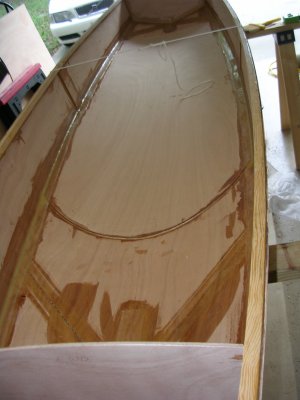 Doubler installed in cockpit area, interior seam filleted and taped |
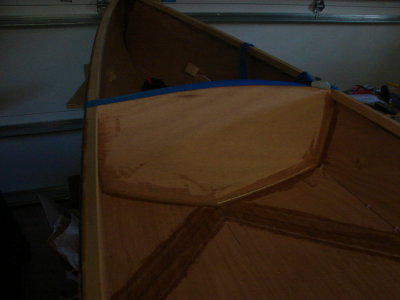
 Aft chamber filleted, taped, partially coated |
 Outside seams are taped, tape leaves a raised edge |
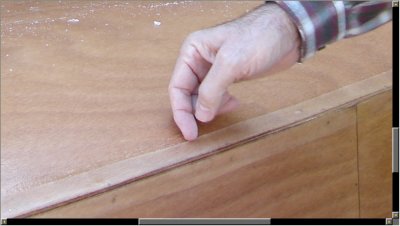 Tape edge closeup |
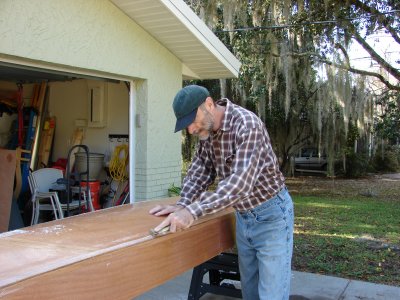 Scraping the edges down to almost feather edge, I like to do this within a day before the epoxy hardens completely |
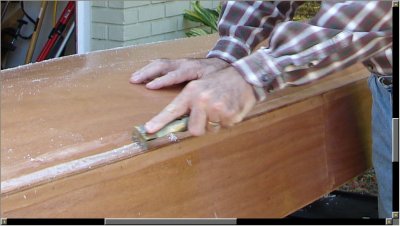 Scraping tape edge closeup |
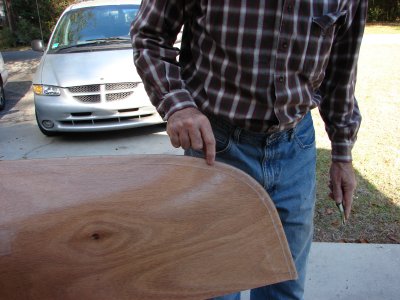 The tape can't make the curve without cutting darts in it |
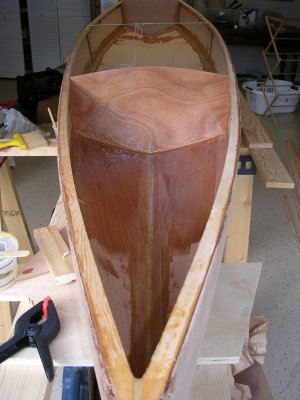
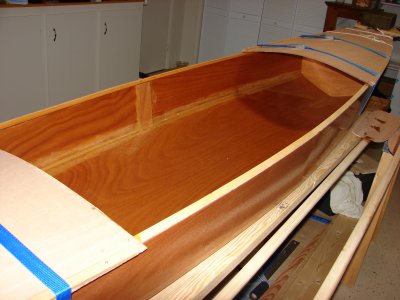
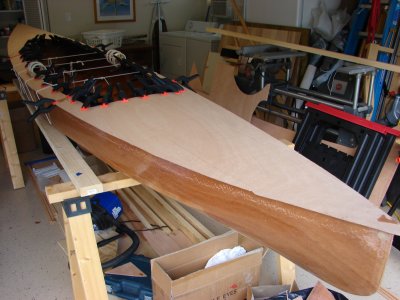
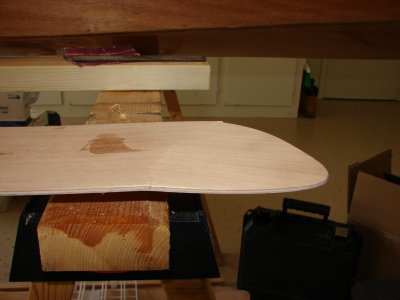
 Dry fitting the decking |
 I'll take it off to coat the underside before installation |
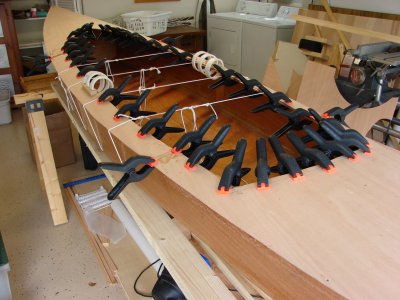
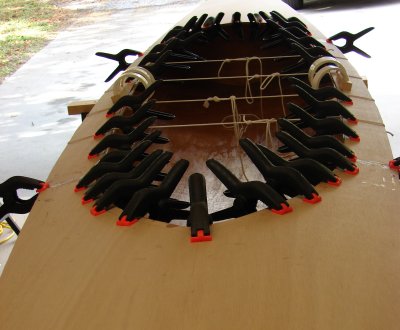
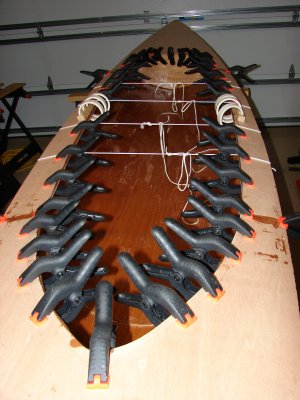
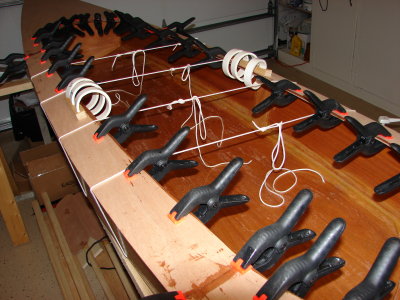
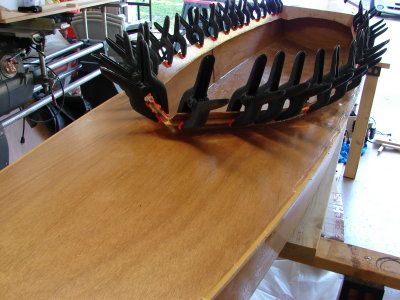
 Strapping the deck to the curve and glueing it with thickened epoxy |
 The deck is oversize to trim it exactly to the hull after the epoxy sets |
 I still have to fit the deck side pieces and the cockpit coaming |
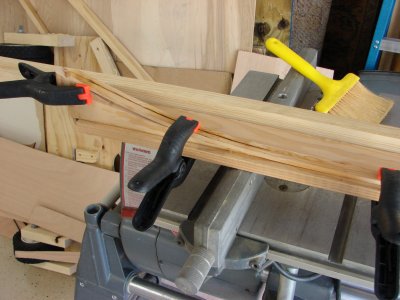
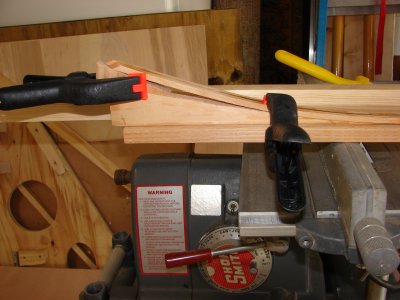
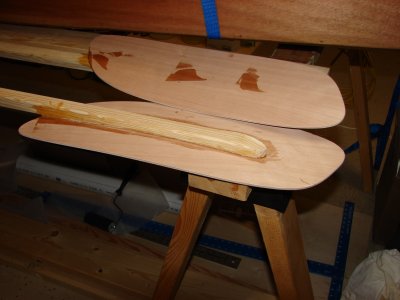 The paddles are glued up with curved blades |
 Clamping the side decks and carlins |
 The carlins are a strip of plywood underneath the deck to reinforce the cockpit opening |
 Starting to look like a kayak! |
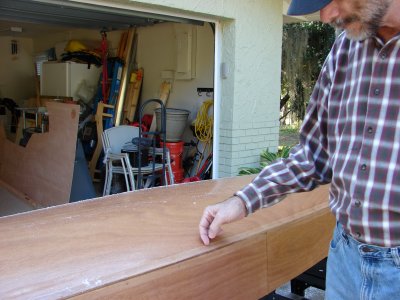
 The opening and edges are 3/4" oversize to be trimmed later |
 The lines help pull the outside edges down to counterbalance the weight of the clamps |
 Clamps removed, ready for trimming |
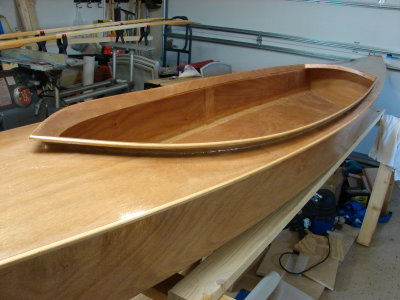
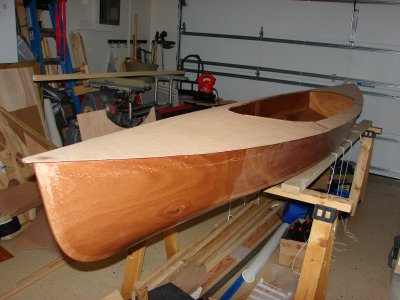 I'm amazed, its starting to look like a kayak! |
 Cockpit opening ready for trimming |
 Cockpit cut to size and sides trimmed flush with hull |
 Cockpit coaming installed |
 Cockpit coaming will be cut shorter |
 Ouch! - stepped on a paddle and broke it |
 Bend jig for coaming trim |
 Bend jig |
 Coaming trim and rubrail installation |
 Coaming trim and rubrail installation |
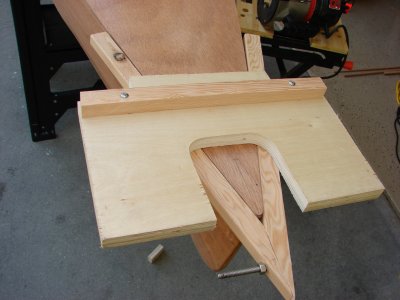 Router guide |
 Removing part of bow and stern |
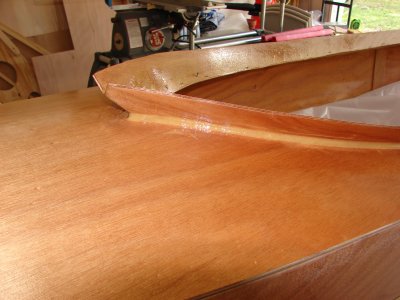
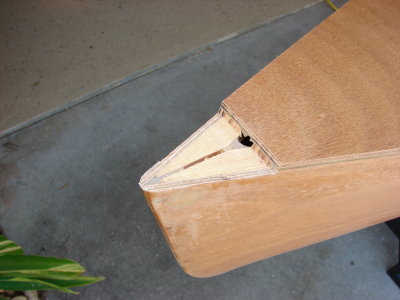 Bow cutaway |
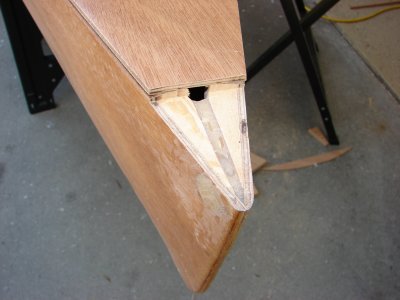 Stern cutaway |
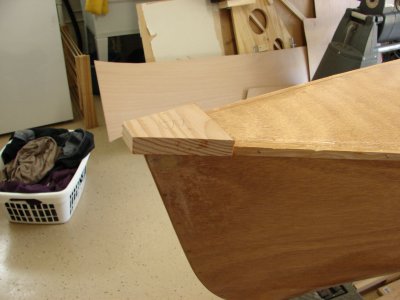 Bow nose piece (to be cut down) |
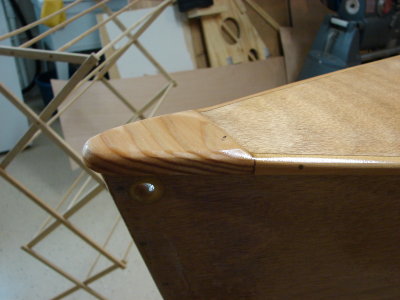 Trimmed and coated nose piece - hole is full rope handle |
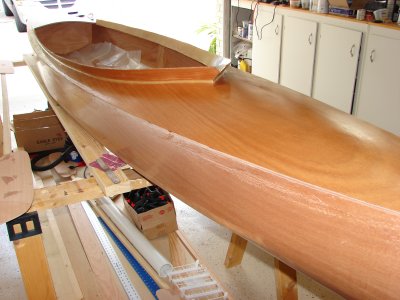
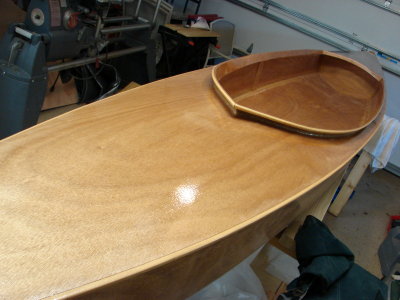 First coat of epoxy |
 Trimmed coaming |
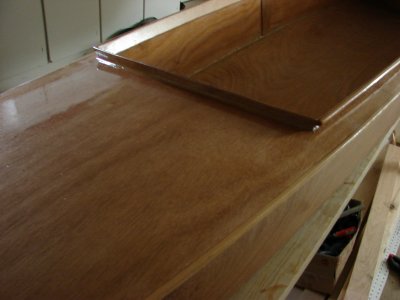 Added trim at cockpit opening aft |
 Ready to go! Those are Sport-a-Seats and they worked great. |
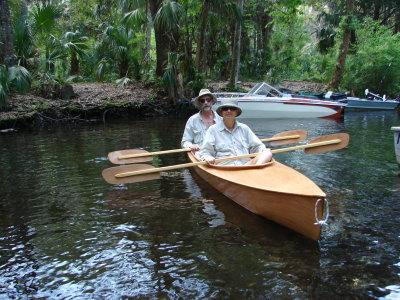 Maiden voyage - Garry and Victoria |
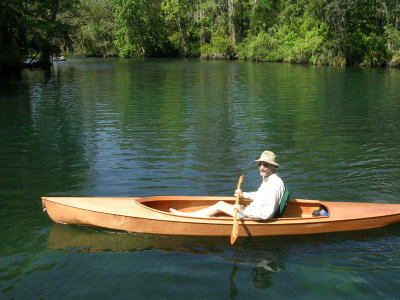 Solo |
| comment | share |
| Garry | 29-May-2008 18:02 | |
| TomHenry | 28-May-2008 16:27 | |
| John Cooper | 24-Feb-2008 21:23 | |