18-AUG-2012
Passenger side all welded
All of the passenger side hardtop holes all welded up.
18-AUG-2012
Rear passenger welded
All of the un-needed holes on the passenger side rear all welded.
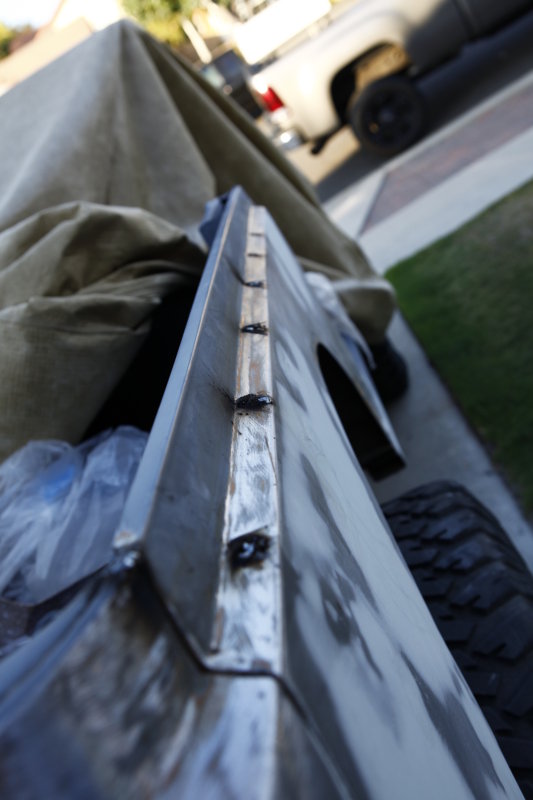
18-AUG-2012
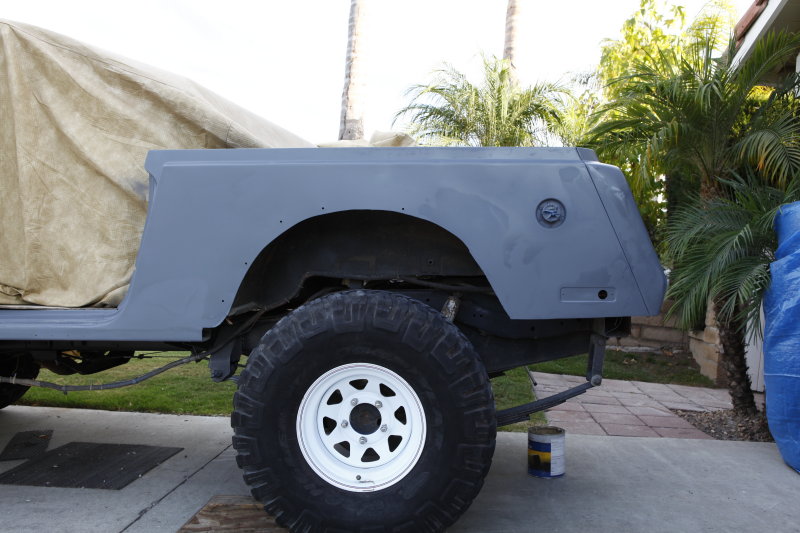
Wheel wells done
Passenger and driver's sides welded up! I'll hit these with the grinder to make them smooth and with the bed liner to cover them they will be covered well.
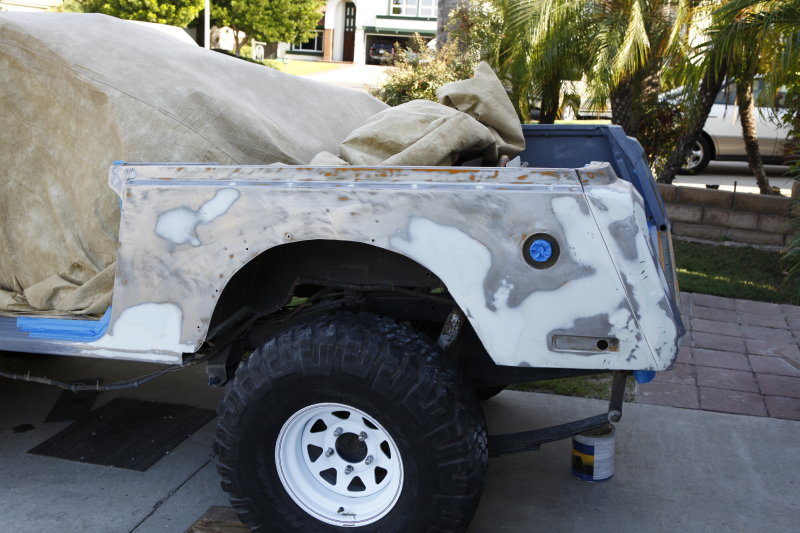
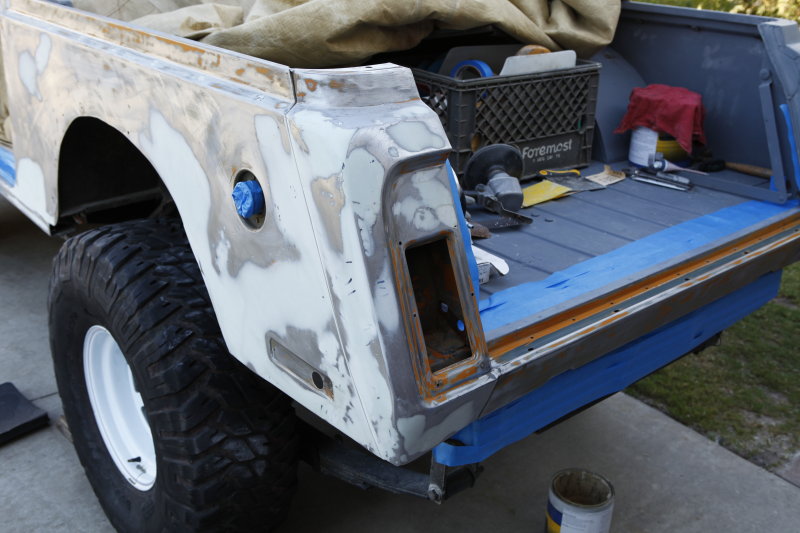
08-SEP-2012
Drivers side bodywork done
I finally got all the bodywork done on the drivers side
08-SEP-2012
Drivers side rear done
It took some work but I got the back pretty straight. Now it's ready for some primer.
A good coat of primer
I sealed it all up with a couple coats of 2K Epoxy primer. I let it dry, sanded both sides, then shot them with a build-up/filler primer to take care or any low spots when I block it out.
09-SEP-2012
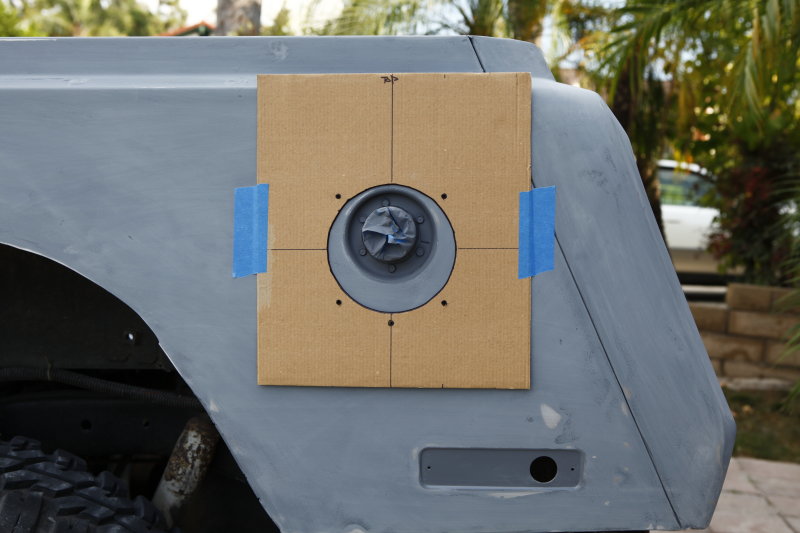
New gas fill
I am installing a TJ gas fill bezel and filler tube to eliminate the straight-in stock Jeepster filler tube. Now when I go to the gas station the nozzle will be in a downward position so I won't have to stand there and hold it. After measuring a couple times I made a template and laid it out.
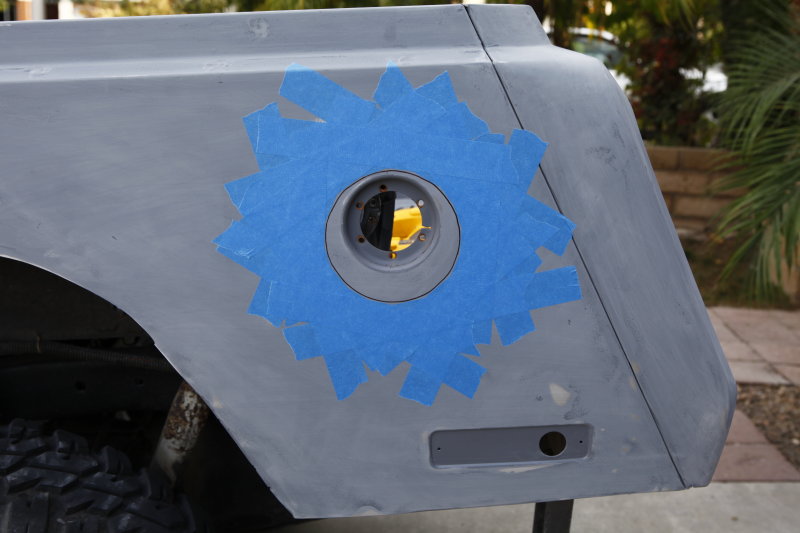
Protection while cutting
I taped the heck out of the area so I don't destroy the panel when I cut it.
09-SEP-2012
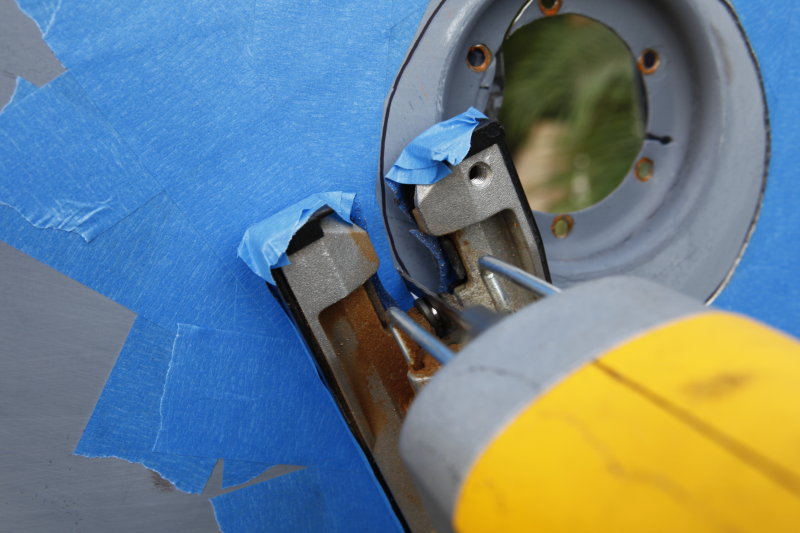
Cutting the hole
It alwas seems scary when you cut a body panel of a car but that old saying holds true, "measure twice and cut once"!
12-SEP-2012
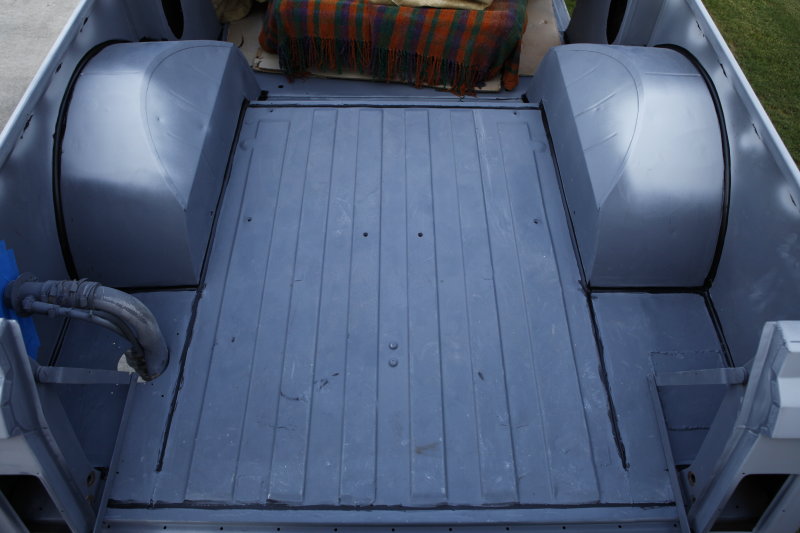
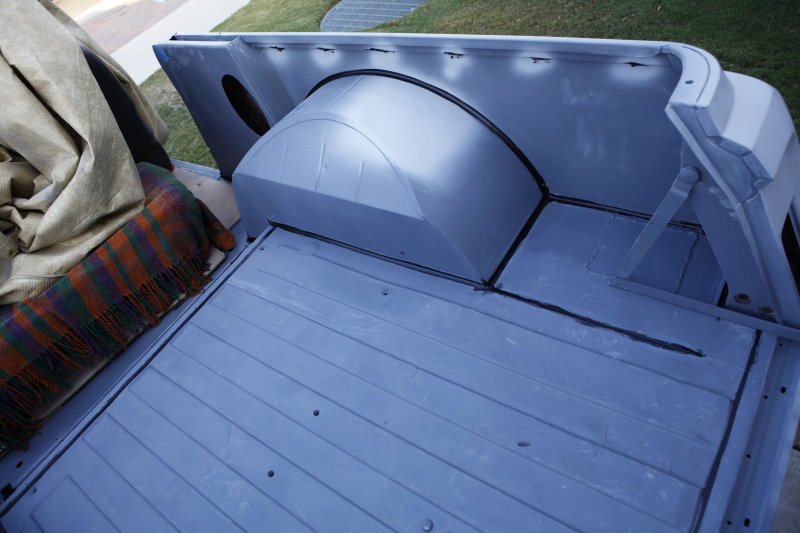
Bed is all sealed
After I had the tub sandblasted it blew away any seam sealant that was in the body joints. Now that I'm done pounding on the body and panels are now where they will stay I wanted to reseal all the seams.
I sanded every seam in the bed with 220 grit paper so the seal would have a good grip to the epoxy primer, blew it out with air, and applied a nice bead of Seam Seal. The Seam Seal stays slightly pliable and is completely paintable.
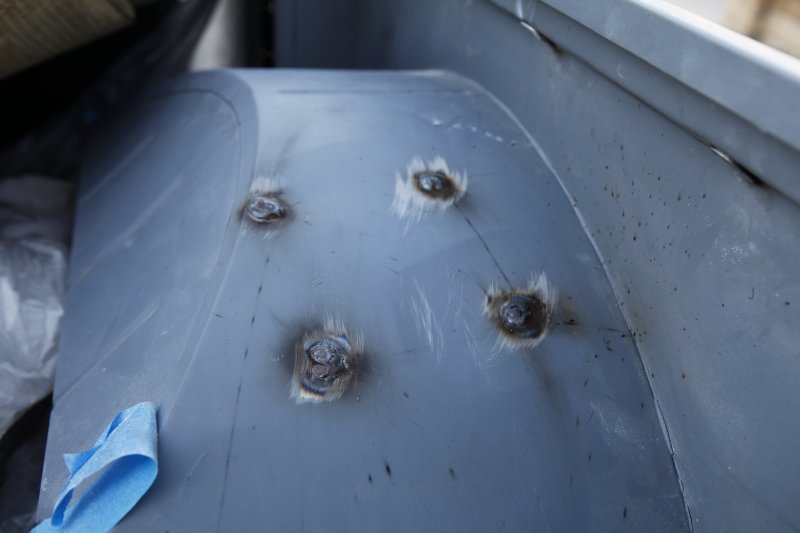
12-SEP-2012
Sealed seams
I also sealed the back side of the slugs where I welded the bolt holes from the hardtop. Now when I spray in the bedliner they will be nice and smooth.
18-SEP-2012
I figured out what to do with cowl vent
I really like the cowl vent grille but I'm taking out my OEM heater box and was faced with trying to figure out what to put in place of the vent grille. Welding in a new flat piece of metal was going to warp the heck out of the cowl and I really want to move forward from all this bodywork. The vent was really the cause of the floor rusting so bad because of the big drainage hose that went into the passenger side kick panel.
I decided to bend up a piece of sheet metal and make it into a drain to weld in place of the air box for any water that might go into the vent.