14-Mar-2015
Freshly shot with primer
I'm going to have to make a jig to hang these sliders on when I shoot the final color on them.
15-Mar-2015
Primed and ready for paint
I can't wait to get paint on these so I can install them.
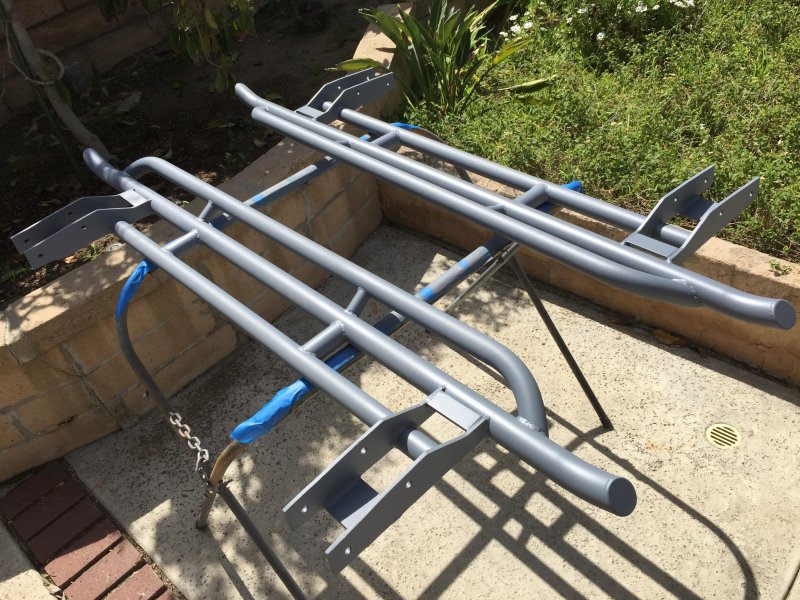
15-Mar-2015
Primed and ready to sand
The primer is dry and ready to sand for the two stage top coat.
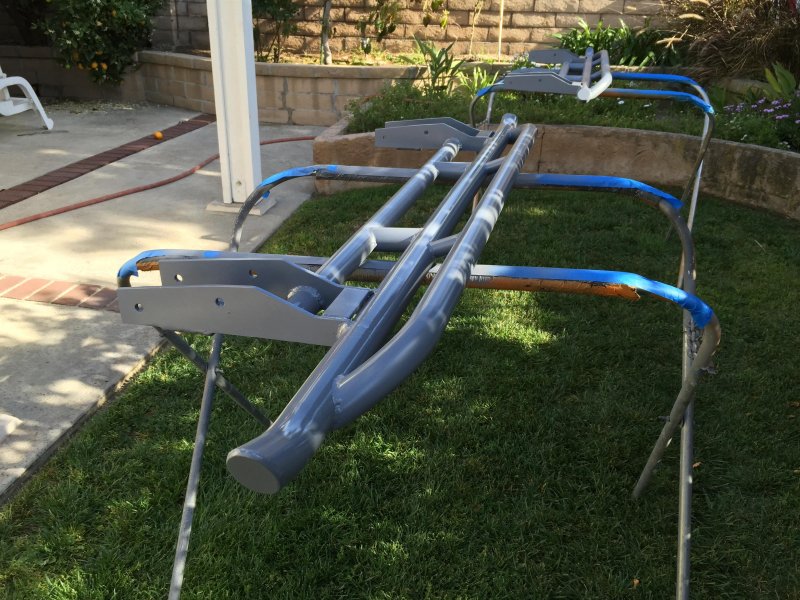
14-Mar-2015
Primed and ready for paint
I shot a couple coats of epoxy primer on the sliders after welding them complete. Once they are dry i will hit them with a black base coat and the a couple coats of clear with a matte finish.
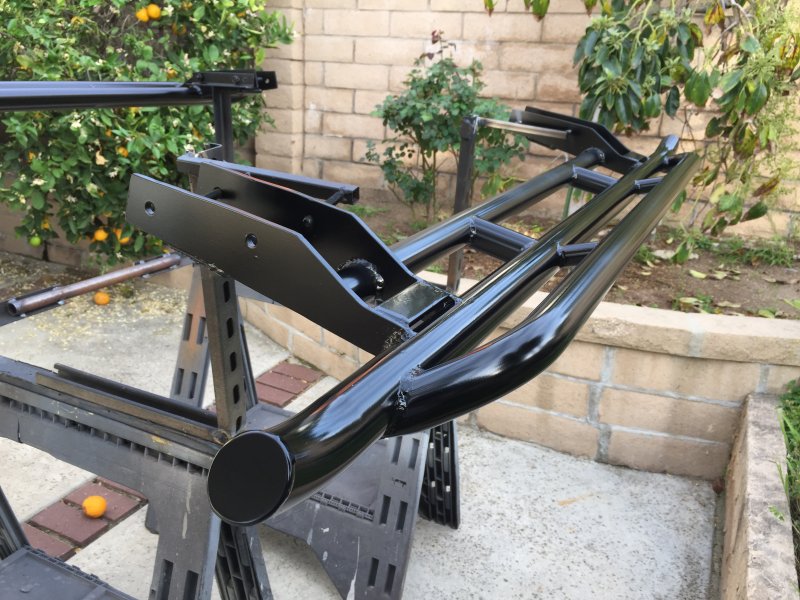
15-Mar-2015
More black!
I was a little hot today, probably too hot to shoot paint and clear coat but the sliders turned out pretty good. Although they are going to get all scratched up, at least they have some protection from rust.
15-Mar-2015
Sliders almost ready to install
Now that the paint is complete on the sliders I'll let them dry for a couple days and then I will install them.
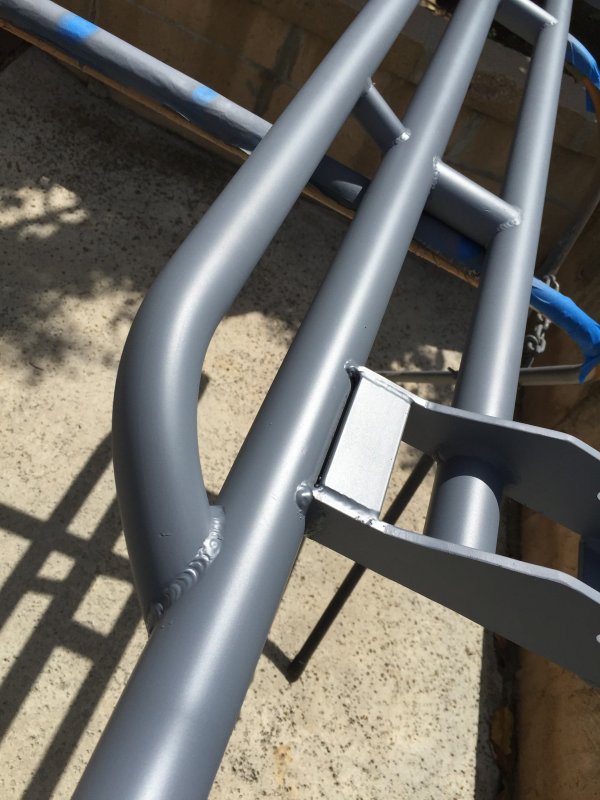
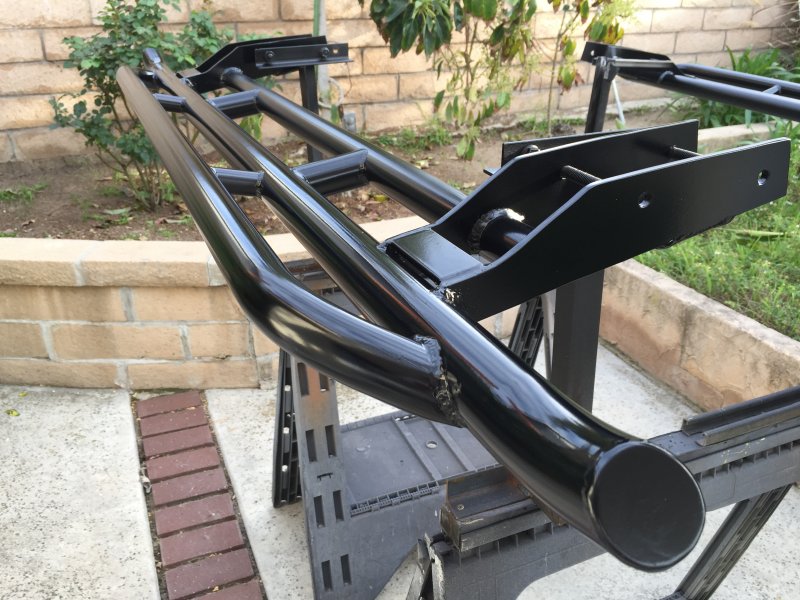
14-Mar-2015
Rear fender/quarterpanel sliders
The holes that I bored in the rear bumper will accept the 1.75" tube to be used for some sliders to protect the rear fender area. The sliders will be supported by some heavy duty grade 8 bolts and some tubes that tie into the roll cage backing plates.
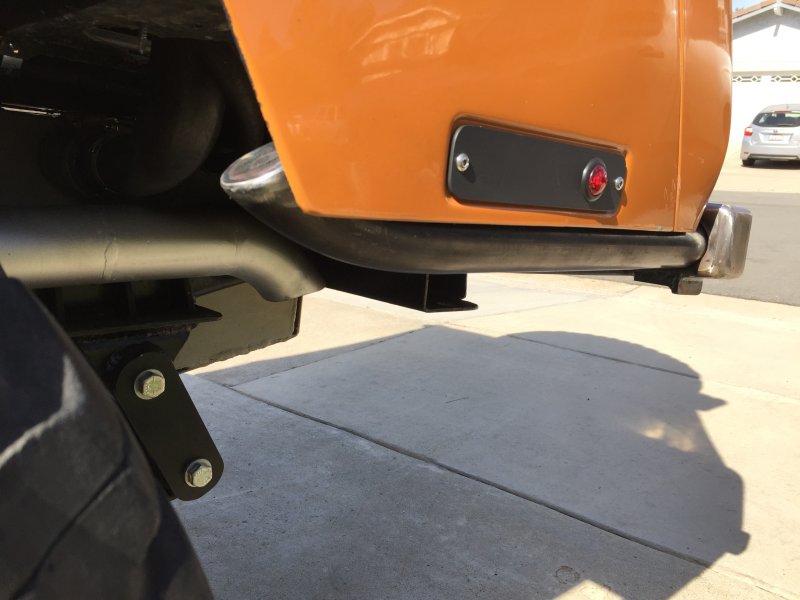
14-Mar-2015
Rear slider tubes
The tubes are about 3/4 exposed but would have been exposed completely exposed if I had left the bumper to hang low.
16-Mar-2015
Paint dried now install!
The paint is pretty dry and because I am anxious get these installed I just couldn't wait.
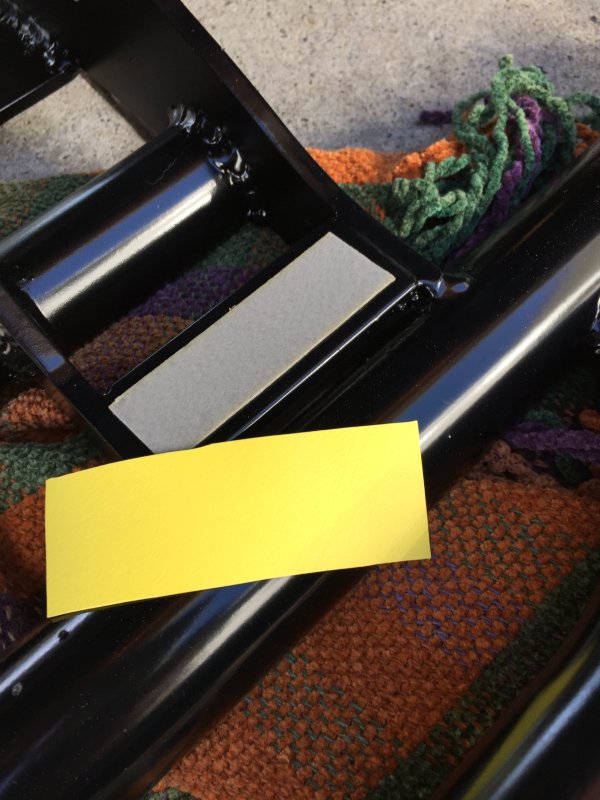
16-Mar-2015
A little cushion between the body
I use some automotive two-sided trim tape to adhere some dense thin rubber for a little Christian so that the sliders are not metal on metal.
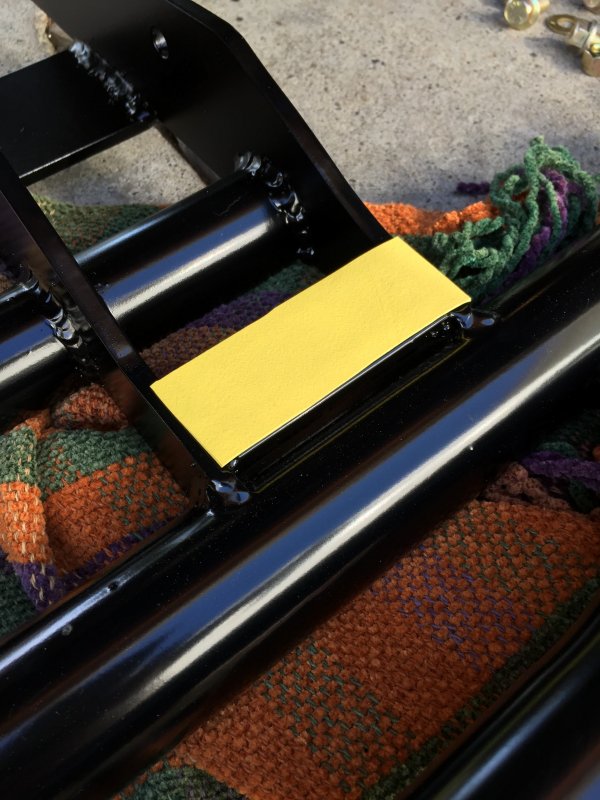
16-Mar-2015
The dense thin rubber in place
Now that the rubber is in place I can finish bolting up the sliders.
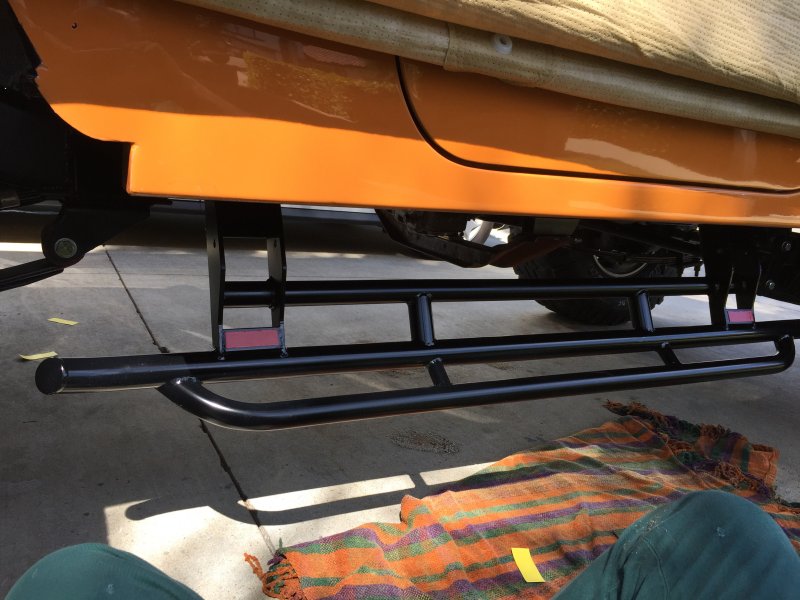
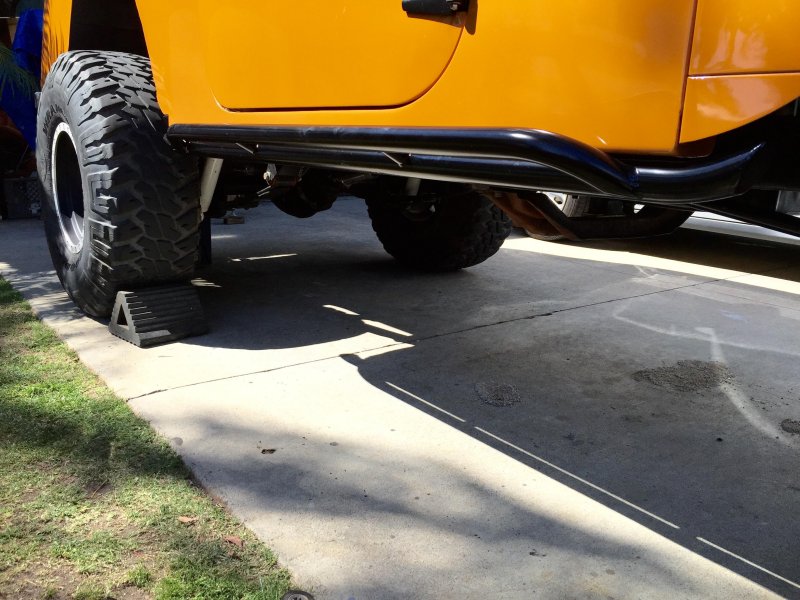
16-Mar-2015
Lower view of sliders
This view shows how tight the main tubes are to the body as well as the rock guards height up the rocker panel.