10-JUL-2012
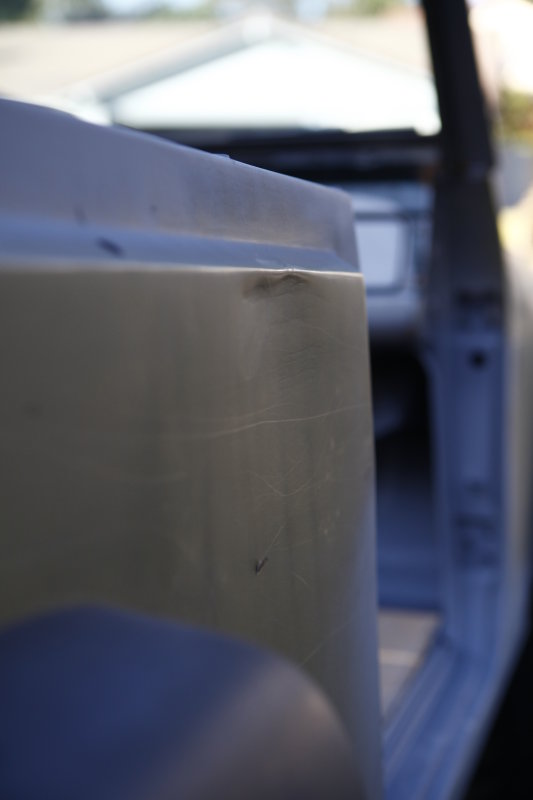
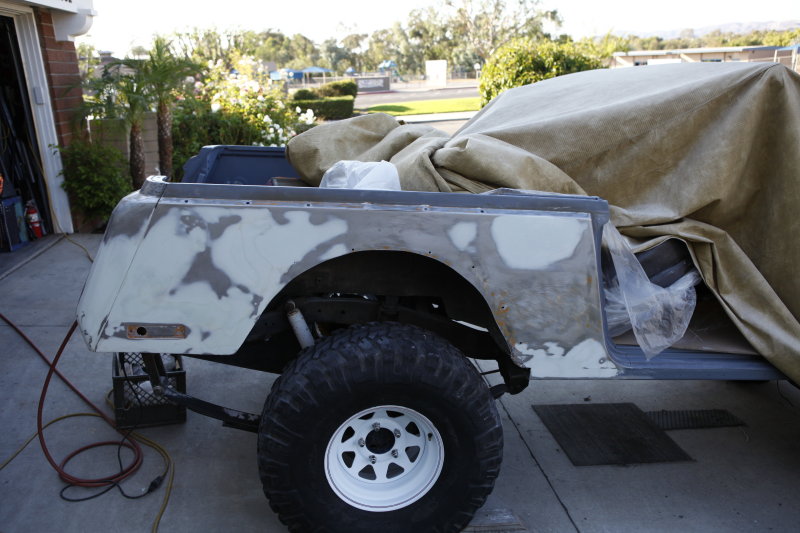
One dinger on passenger side behind door
This is the only other body damage that jumps out that will need to be repaired.
07-AUG-2012
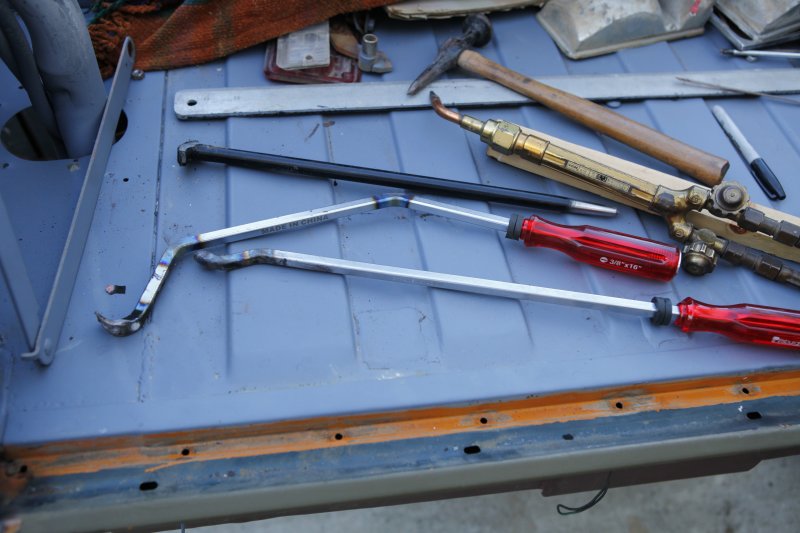
Homemade tools needed
I didn't want to drill a bunch of holes and use a slide hammer to take out the deep dents and creases on the back corners so I decided to heat the metal and stretch it back into shape. I didn't have any long body tools to reach through the tail light holes so I went to the the throw away tool store, Harbor Freight. I bought a couple long screwdrivers, heated them up and bent them to reach where I couldn't get to.
07-AUG-2012
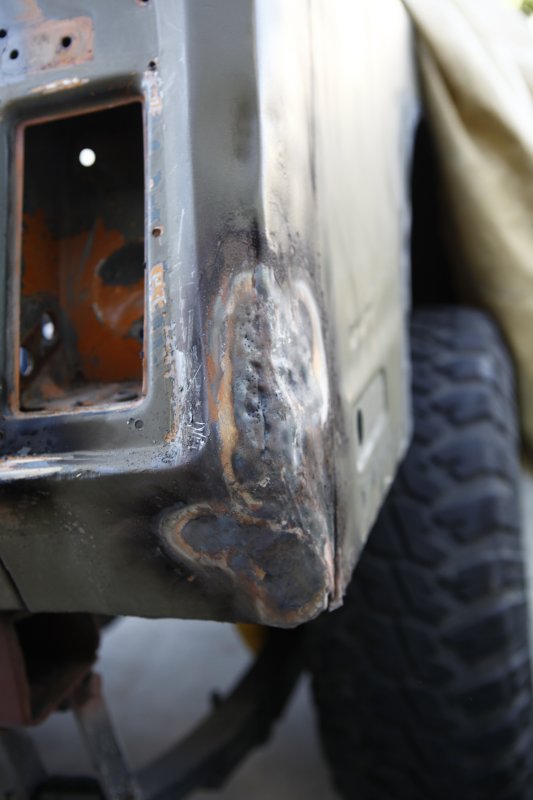
Metal back into shape
I was able to work the metal back into shape with a torch and my homemade tools. Now for some grinding and some body filler.
07-AUG-2012
Passenger side corner
Passenger side had a pretty bad crease in it but most of it came out with the heat and a little massaging. Now for some grinding to remove the paint and roughen the surface to give the filler something to stick to.
18-AUG-2012
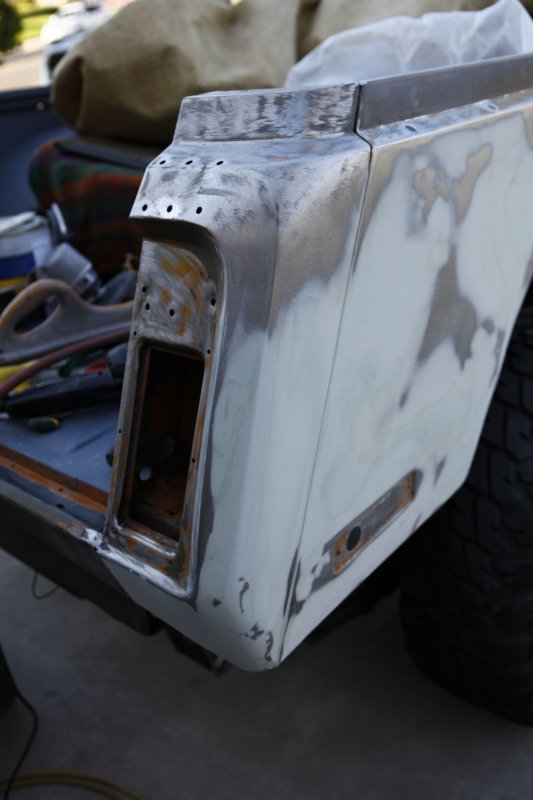
Passenger side bodywork done
After heating the metal and moving it back to where it belongs, it took just a thin layer of filler to make everything straight, well straight enough!
18-AUG-2012
Passenger side bodywork
After knocking out a small dent near the top, this thin layer of filler made the passenger side look much better. Now I have some holes to weld up.
18-AUG-2012
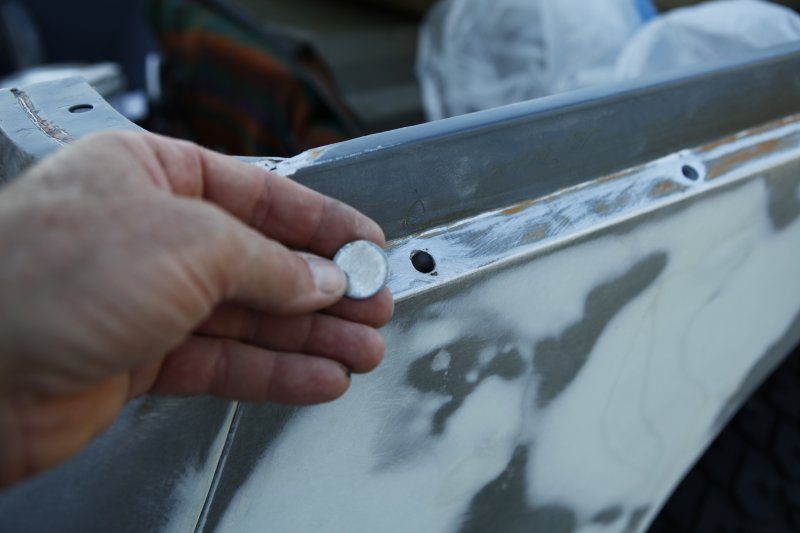
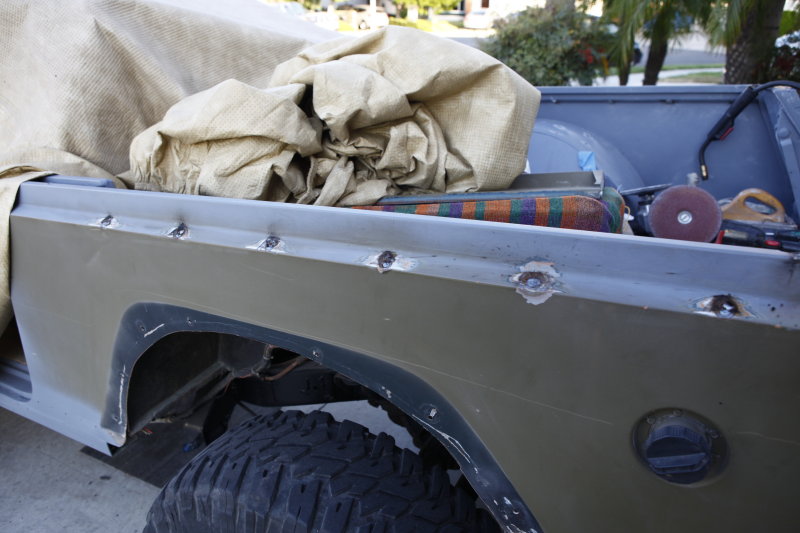
Plugs to back up holes for welding
I decided to weld up my hardtop holes so I used some knock-out slugs to back up the holes while welding them closed. This will allow weld to be strong and get a good deal of penetration so that when I grind them flush the weld won't be ground away.
When I coat the tub with bedliner, I will put a good coating over the slugs on the inside so they don't stick out and snag anything.
18-AUG-2012
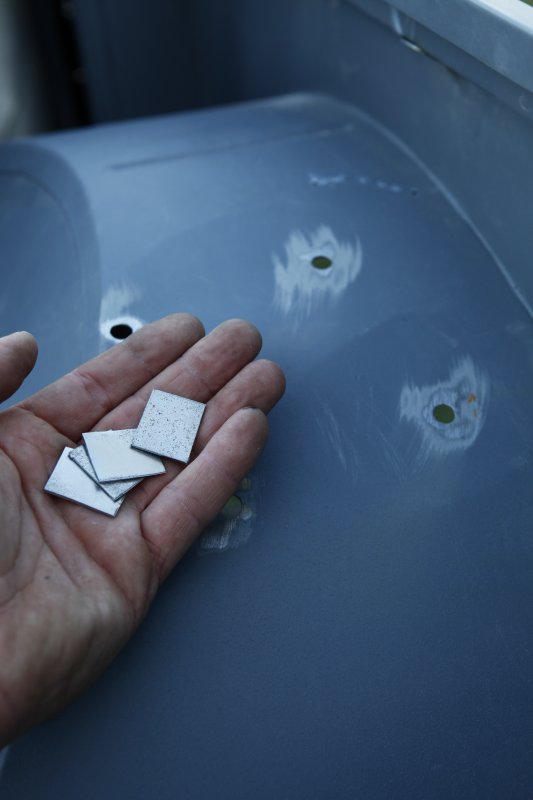
Backing material for Wheel well holes
Made some backing plates for the old roll bar holes in the wheel wells. I'm going to build a new full cage and the mounting will be different than the original roll bar that mounted on the wheel wells so the holes won't be needed any longer.
18-AUG-2012
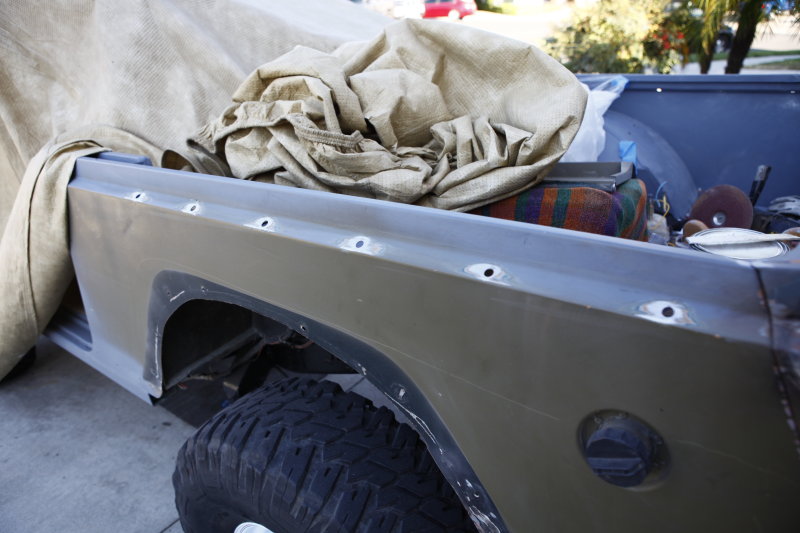
Holes prepped and ready to weld
Drivers side ground and ready to be welded up.
18-AUG-2012
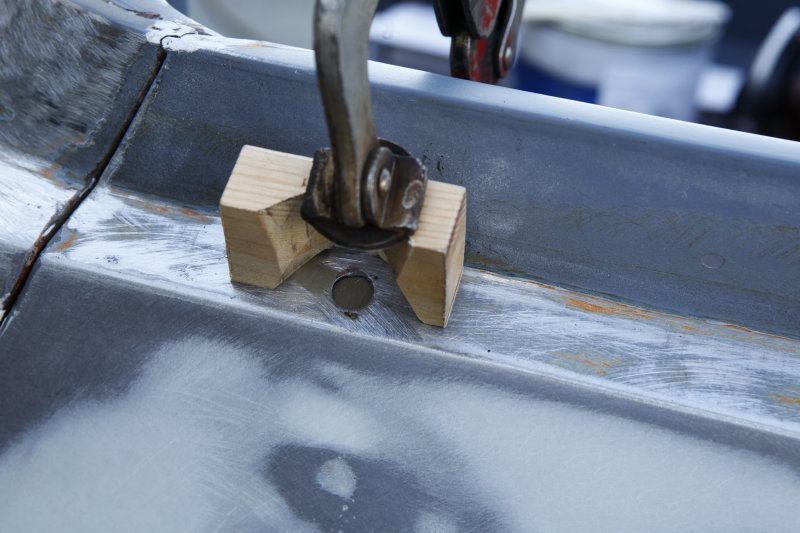
Clamp tool for welding
I had to make a clamp tool so I could hold the plugs in place and also allow the Mig nozzle to get in there to weld up the holes.
18-AUG-2012
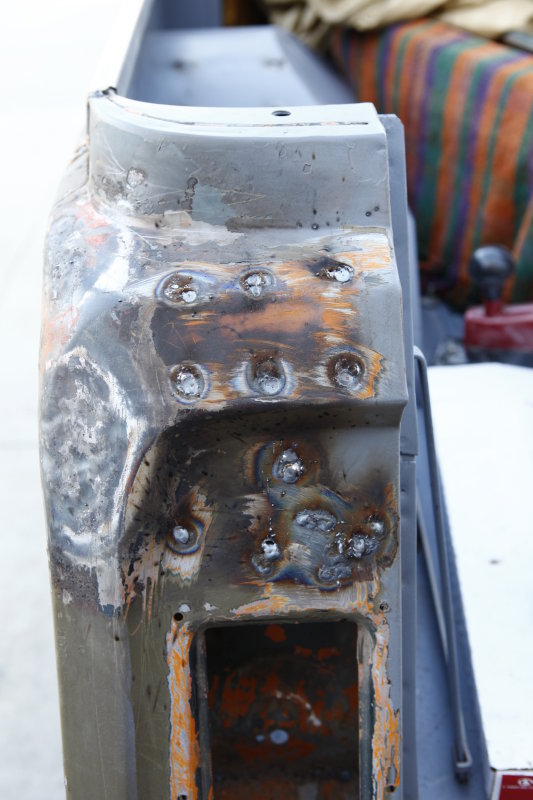
Drivers side welded up
Got all the hardtop holes welded up on the driver's side.
18-AUG-2012
Drivers side rear
All of the holes and small cracks welded up in the back. I cut small pieces of 16ga sheet metal to use as backing material for these holes as well.