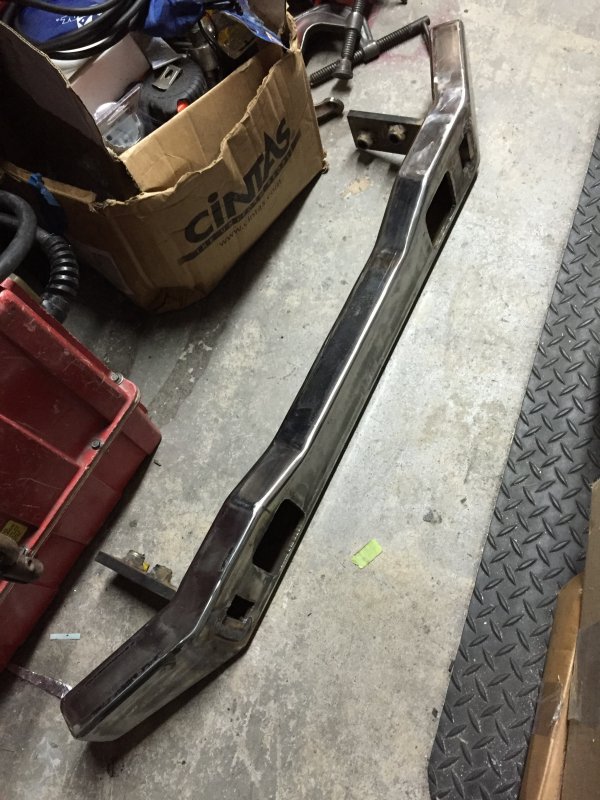
05-Feb-2015
A different view of the end angles
Just a different view of the almost complete front bumper.
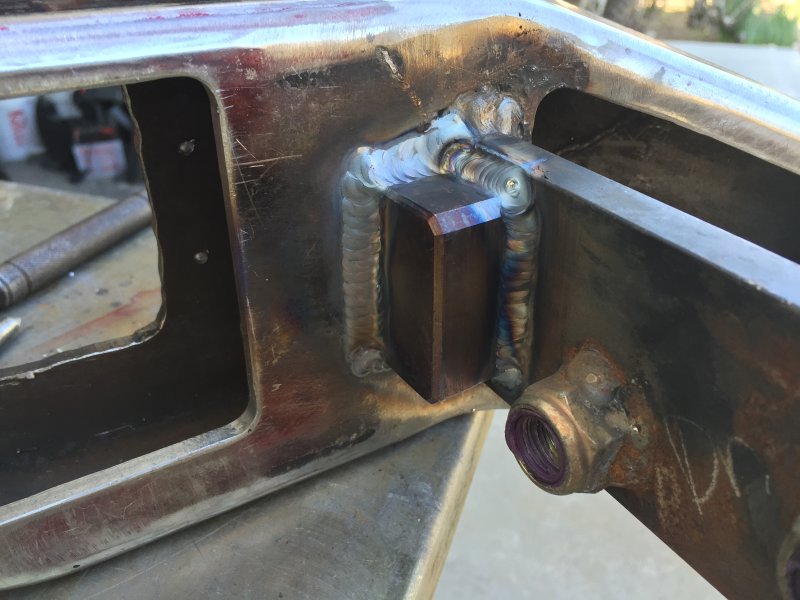
07-Feb-2015
Another view of back of clevis mount
This shows another view of the welding to the bumper/frame mount.
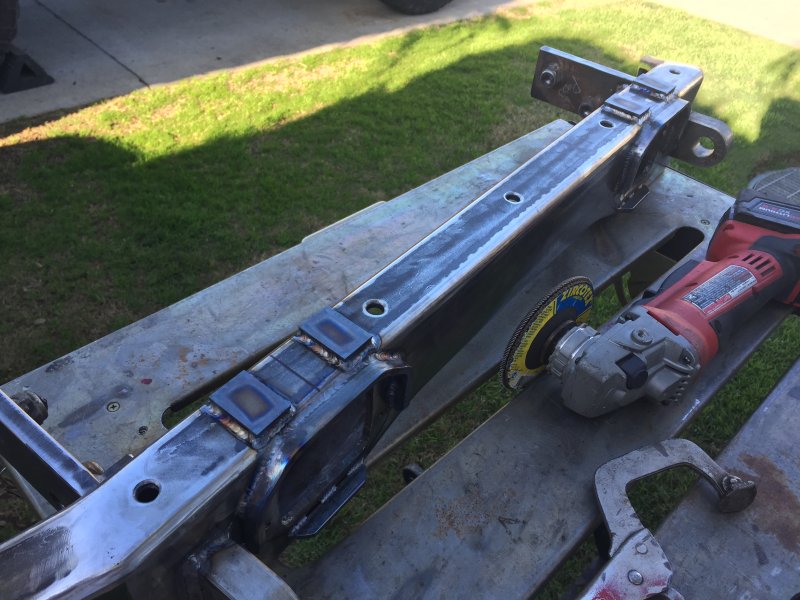
07-Feb-2015
Clevis mount welded through
Instead of just welding the clevis mount to the bumper material only, it also welded it to the frame mount that secures the bumper to the frame.
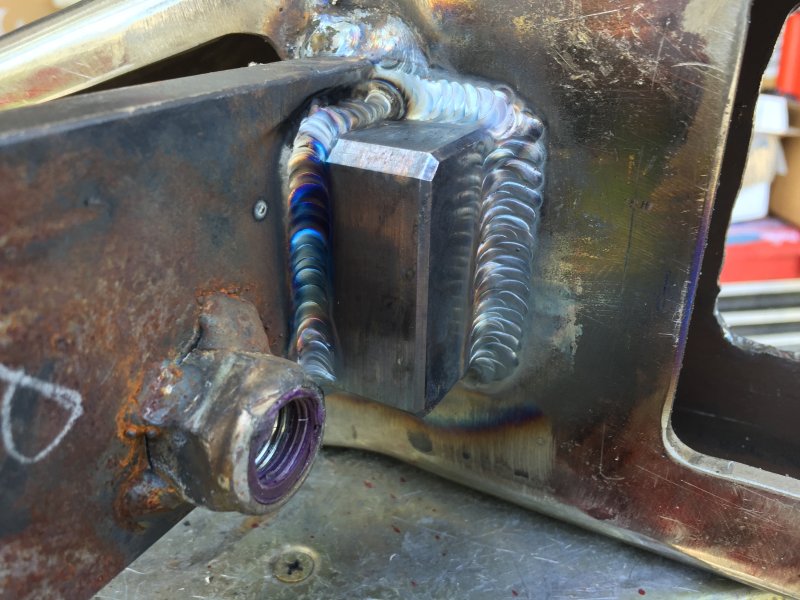
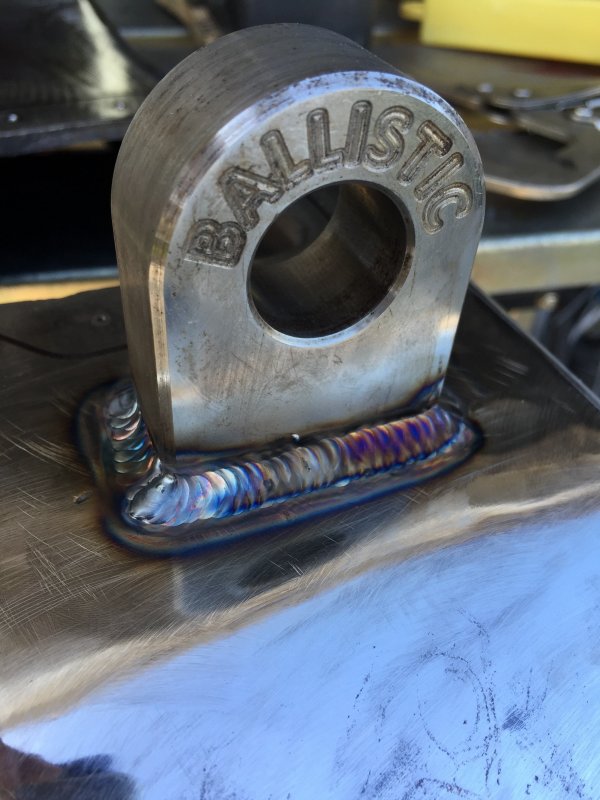
07-Feb-2015
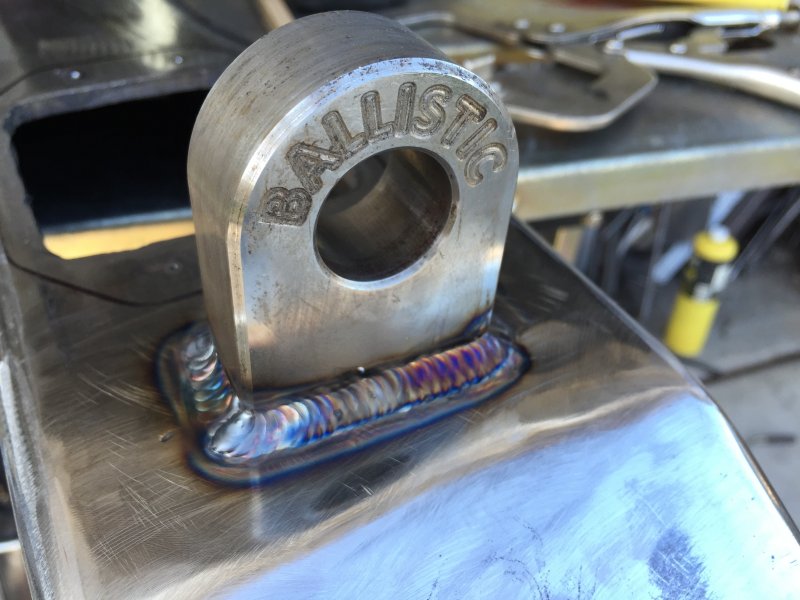
Clovis mount fully welded
I ended up TIG welding my clevis mounts in the bumper. I ran a nice strong root pass then I layed down a nice full cover pass.
07-Feb-2015
Clevis mount welded solid
This clevis mount is now a solid pull point of the bumper that is in perfect alignment with the frame.
07-Feb-2015
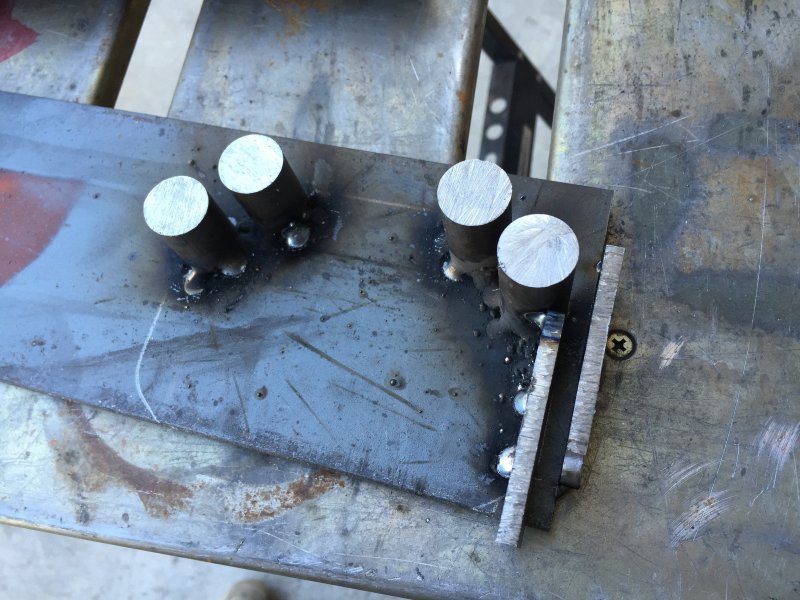
Bending jig for LED light protection
I want some protection for my LED bumper lights so I am using some 1/4" thick x 1/2" wide flat stock to go around the lights for protection.
07-Feb-2015
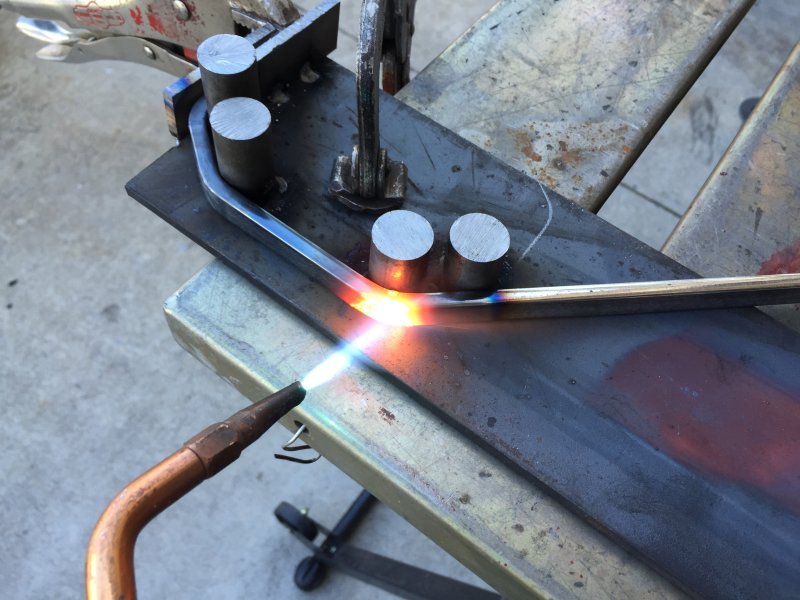
A little heat works wonders
Using the torch I applied some heat to easily bend the LED light guards around the bending jig.
07-Feb-2015
Bending the light guards
Its just amazing what a little heat will do!
07-Feb-2015
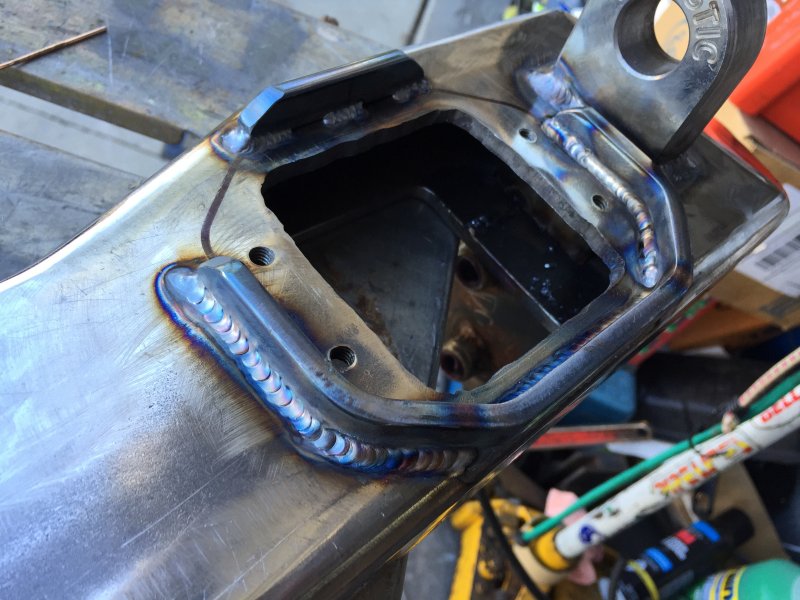
LED light guard s made
The jig worked out great, both light guards bent quite easily.
07-Feb-2015
LED light guard welded in place
I ended up welding all the way around the light guard so that it will be able to take a hit or two! The small top guard section is there to protect the light from the Hi-Lift jack bar.
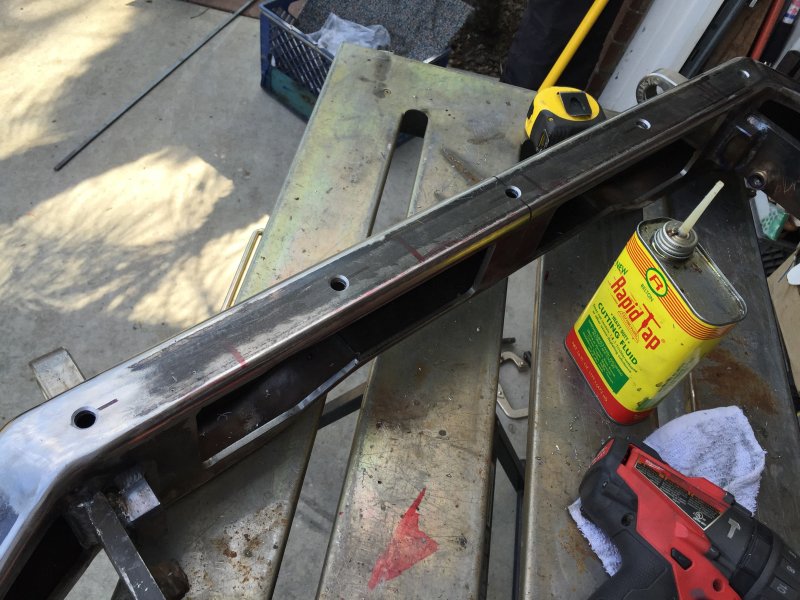
07-Feb-2015
Drain holes
Because the back side of the bumper is wide open I know that water and/or mud (I hate mud) will accumulate inside the bumper. I drilled some 3/8" holes along the bottom of the bumper to allow anything to drain out.
07-Feb-2015
Jacking points
I welded some jacking points on the bottom of the bumper to accept the foot of the H-Lift jack. These will assist in preventing the jack foot from sliding.