02-Dec-2014
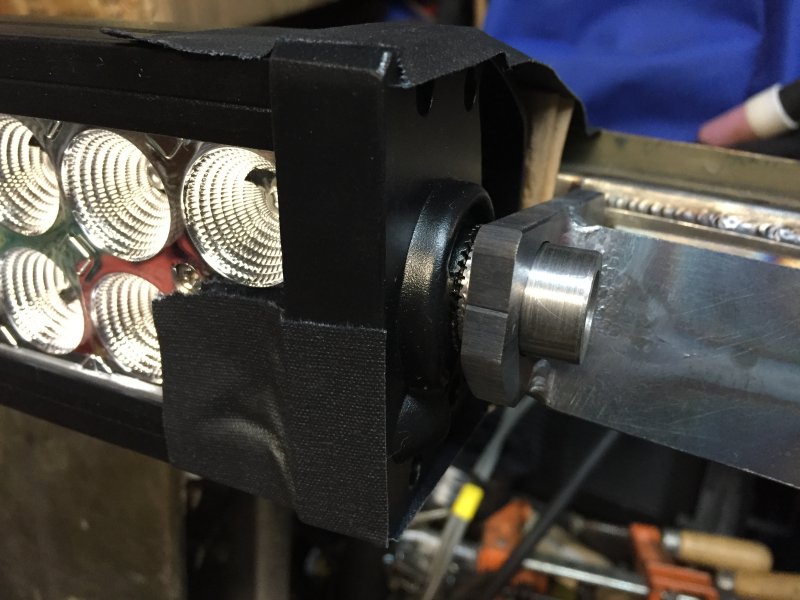
Spindles in place ready to weld
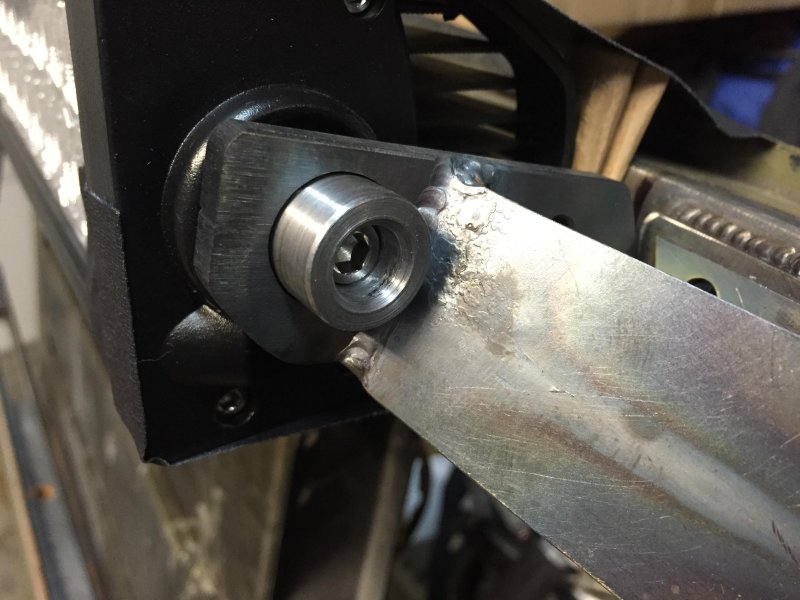
I turned these spindles from some 3/4" round stock which allowed me some good thick material to use to recess the mounting bolt.
02-Dec-2014
Spindles fitted and ready for welding
Front view of the spindle mounts show the serrations mating with the light serrations.
02-Dec-2014
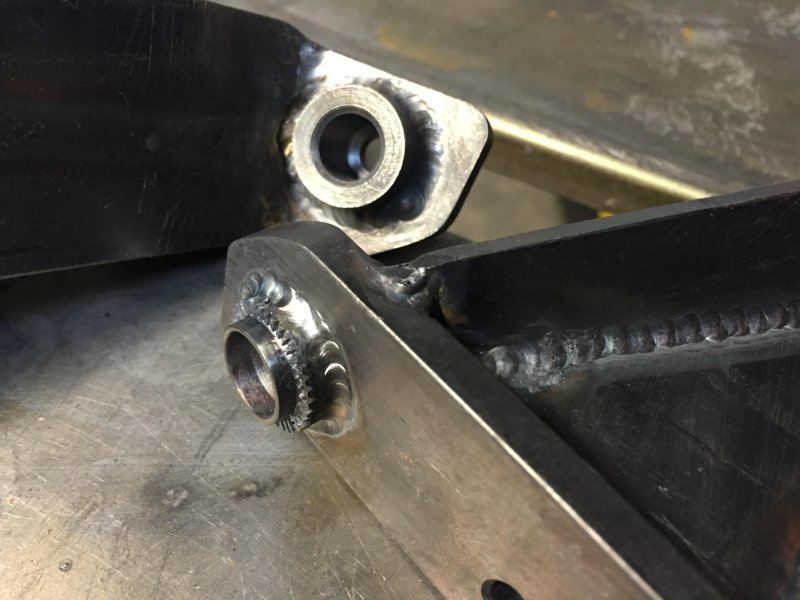
Spindles welded to brackets
After fitting the light in place I tacked the spindles to the brackets then I welded them solid on both sides.
02-Dec-2014
Spindles welded
Another view of the welded mounting spindles.
05-Dec-2014
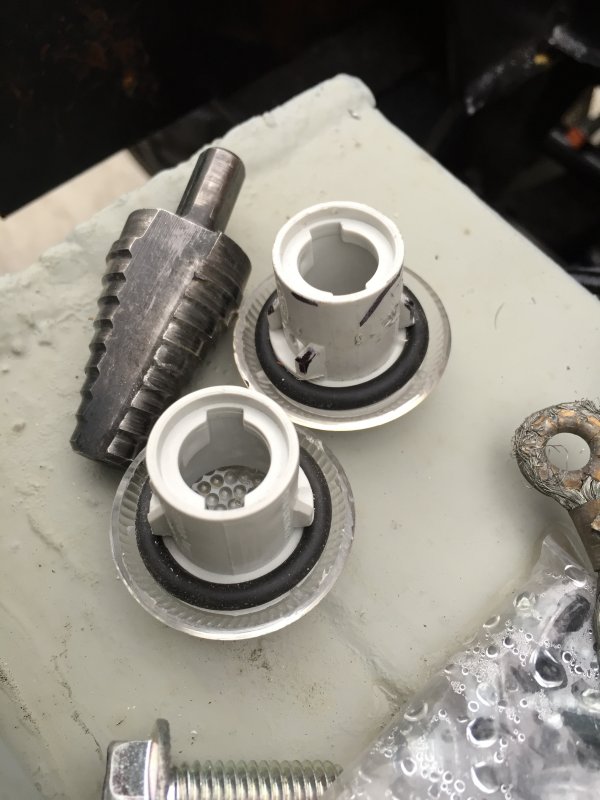
New blinkers
Here is the backside of my new blinkers showing the bayonet type mount. The blinker housing inserts then twists to secure it in place. An o-ring seals the housing to the grille and the light socket has an o-ring as well.
05-Dec-2014
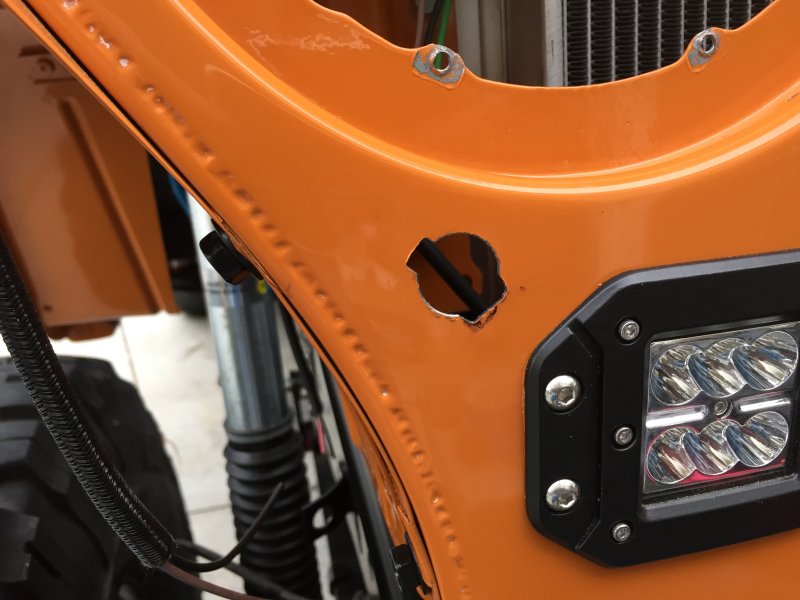
Holes for blinkers
I drilled the holes for the blinkers, then cut the grooves and hit the bare metal with some paint to prevent rust on the new holes.
05-Dec-2014
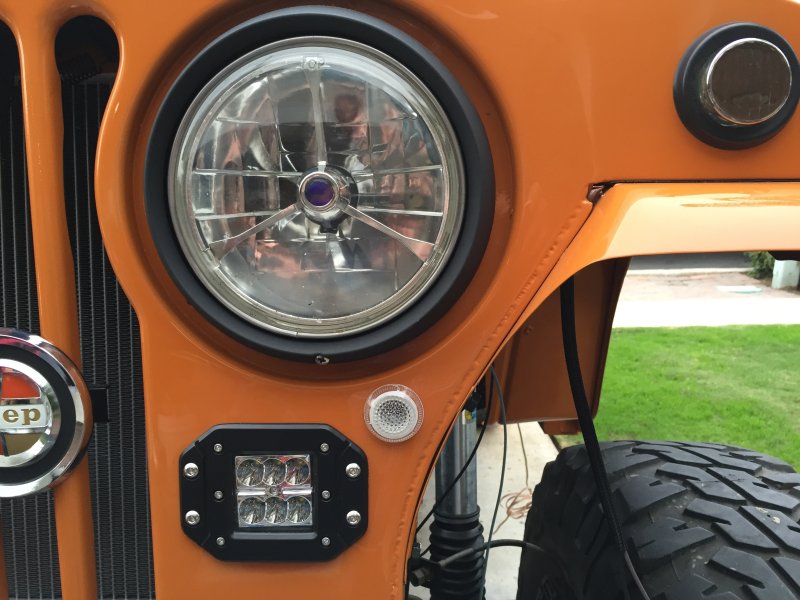
New blinkers installed
The blinkers seem to fit good in the small area that I had to work with and look clean and simple.
05-Dec-2014
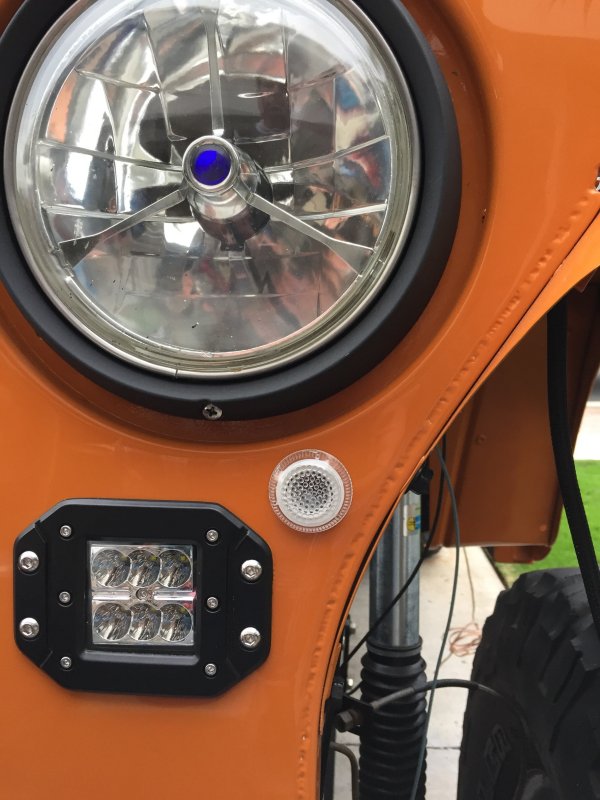
Close up of the blinker
A little closer view shows the simplicity of the blinker install.
05-Dec-2014
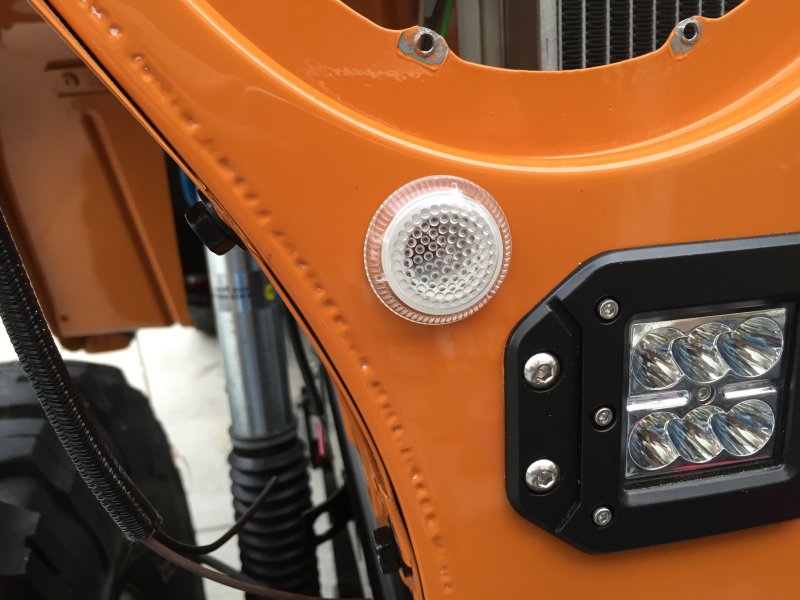
Another view
I like the simple design of these blinkers and really like how they fasten, push in and a quarter turn!
10-Dec-2014
Old gauge panel
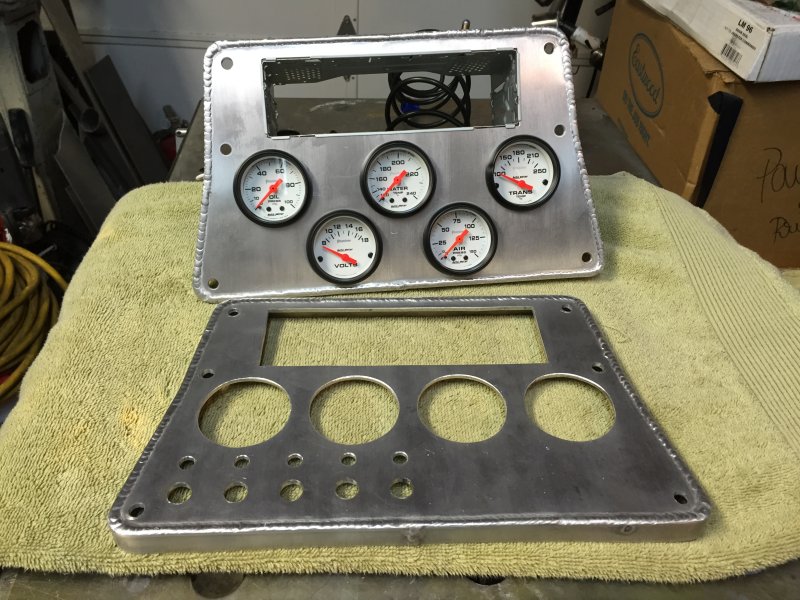
I originally made this panel with the thought that I would be using four gauges and some toggle switches. Well some things changed and I needed to add another gauge and eliminate the toggle switch holes. Unfortunately building a new gauge panel was the only way to take care of my problem.
10-Dec-2014
Old and new
I finished welding the new gauge panel and installed all of the gauges as well as the radio receiver.
10-Dec-2014
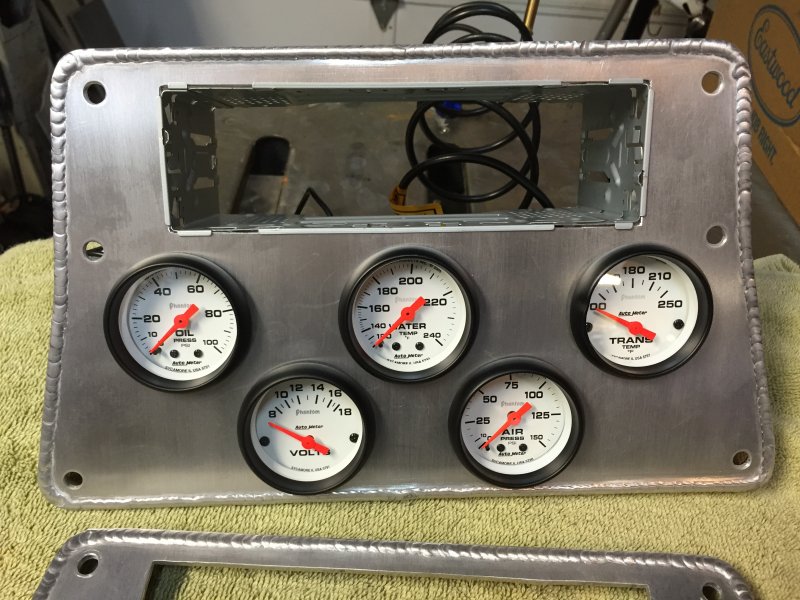
New gauge panel
The new panel holds all five gauges and the radio. There is also room for the heater switch and a couple switches that I am planning on installing.