17-Nov-2014
Cutting pieces for the lightbar windshield mount
Before I paint the windshield frame I needed to beef up the frame to attach a lightbar mount. I needed to make the parts that weld to the frame as well as make the new lightbar mounts.
17-Nov-2014
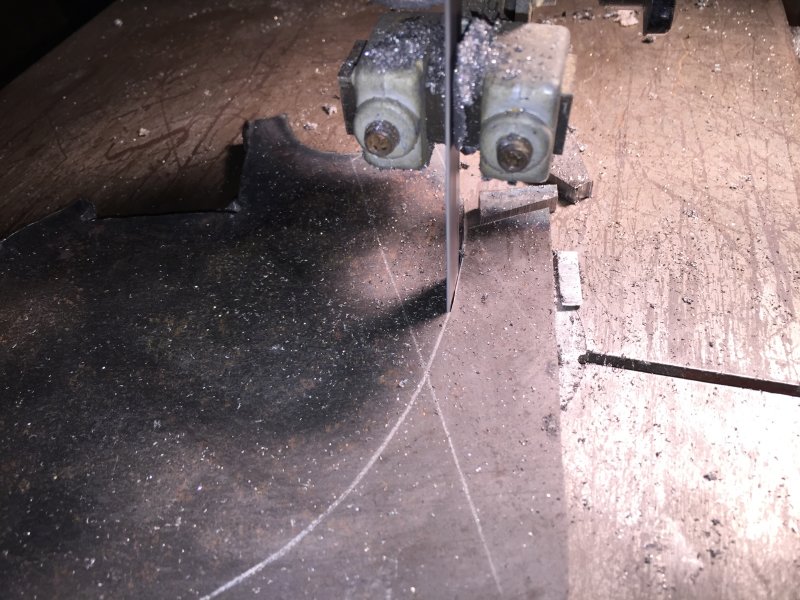
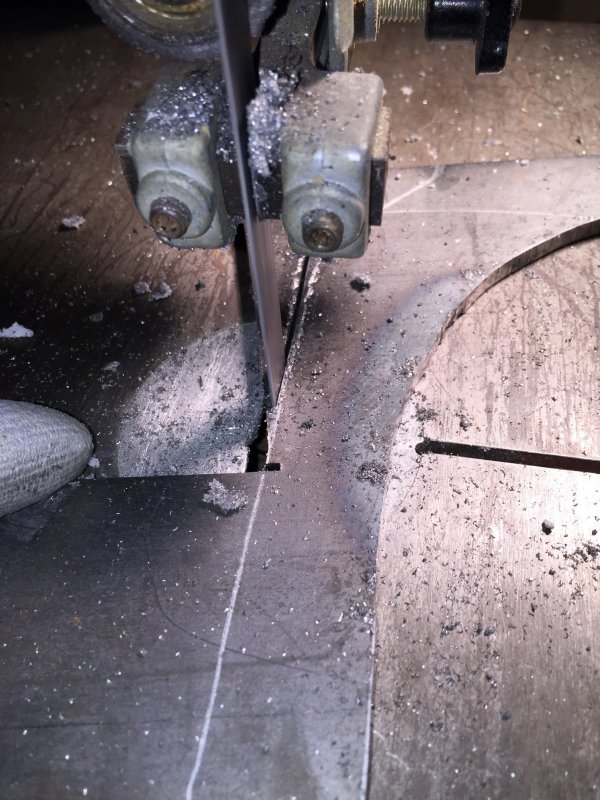
Cutting light brackets
There are many pieces of the light brackets to cut
18-Nov-2014
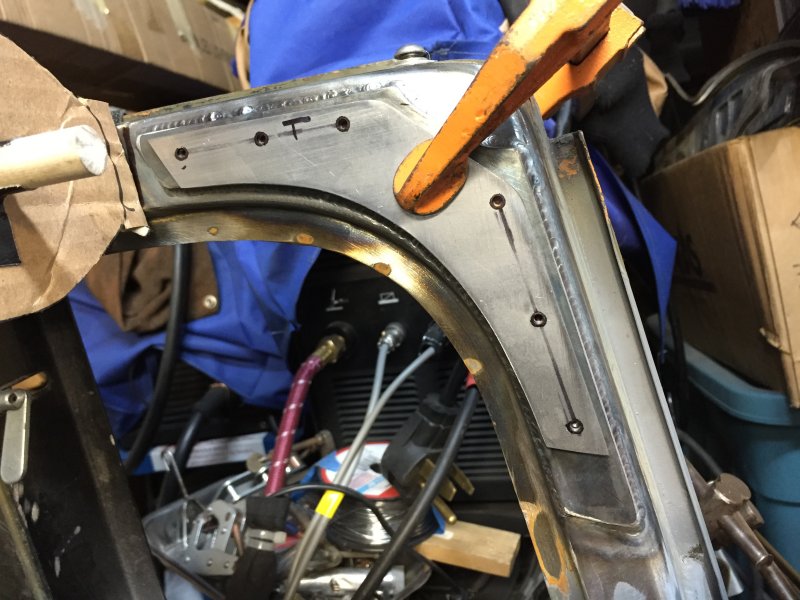
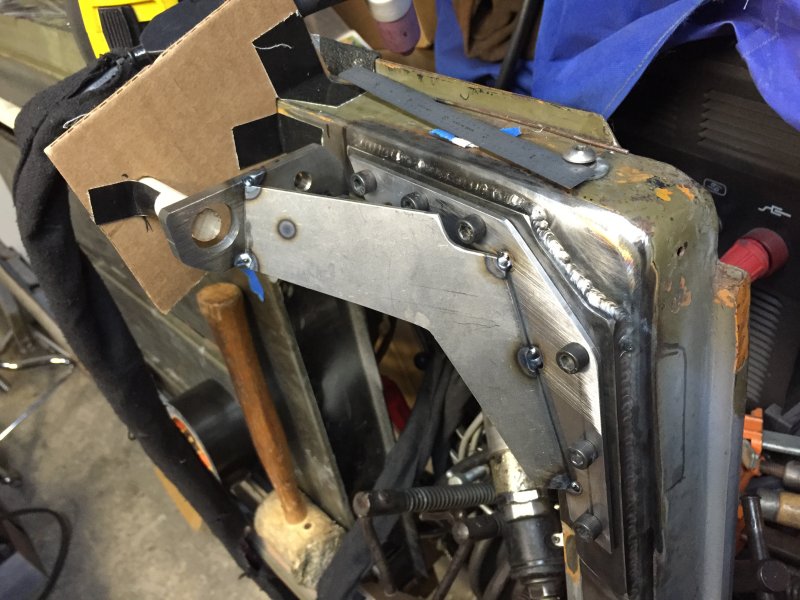
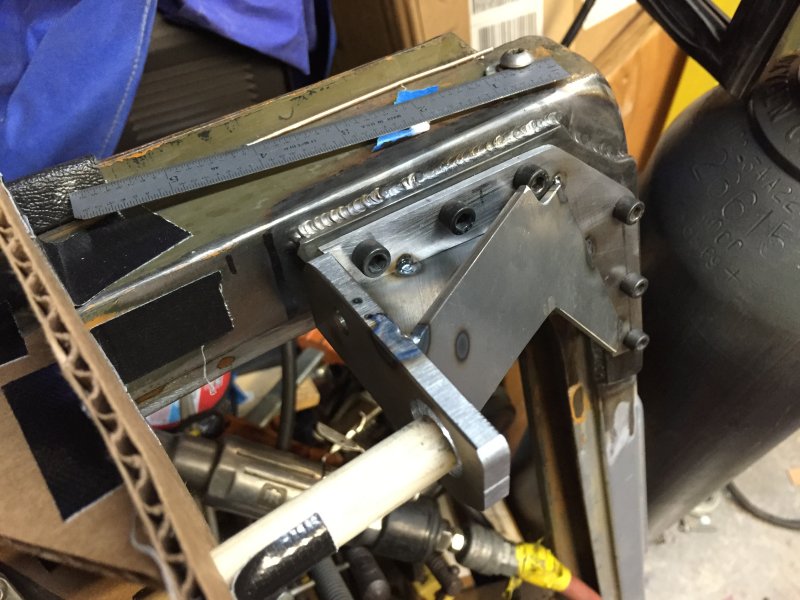
Drilling a tapping holes
After welding the reinforcements to the frame I made the base plates for the new mounts. I clamped them for drilling and tapping into the frame.
18-Nov-2014
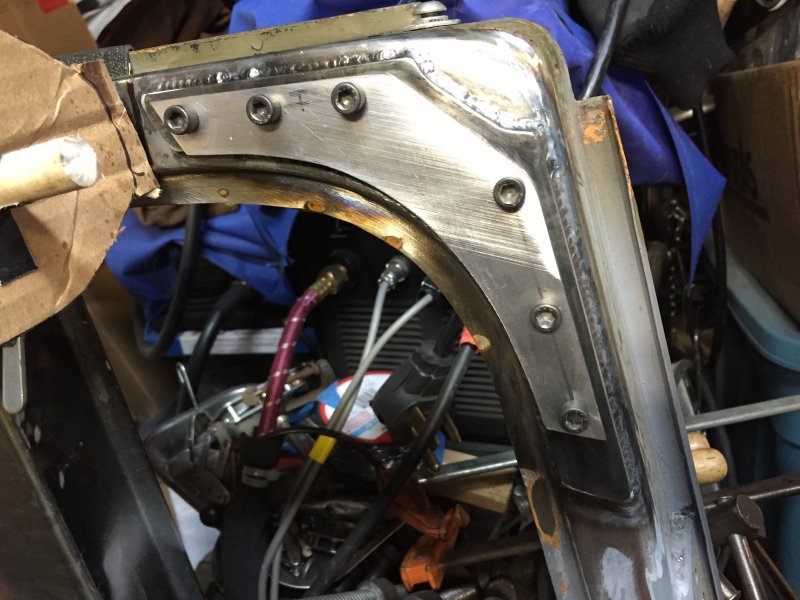
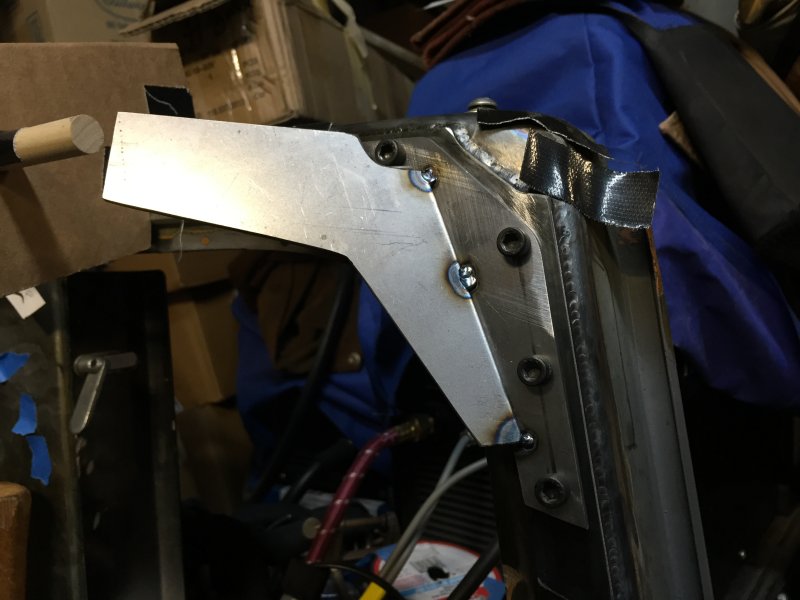
Lightbar base bolted up
I used some tempary bolts to bolt up the bracket for fabrication and test fitting
17-Nov-2014
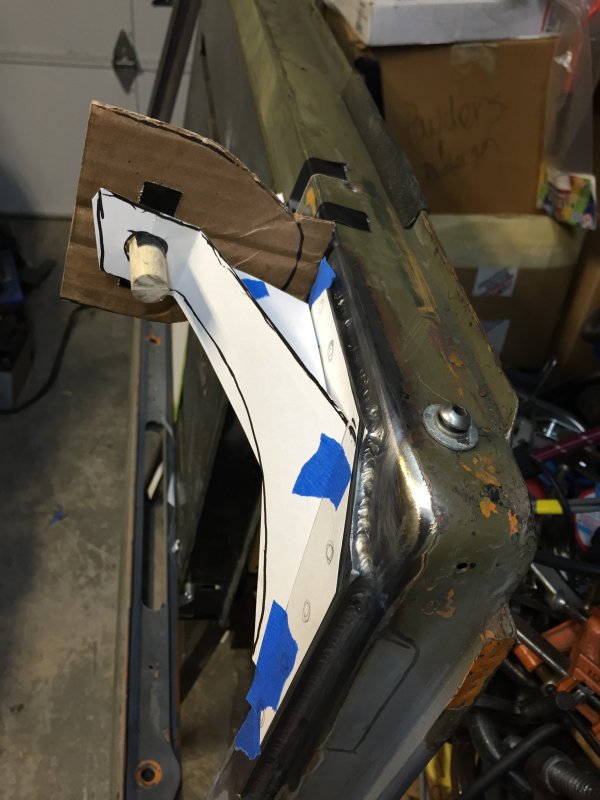
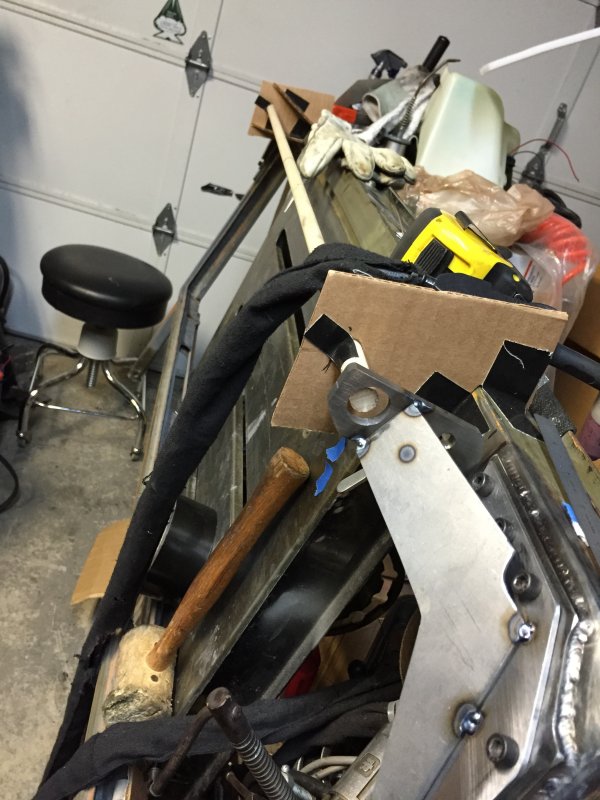
Mock up of lightbar mount
I used some poster board to make patterns for the lightbar mounts
19-Nov-2014
Side bars tacked into place
The side support bars are fitted and tacked into place that will support the main lightbar mounts.
19-Nov-2014
All pieces tacked and ready for welding
All of the pieces are tacked together with just the final spindle mounting pieces to be made.
19-Nov-2014
All support pieces tacked up
After making and fitting both sides identical, I tacked both sides together to get ready for complete welding.
19-Nov-2014
Lightbar mocked up
I made a simulated lightbar to be able to fit up all the parts to be fitted and tacked up..
02-Dec-2014
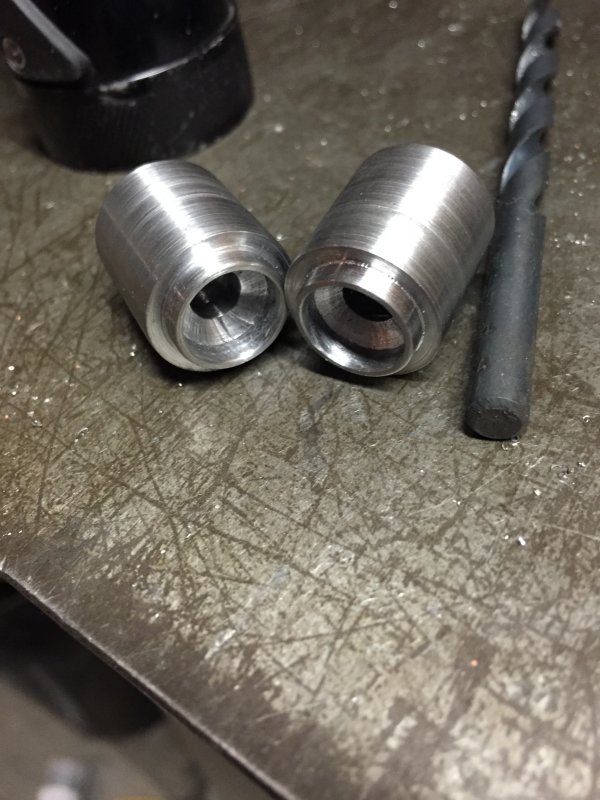
Light bracket spindles
I needed to make a couple of spindles to weld to the light brackets that the LED light mounts to. They have a raised ridge that actually inserts into the end of the light housing that prevents the light from falling off of the bracket should the mounting screw fall out for some reason.
02-Dec-2014
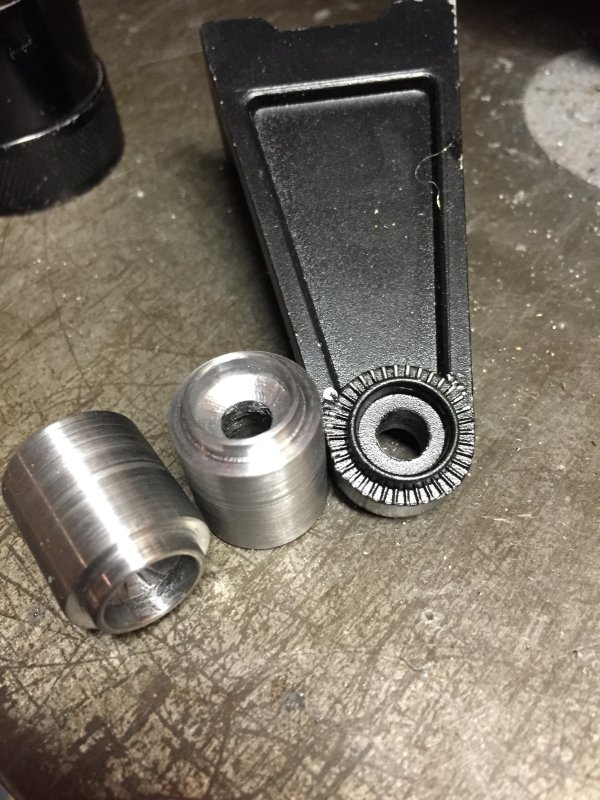
Mounting spindles will emulate the original mount
Once I install the serrations in the spindle mounts they "should" secure the light to the mount preventing any slipping.
02-Dec-2014
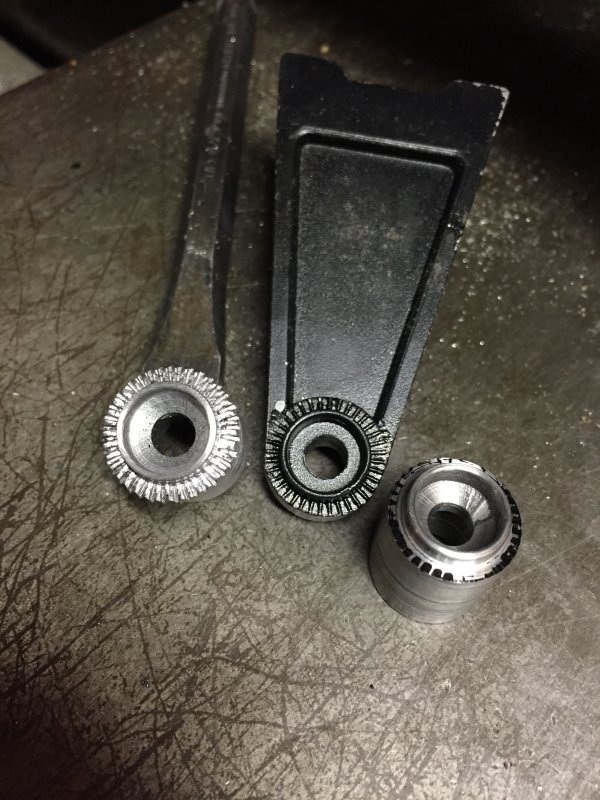
Serrations installed in spindles
Serrations need to be put into the ends of the spindles to prevent the light from moving once it's tightened down just like the factory mounts.