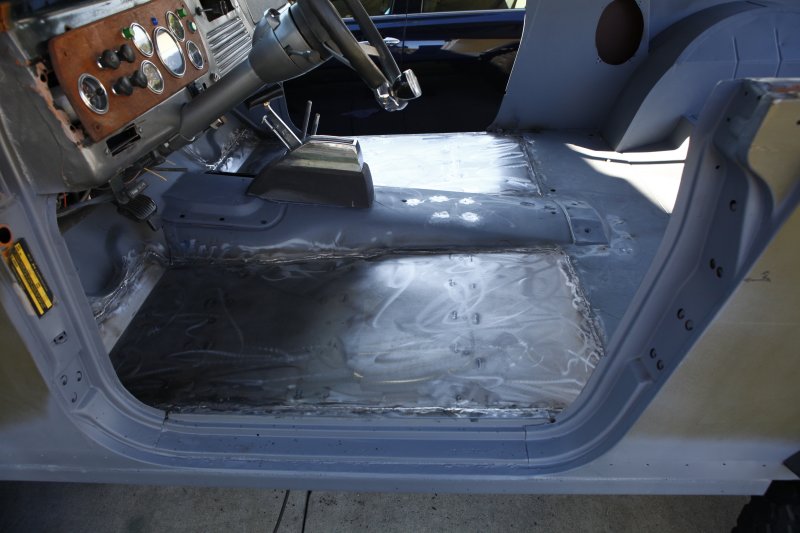
07-JUL-2012
New floors welded in!
It took way longer than I thought it would take to weld these floors in. Welding nice new 16ga sheetmetal to older thin metal is a challenge.
07-JUL-2012
Floors welded
The reinforcements that I welded on the bottom made the floors nice and strong with no "oil can" popping. The floor is so solid now, it's amazing!
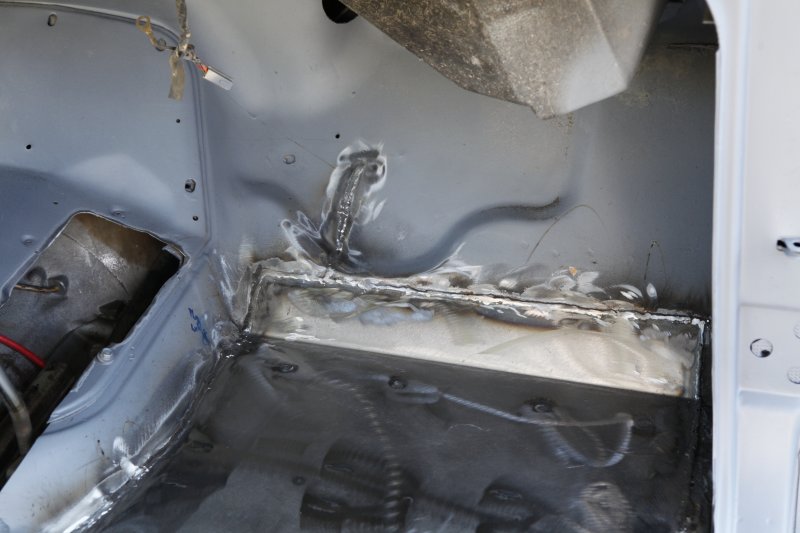
07-JUL-2012
Welded up all the cracks and holes
I welded all the little cracks and the numerous screw holes that covered the whole floor pan.
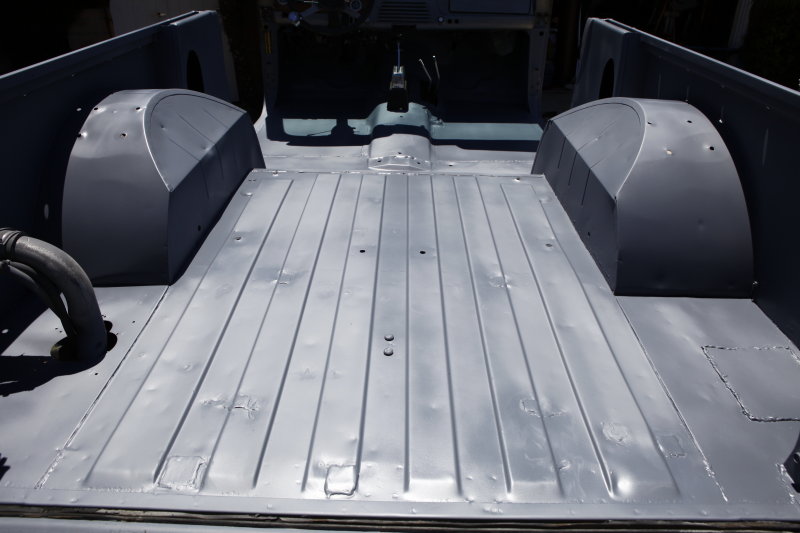
07-JUL-2012
Welded cracks and holes in the bed
There were numerous big holes and cracks in the bed so I made some patches from the sheetmetal and welded everything up.
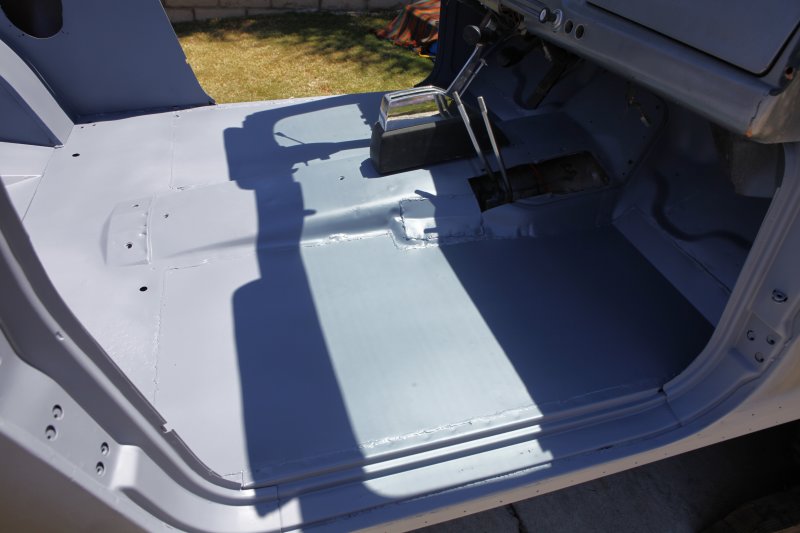
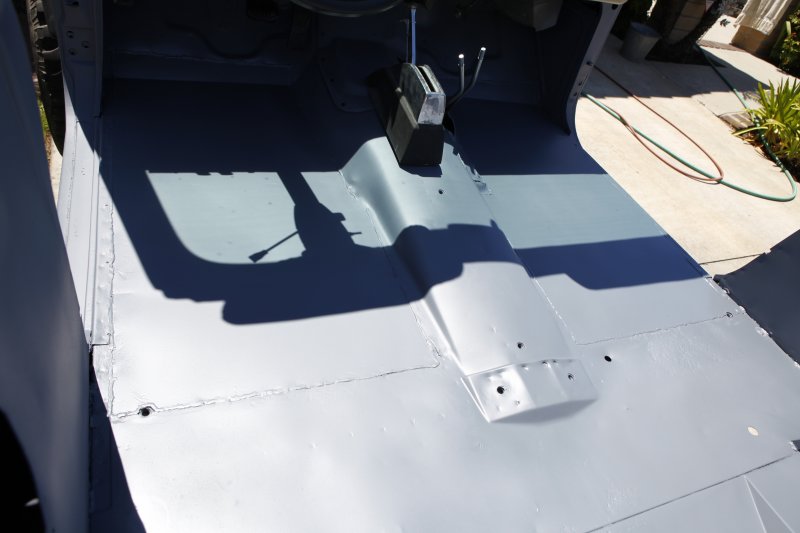
08-JUL-2012
Final prime after welding complete
I shot another two coats of epoxy primer on the new floor and another coat on the complete tub after scuffing the complete tub with a rough Scotch-Brite pad.
With the epoxy primer I can now shoot paint directly to the primer (with a sealer) but with a self etching primer I would have to shoot a primer over the self etching then a sealer before top coat.
I'm going to shoot a top coat and then shoot the whole tub with a bed liner type finish (not sure which one yet because there are a lot of them out there).
08-JUL-2012
Final primer
Primer sure makes this thing look completely different!
I have used air numerous times to try and get all the sand from underneath the dash and wiring and it still amazes me that when I get the spray gun out that I'll get a little bit of sand fall. Not so much in the this final primer coat but more in the first primer shoot especially up by the firewall.
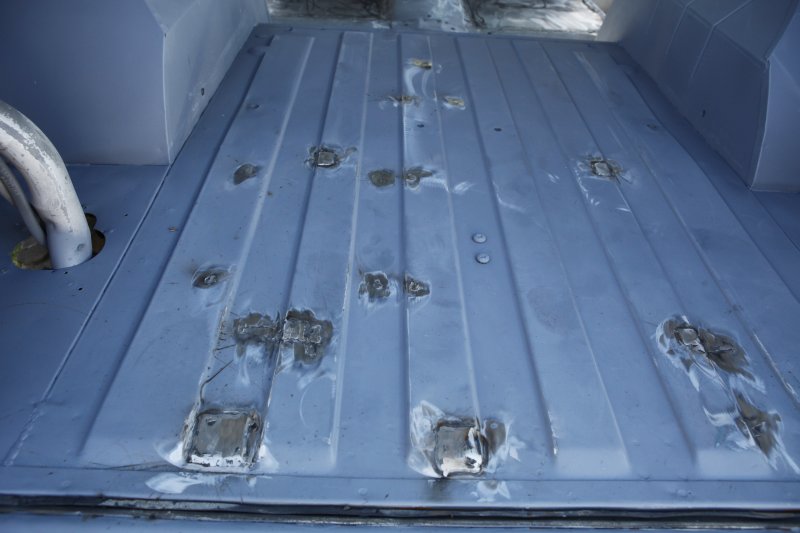
08-JUL-2012
All the welds and cracks primed
The bed looks way better now without all the holes and cracks and with a final fresh coat of primer.
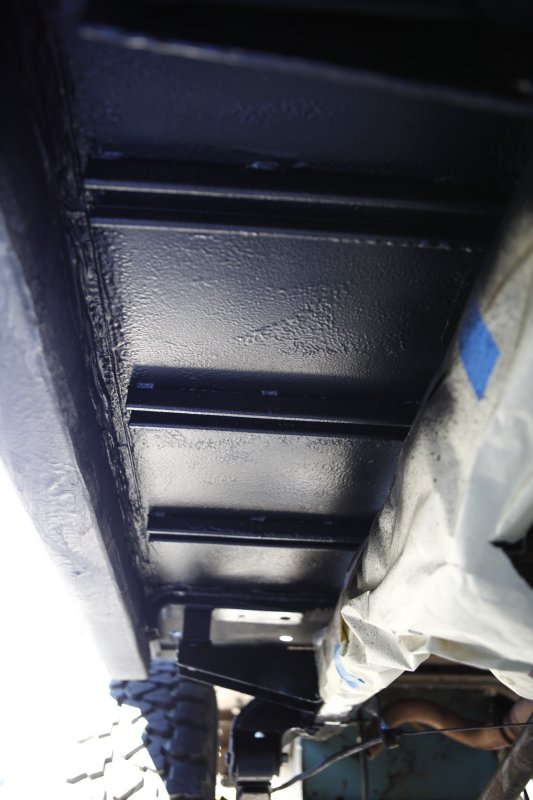
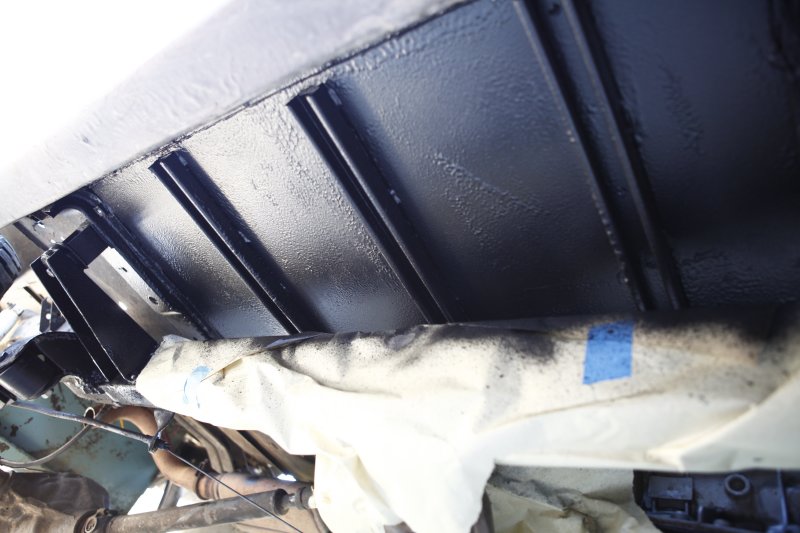
08-JUL-2012
Undercoated the new floor
I cleaned up the burned paint from the welding, primed, painted, then shot rubber undercoating for some added protection.
08-JUL-2012
More rubber undercoating
I shot a lot of the rubber undercoating trying to force it into voids and open areas so hopefully water will stay out of those areas and prevent future rust. Plus it looks nice under there now.
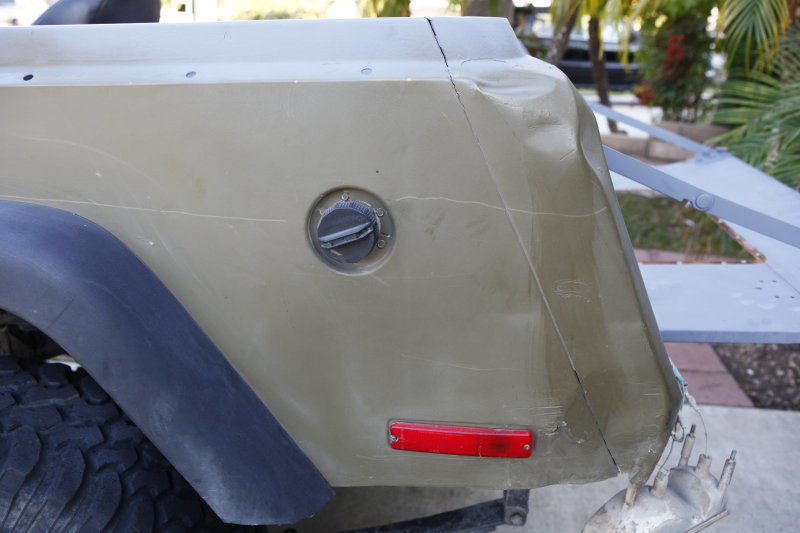
10-JUL-2012
Next up is the bodywork
I have some damage in the rear on both quarter panels and by the tail lights that needs to be fixed. I'm not striving to make the body perfectly straight but I want to take the bad dents out and make it look better.
The gas filler will be replaced with a TJ filler bezel and neck.
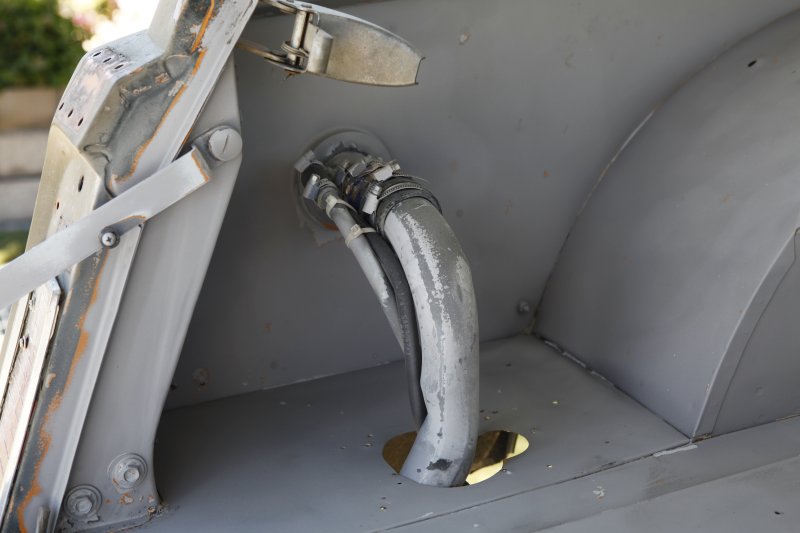
30-JUN-2012
Gas filler tube is being replaced
Somebody built a pretty nice gas tank that is "supposed" to be a 25 gallon tank, I haven't measured it out yet to verify but it is a pretty nice size whatever it is.
I have a new/used TJ fuel filler bezel and filler tube to update the original gas filler and tube.
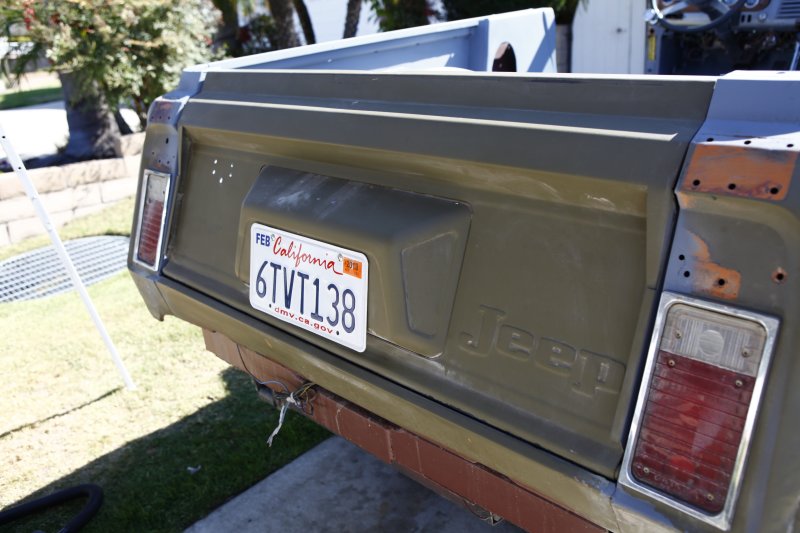
08-JUL-2012
Tailgate with a hump
My tailgate is actually in pretty good shape with no rust at the bottom like most that guys are having to repair.
I want a flat tailgate because the tire carrier that I'm going to build will have the same lines as the traditional slanted tailgate that the Jeepster is known for. I was going to look for a flat tailgate but I really like the large "JEEP" that is stamped in the right side of the humped tailgates.