05-JAN-2014
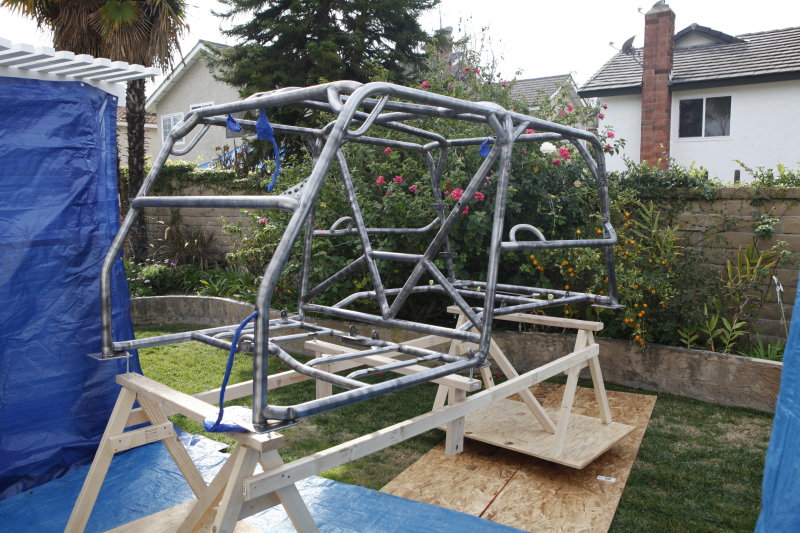
Cage supported
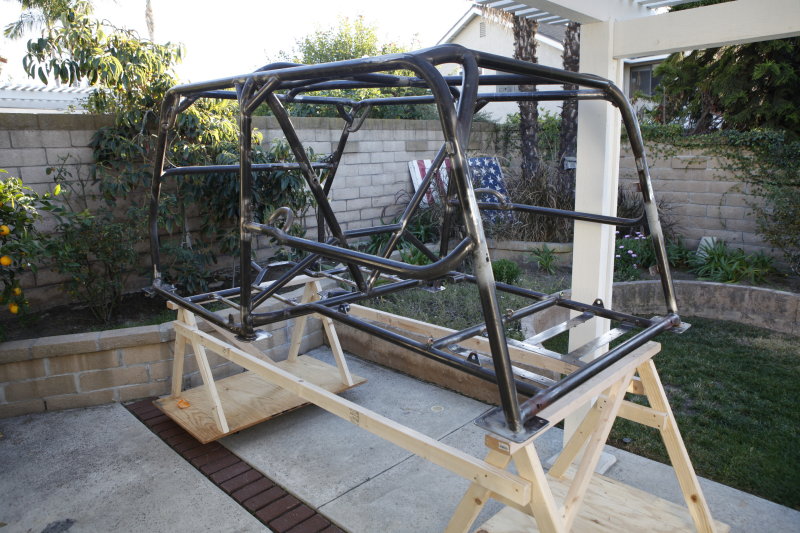
I was able to recruit a few friends to move the cage to my back yard. I made some stands so that the cage can sit off the ground and I'll be able to prime and paint the bottom as well as the top. Also with the stands having rollers will allow me to move the cage to where I need it.
05-JAN-2014
Cage sitting high for easy access
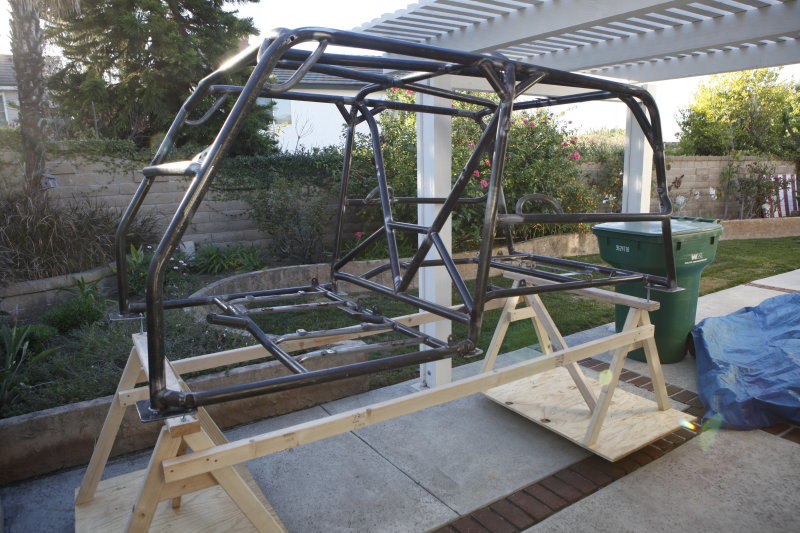
With the cage on the supports and being able to be wheeled around will help me to move it in place to prime and paint it.
05-JAN-2014
Supporting the feet
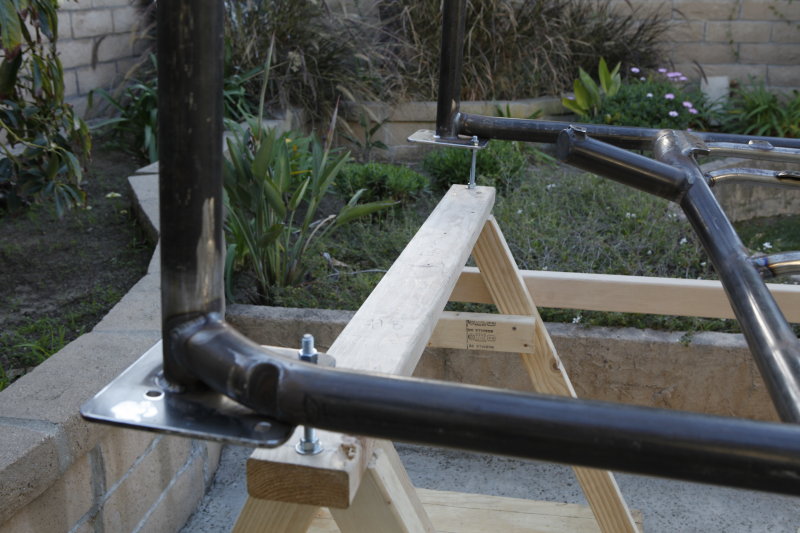
I used some 3/8" allthread to hold the mounting base plates off off the portable horses that I made. This will allow me to be able to shoot primer and paint on the bottom of the mounting plates.
05-JAN-2014
Mounting plate support
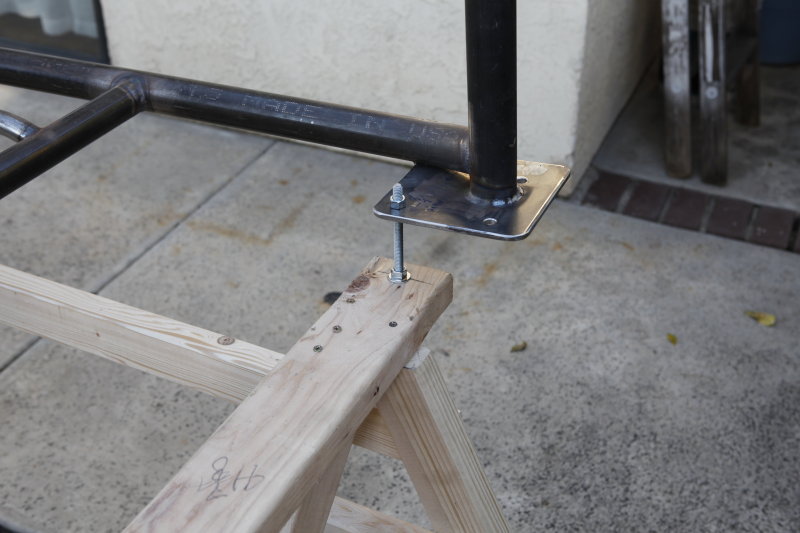
It's actually kind of amazing that these little 3/8" bolts hold up this 250+ pound cage! But they will allow me to paint the complete cage which will help to prevent any future rust from occurring.
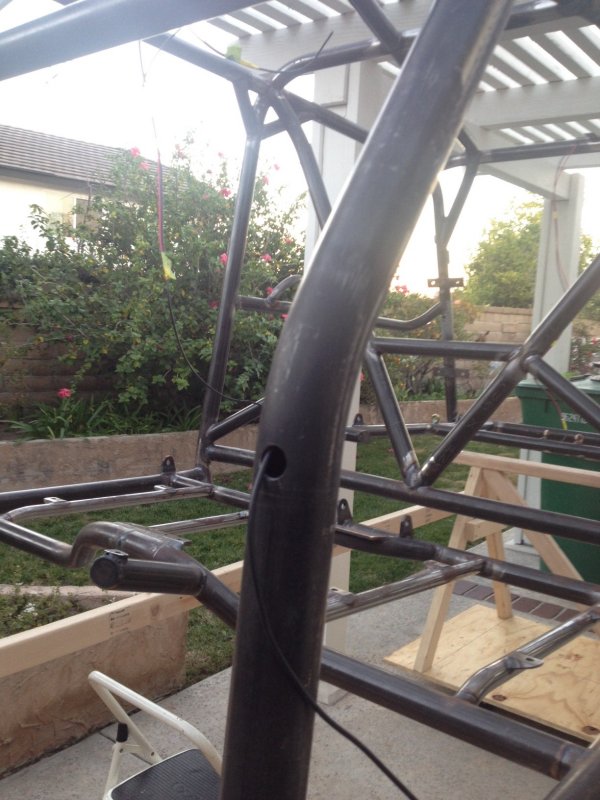
Drilled and wired
I drilled some holes in the cage to run the wires that I'm going to need internally in the tubes. I need to run a multi-cable from the lower part of A pillar up to the overhead console switches. The console will feed the interior lights, power to the CB, and the switches will feed relays for auxiliary lighting.
05-JAN-2014
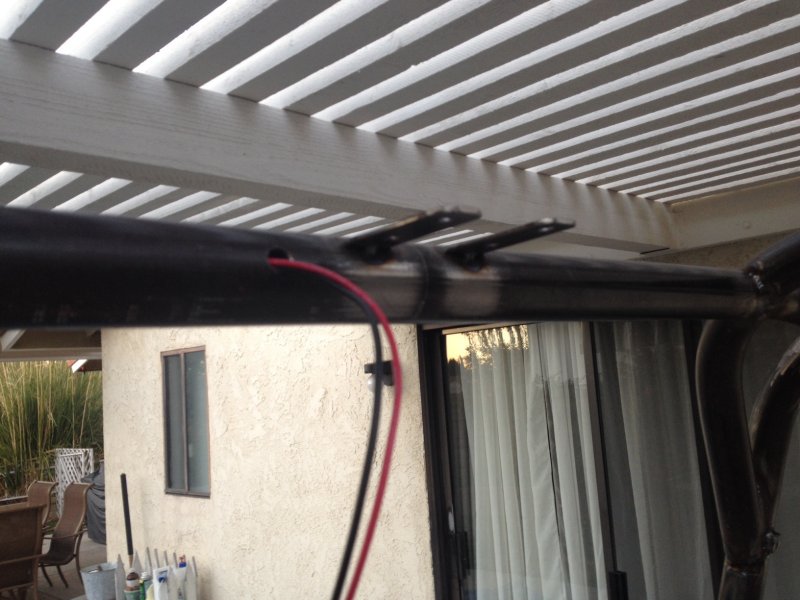
Wires pulled to locations
The Multi-cable will enter the console here and a hot feed and ground was pulled for the CB radio. Another hot feed and ground was pulled to the back of the cage to power up the rear interior light.
After all of the wires are in place and the cage is painted I will install rubber grommets in all of the holes so that the wires won't get cut or shorted.
05-JAN-2014
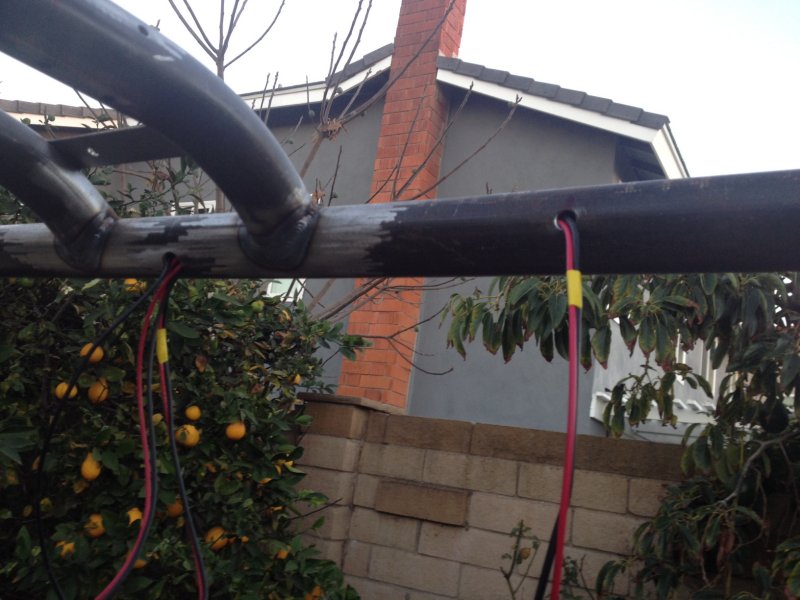
Wires pulled to rear light housing
I pulled the wires to the rear light which will be fed from a switch that will turn on the front and the rear LED interior lights.
12-JAN-2014
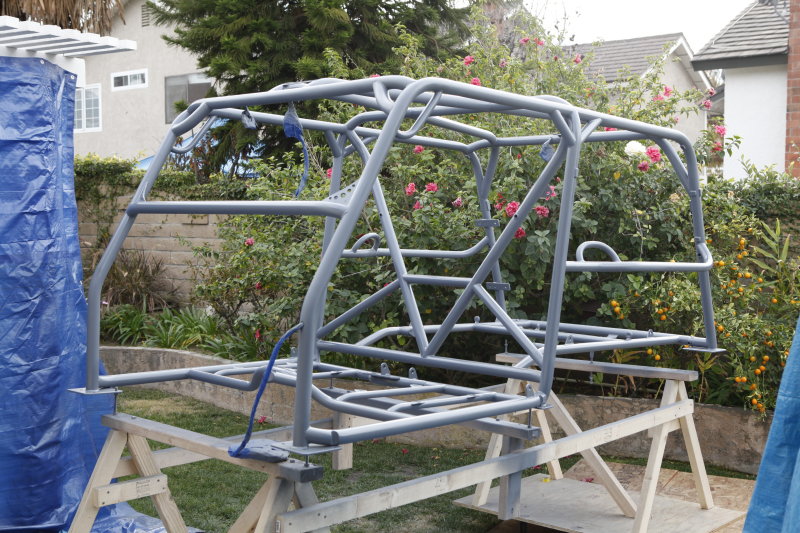
Ready for primer
I have all the wiring pulled and taped off, all of the wiring pulling holes are welded and ground smooth, all the tubes are sanded, and all of the joint welds were all checked.
Now it's time for a couple primer coats with some good two part epoxy primer.
12-JAN-2014
Primed cage
I was able to shoot primer on the cage top to bottom! What a chore to paint a cage with so many tubes, it was more of a challenge than I anticipated. Now I understand why guys have their cages powder coated.
The next step is to sand the primer to prep it for paint which I'm hoping to shoot next weekend.
19-Jan-2014
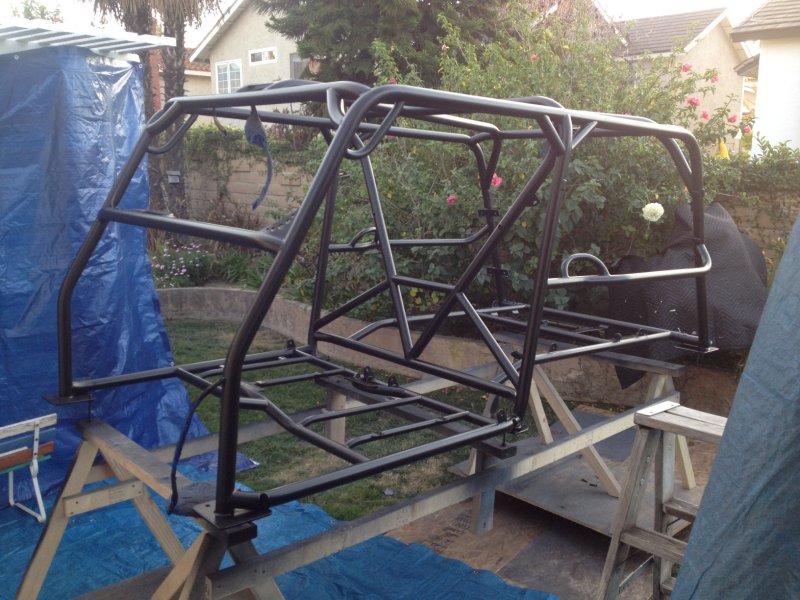
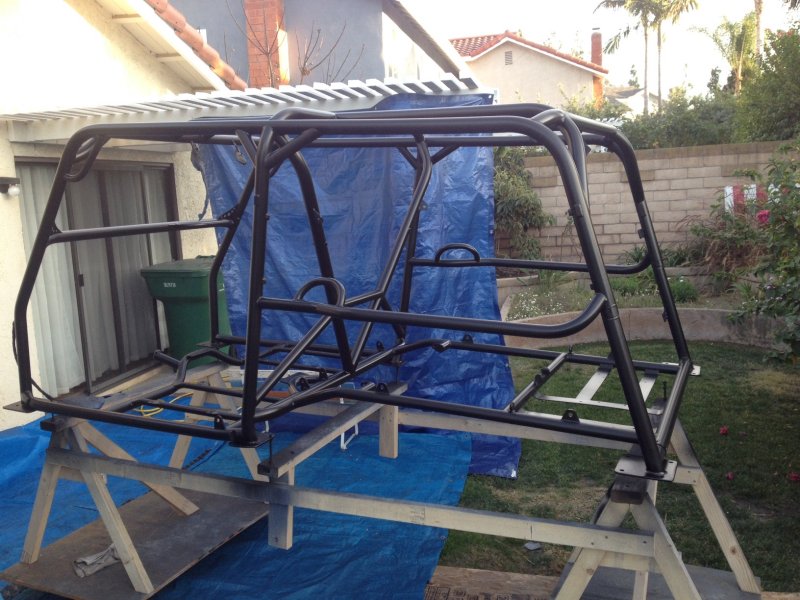
Final paint is complete
After sanding down the the epoxy primer which took way longer than I thought it would take I shot three coats of satin black paint on the cage.
I finally have a complete cage!
19-Jan-2014
More black!
Another view of the complete cage painted.
19-Jan-2014
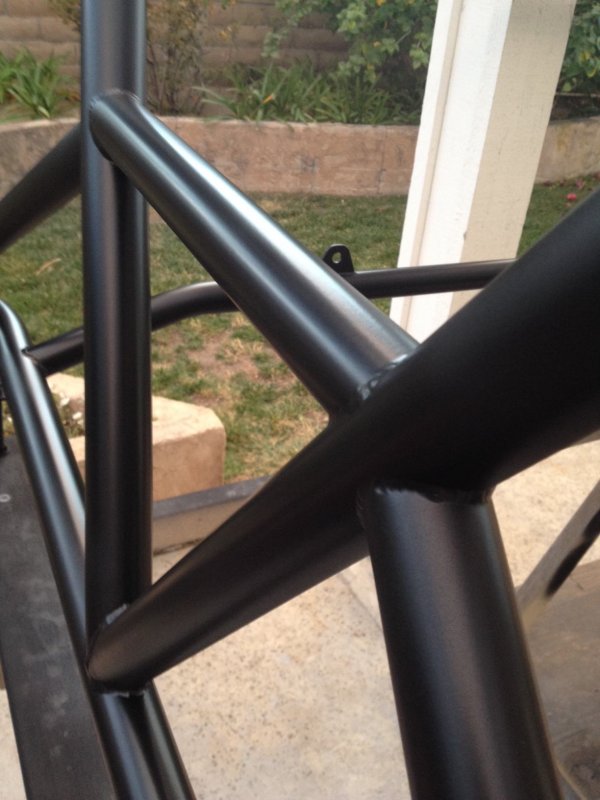
Close up of the satin black finish
The satin black paint will match the rest of my brackets, hinges, and parts. Shooting three coats took a long time but it ended up laying down real nice.