14-SEP-2013
Top piece fitted
I used some metal that I had broke with a 10� bend for the top saddle. I made a couple grooves in it to match the top bracket half and welded it all together.
14-SEP-2013
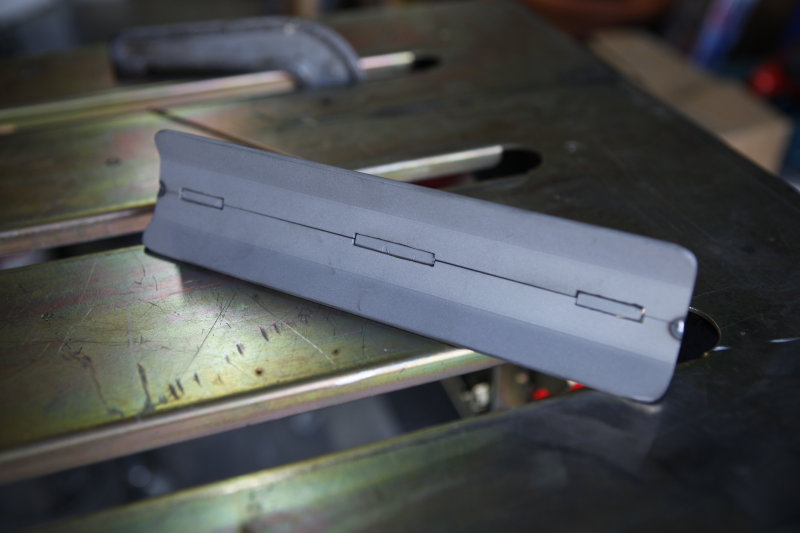
Tabs to be welded
The tabs will allow the whole top piece to be solid as one piece once it's welded together.
15-SEP-2013
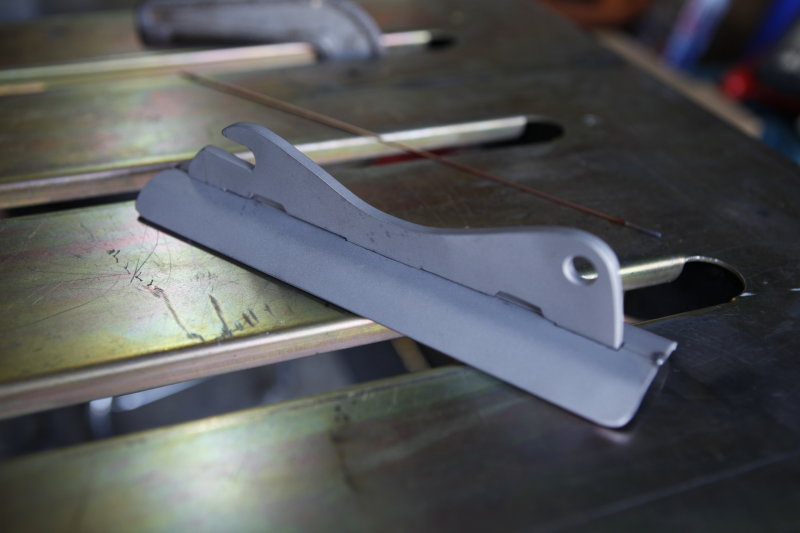
A final test fit
With the base and the top welded complete I did a final test fit of the release before welding it to the bracket.
15-SEP-2013
All the welding complete
The top and bottom bracket pieces are completely welded. I added a small tab to throw a small pad lock on to keep the honest people honest.
15-SEP-2013
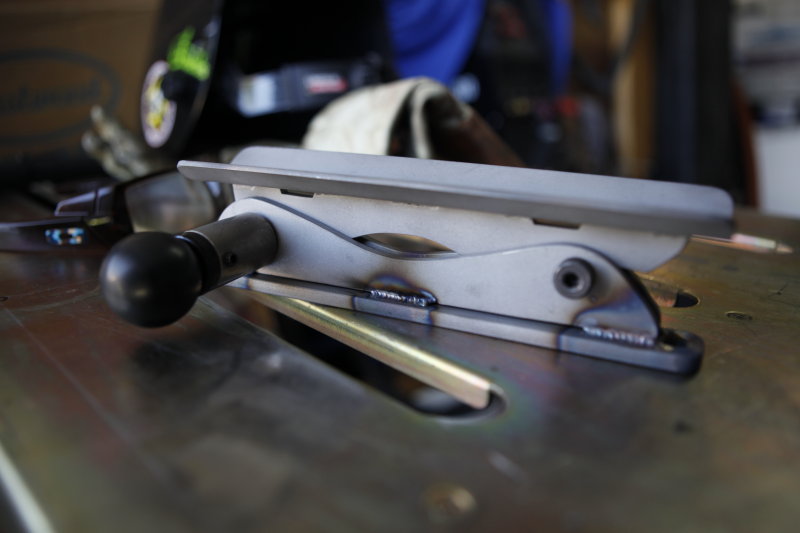
Easy on and off
Once the bracket is bolted to the cage and the extinguisher is clamped to the top bracket, all that needs to be done is to slide the slot over the shoulder bolt then secure it with the spring loaded pin.
15-SEP-2013
Fire Extinguisher bracket complete
The bracket is complete and now I can take it apart, do a final bead blast on it, and powdercoat it.
This was a pretty good project, now onto the next!
20-SEP-2013
New E brake lever
In my quest to make sure that I get any accessories welded to my cage before I yank it and paint it I came up with an item that I almost forgot about!
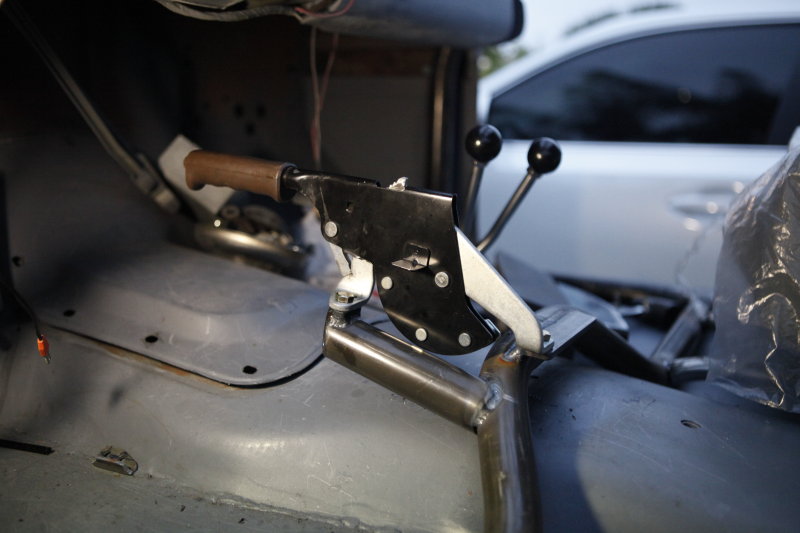
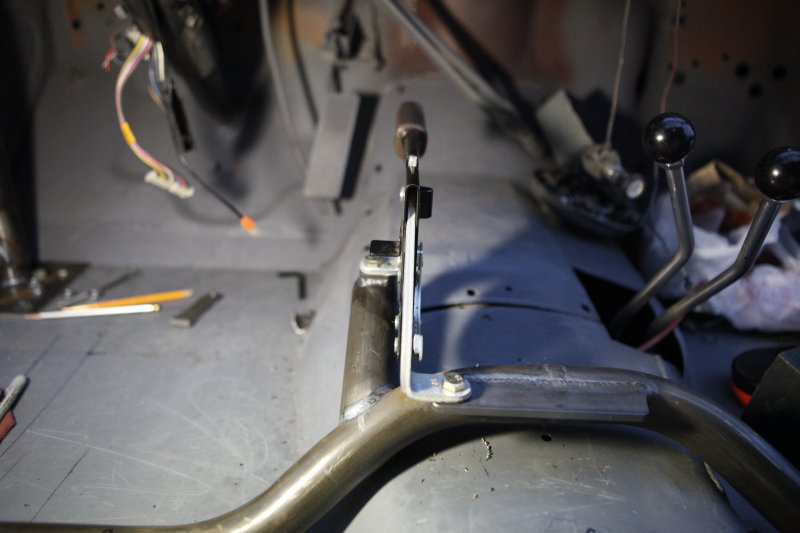
Because of the location of where my A pillar is located on the floor I had to remove my foot lever for my E brake. I decided that I wanted to install a hand lever for my emergency/parking brake so this is what I came up with!
20-SEP-2013
E brake lever location
I was originally going to mount the lever on the left side of the seat but as I fit the lever on that side I realized that it would interfere with the drivers door.
Because I am making a center console and needed to weld in some mounting brackets for the console I just designed to bracket to be a little longer on one side so that I could drill and tap the bracket and bolt up the E brake lever. For the front mount I used a piece of 1.5" tube notched and welded in at the correct angle with a 1/4" piece of flat stock welded on top to drill and tap.
20-SEP-2013
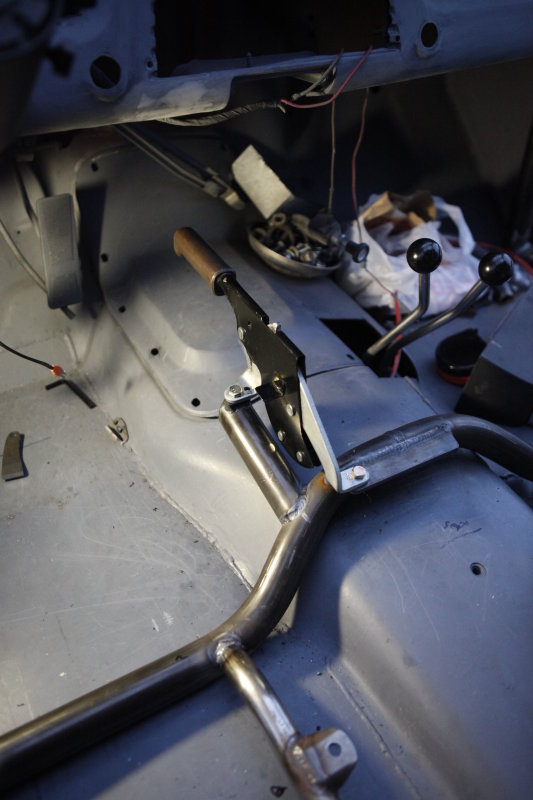
Clearance is good
I installed the driver seat for a test fit before welding everything in to make sure that the lever didn't interfere with the driver's leg, that the lever was within reach, and when used would clear the bottom of the dash.
20-SEP-2013
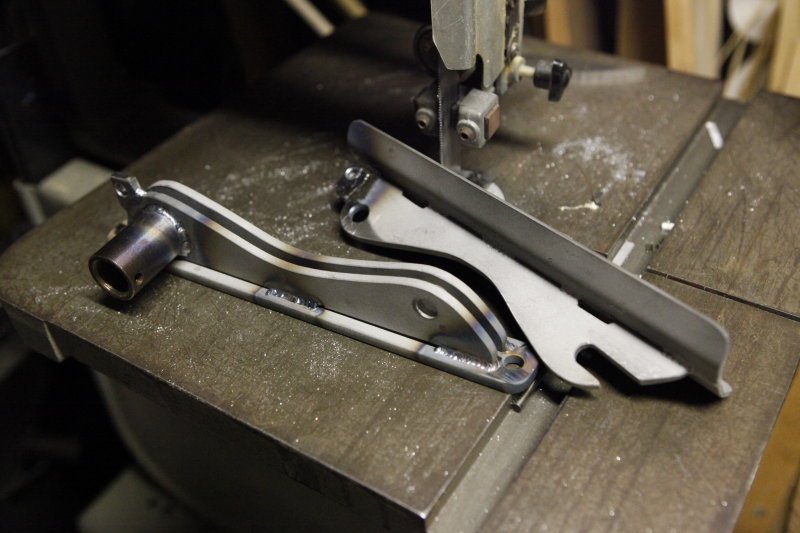
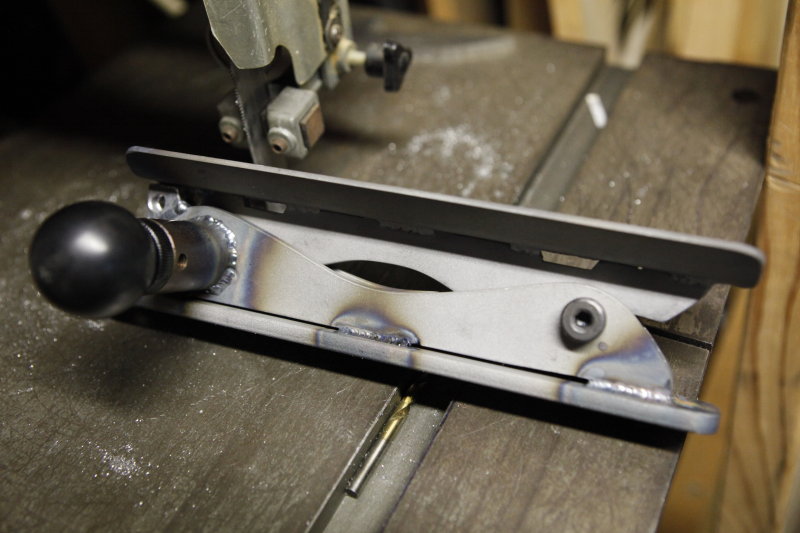
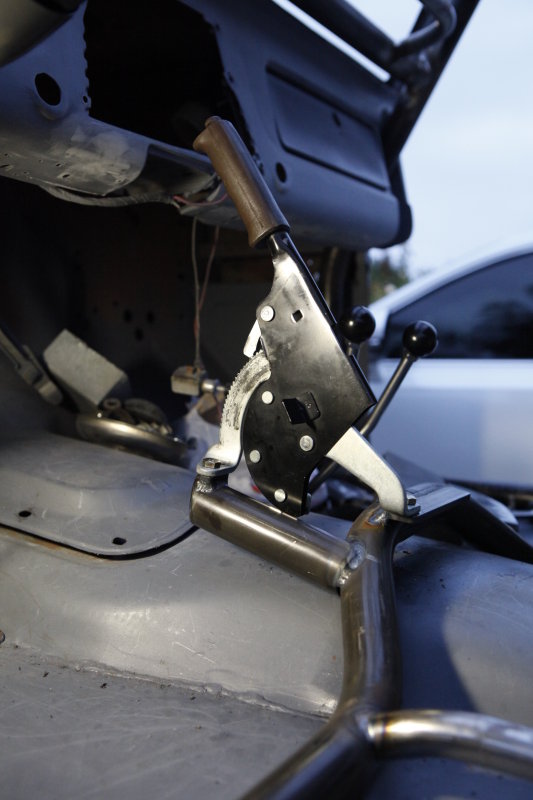
Thin and streamlined!
The lever seemed to be a perfect fit with my build being that it is thin and decently low profile. The lever came out of a Land Cruiser that my neighbor was parting out and the price was too hard to pass up, free!
I will have to figure out the routing of the cable but I don't think that will be too much of an obstacle. The lever looks like it has a good deal of cable pull so I am hoping that the brakes will work great once everything is all hooked up. I have rear disc brakes and the old foot lever did not work at all. I think that they just weren't connected correctly.
23-SEP-2013
Starting center console build
My idea is to build a center console out of aluminum to go along with my gauge panels that I made for the dash. I also needed to be able to mount the Art Carr shifter at a comfortable height and get rid of the ABS plastic mount that it came with.
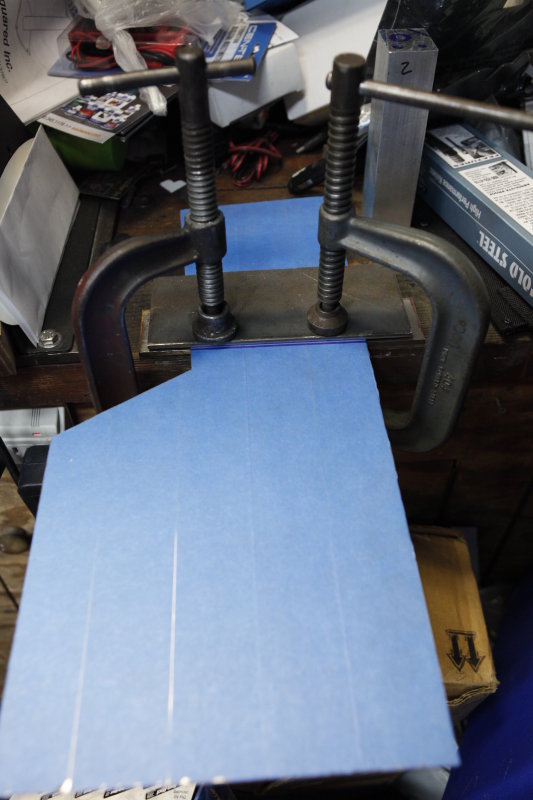
I welded in some brackets to the cage and then built a sub frame out of 3/4" x 3/4" square aluminum tubing. Keeping with the design that I had drawn up, I needed to put a 10� bend in the 1/8" thick aluminum side panels. I don't have a brake in my garage so I made a temporary home-made brake for these two bends.
23-SEP-2013
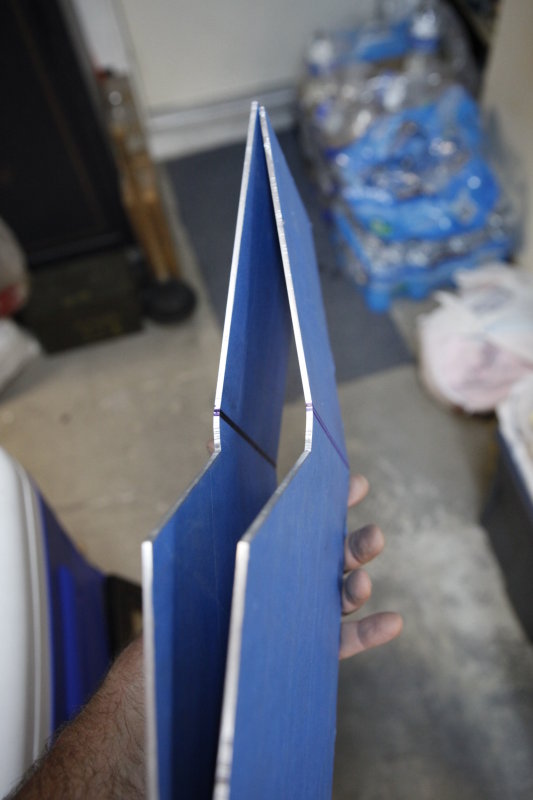
After bending
The two side panels came out good since they were just a 10� bend. Now to fit and weld them to the frame.