


|
|
|
|
|
|
| fred harmon | profile | all galleries >> Galleries >> windbender | tree view | thumbnails | slideshow |
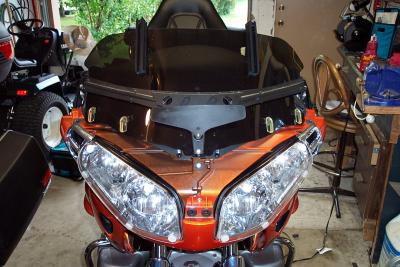
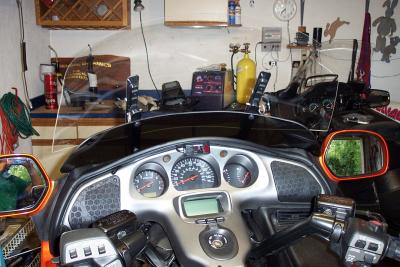
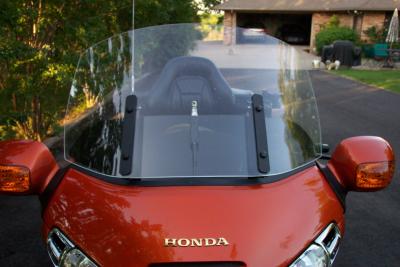
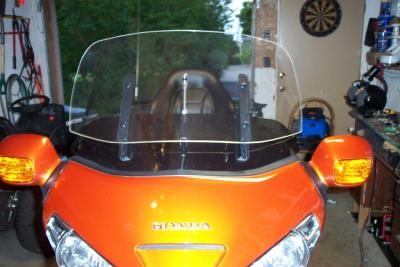
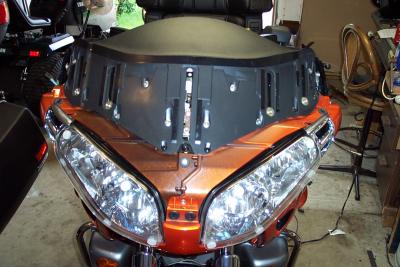 This is the front with mirrors and nose cover removed and ready for the new windsheild to be installed. |
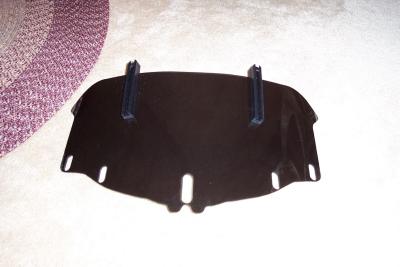 This is the bottom half of the WindBender shield (in smoke). |
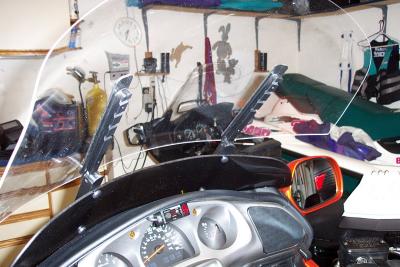
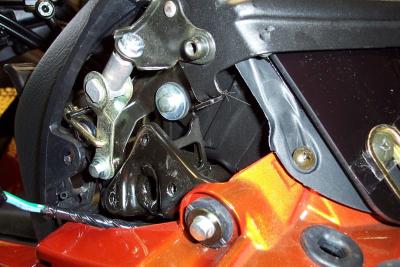 See the position of the tabs. The fairing tab is BELOW the windshield clamp tab. This is how I found it from the factory. |
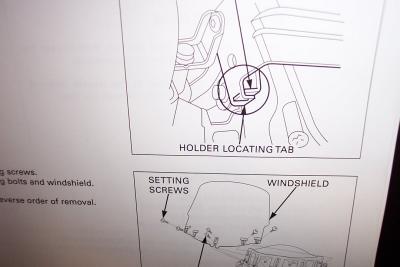 I think this diagram in the service manual has a mistake. It shows the tab on the fairing should be ABOVE. |
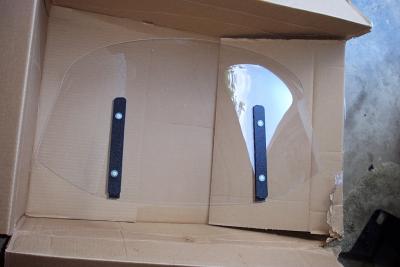 Top half of WindBender shield. Air is designed to flow between the two halves. As a result, turbulence is reduced. |
 Here the bottom half has been installed. |
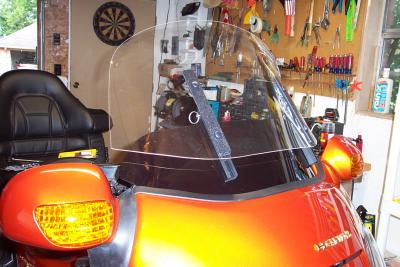
 Bottom half installed with nose covers and mirrors. |
 Installation of the top half is very easy. Just line it up and slide it on. |
 You can see the slots for different height settings. This is in addition to the factory adjustment. |
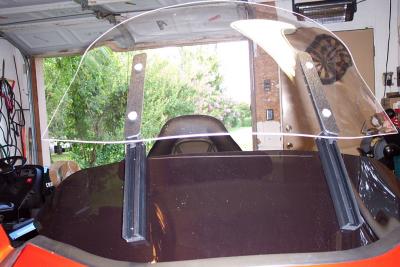
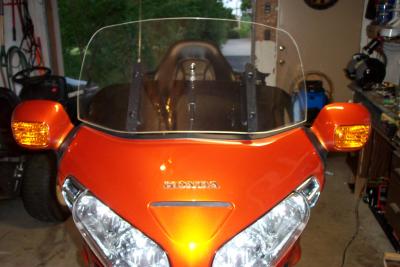
 Here is the shield fully installed from the rear. Note saftey clips that lock the shield in position. |
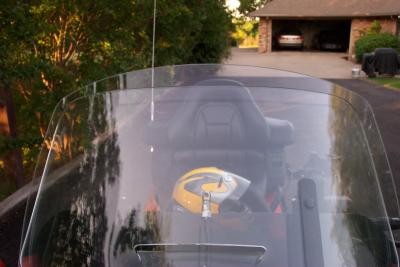
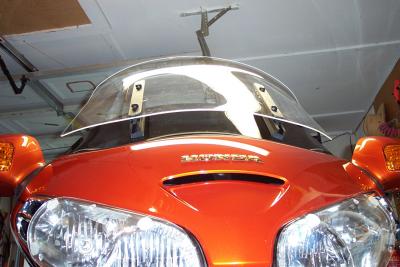 Front view. Note airflow now goes up behind the shield. Shield still slides up and down like it always did. |
 Side view. Now it also slides up and down on the WindBender mounts. This allows for much greater adjustment range. |
 New prototype W-I-D-E-R ST model |
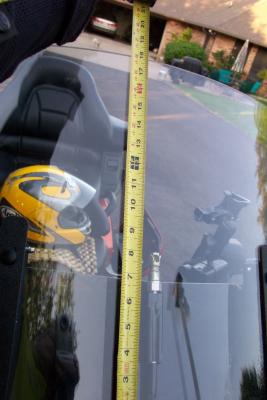 THe height of the prototype is 18 inches. The production version will probably be 17 inches, the same as the OEM |
 Here is the original ST against the new wider ST |
 Here is the Cee Baileys laid against the Wider ST prototype |
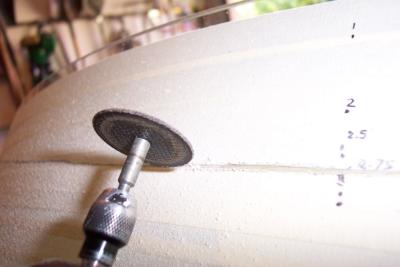 I elected to cut about 2 inches off the prototype (with a dremel) as it was just a bit too tall for my tastes. |
 Here is the Wider version in the full UP position after I cut 2 inches off it. |
 Here is the Wider version in the full DOWN position after I cut 2 inches off it. |
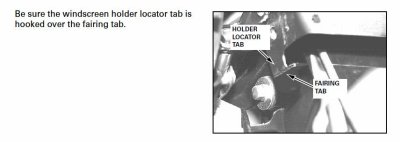 WindsheildTab.JPG |