


|
|
|
|
|
|
| fred harmon | profile | all galleries >> Galleries >> Valentine One radar install And GPS photos | tree view | thumbnails | slideshow |
 The remote display unit is velcro'ed to the dash. The wire routes down under the dash to the left glove box. |
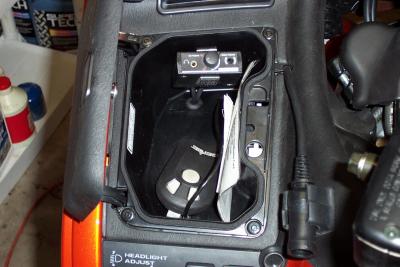 The remote audio unit is in the right glove box. Power adapter unit is directly underneath glovebox. |
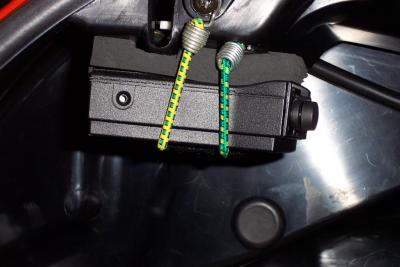 I attached the unit inside the left saddlebag using existing screws for the release mechanism and some small bungee cords. |
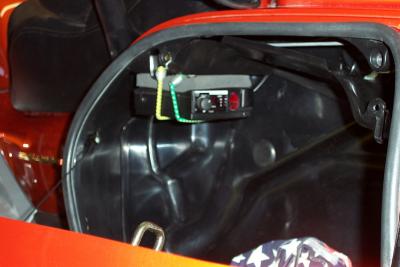 I fashioned a small piece of foam that goes above the unit to hold it in place. Radar will pass right through the ABS saddlebag. |
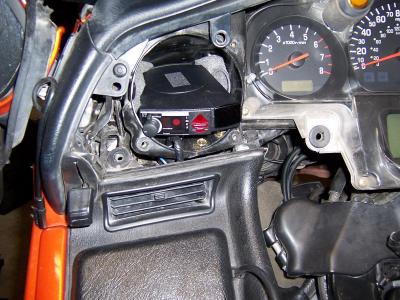 Alternate mounting location in left front speaker pocket after speaker is removed |
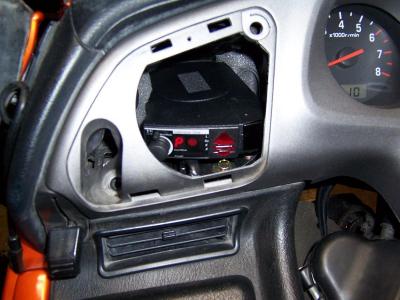 Once the grill is in place you won't know it is there |
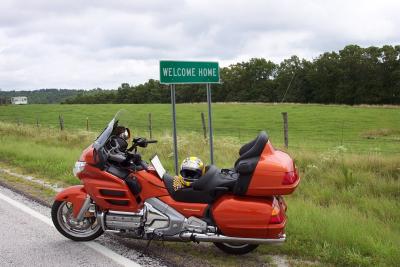 Small Town sign found in Northern Arkansas |
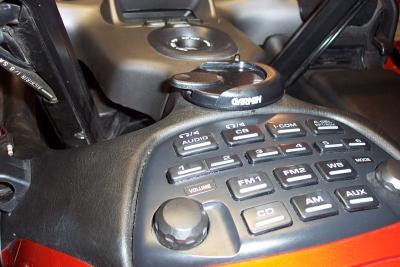
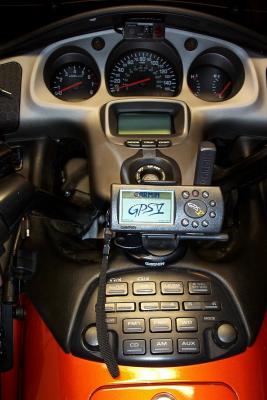 GPS V mounted on console using supplied mount |
 This is the base of the GPS V mount |
 This is the back of the GPS with the top half of the mount attached |
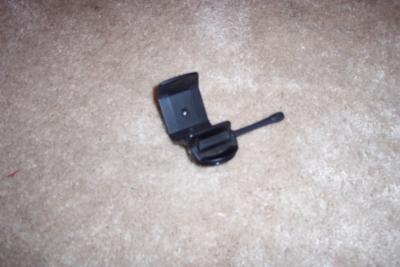 This is the top half with the GPS removed |
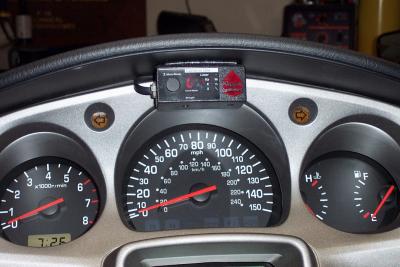
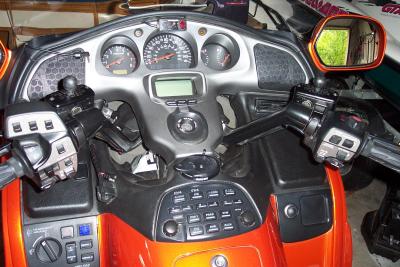
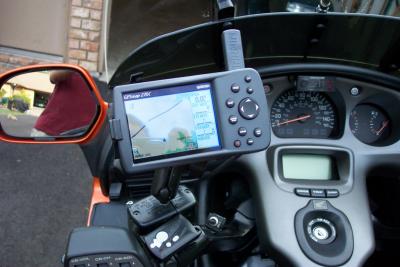
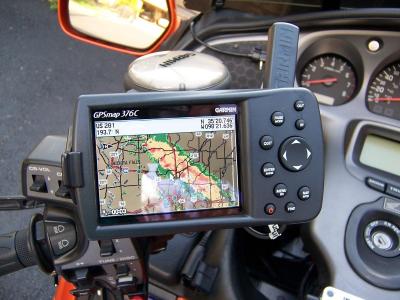
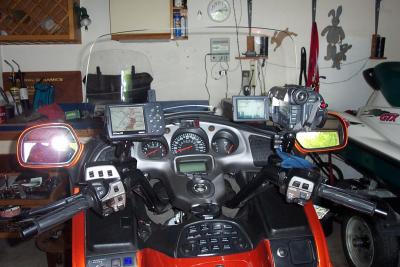 Cockpit layout. Now all I need is a color weather radar display, with rotating antenna |
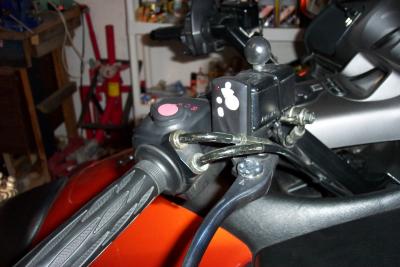
 Notice dual Ram ball mounts on top of clutch and brake levers. |
 I cut the ram ball off it's base, threaded the inside of it, and put a screw though bottom of the cap. |
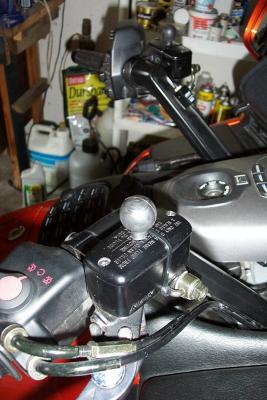 I added a simple zip tie to shore up the mounting screws, just in case. |
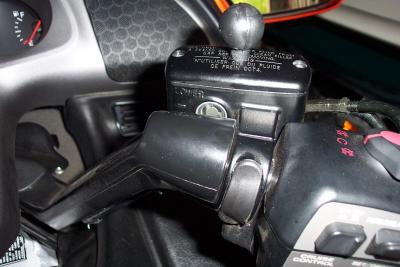
 Minature Garage door opener mounted to brake reservoir with velcro. Total cost, $25. |
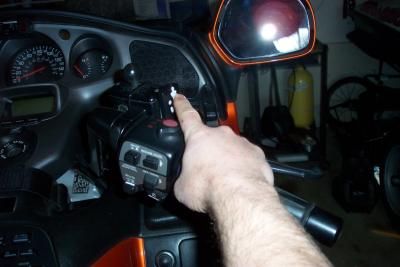 Easy reach to garage door opener while riding. |
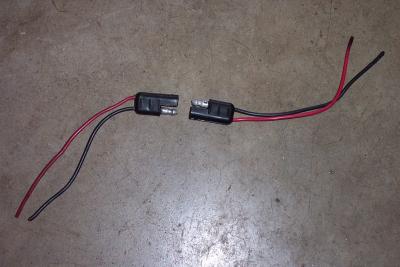 Here are the Radio Shack power connectors I use on the bike |
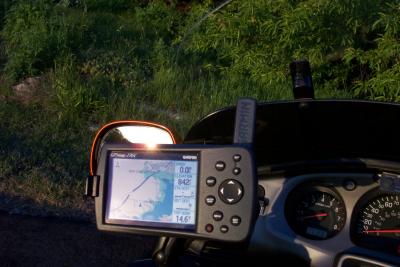
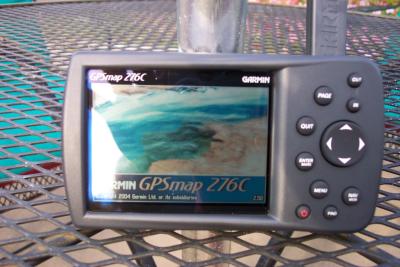 New GPS276C Taken in full sunlight |
 New GPS276C |
 New GPS276C |
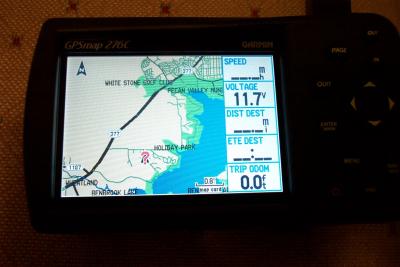 New GPS276C |
 New GPS276C |
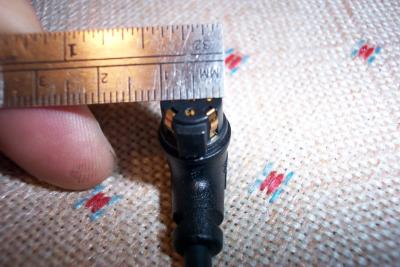 Garmin 9 pin connector for 276, 10mm in diameter |
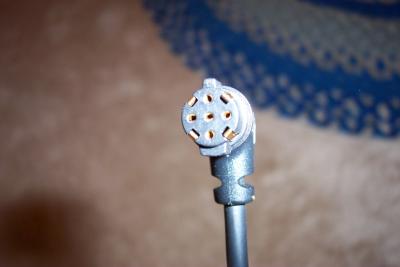 Garmin 9 pin connector for 276 |
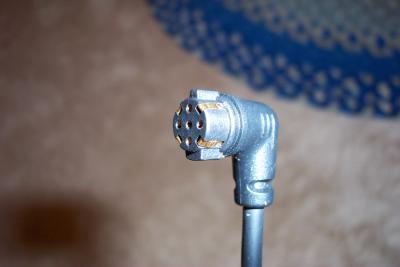 Garmin 9 pin connector for 276 Not connections on side of connector |
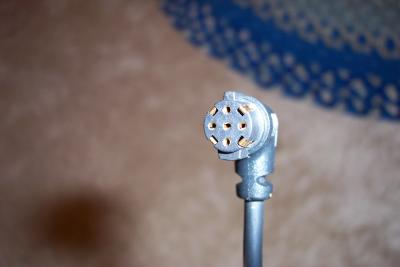 Garmin 9 pin connector for 276 |
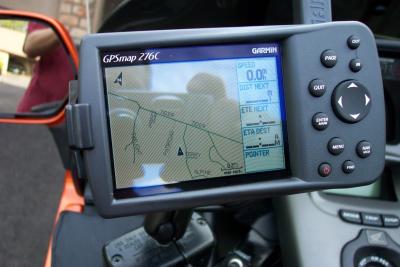
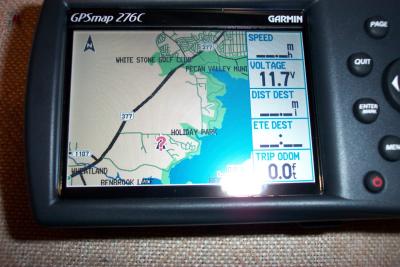
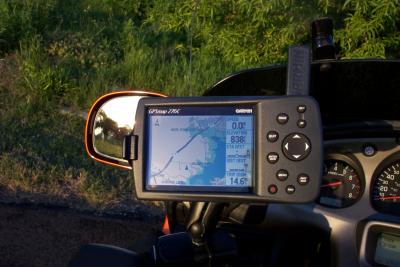 Garmin 276 in direct bright sunlight |
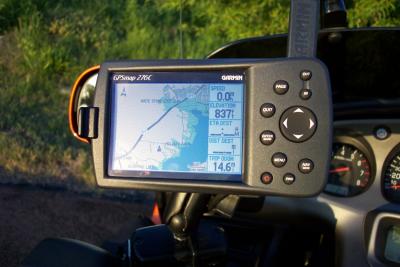 Garmin 276 in direct bright sunlight The brighter the light, the better the display looks |
 Garmin 276 in direct bright sunlight |
 376 with color weather radar (via XM Radio) |