


|
|
|
|
|
|
| fred harmon | profile | all galleries >> Galleries >> tirechange | tree view | thumbnails | slideshow |
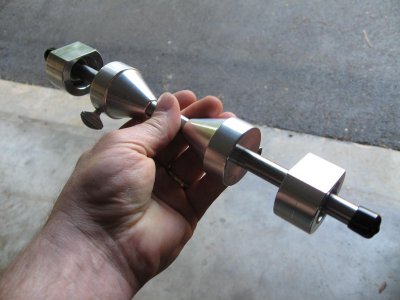 Mark Parnes Balancer http://www.marcparnes.com/ |
 Marc Parnes Balancer |
 Marc Parnes Balancer |
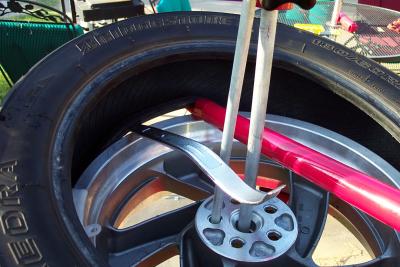
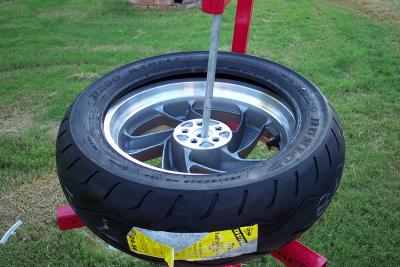
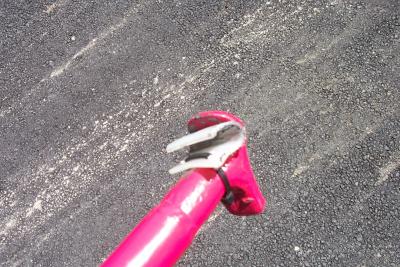
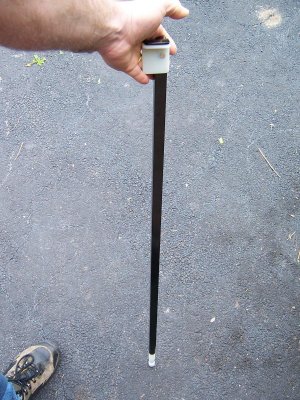 MoJo Lever |
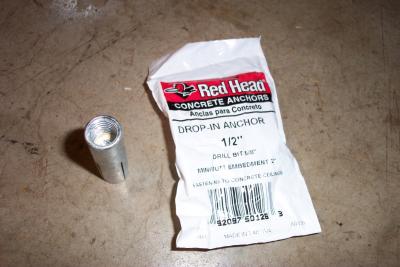 I used these female drop in threaded anchors to secure the stand |
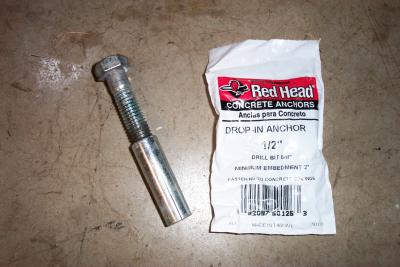 The bolt drives a plug in the bottom that expands the anchor |
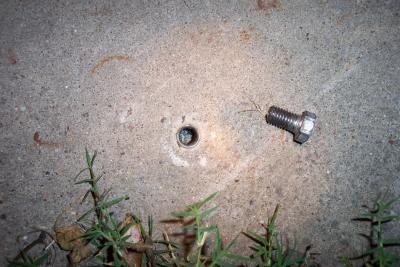 I capped each anchor when not in use with a short bolt to keep out dirt |
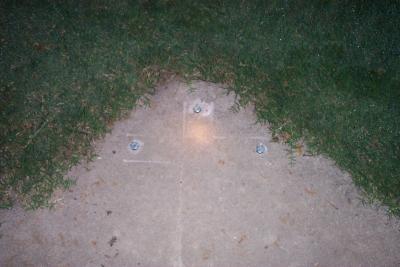 I installed the anchors on three corners for the stand, in an out of the way location on my patio |
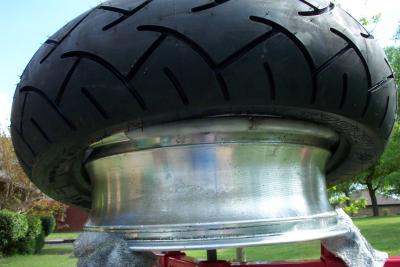
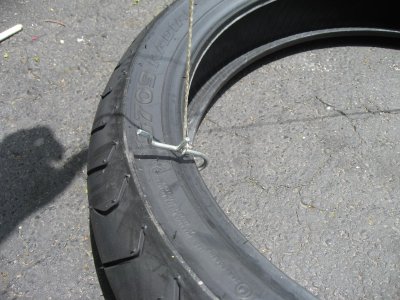
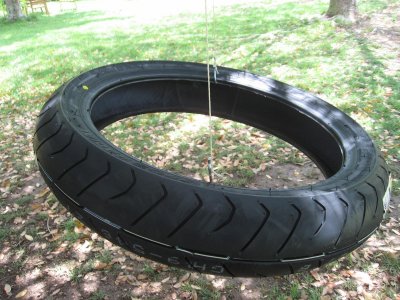
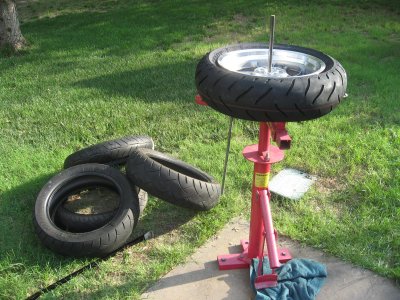
 Heating the new tire in the sun makes it easier to mount |
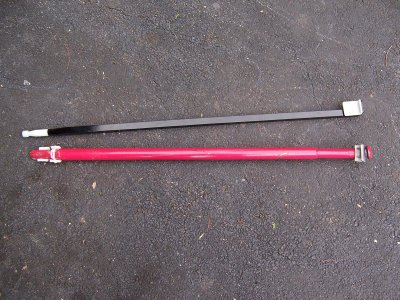
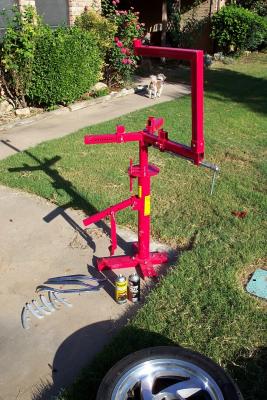 Harbor freight tire changer stand (model 34542) and motorcyle adapter (model 42927), motion pro tire iron, and rim savers |
 The bead breaker works real nice. |
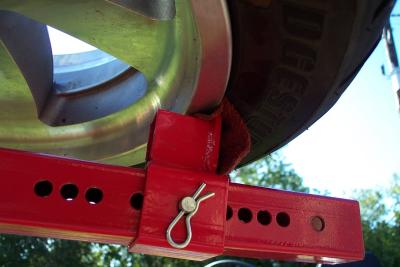
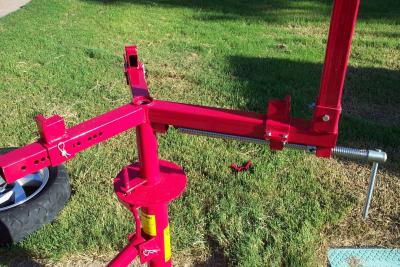 Here you can see the clamps used by the tire changing stand. They came installed backwards, I had to turn them around. |
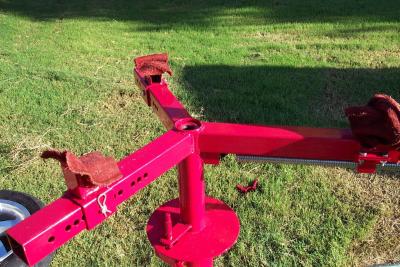 I covered the clamps with rags to protect the rim |
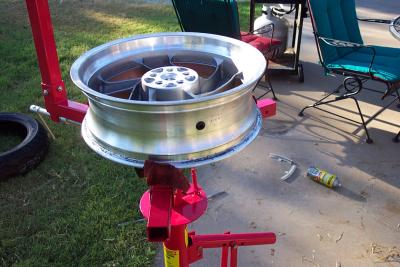
 Rim installed on clamps |
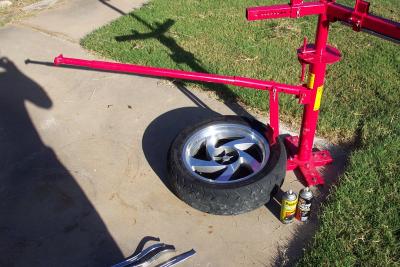
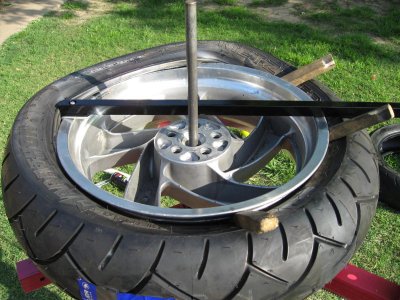
 Wheel in stand, ready to begin |
 Tire iron and rim saver in action. |
 Here I have the first side of the old tire almost off |
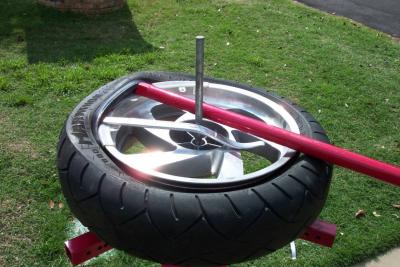 Use the flat end of the tool to remove the old tire from the rim. Go clockwise. Notice upper arm of stand has been removed |
 This shows the second side of the old tire coming off. Notice I am using the long tire tool. |
 Using the flat end of the tool to remove the old tire. It is easier to work on the tire with the upper arm removed from stand |
 Old tire coming off |
 Half way done! |
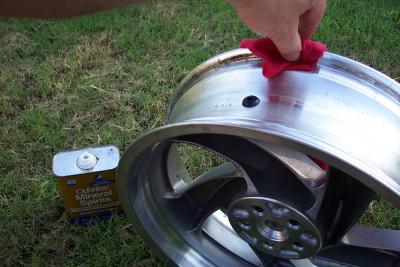 I clean the bead area with mineral spirits to get the tire residue off and to insure a good seal. Your dealer doesn't do this. |
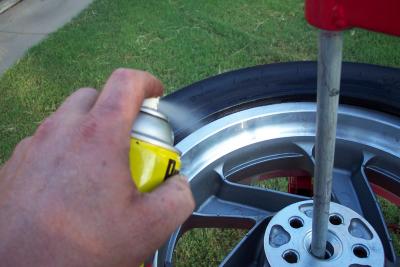
 I use regular ole silicone spray to lube the tire for installation |
 Rim savers in place and the first side of the tire being started with standard tire irons |
 Tire being started on rim |
 Here the first side goes on, with minimal problems. |
 I used the Harbor Freight tire tool to install the first side. I gave up on the rim savers. |
 Only one side left to go. |
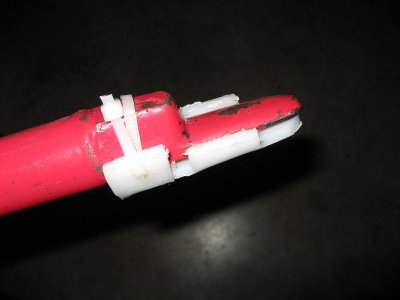
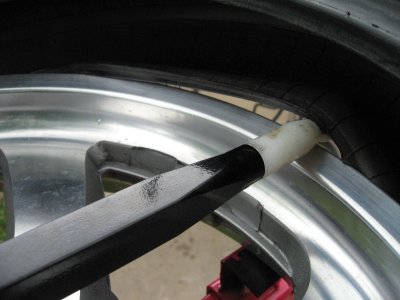
 I cut a rim saver and melted slots in it & zip tied it to the mounting tool. This prevents the rim from getting sctatched. |
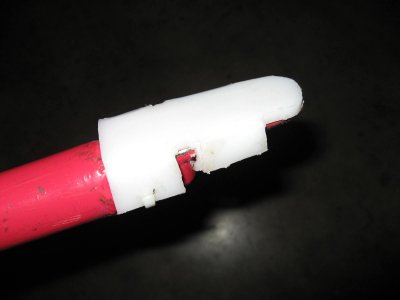 I formed a piece of high density plastic around the removal end of the tool |
 I formed a piece of high density plastic around the removal end of the too |
 Here I re-lube the bead area before attempting the final side. |
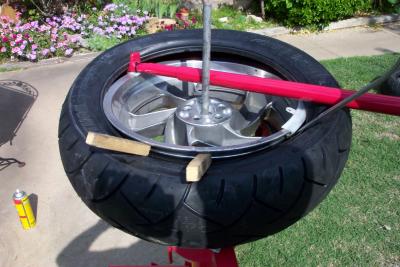
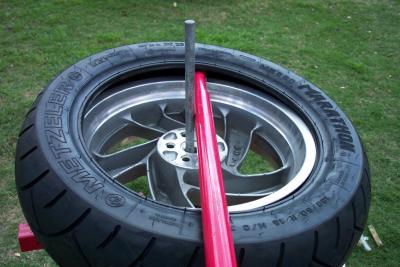 Now I position the long tool in place with the bead breaker over the lip of the rim |
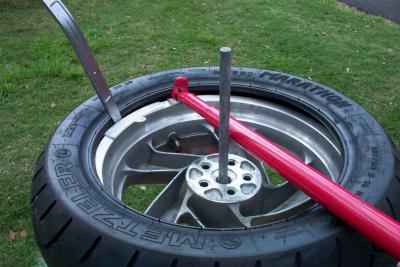 Next I get the edge of the tire started and use a tire iron to hold on position |
 Now that my rim saver that is attached to the tool slides on the rim, and protects it |
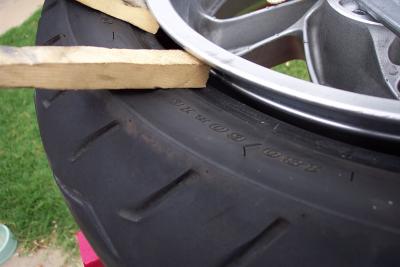 This is a trick I learned to keep the mounted portion of the bead in the valley of the rim |
 Keep working around slowly, and add more silicone spray if you need to |
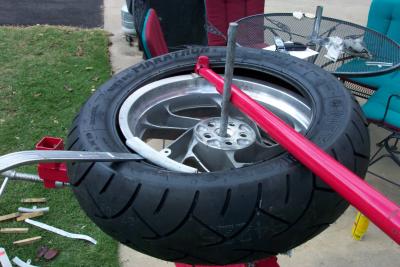
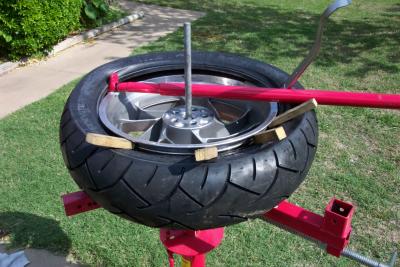 Continue using the tool in a clockwise direction to work the bead on. Use blocks to hold the bead in the valley of the rim |
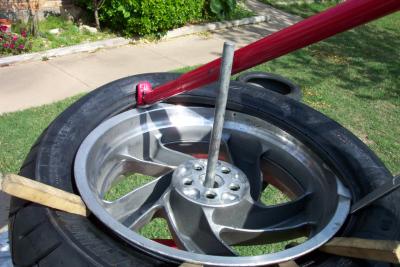 Lift the tool occasionally to force the bead over onto the rim |
 Once I figured out the tricks, it went on just fine. |
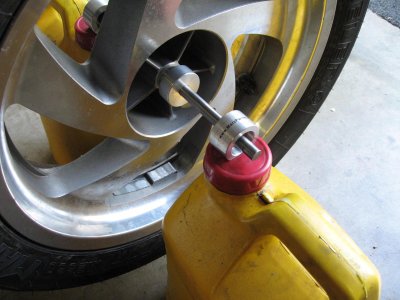
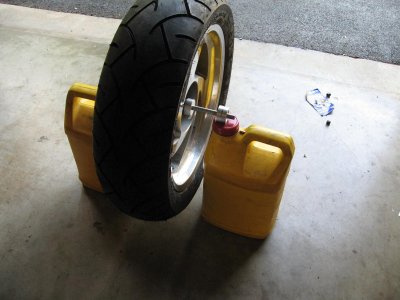
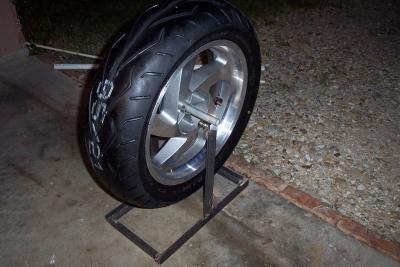
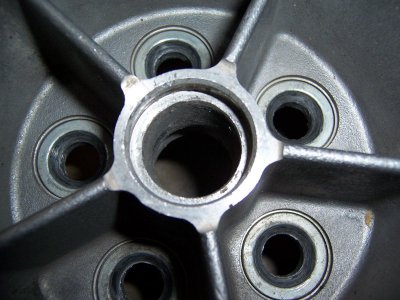
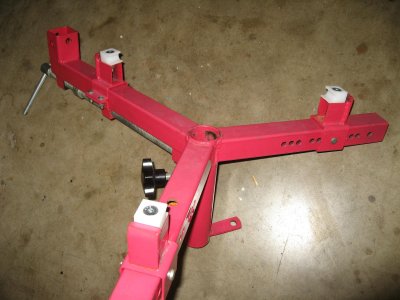
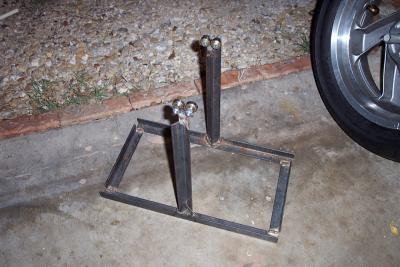 This is my home made balancer. It uses roller blade bearings. |
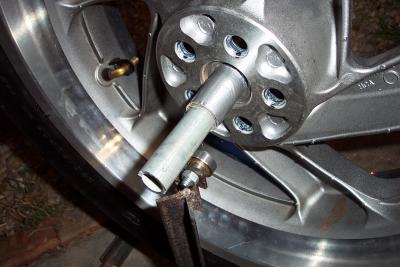 I made an axle out of a piece of pipe to hold the rear tire on the balancer |
 The heavy spot rotates to the bottom. Add weight till it balances. Easy as pie. |
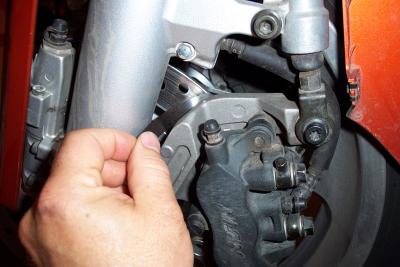 Checking the clearance on the brake caliper holder. |
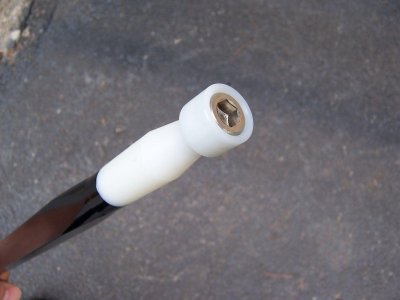 MoJo Lever |
 MoJo Lever |
 MoJo Lever |
 MoJo Lever |
 Wheel 002a.JPG |
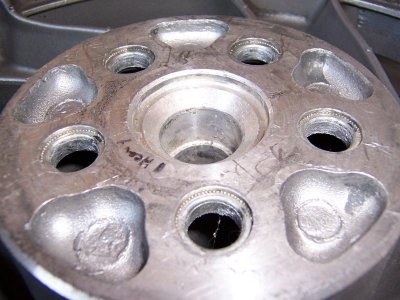 Wheel 004a.JPG |
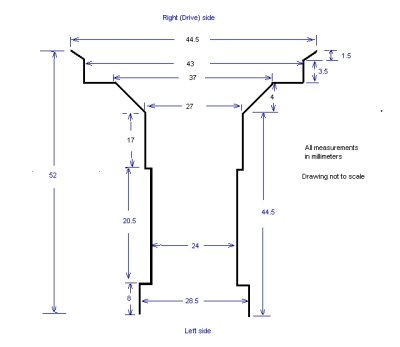 WheelDimensions.bmp |
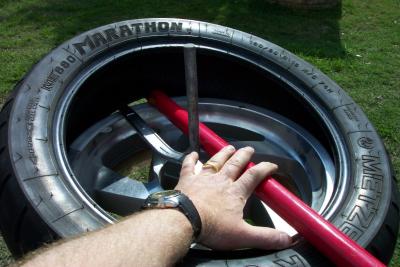
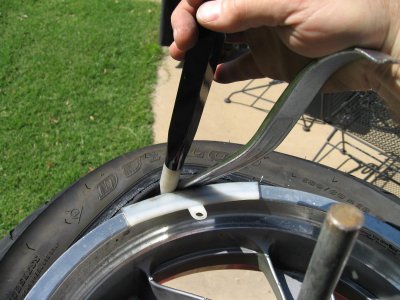 Tire iron used to pry bead over rim to prevent bending MoJo bar end |
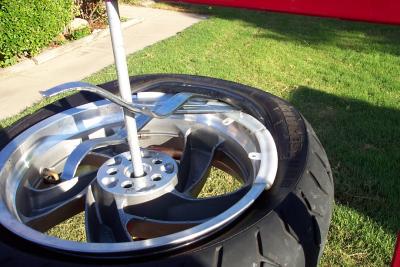
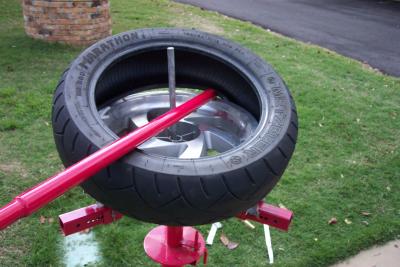
 Mojo taking off first bead |
 Mojo mounting first bead |
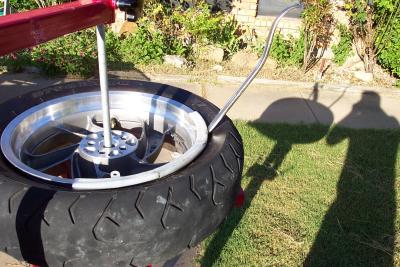
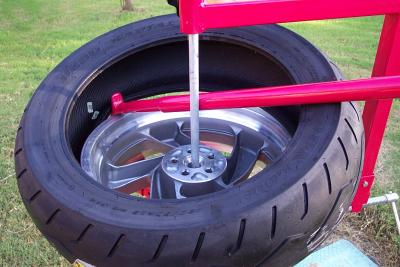
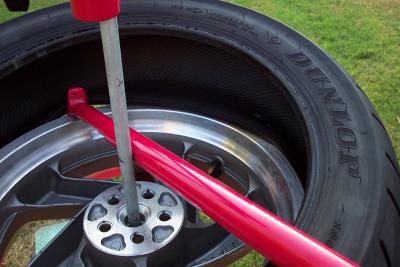
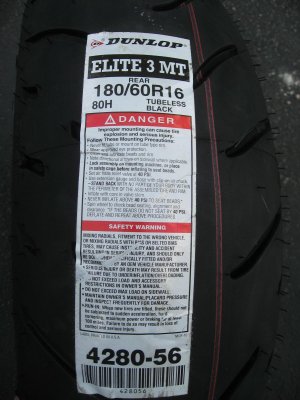
 MoJo bar mounting Dunlop |
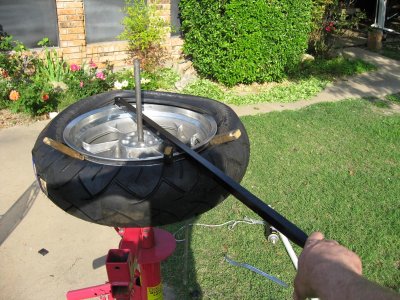 MoJo bar in action mounting Dunlop on GoldWing wheel |
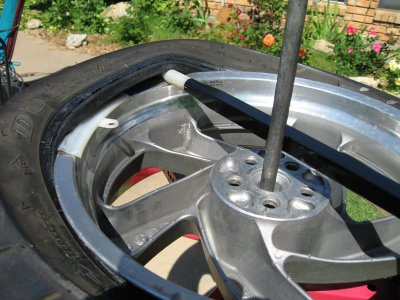
 New stronger bolt removing second bead on GL1800 |
 New stronger bolt removing second bead on GL1800 |
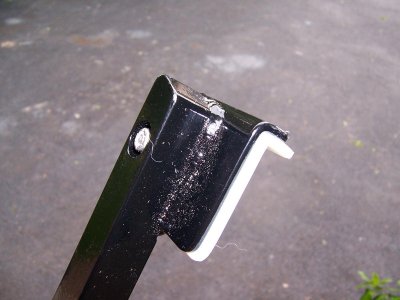
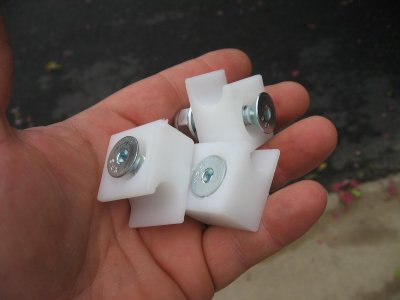 MoJo Blocks rim protectors |
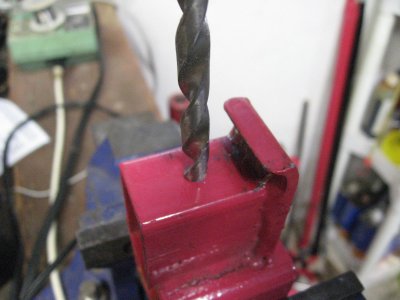 Drilling the hole to install MoJo block |
 I had to use needle nose pliers to reach in and hold the nut while I tightened the allen bolt |
 MoJo Blocks installed |
 TireBalance 003a.JPG |
 TireBalance 005a.JPG |
 DunlopE3_MT 001a.JPG |
 DunlopE3_MT 003a.JPG |
 DunlopE3_MT 005a.JPG |