


|
|
|
|
|
|
| fred harmon | profile | all galleries >> Galleries >> Electric Windbender actuator system | tree view | thumbnails | slideshow |
| previous page | pages 1 2 ALL | next page |
 Slowly drill the holes, and be sure to put a block of wood behind the drill to protect your dash!! |
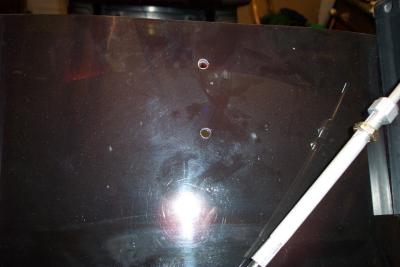 Holes drilled and ready for the cable support to be mounted |
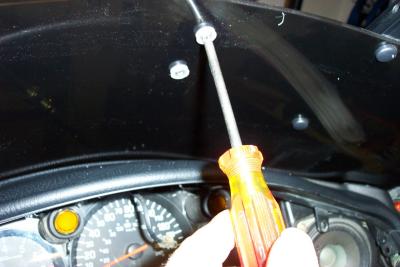 Install the cable end support bracket |
 The end of the cable then is attached to this support. Note that the cable goes UNDER the windshield holder bracket |
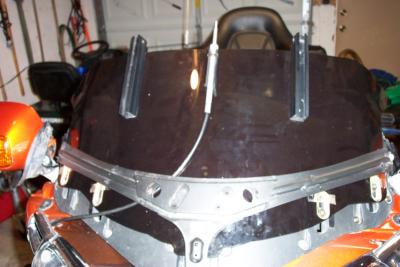
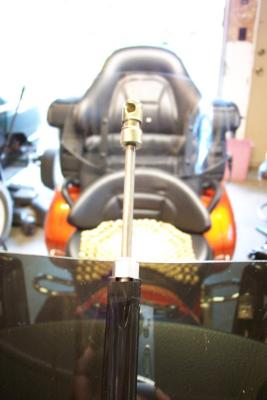
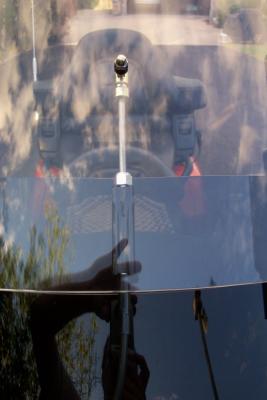
 Actuator ball connection on windshield |
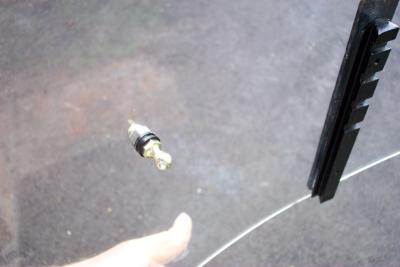
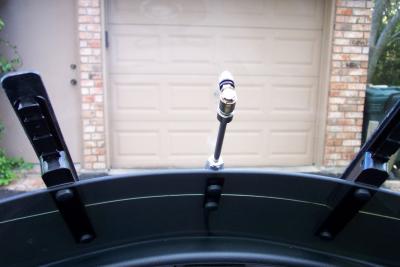
 Actuator socket connection |
 Actuator socket connection |
 Locking spring loaded actuator ball and socket connection |
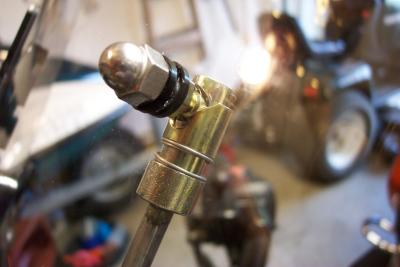 Locking spring loaded actuator ball and socket connection |
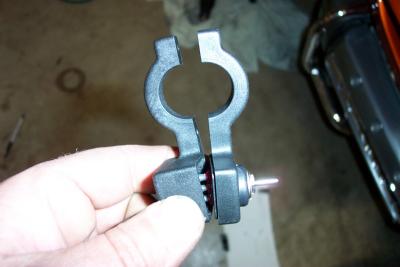 Remove the allen screws and seperate the switch housing halves |
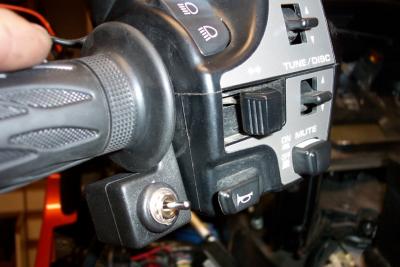 Install the switch on inside of the left handlebar grip |
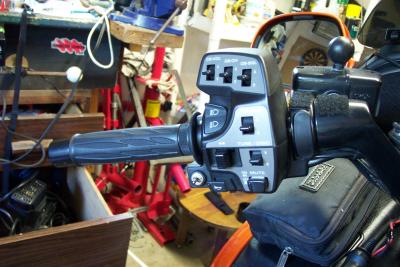 Switch installed |
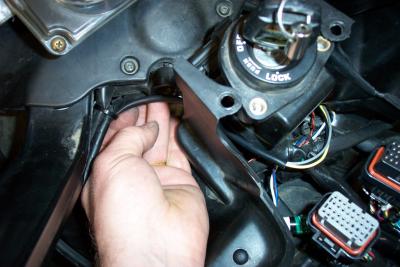
 Route the cable down through the channel in the left handlbar by loosening the screws that hold the cover on |
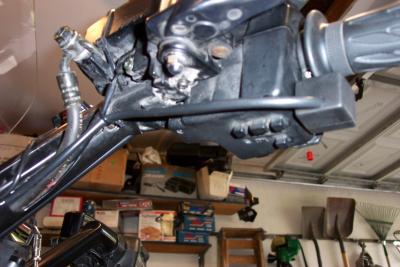
 Route the wire up to the steering head in a way that the bars can still turn fully from lock to lock and the cable does not bind |
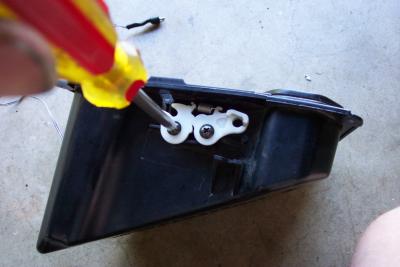 Remove the old hardware off the glove box |
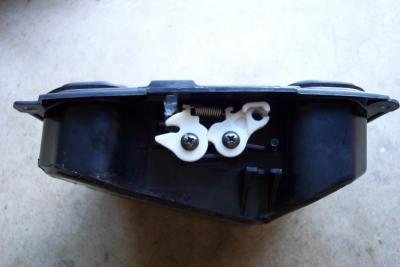 Transfer it to the new glove box |
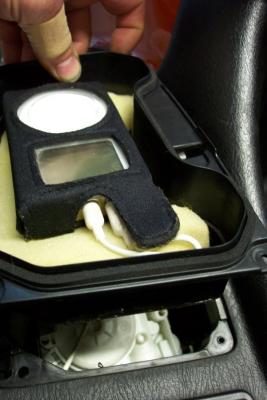 Pocket sits on top of actuator |
 Actuator cable end and connector |
 Actuator cable end and connector |
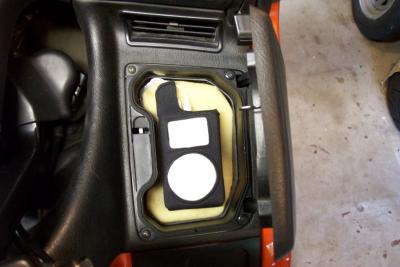 My Ipod still fits fine in the new pocket |
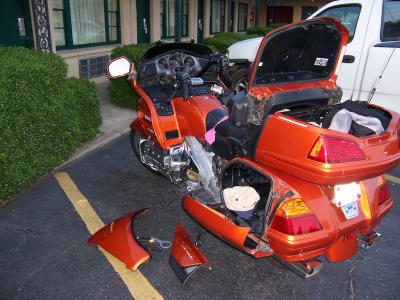 Windbender 004a.JPG |
| previous page | pages 1 2 ALL | next page |