photo sharing and upload picture albums photo forums search pictures popular photos photography help login
Duncan | profile | all galleries >> High Speed Photography >> High speed photography rigs tree view | thumbnails | slideshow

High speed photography rigs

A gallery of the equipment I'm developing for high speed photography.

The rig is controlled using an Arduino micro controller. The control panel has a start and stop button. The start button arms the system for taking pictures.


One version of the rig is set up for taking pictures of balloons being popped by blow-darts.

I use a slightly different rig if I'm shooting the balloon with an air rifle. For both types the camera is set to bulb mode. There are separate wires for the shutter half-press and shutter release functions.

For both setups, the room is completely dark and the shutter is open for a fairly long time. What freezes the action is an electronic flash dialed back to very low power. At very low power the flash duration is quite short. (Around 1/40,000 of a second, from what I've read.)

Air rifle rig:

There are 2 different switches. I mount a pair of LED light sensors on the front of the barrel. The sensors are exactly 2 inches apart, and are carefully placed so that pellet or BB leaving the barrel breaks the 2 LED light-beams, one after the other.

I also have a simple switch on the trigger made out of a V shaped piece of plastic with foil tape on the insides. When you squeeze the trigger, it closes the V, the two pieces of foil make contact, and that arms the Arduino flash rig. When armed, the rig:


1. Turns off the LED lights in the room. LED lights turn off INSTANTLY when you remove power
2. Opens the camera shutter.
3. Begins a high-speed timer that counts how long, in microseconds, it takes for the pellet to travel 2 inches from the first photocell sensor to the 2nd one.

The Arduino then calculates how fast the pellet is going, how it will take to reach the target (I measure and hard-code the distance to the target into the program before shooting a series.) It starts a timer for the computed time, and then fires the flash when the timer goes off. It then releases the camera shutter, pauses briefly, and turns the room lights back on.

Blowdart version

Just like the pellet version, when the system is armed and the beam of the (blowdart) sensor is broken, the Arduino turns off the LED room lights and opens the camera shutter (holding the shutter open.)

There is a piezo vibration sensor attached to the back side of the balloon and wired to a vibration sensor circuit on the breadboard. When armed, this circuit triggers the camera flash directly, as well as sending a signal to the Arduino on a digital input pin. When the Arduino detects vibration, it pauses for a millisecond, then closes the camera shutter, pauses again, and finally turns the LED room lights back on.

LEDs turn off so quickly that by the time the camera shutter is open, all the lights in the room are off.

The shutter-speed is usually 1/10 to 1/60 of a second, depending on how fast the blowdart hits the balloon.
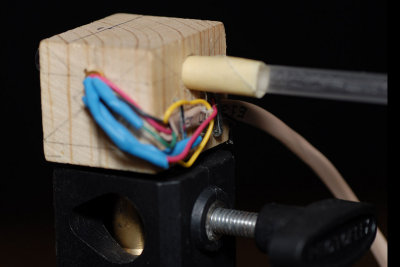
Blowdart sensor 8183.jpg
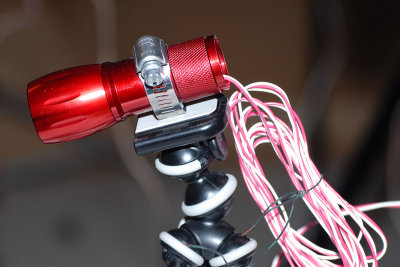
Flashlight 8191.jpg
Flashlight 8191.jpg
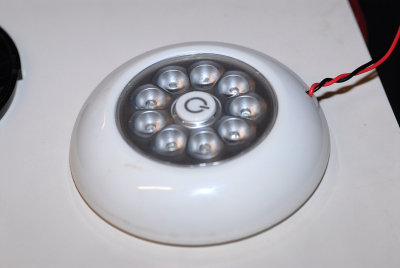
LED ceiling light, modified 8192.jpg
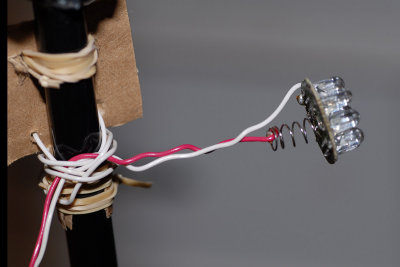
LED modeling light 8193.jpg
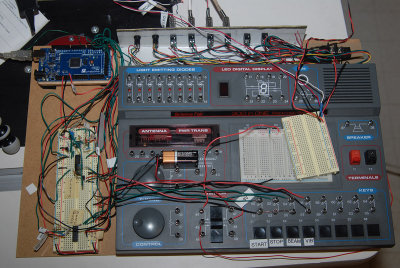
Project board overview_8188.jpg
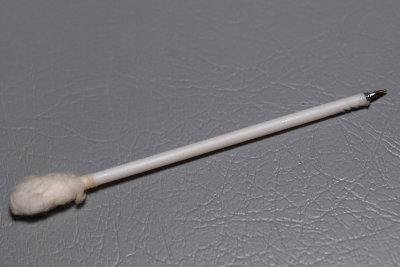
Q-tip blowdart 8185.jpg
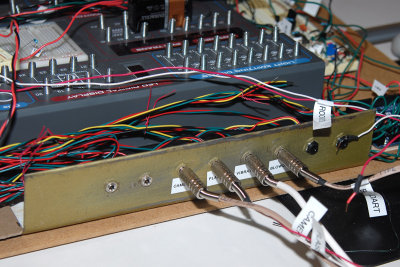
plugs 8190.jpg
plugs 8190.jpg