21-JAN-2013
81212971.jpg
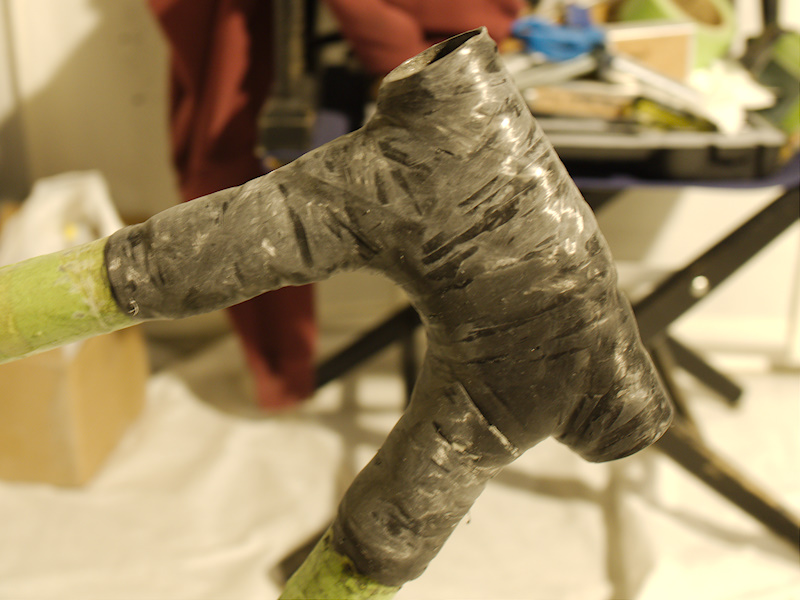
Day 4: Carbon Wrapping Completed
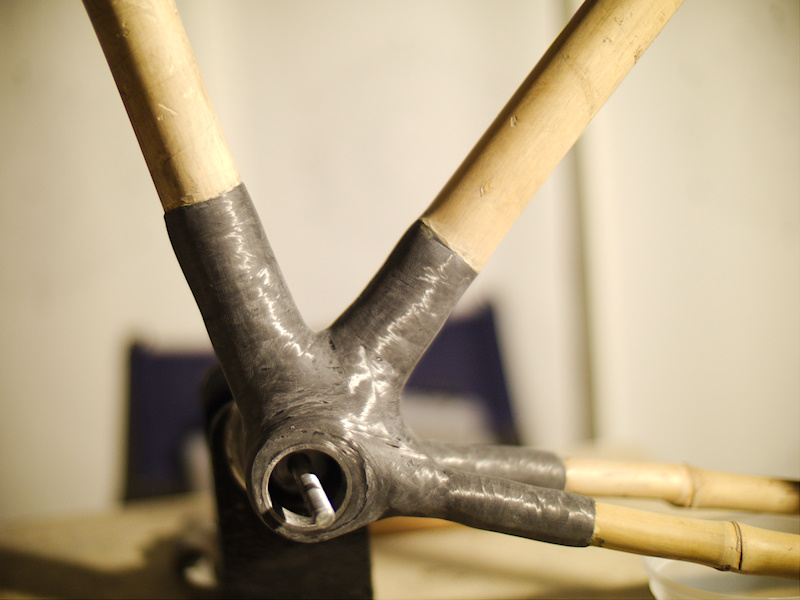
Head tube lug after initial filing/sanding. Recommend a power detail sander for this work. Knocking down the ridges is important to reduce stress risers that can lead to cracks. Though the surface now looks grey, it will go dark black after a finish coat of polyurethane is applied.
I followed the BBS recommend carbon wrapping procedure as best I could, but it was my first experience using carbon tow and hand layup. The wrapping sequence is fairly complex so take notes while watching the videos and draw diagrams if needed. I would switch to the slower setting West System epoxy hardener to give more working time...I found I was hurrying too much while doing this work.
21-JAN-2013
81212973.jpg
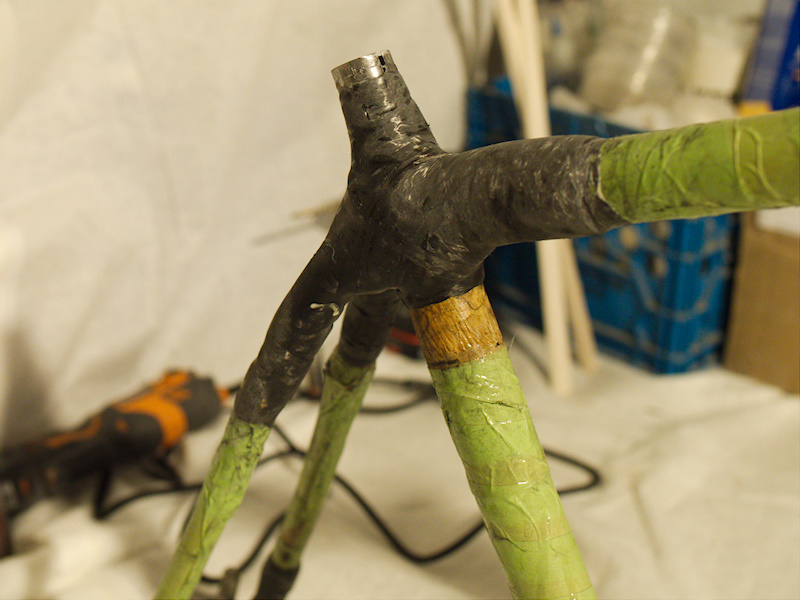
Seat Lug carbon wrapped and intial sanding completed.
21-JAN-2013
81212974.jpg
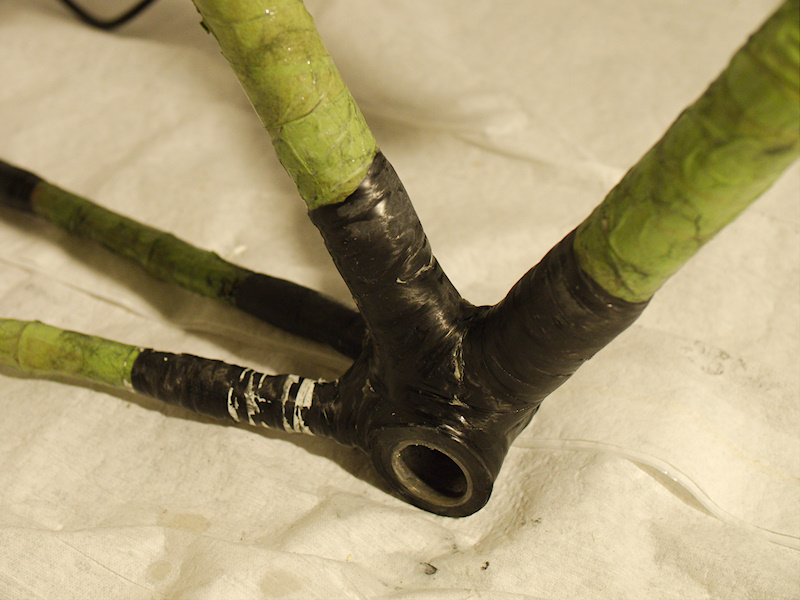
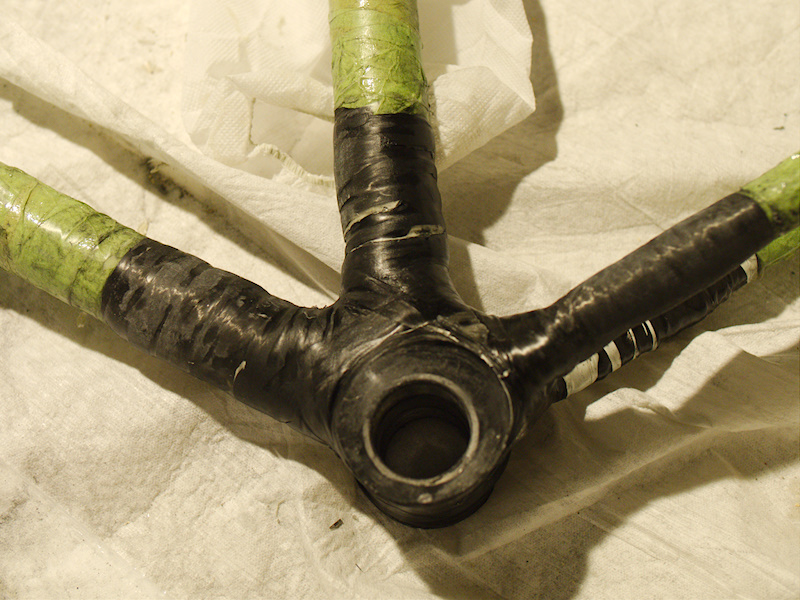
Bottom Bracket lug carbon wrapped and initial sanding underway.
21-JAN-2013
81212979.jpg
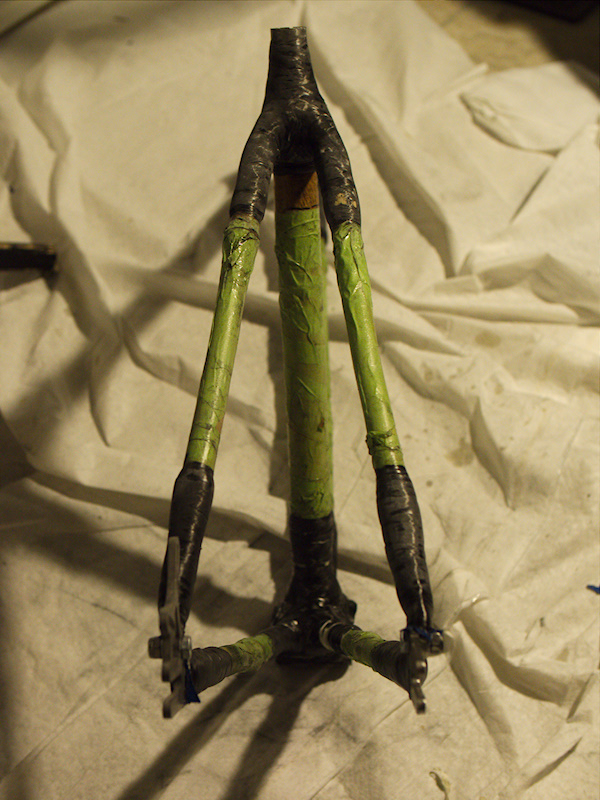
Rear view of frame. The rear jig allows up to 130 mm clearance between dropouts. My Alfine 11 speed internal gear hub requires 135 mm clearance. After discussing with BBS, the recommendation was to add 5 mm spacer (extras in kit) between drops in the jig AFTER re-configuring the jib for vertical mounting. This allows both dropouts to move away centerline 2.5mm...if this spacer is added while the frame is still mounted horizontally, the upper (driveside) dropout will lift up 5 mm away from centerline. Thus the dropouts will no longer be equal distance from centerline.
21-JAN-2013
81212981.jpg
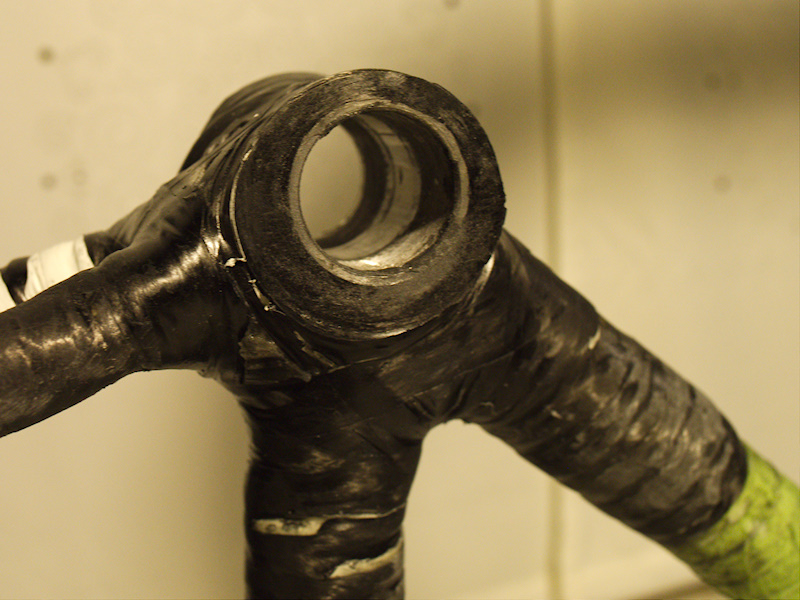
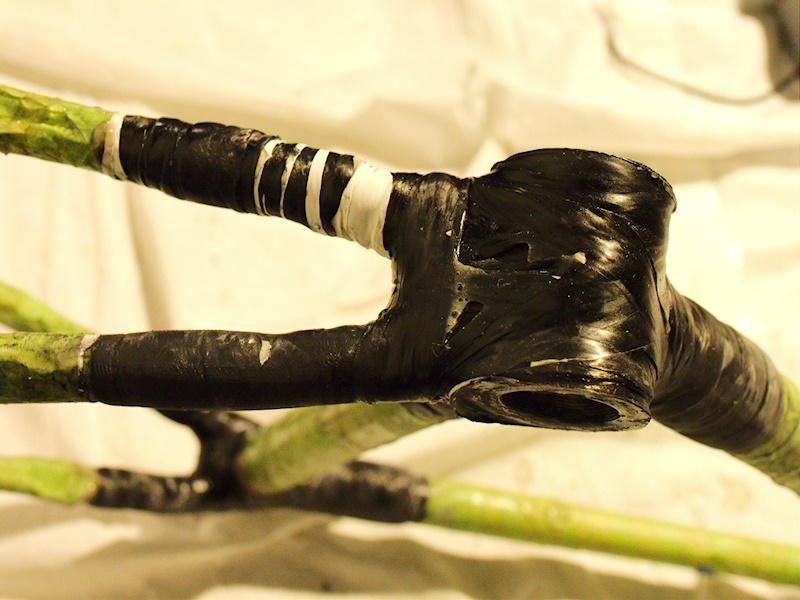
Side view of bottom bracket showing carbon build up around bottom bracket shell.
21-JAN-2013
81212985.jpg
Another view of bottom bracket.
21-JAN-2013
81212986.jpg
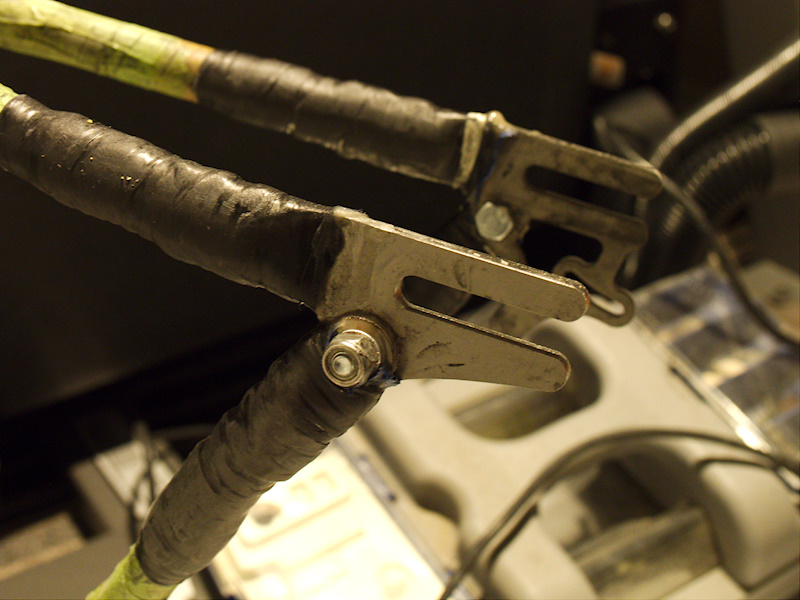
Rear dropout (non-drive side) showing the disc brake mount points. I will need to figure out how best to add a fitting for a rear bike rack mount & rear fender mount.
21-JAN-2013
81212987.jpg
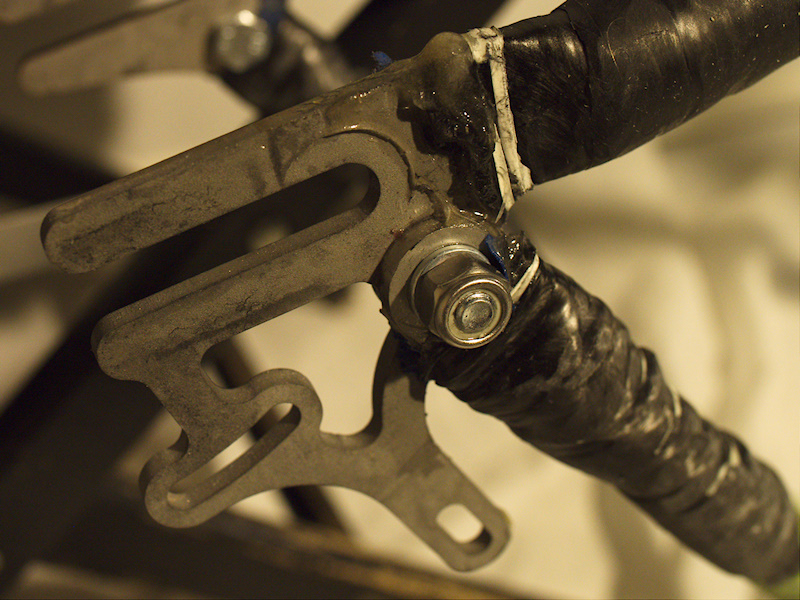
Rear Dropout, drive side. With horizontal dropouts, chain or belt tensioning is done by moving the axle fore/aft in the slots. Note that with a belt drive bike, you need a way to open the rear triangle on the drive side to install/remove the belt (no way to remove a link like on a standard chain). The bolt seen here releases the seat stay end from the dropout, so using a belt becomes possible.
21-JAN-2013
81212988.jpg
Underside of bottom bracket showing the carbon wraps. I'll fill the voids with thickened epoxy and fair it down for better asthetics.
28-JAN-2013
81282994.jpg
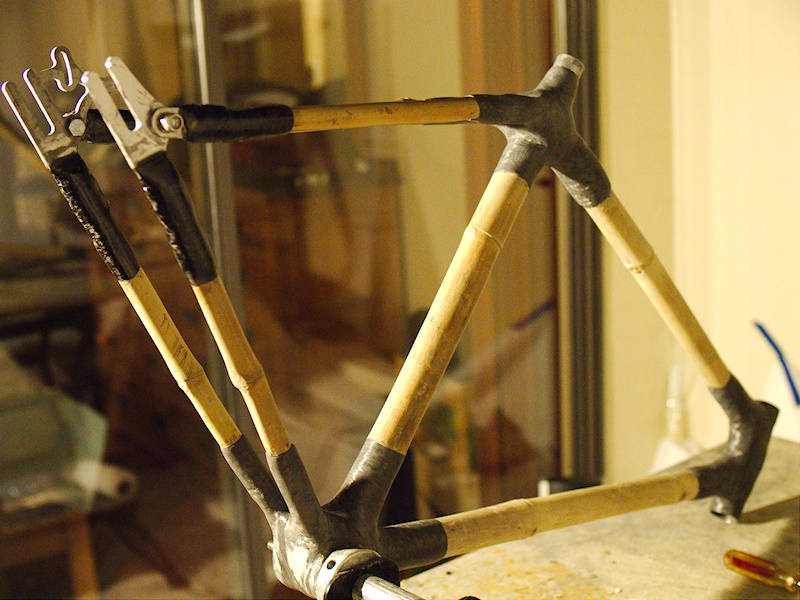
Day 5: Overall frame ready for finishing.
28-JAN-2013
81282990.jpg
Bottom Bracket ready for finishing.