


|
|
|
|
|
|
| Michael | profile | all galleries >> Infrared Images >> Infrared processing choices. | tree view | thumbnails | slideshow |
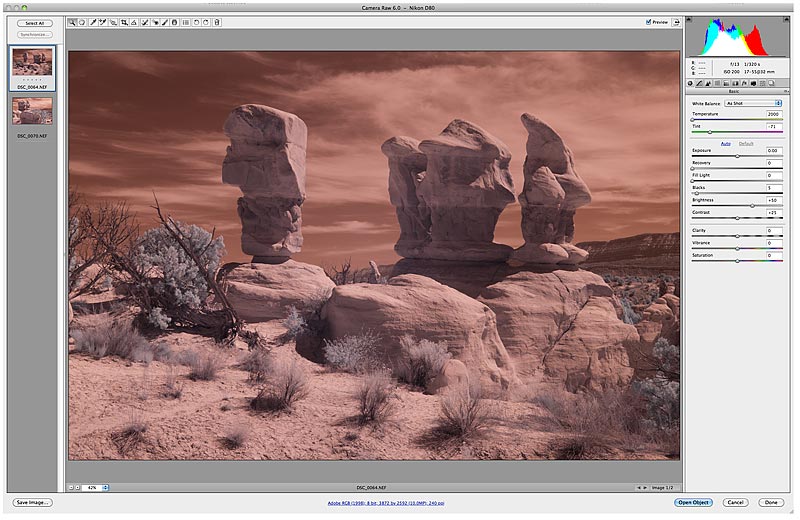 It all starts here in the RAW converter. For some, this is also where it ends. While many like to set a white point in here and use that for color balance, I prefer not to. My CWB in camera is set on green grass, I leave it "as shot" in Camera RAW, note that the color temperature is as low as it goes (2000K) |
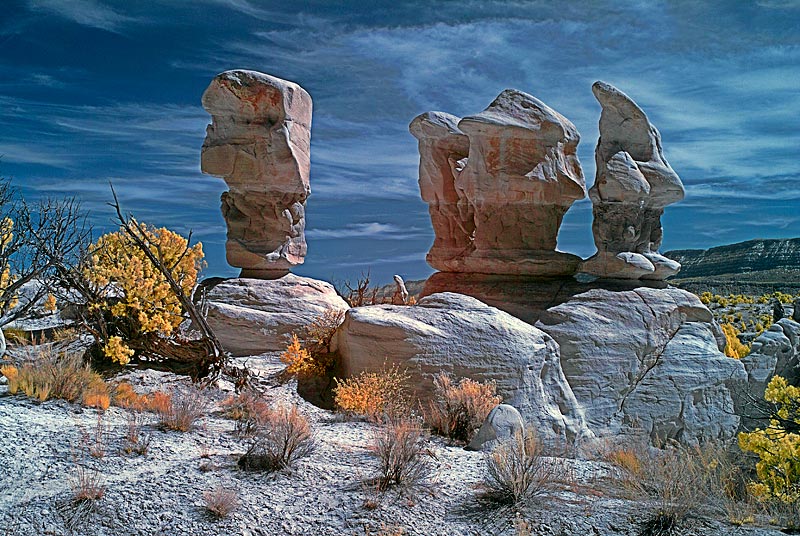
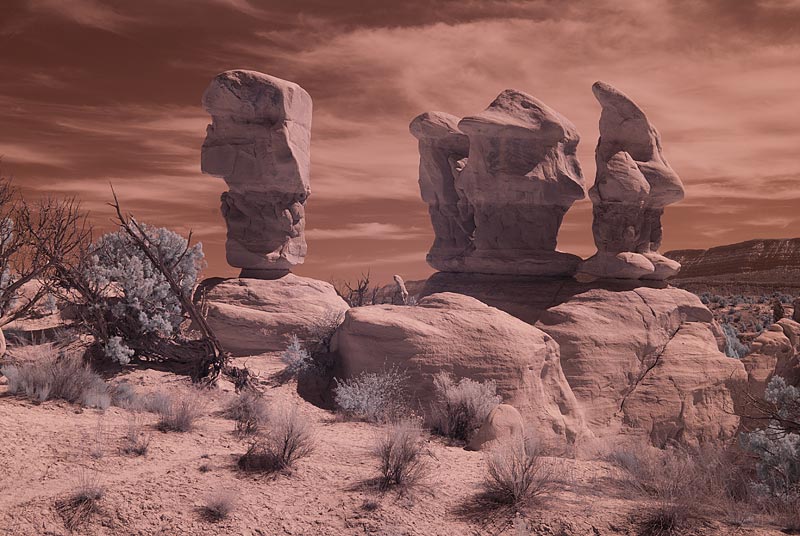 Here is the image opened in Photoshop, before we begin to fine tune it to our taste. From here on, let's refer to this as the "original image". |
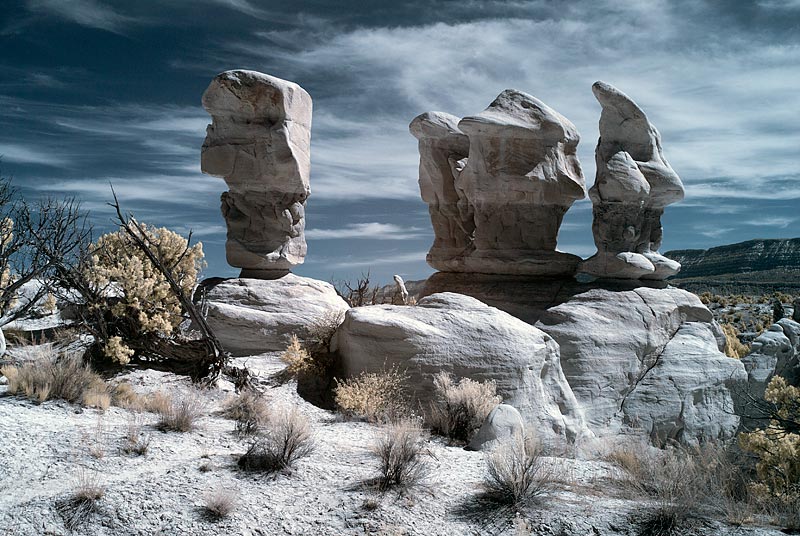
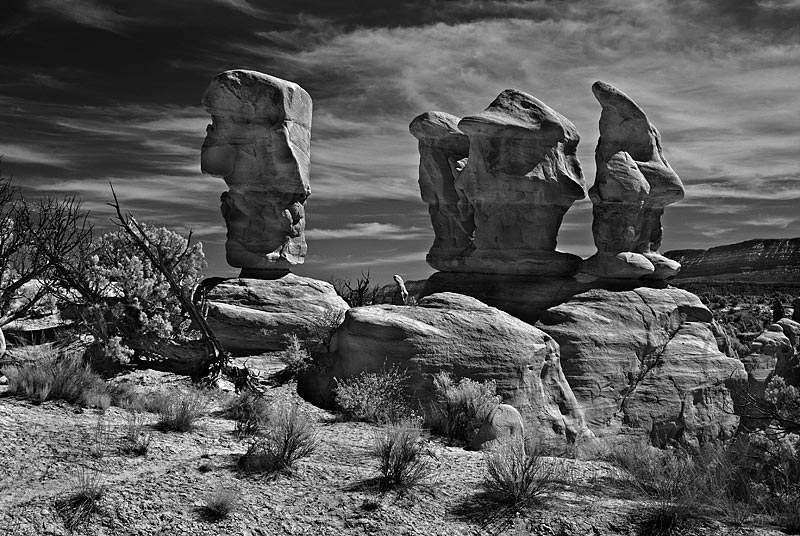 A B+W from the original image. |
 Original image with only levels adjusted. |
 Original image with levels adjusted, then shadow/highlights adjusted. |
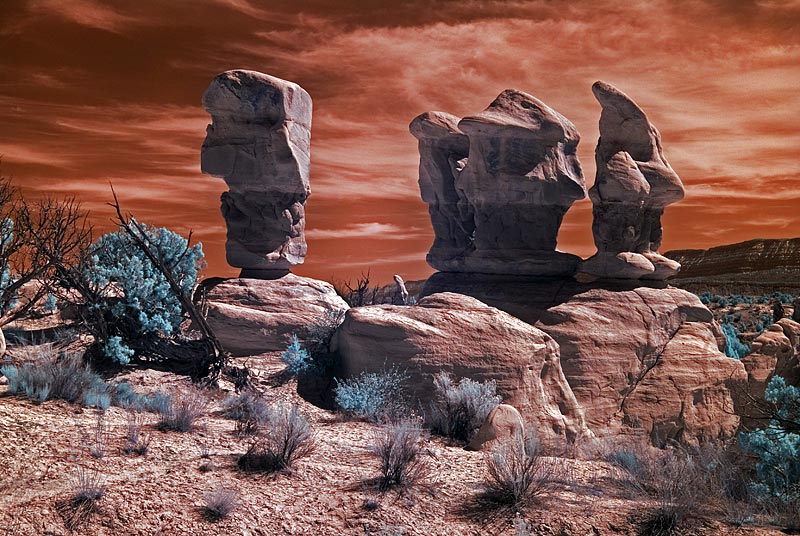
 Original image with levels adjusted and hue/saturation amplified in the red and green channels. |
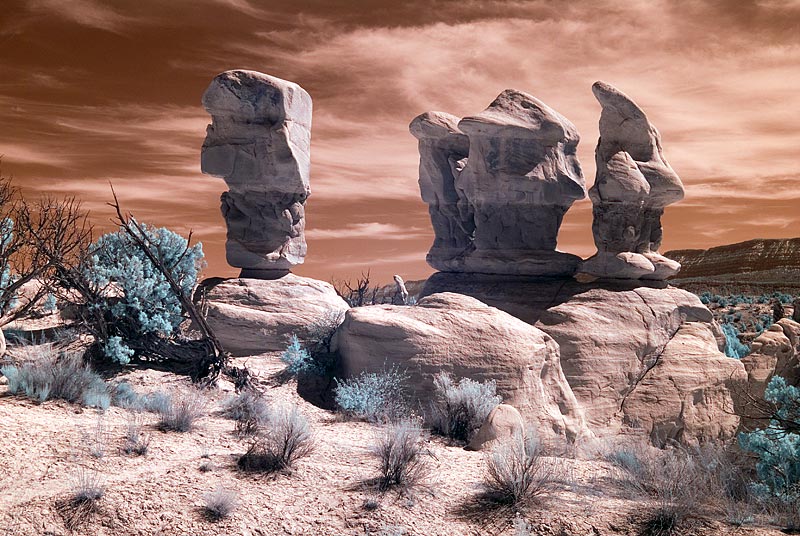
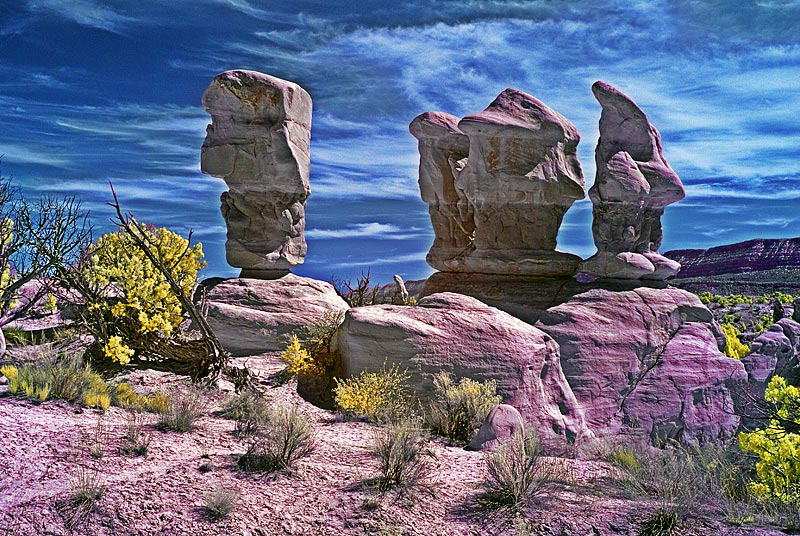
 Original image with red and blue channels swapped. |
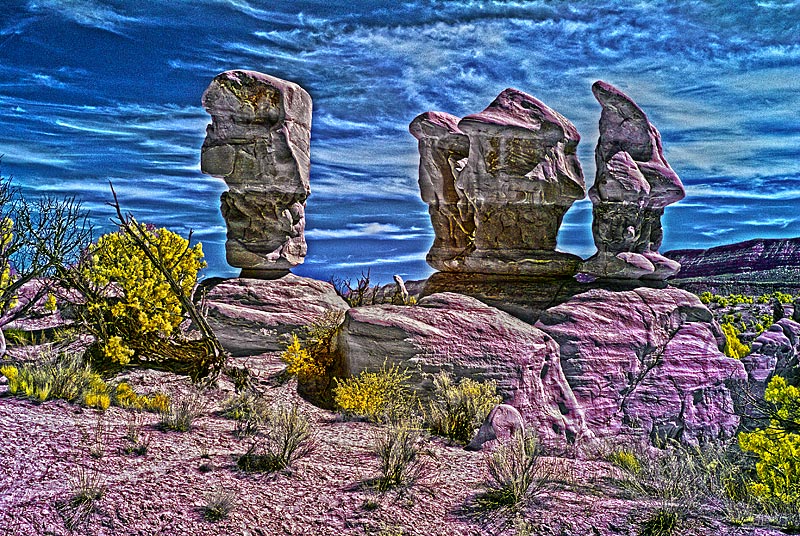
 Original image with red and blue channels swapped, then hue/saturation adjusted in the blue and yellow channels. |
 Original image with red and blue channels swapped, then hue/saturation adjusted in the blue and yellow channels. Then added a contrast mask with a 12 pixel radius on the Gaussian blur. |
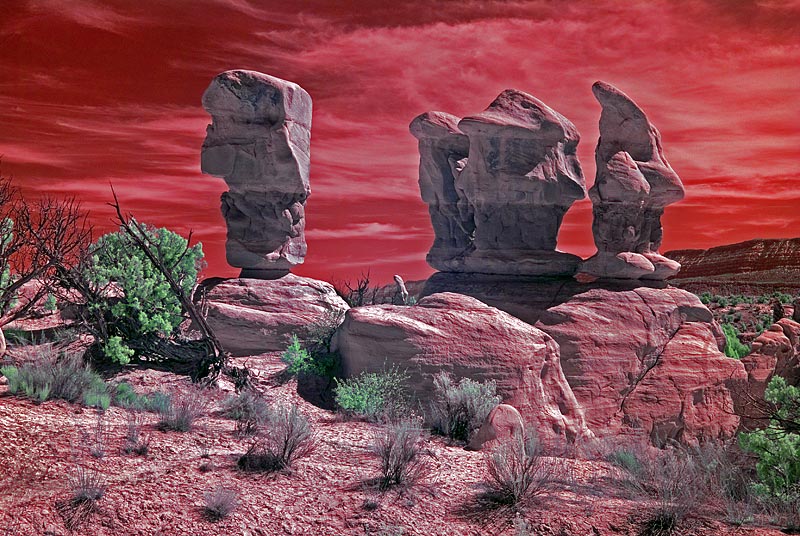
 Original image with red and blue channels swapped, then hue/saturation adjusted in the blue and yellow channels. Next I used hue/saturation to make the rocks more magenta. |
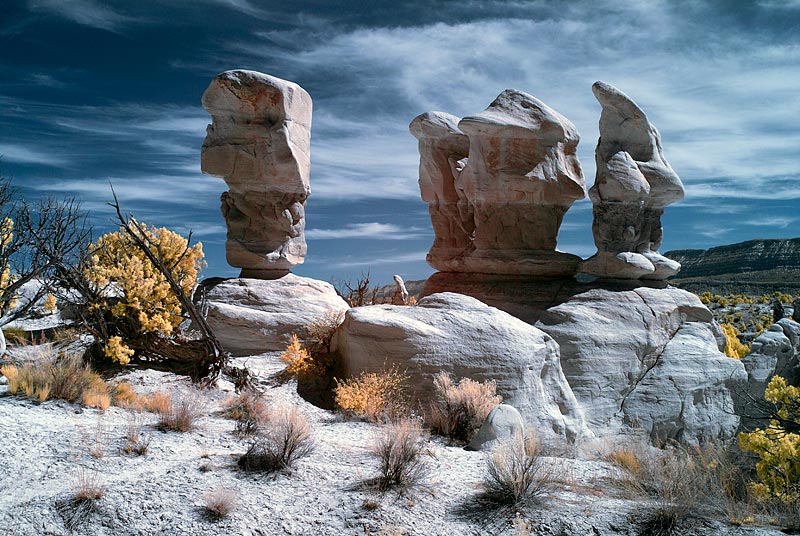
 Same as previous image, then added some tone mapping to control the highlights and bring out more detail. |
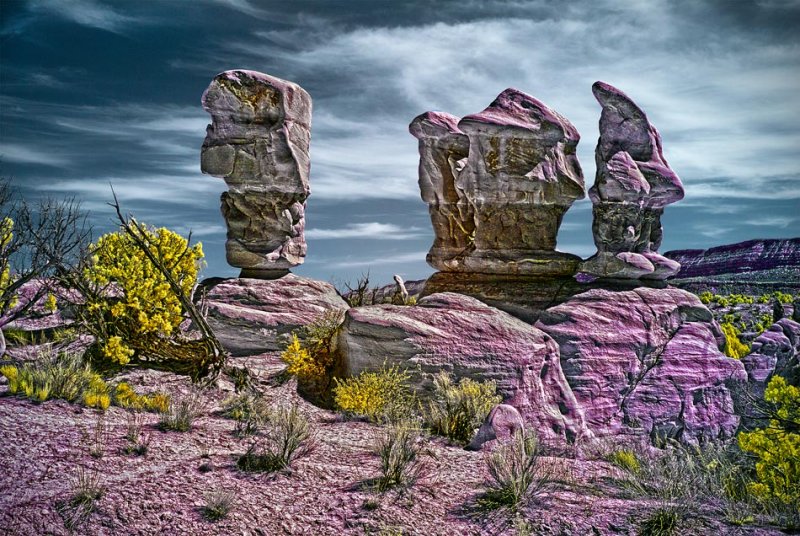 Previous image, with the sky from the original image after channel swapping. Then burn in the corners a bit. I think I'm done ... for now. |
| comment |