


|
|
|
|
|
|
| Brian Dickson | profile | all galleries >> Galleries >> Coast 2 Coast across England | tree view | thumbnails | slideshow |
 Coast to Coast map |
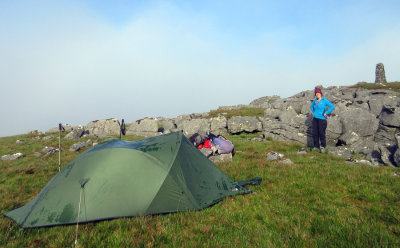
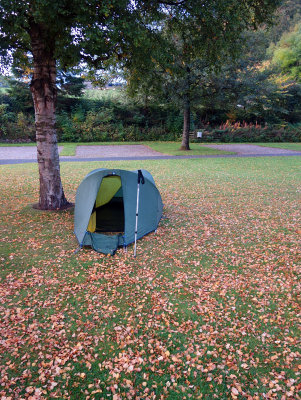 Part I Camp in Kirkby Stephen |
 Part I |
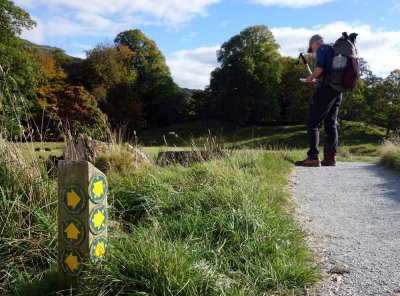
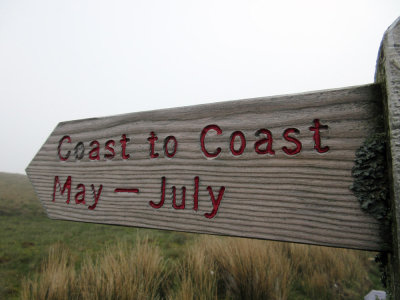
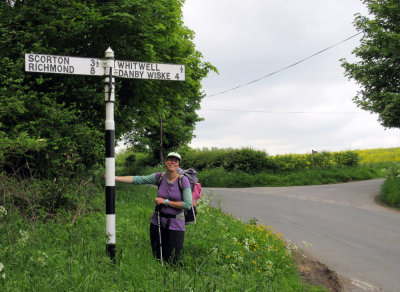
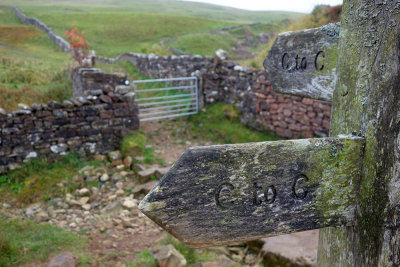 Part I Occasional sign posts along the way |
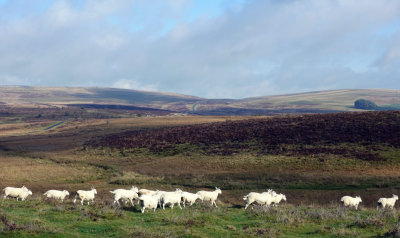 Part I Limestone plateau west of Kirkby Stephen |
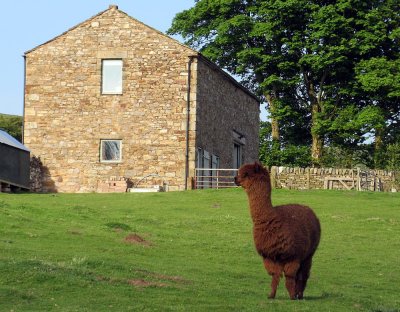
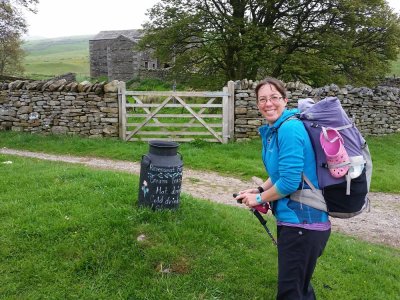
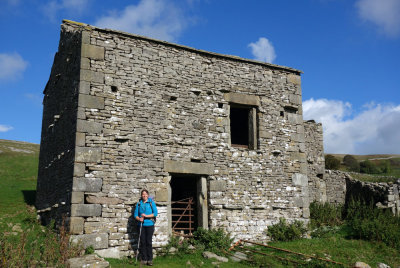 Part I Traditional field barn |
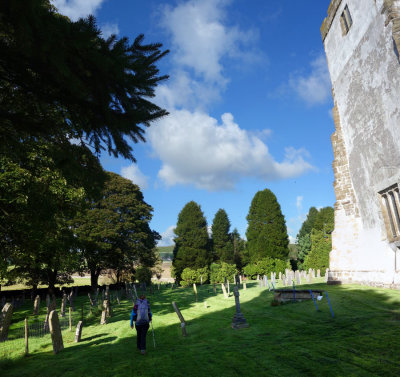 Part I Orton Church- the route went through the graveyard |
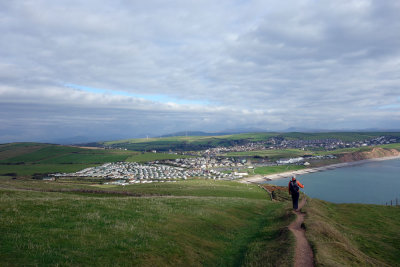
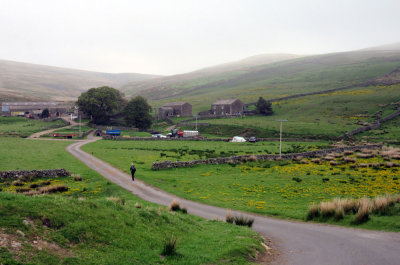
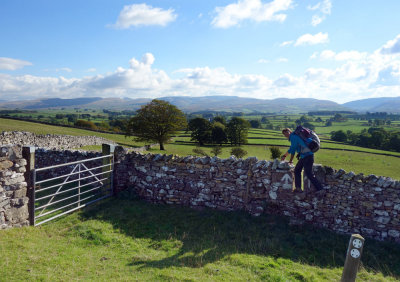 Part I Looking down to the town of Orton |
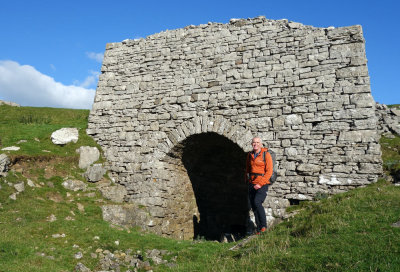 Part I Disused limekiln |
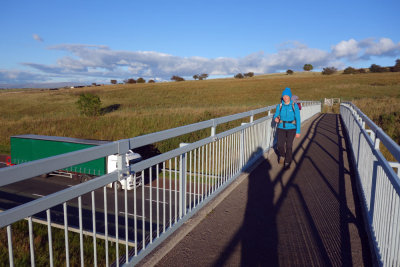 Part I Crossing the M6 near the town of Shap |
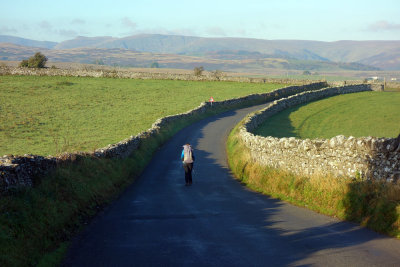 Part I Leaving Shap heading towards the Lake District |
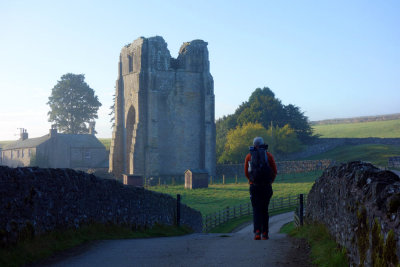 Part I Approaching Shap Abbey |
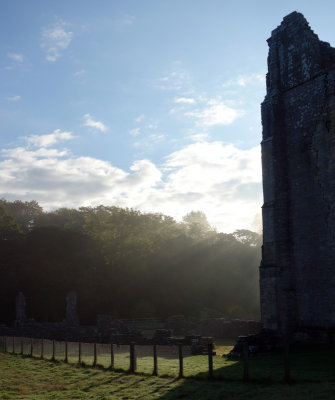 Part I Shap Abbey |
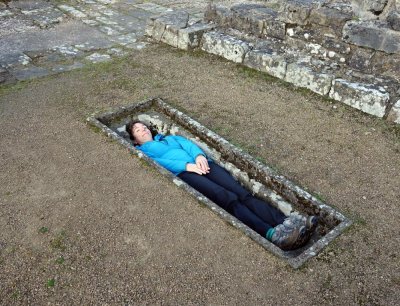 Part I Shap Abbey! |
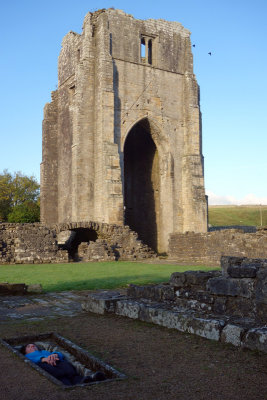 Part I Shap Abbey |
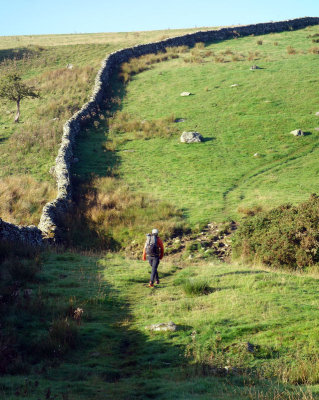 Part I Field crossings |
 Part I |
 Part I |
 Part I |
 Part I |
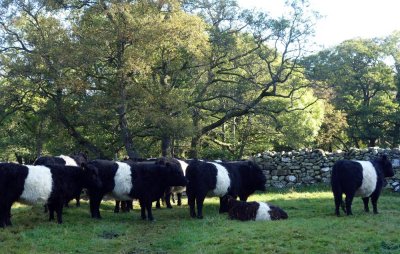 Part I Belted Galloway's |
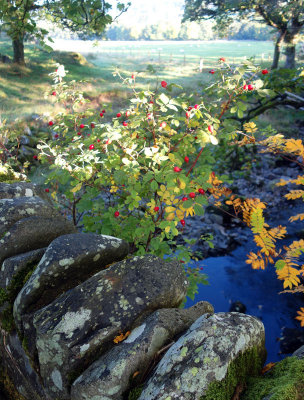
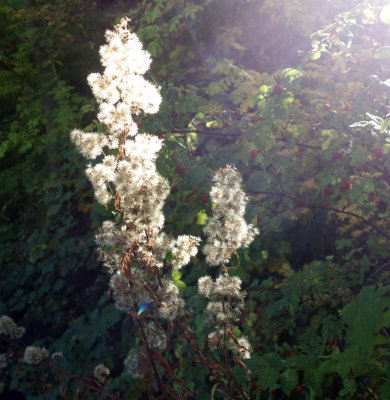
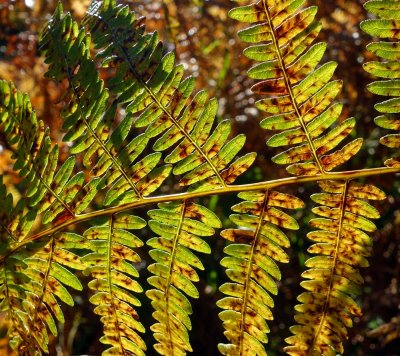 Part I Autumnal fern |
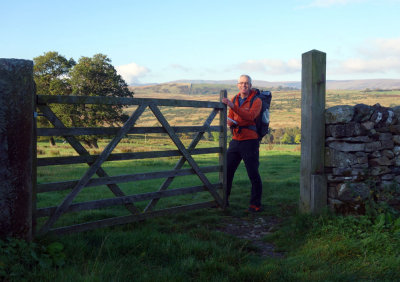
 Part I |
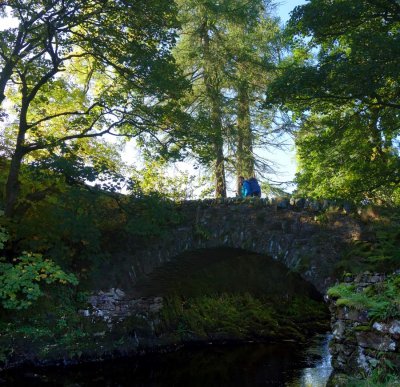
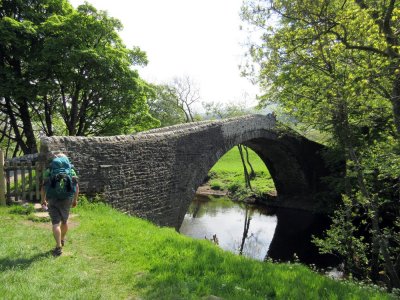
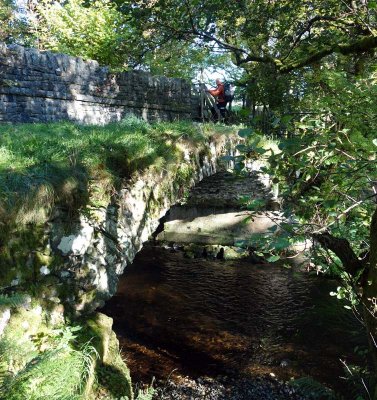 Part I Burnbanks old bridge |
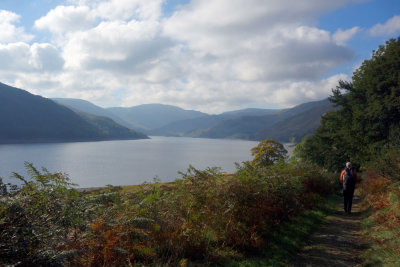 Part I Haweswater at the eastern edge of the Lakes |
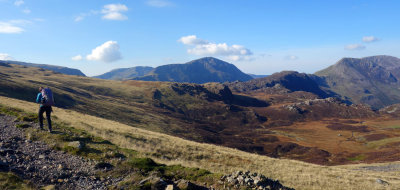
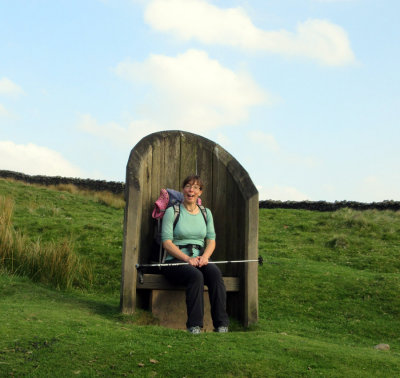
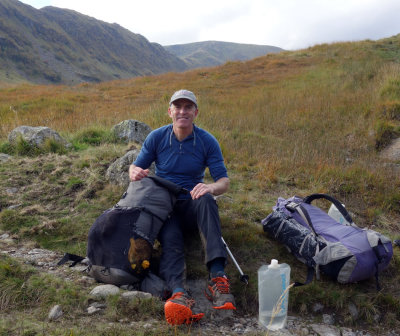 Part I Rest stop before climbing High Street fell in the Lakes |
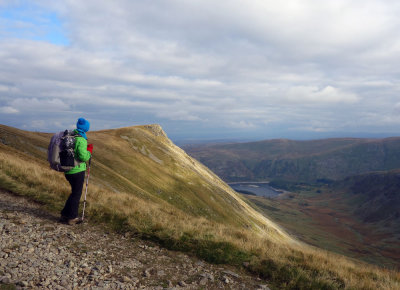 Part I Kidsty Pike |
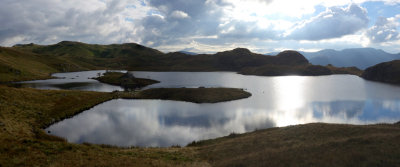 Part I Angle tarn |
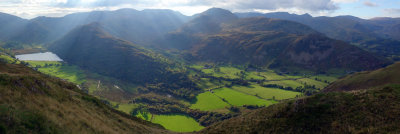 Part I Patterdale panorama |
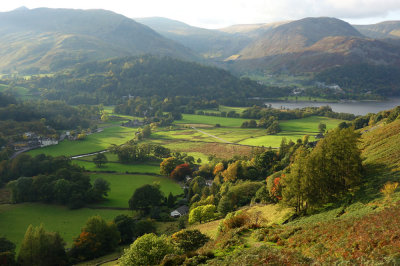 Part I Patterdale and Ullswater |
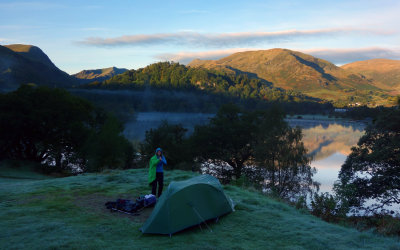 Part I Frosty camp beside Ullswater |
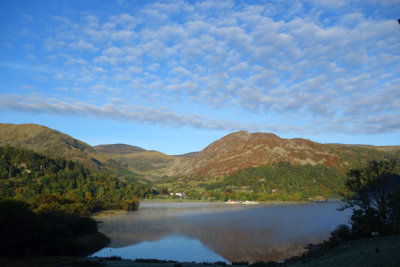 Part I Ullswater early morning |
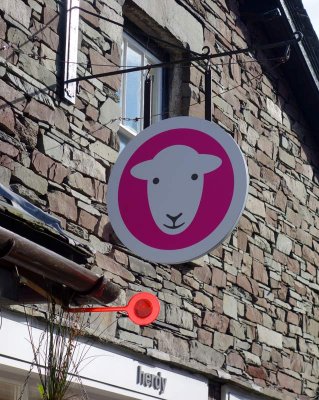
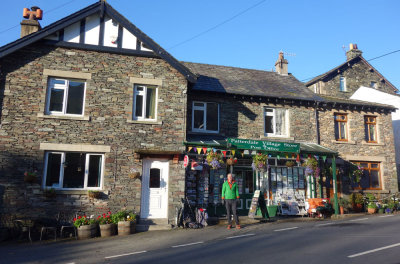 Part I Patterdale shop for a resupply of food |
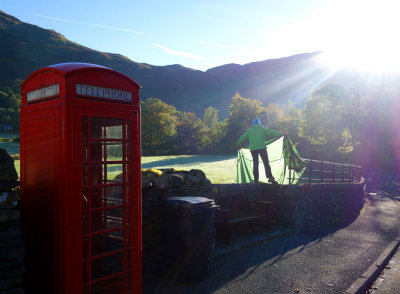 Part I Drying the tent in Patterdale after a frosty night |
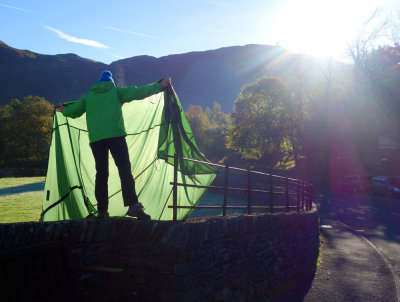 Part I Drying the tent in Patterdale after a frosty night |
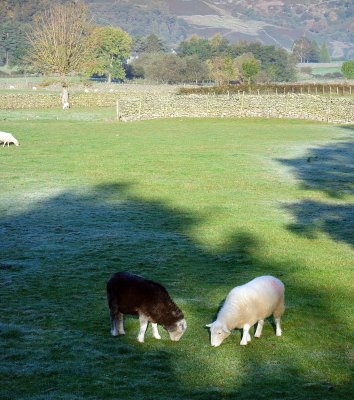
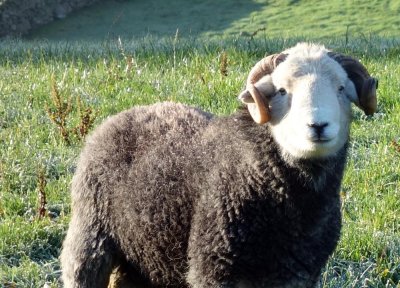
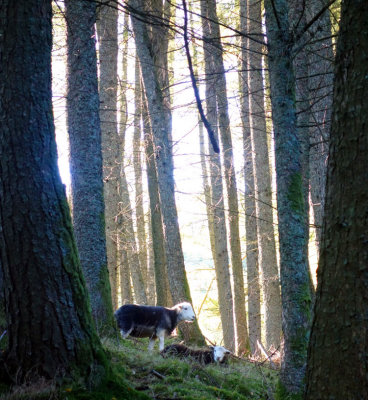 Part I Herdswicks |
 Part I Grisedale Tarn |
 Part I Which way!? |
 Part I Grasmere |
 Part I |
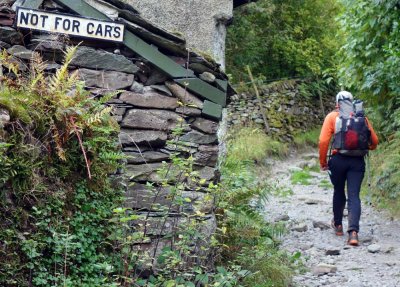 Part I 'Not for cars' |
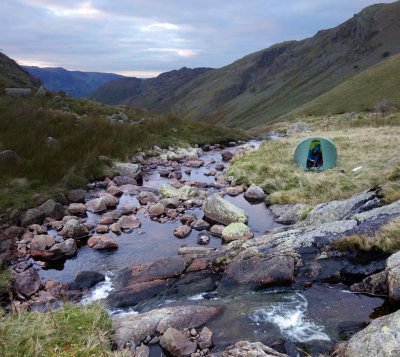 Part I Camp near Greenup Edge |
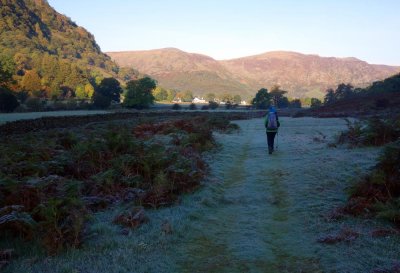 Part I Frosty early morning in Borrowdale |
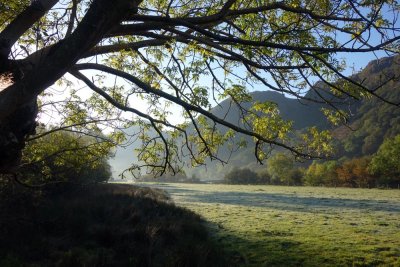 Part I Borrowdale |
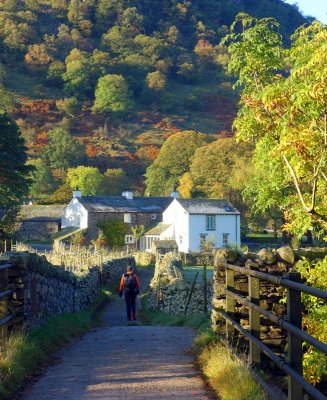 Part I Stonethwaite Borrowdale |
 Part I |
 Part I |
 Part I Rosthwaite Borrowdale |
 Part I |
 Part I Seatoller Borrowdale |
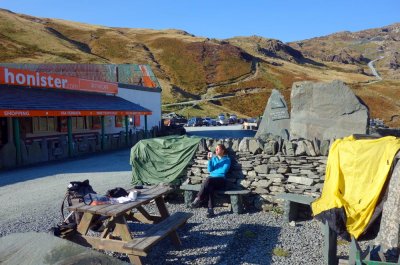 Part I Drying the gear at Honister Pass |
 Part I High ground looking to Pillar |
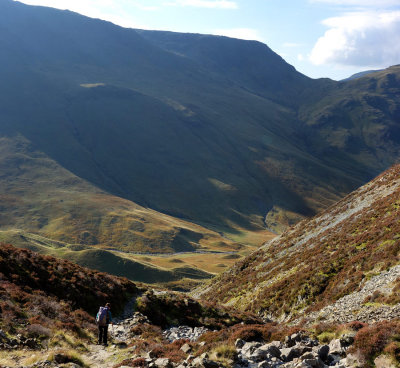 Part I Descent into Ennerdale |
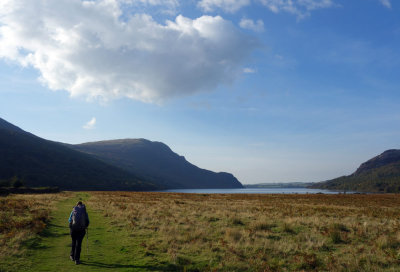 Part I Approaching Ennerdale water |
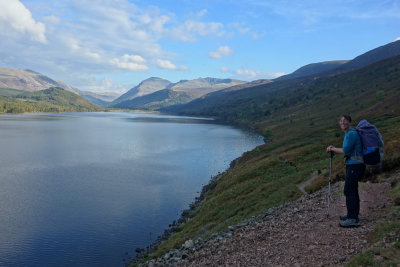 Part I Looking back east down Ennerdale water to Pillar |
 Part I Ennerdale Bridge |
 Part I |
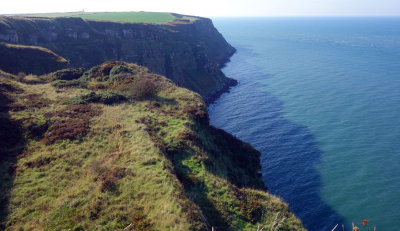 Part I St Bees coastline and the last few miles |
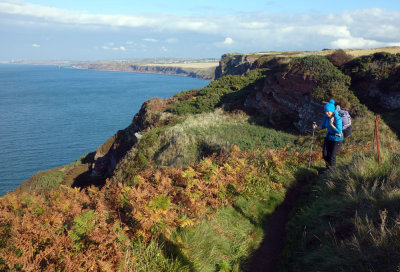 Part I St Bees coastline |
 Part I St Bees at the finish |
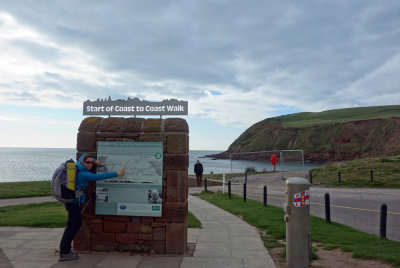 Part I Our finish at the Wainwright signpost St Bees |
 Part II Above Kirkby Stephen |
 Part II Above Kirkby Stephen |
 Part II Nine Standards Rigg |
 Part II First camp on Nine Standards Rigg |
 Part II Route splits on Nine Standards Rigg |
 Part II (sign seen in bothy in upper Swaledale!) |
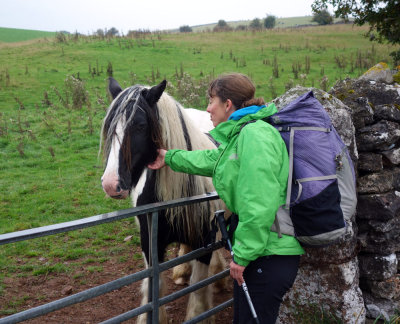
 Part II Ravenseat farm |
 Part II Ravenseat farm |
 Part II Swaledale |
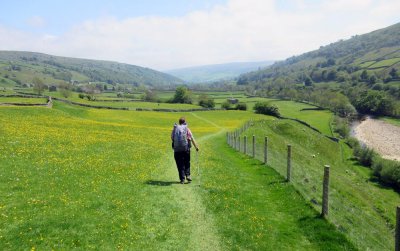 Part II Swaledale |
 Part II Swaledale |
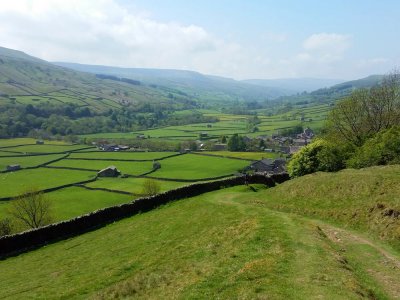 Part II Swaledale |
 Part II Swaledale Nun's steps east of Reeth |
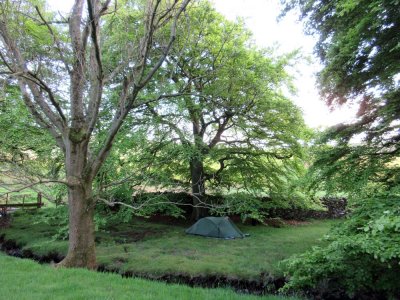 Part II Eller Beck 2nd camp |
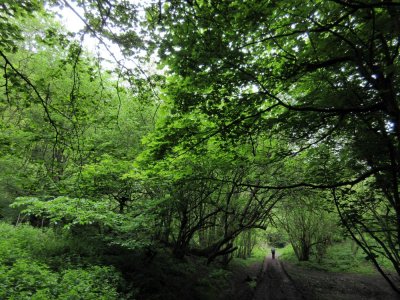 Part II Heading to Richmond |
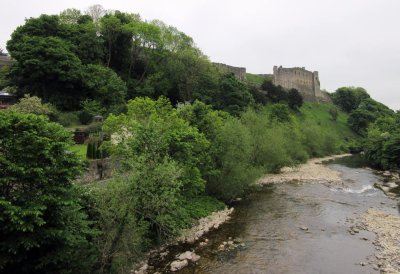 Part II Richmond castle from Swale river crossing |
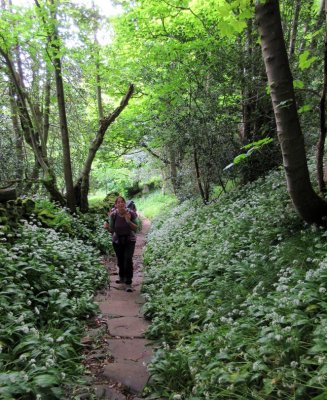
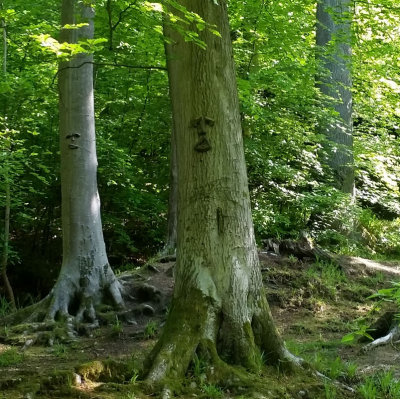
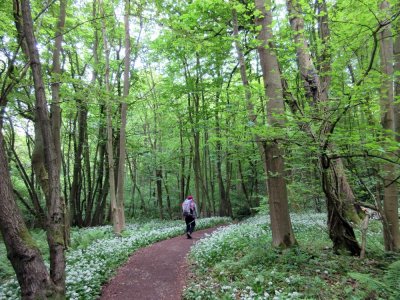 Part II Woods thick with wild onion past Richmond |
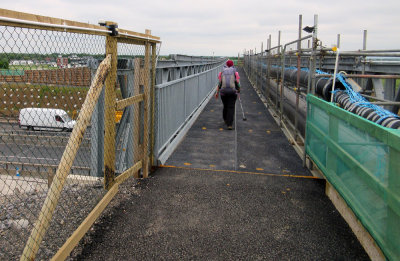 Part II A1 road works crossing |
 Part II Catterick |
 Part II St Marys Church |
 Part II |
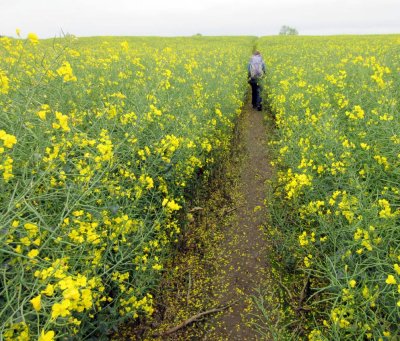 Part II Through fields of rapeseed |
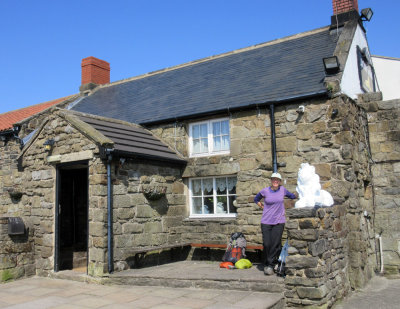
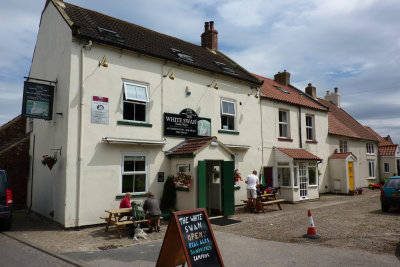 Part II Respite from flat walking at the White Swan, Danby Wiske |
 Part II Towards Osmotherly |
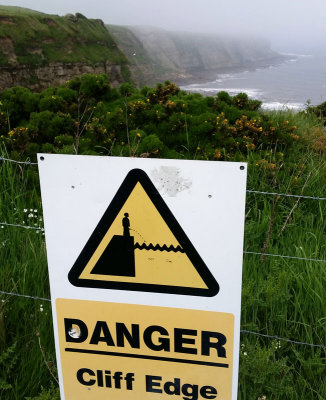
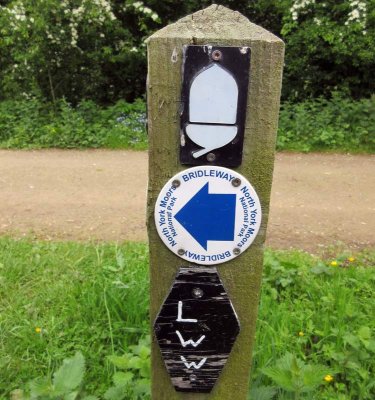 Part II Lyke Wake Walk coffin sign |
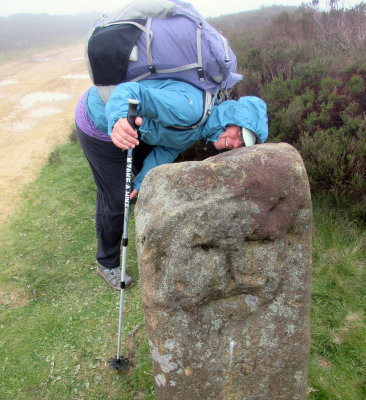
 Part II Wainstones on the North York Moors |
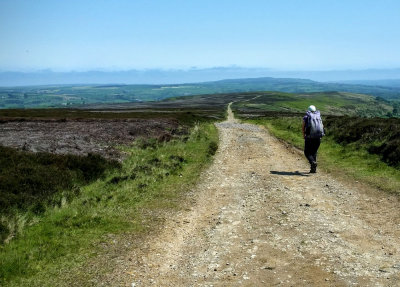
 Part II North York Moors |
 Part II Lion Inn North York Moors |
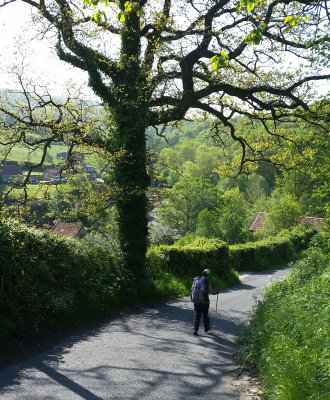
 Part II down to Glaisdale North York Moors |
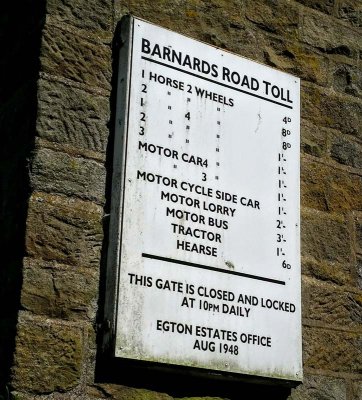 Part II Grosmont toll sign North York Moors |
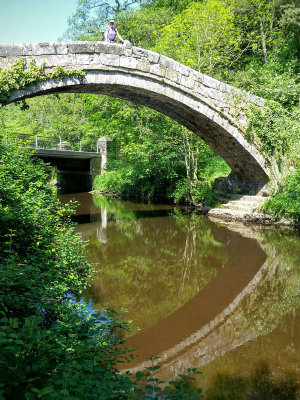 Part II Egton Bridge North York Moors |
 Part II Littlebeck North York Moors |
 Part II Littlebeck North York Moors |
 Part II Robin Hood's Bay |
 Part II Robin Hood's Bay and the end of our hike |
| comment | share |