


|
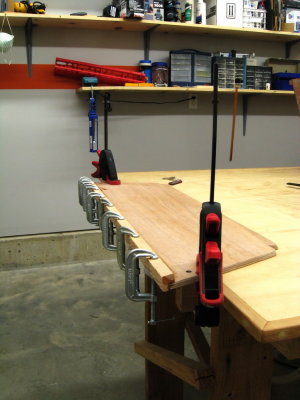
|
|
|
|
|
| bartenderdave | profile | all galleries >> Miscellany >> Nesting Pram: Little Blue Duck | tree view | thumbnails | slideshow |
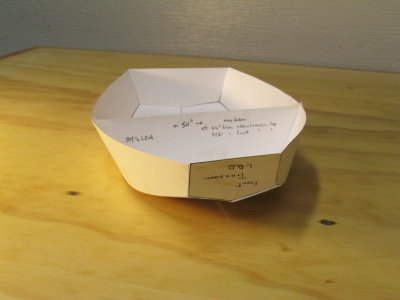
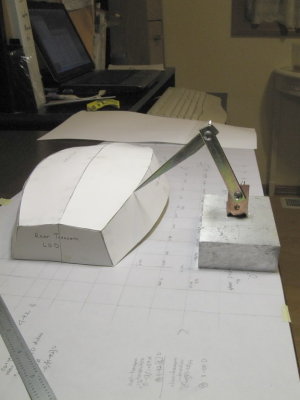
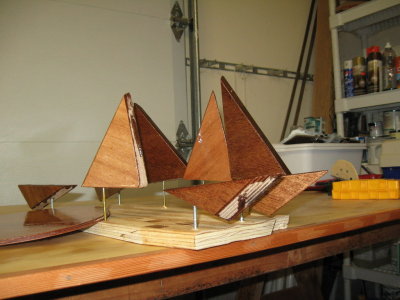
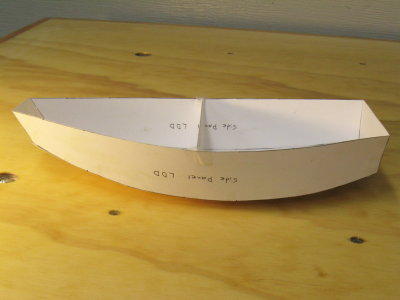 Cardstock model from scale versions of stitch and glue panels. |
 Stem oblique; design based on DinkyDink, Lewis Boat Works. |
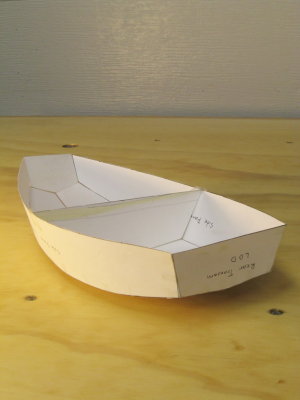 Stern oblique view. |
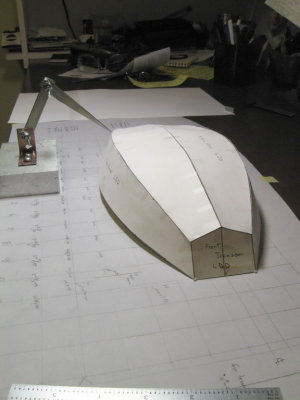 Model glued to reference-lined vellum. |
 Stations every inch at 1:8 scale makes for 10 slices. |
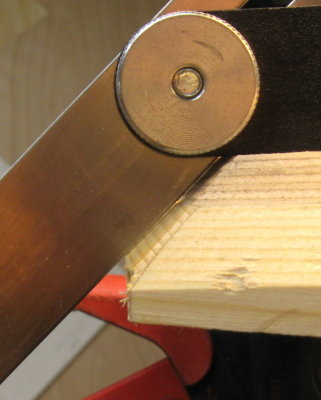
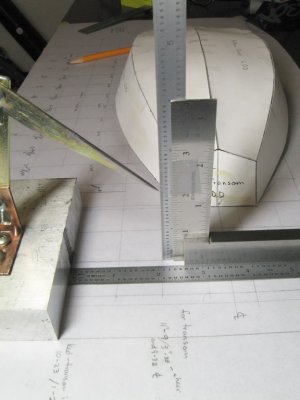 Extracting height and offset measurements. |
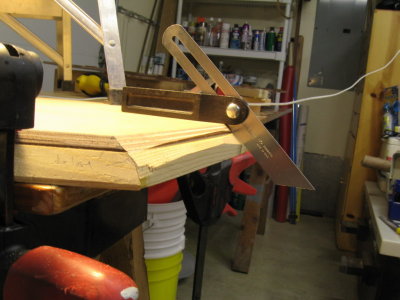
 Homemade tool articulates for horizontal and vertical measurements. Ugly. It works. |
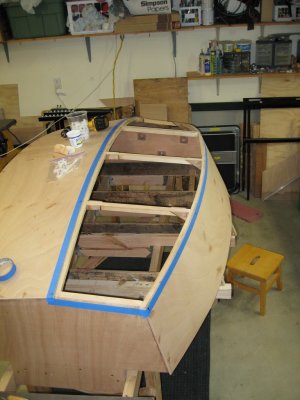
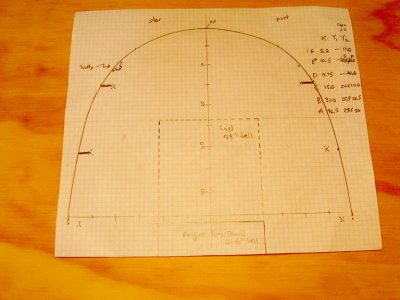 Scale plan view of Bartender cockpit; coaming line dictates tender cross section. |
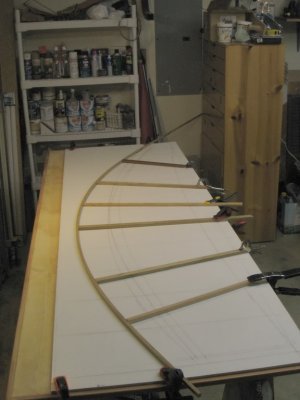
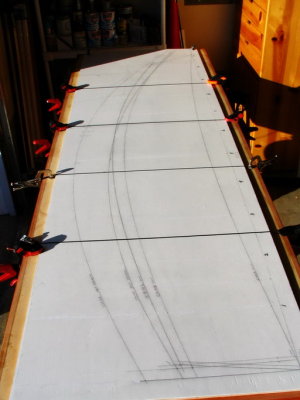
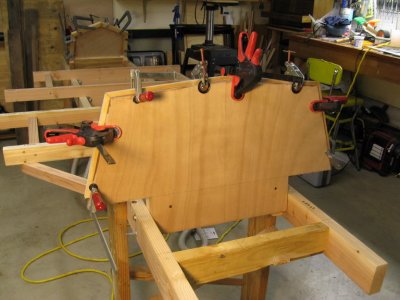
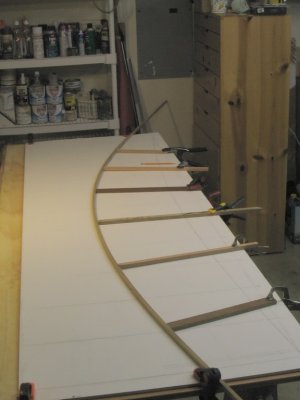 Lofting: Offset and height data at each station are transferred to a grid on plywood. |
 A line is drawn following the batten, visible at ends of props. Batten establishes best fit, a "fair line." |
 Previous line was chine height. This is sheer half breadth. |
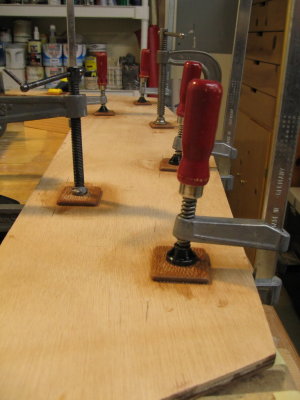
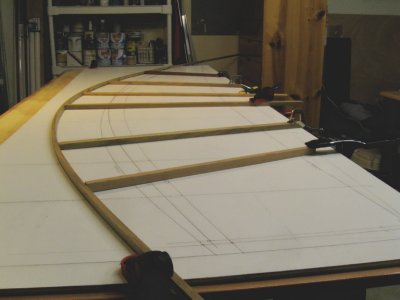 Close view. |
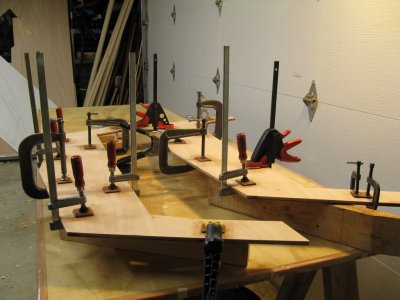
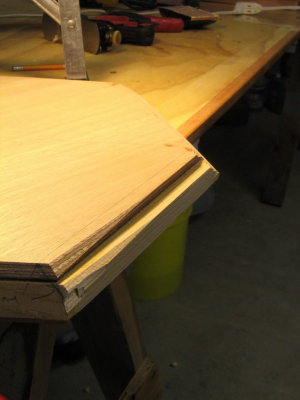
 Completed lines at stern; plywood is 30 inches across. Rear transom line will define intersections. |
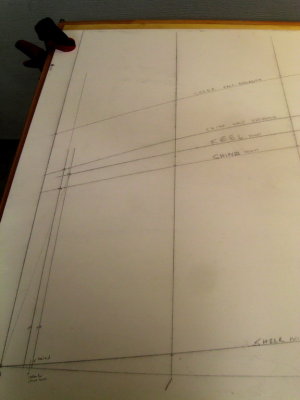
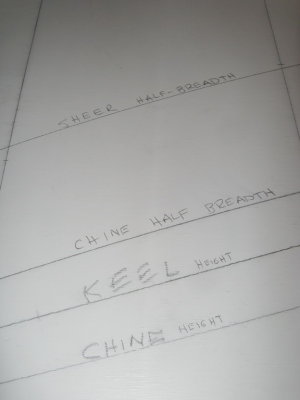 Height reference line connects sheer ends. Keel line references half breadths. |
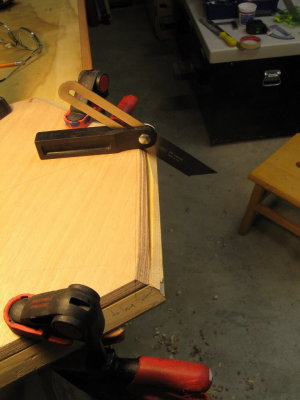
 At the bow, the lines cross, making measurement extraction tricky. |
 Original station lines erased, to bring out frame locations. Third one from stern defines the nesting bow. |
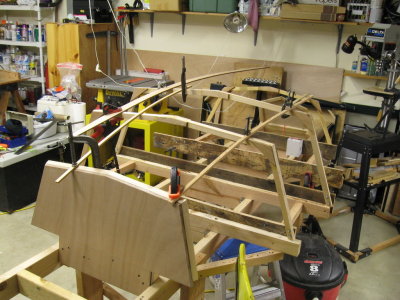
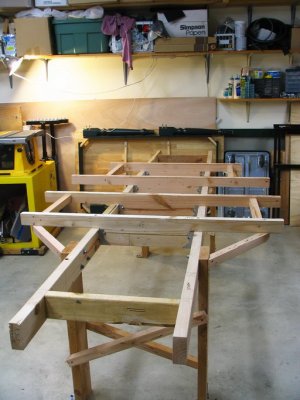 Building surface. Cross bars at frame locations, square and true. Transom supports TBA. |
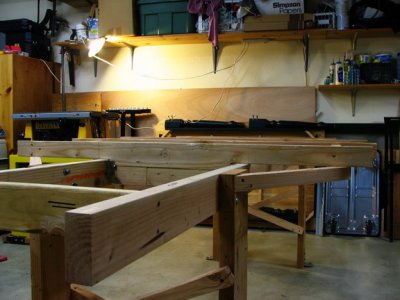 Ends of cross bars level all ways, sized for individual frame widths. |
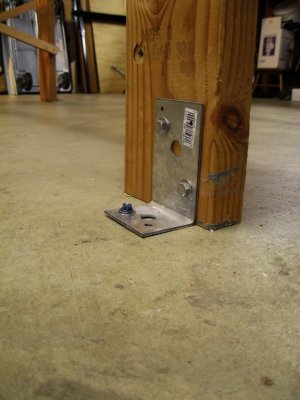 Leg anchor -- blue screws fix each leg to the concrete. Really solid. |
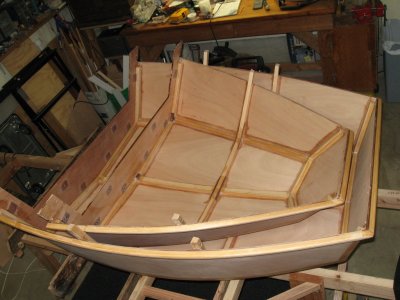
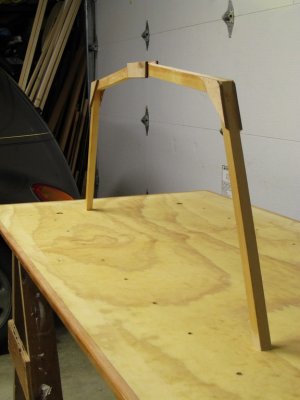 On to frames. Pretty skimpy -- hoping these will be herky enough to survive paneling. |
 Corners are gusseted with quarter inch plywood, here a chine. |
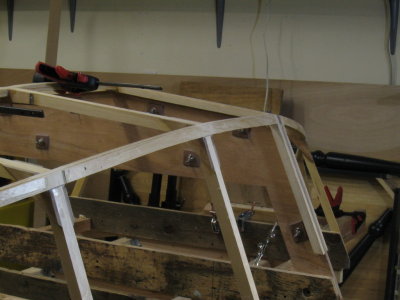
 Frames are glued up on the body plan; each the right bit long to establish the sheer, later. |
 Forward transom in position, during clampup of backing for attaching plywood. |
 Rear transom, same stage. |
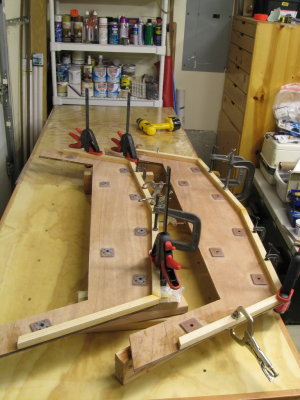
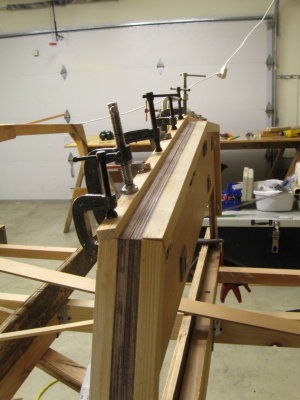
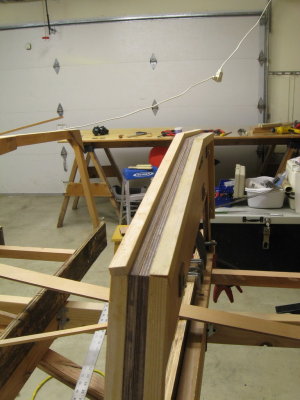
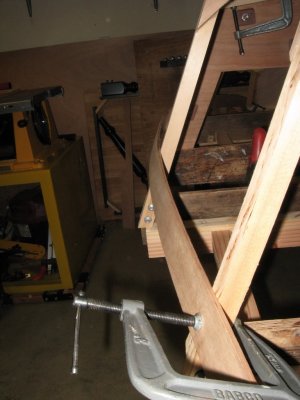
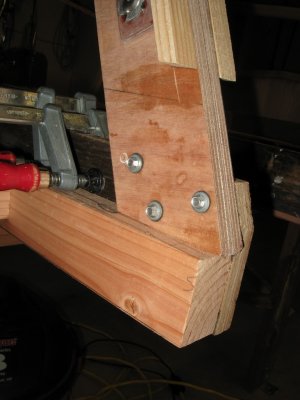
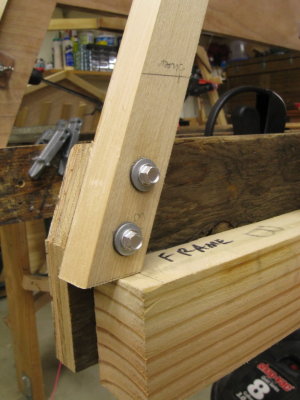
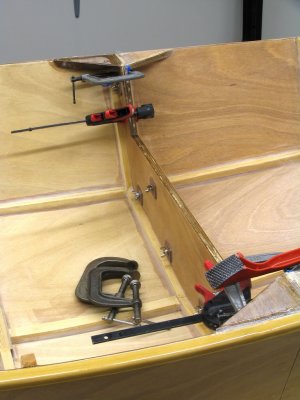
 Frame C is a double, to separate the halves, here receiving backing for attachment bolts. |
 Backing is some thin hardwood, glued on -- eight bolts, all told. |
 Detail of carriage bolt attachment; collars are stainless from McMaster-Carr. |
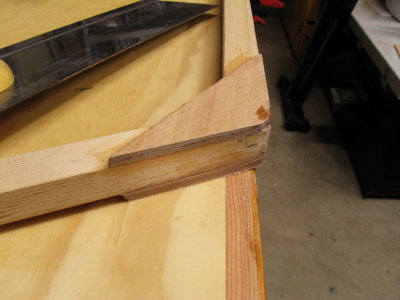
 Both transoms and two frames were pre-beveled using info from the lofting surface. |
 This series shows the forward transom, with some added wood in the first photo, here beveled on each end. |
 Down a little further. |
 Top view. Next shot shows the completed bevel in profile. |
 This is a rolling bevel, with a greater angle at the keel than the chine. Most bevels were simpler. |
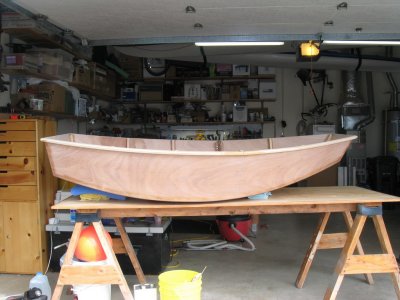
 All the frames up except the double, C. |
 Frame C gets some backing for screws, in glue-up phase. |
 Rear half of C gets some added wood to accomodate the bevel. |
 Extra wood is now glued on. |
 And here, beveled close to fair, on the bottom. Sides also required some added wood. |
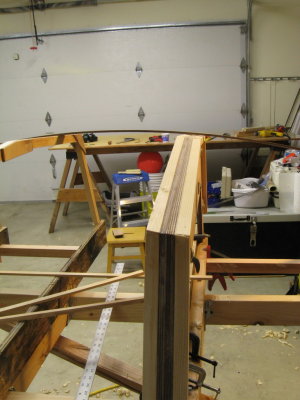
 Starboard frames faired on their flanks, looking aft. |
 Looking forward; very gratifying to see all those bevels come in. |
 Frames can be detached and reattached reproducibly to building surface, facilitating notching. |
 Screws are #10 self-piercing sheeters, with rubber-backed washers. Very handy. |
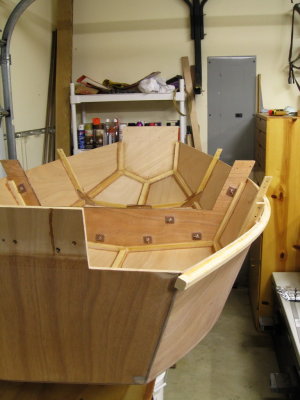
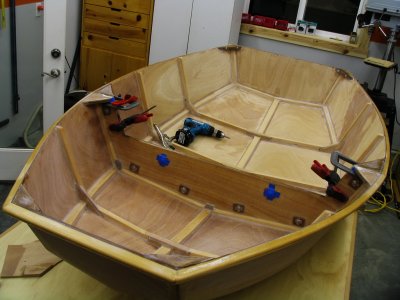
 Time to cut notches for chine logs and keelson, here the starboard chine area, double frame in the center. |
 Aft end, fully notched. |
 Keelson glue-up, in two layers. Full thickness too stiff to bend on without depressing frames. |
 Added support between frames B and C, to keep keelson fair. |
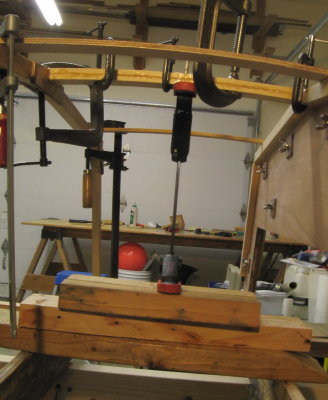
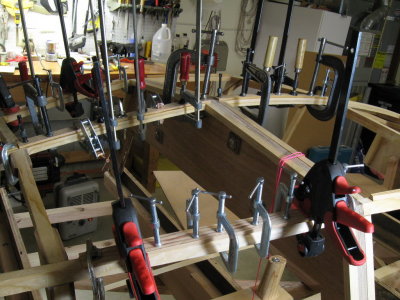
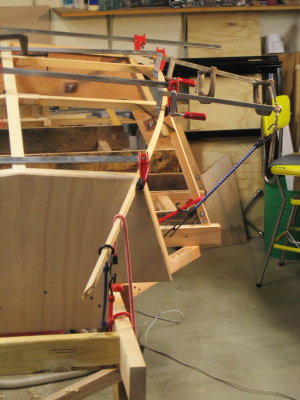 Couple of failed efforts to bend on the chines lead to wetting the wood and gradually developing the bend. |
 Easing the wood in over half an hour gave no failures; mega clamps the key, some weighted to rotate the piece into place. |
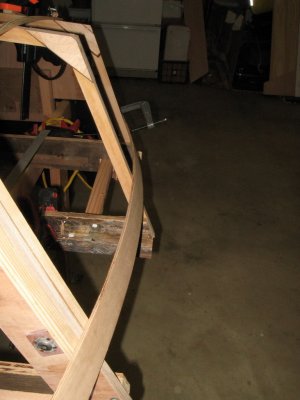
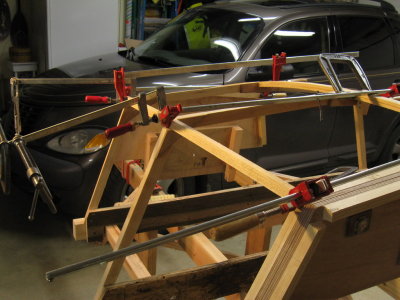
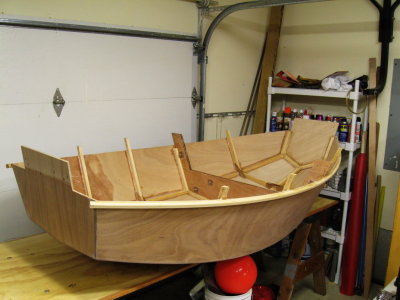
 Chine logs and keelson completed, aft portion. An airy framework. |
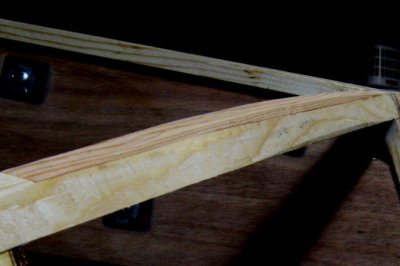
 Forward starboad chine log, first lamination: lots of twist and a captured notch in the transom. |
 Fairing: excess wood over a frame is filed away to establish the correct bevel. The logs and the keelson are planed fair. |
 Looks good, except to either side of the double frame; not enough curvature there. |
 Reason: should have sprung the stringers through the double frame; wood being added. |
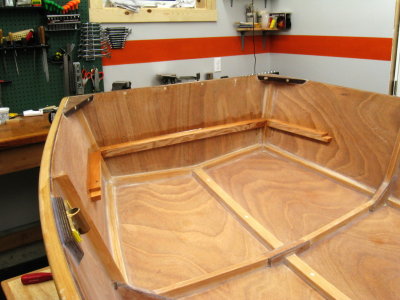
 Now the chines are fair on either side of the double frame. Ditto keelson. |
 Note almost a quarter inch of wood was needed between frames C and D in the center to correct the line. |
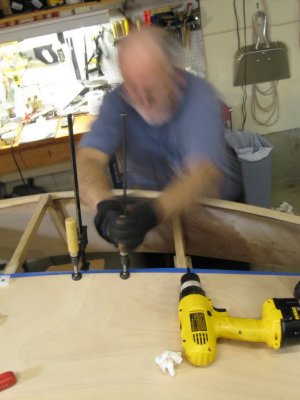
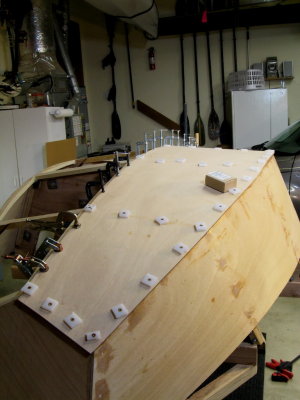
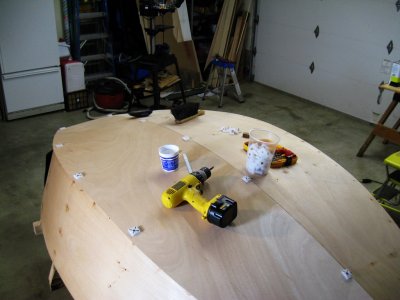
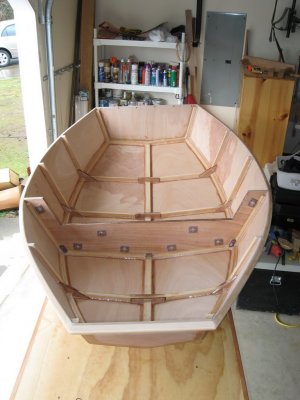
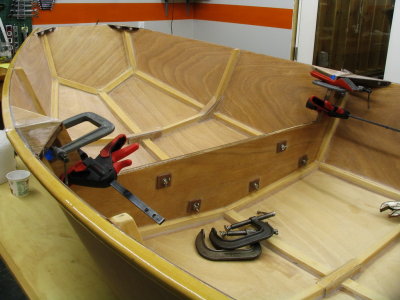
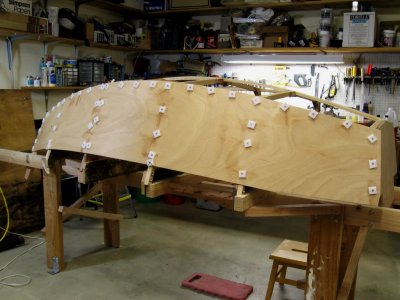 Starboard panel in place, held in position with plastic washers while the epoxy cures. |
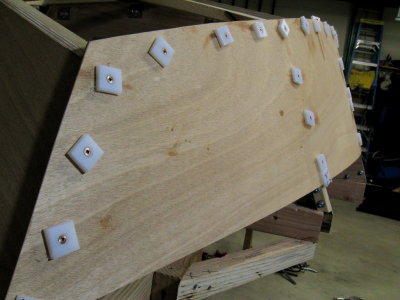 Bronze screws through plastic medallions. Four mm okume too thin for proper screw installation. |
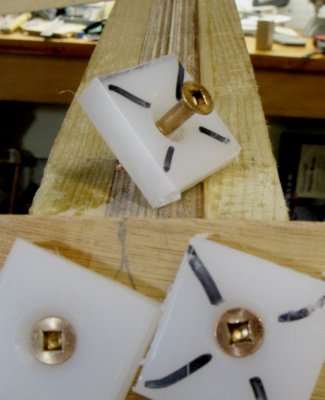 Most are 3/4 inch number 8's, and demand careful tightening; these are guide screws, a bit longer. |
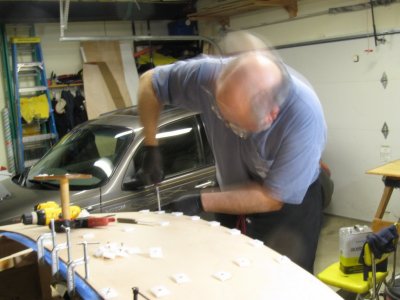 Rapid Dave sets screws on a bottom panel. |
 Clamp fiend at work. |
 Bow portion of the starboard bottom. |
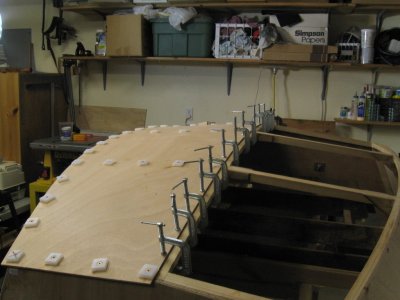 Stern, also in glue up. |
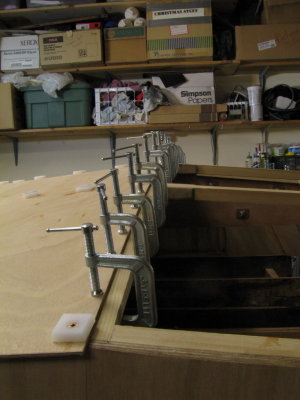 Mega clamps, for buddy Ralph, who really likes clamps. |
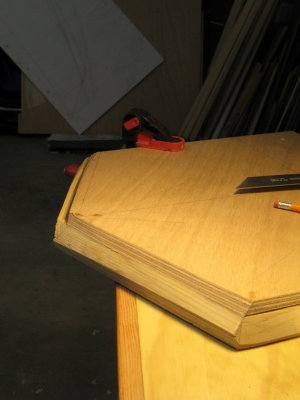
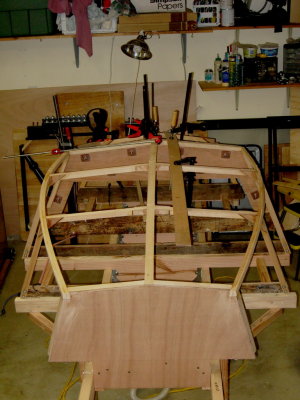
 Last panel, in dry fit. |
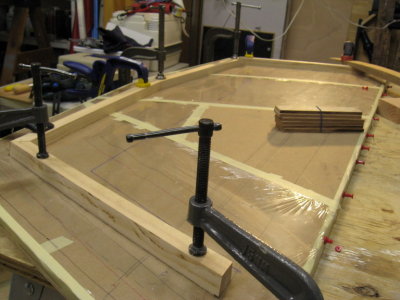
 Edges masked, to reduce remnant squeezeout. When cured, it is a bear to remove. |
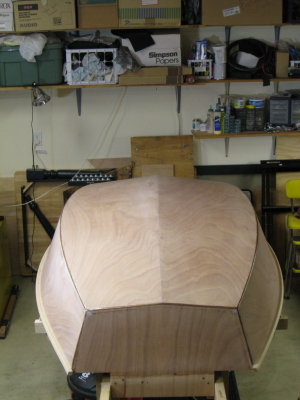
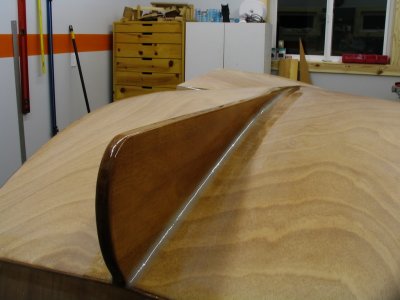
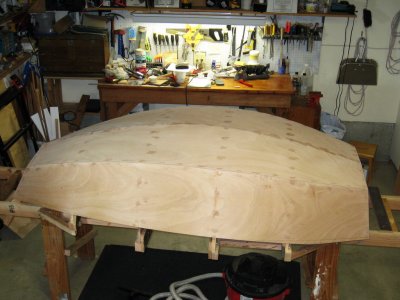 Filled, faired, and ready to glass. |
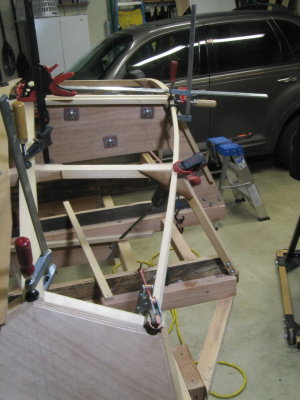
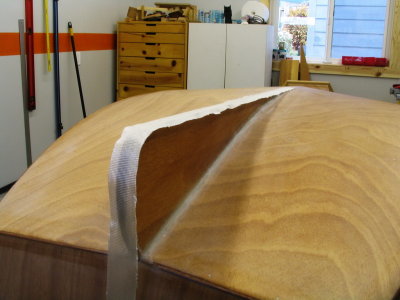
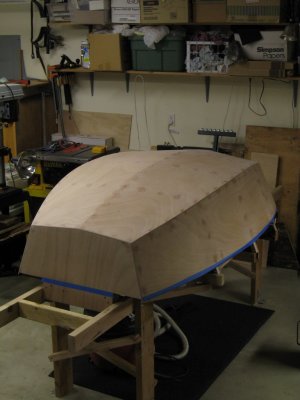 Oblique view; masking identifies sheer line, eases removing excess glass at green stage of curing. |
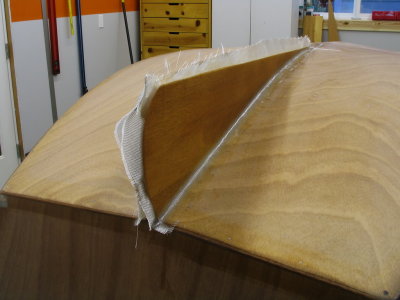
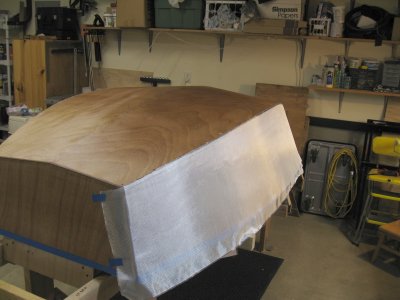 Bottom glassed; port side glass taped in place, ready for layup. |
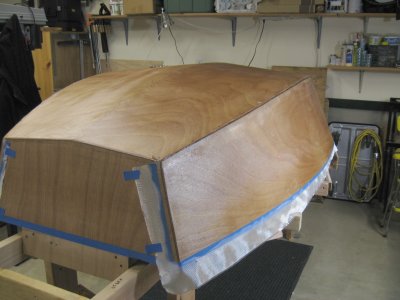 After layup and spreading resin but before removal of masking ... to be done mid-cure. |
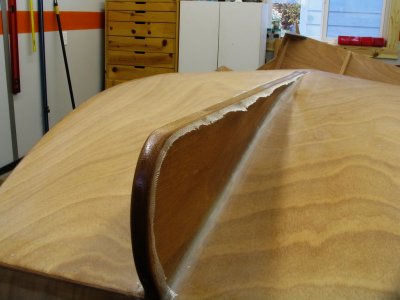
 Starboard sheer in clampup. Hull glass has been filled with 2 coats of resin. |
 Bungie assist on the forward end of the star sheer. Eases the clamp up. |
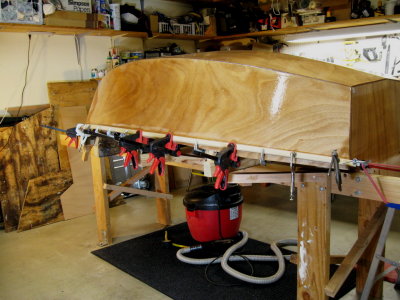
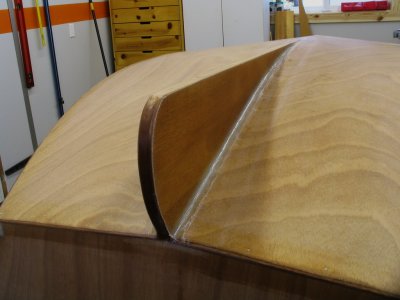
 Port sheer, installed. A deliberate, careful task. |
 Bungies help pull in the sheer ends, for good control in glue-up. |
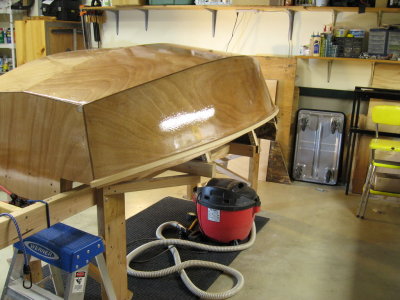
 80-grit sanded overall |
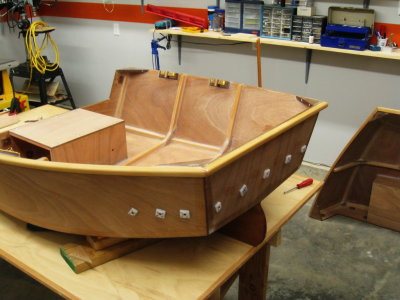
 Off the jig. Tabs at ends will come off and then it goes back on the jig. |
 Sheer guard sections on transoms needed, yet. 65 pounds, as is. |
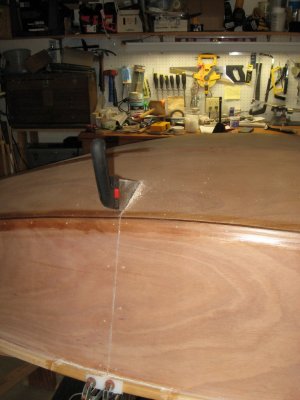
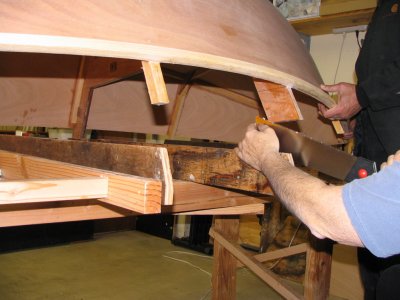 Time to slice the hull, here using the saw to pre-clean the kerf slot of shim material. |
 Cutting from the outside, halfway across the sheer a loud pop gave this. |
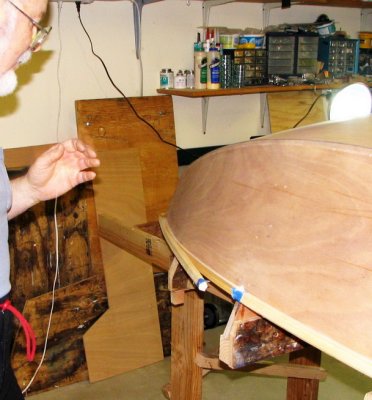
 The port sheer also cracked when hit with the saw, even though clamped tightly. Time to regroup. |
 Glue up of the split section; white plastic covers the cut area. |
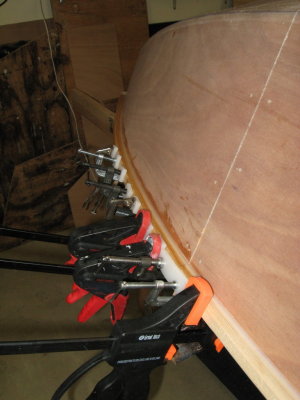
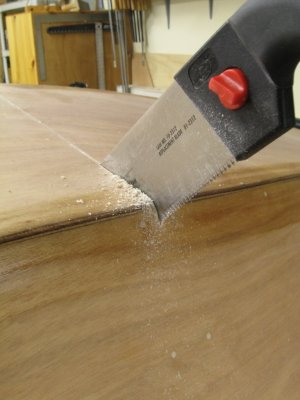
 Second attempt, after glassing the sheer to the hull ply. Saw cut from the inside this time. |
 Pulling across the center of the hull. |
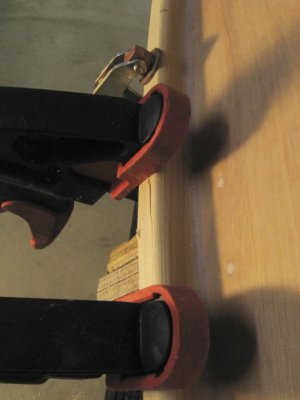
 And down the opposite chine; seam wedged to maintain an open kerf. |
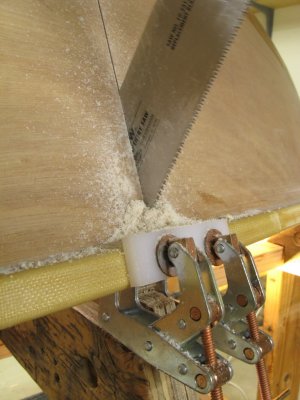 End of the line; note glass reinforcement and clamped plastic keeper. No splits this time! |
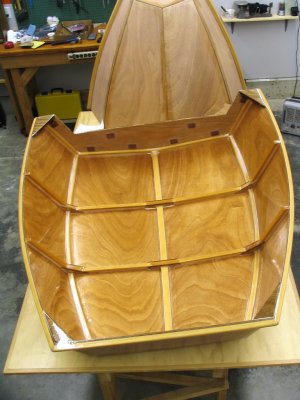
 Separated halves. |
 Mating half-frames. |
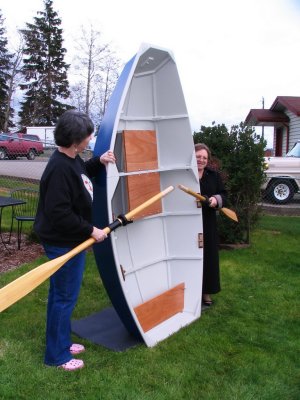
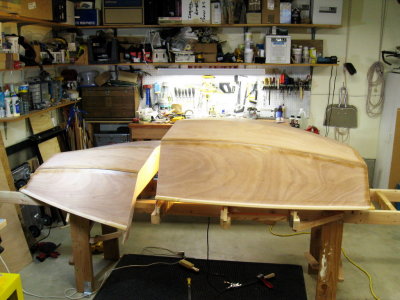 Overall view; yes, they do re-mate when the bolts are installed! |
 First nesting; frame stubs will go away soon. |
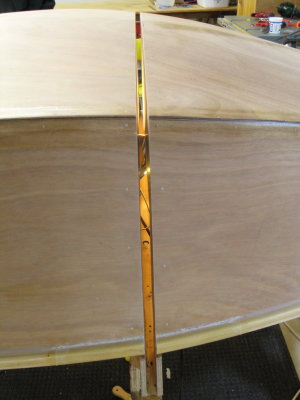
 Frame stubs removed; profile view. Can you spot the seam? |
 Overhead view. Sheer rail needs glass. |
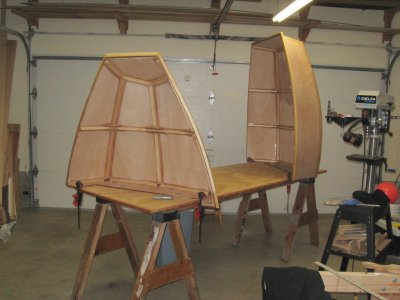 Separated and upright for fiberglassing the sheer rails. A fun job. |
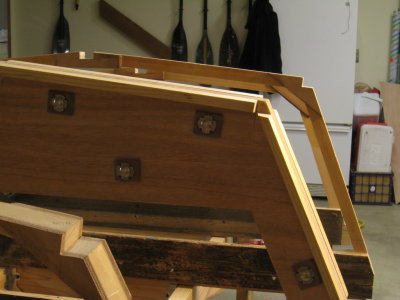
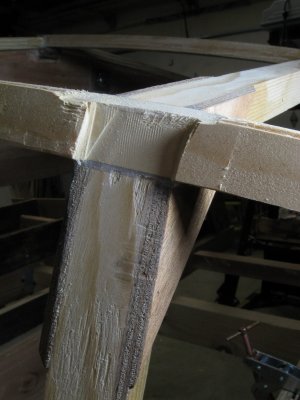
 Saturation coat of resin on the eight Meranti plywood corner braces. |
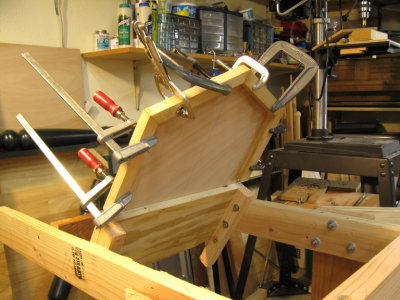
 Corner braces installed; last set in glueup. |
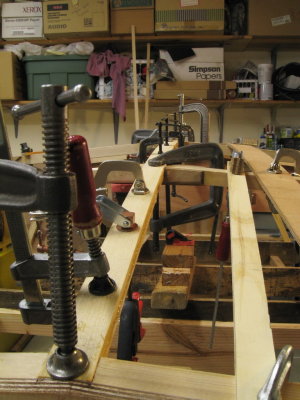
 Springback of hull mandated serious clamping pressure to fully mate the halves. |
 Oblique view. |
 Port side profile view. |
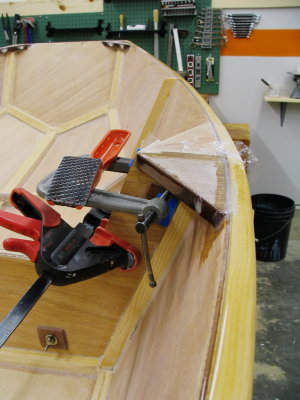 Starboard side clamps. Springback made for a quarter inch gap at the rails before clamps applied. |
 Fillet detail. |
 Two coats of resin, aft section. |
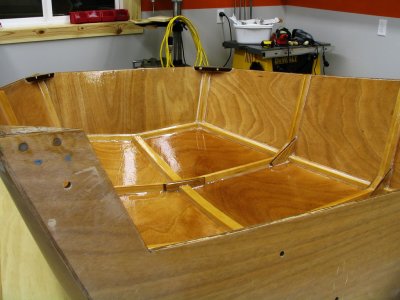 Perspective view; lotta sanding coming up. |
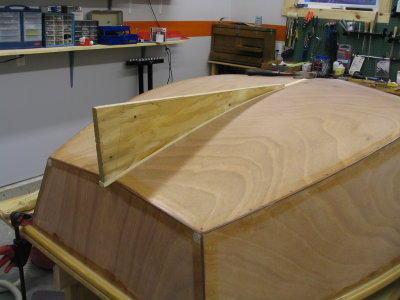 Mockup of skeg, in slot, to fine tune the mating to hull. |
 Mahogany skeg, held in alignment for dry fit. Screwed in place from the keelson. |
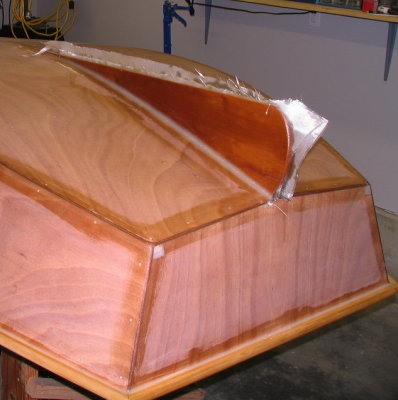 Combined glue job to the hull with glass over the fillet and up the sides. |
 Same stage; alternate view. Glass gets cut off at the green stage of the resin ... |
 As here, and the fillet area is cleaned up, in preparation for ... |
 Application of biaxial tape along the edge. |
 After wet out with resin, and again trimmed at the green stage. |
 One fill coat of resin, after cleanup and fairing of tape edges. |
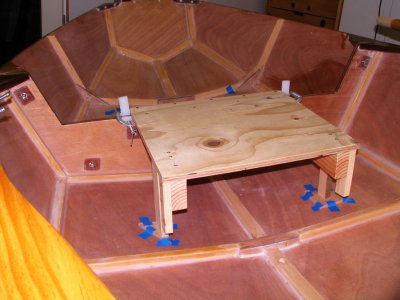 Thwart mockup in the aft position, for solo rowing. Shorter legs take over for tandem rowing ... |
 Shown here, in an end-on view. Oarlocks here are about right for two passengers. |
 Solo position |
 Tandem position; couple bags of sand simulate aft loading for the second passenger -- a bit light, though, |
 Sand bags, alone. Getting out of this thing will be tricky! |
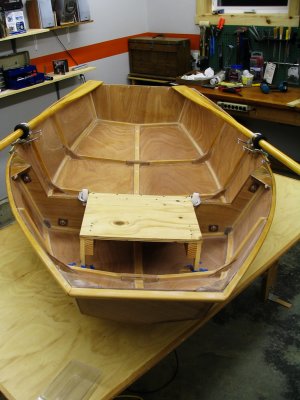
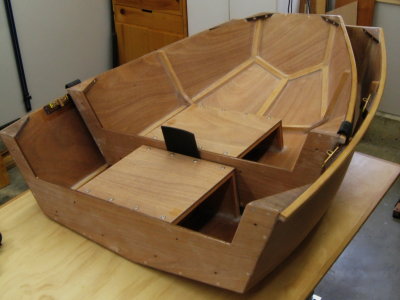
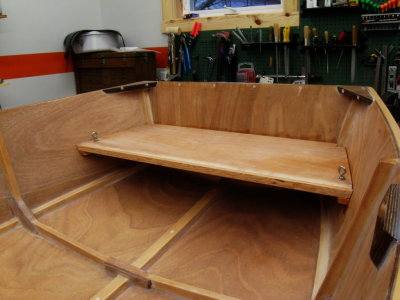
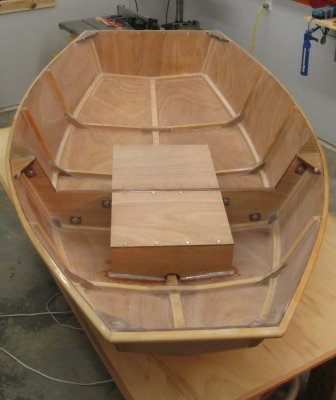 Forward seat/thwart completed, |
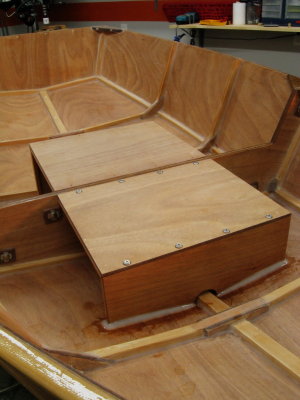 Close-up; separates for ease in painting. In use, forward part could extend farther when two are aboard. |
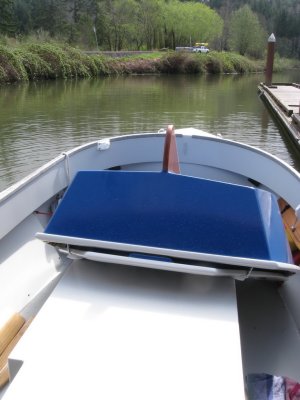
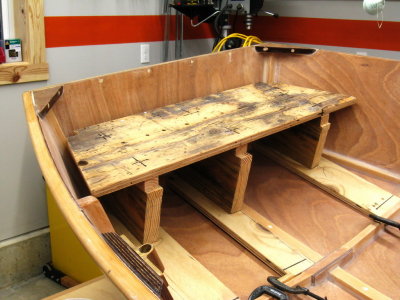 Mockup of rear seat/thwart; testing on the lake showed the lowest height is best (this is highest). |
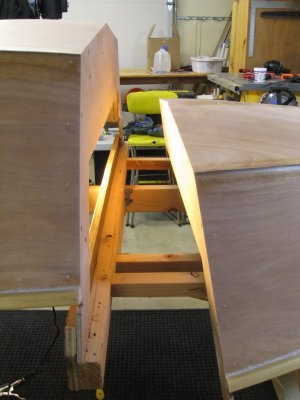
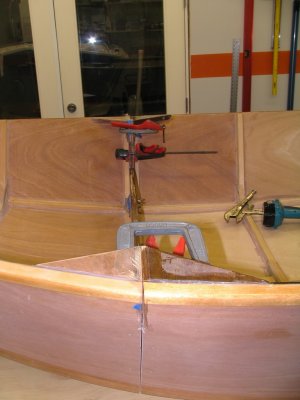
 Halves nested; view from the center frames. Black material is gasket to cushion halves. |
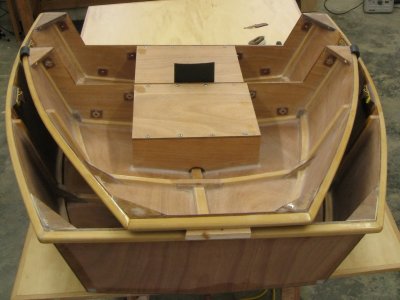 Halves nested; view from the transoms. Note spacer separating halves. |
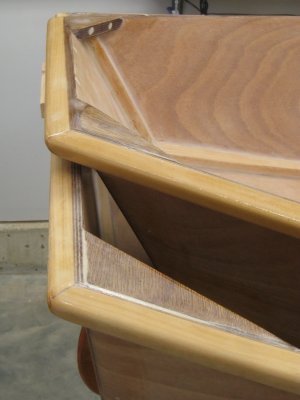 Side view of transoms. Spacer will be replaced with ply glued to inner half, and some chafe protection. |
 Side view of inner half butting against seat/thwart of outer; bolts under seat will hold halves in place. |
 Other contact is at sheer and will require some more quarter inch neoprne. |
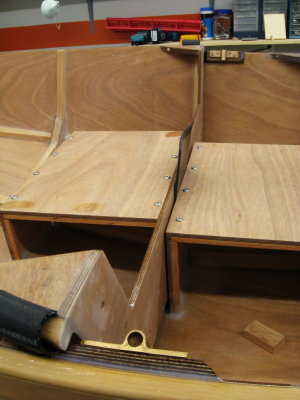
 Roughed in the rear thwart. This is the seating surface -- glueup of edge reinforcement. |
 Cleats in place, fresh glueup. |
 Drywall screw/plastic washer combos hold cleats in place while resin cures. |
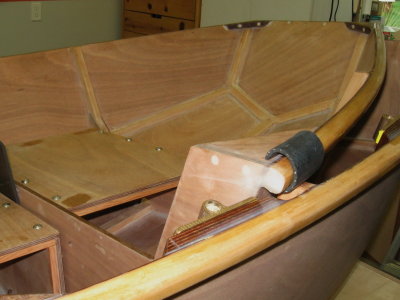
 In place; ring bolts secure forward edge; top cleat will secure it aft. |
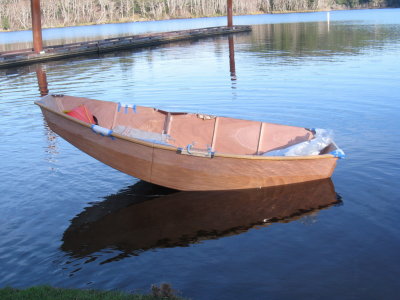
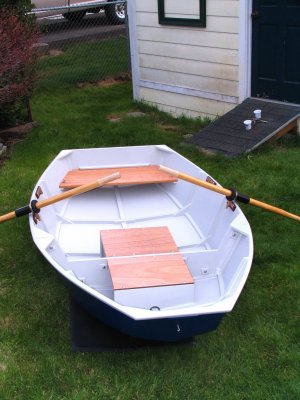
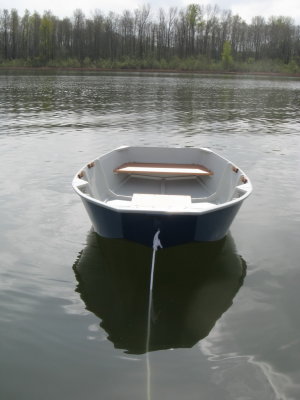
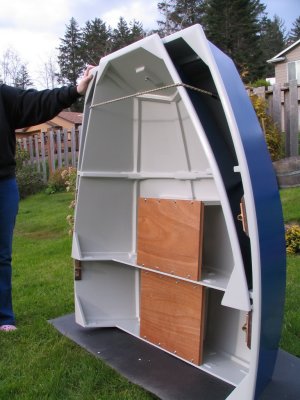 Painted and outfitted in nesting mode: blue hull; light gray interior with bright rowing stations and rear thwart. |
 Nesting achieved by bolting the center frame of one half to the rowing station support of the other. |
 Bungie to ring bolts (see next photo) across bow rails. Neoprene chafe/padding at contact areas. |
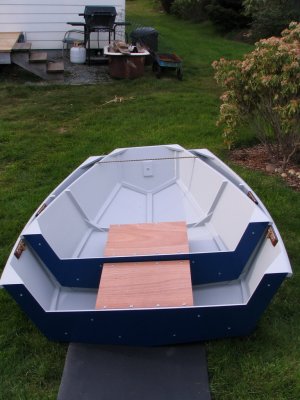
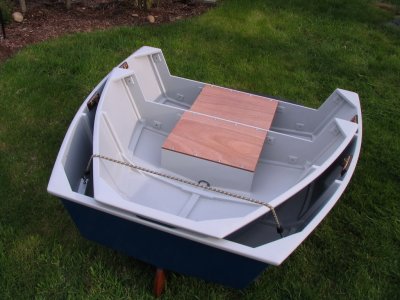
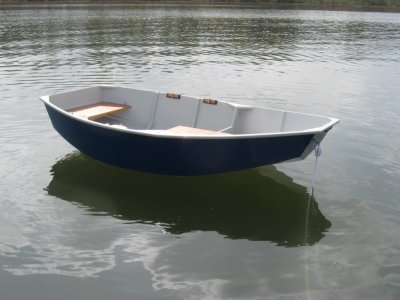
 And now eight bolts join halves to make a dinghy; oars in position for tandem use. |
 View from the bow. |
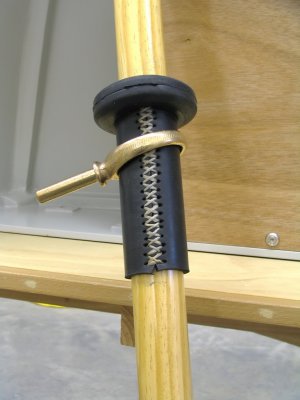 Oar leather made from neoprene gasket material, stitched on; my first! |
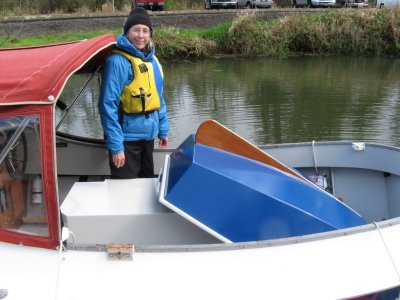 The Duck nesting over the engine box, aboard Surf Scoter. |
 Looking aft; needs tie-down points each side. Ideas? |
 Tilted back to allow the engine box to open. |
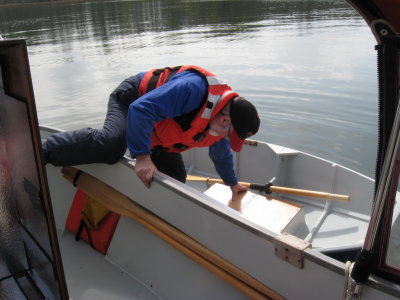 Stepping over to the dinghy; not bad at all. |
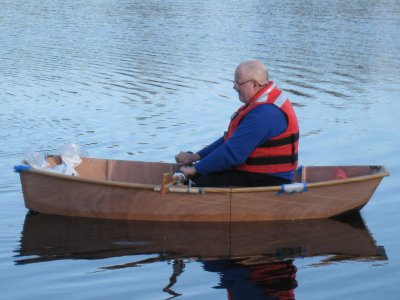
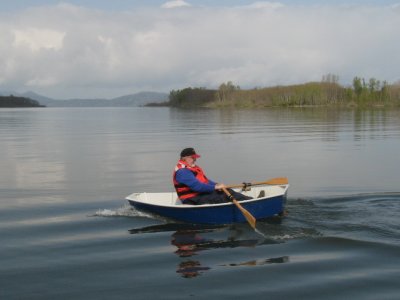
 At the catch -- good trim. |
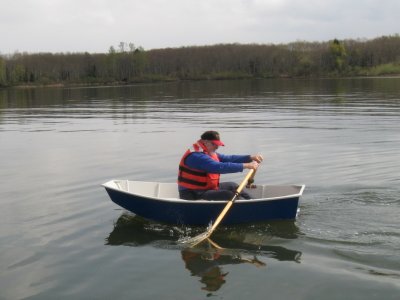
 End of the power phase of a stroke -- note the bow digging in. |
 Boy, this thing is light on the water, no? |
 Becky says: "Little Blue Duck," and so it is henceforth |
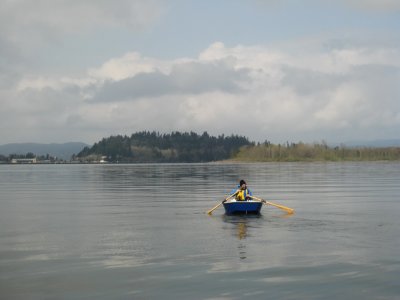 Second mate, exploring the MARAD Basin, off a bit towards Tongue Point. |
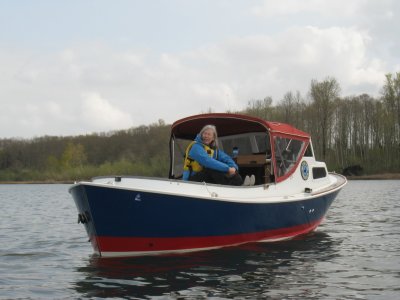 Second mate enjoys the view from the engine box. First time I've seen the big boat from the water, with the boot stripe on. |
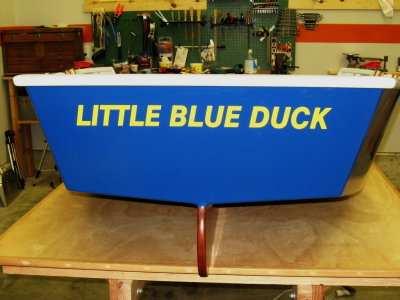 A little stern bling, to identify the duck. From Action Signs, easy and quick. |
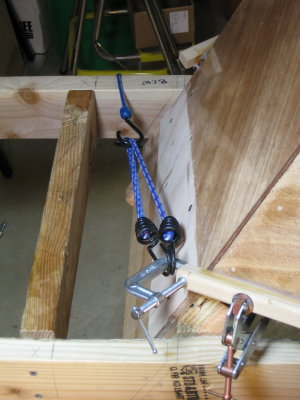
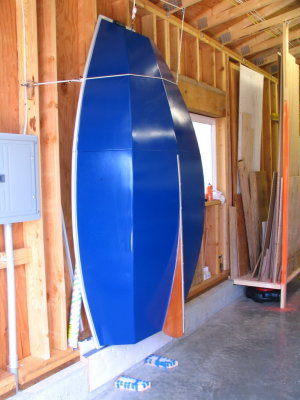 Hung the dinghy against the shed wall, off the bow eye. |
 Bungie on cross-line is insurance. |
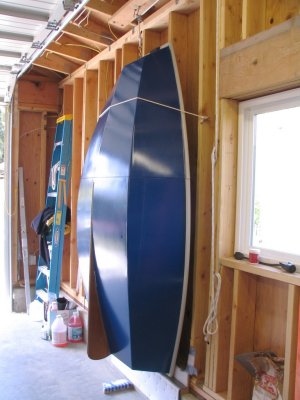 Pulleys and cleat a simple system for haulage and tieing it off. |
| comment | share |
| bartenderdave | 17-Jun-2010 02:47 | |
| George | 13-Jun-2010 12:19 | |
| bartenderdave | 04-Mar-2009 01:44 | |
| Brian Steeves | 27-Feb-2009 23:17 | |