


|
|
|
|
|
|
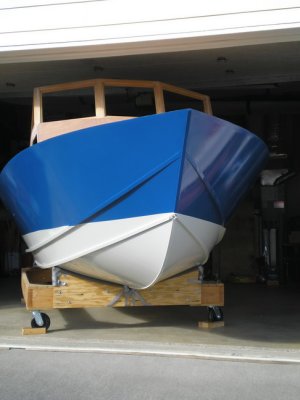
| bartenderdave | profile | all galleries >> Surf Scoter: A Cuddy Cabin Bartender >> 20-4 Bartender Part II | tree view | thumbnails | slideshow |
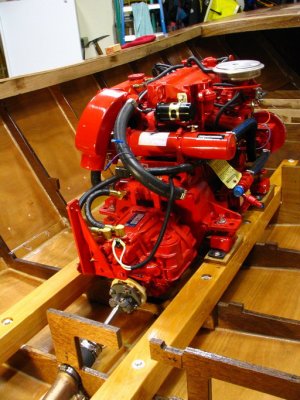
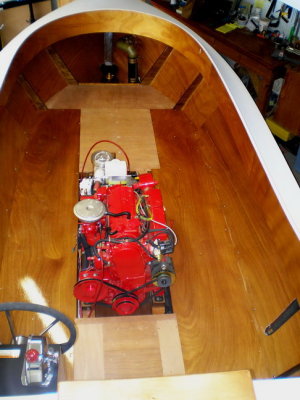
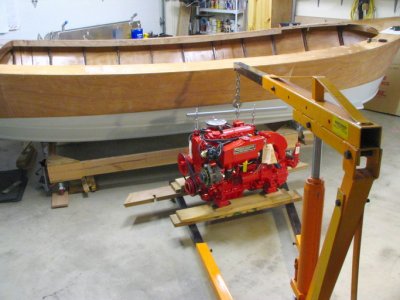 Westerbeke engine on hoist, ready to go over the side. |
 Over the logs. |
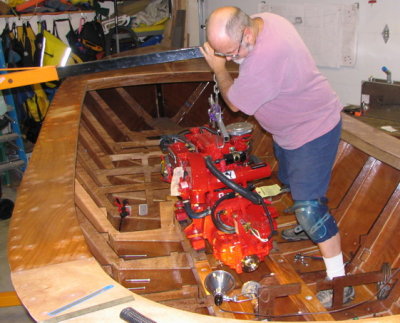
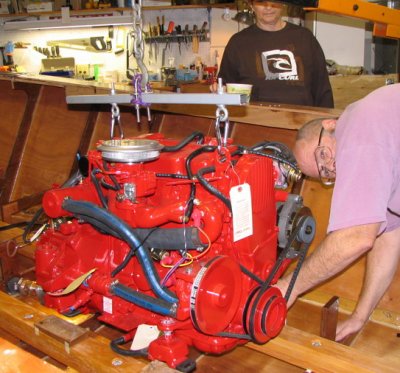 Easing into position. |
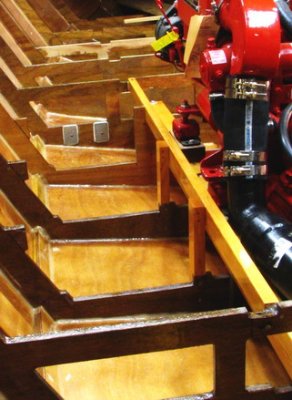
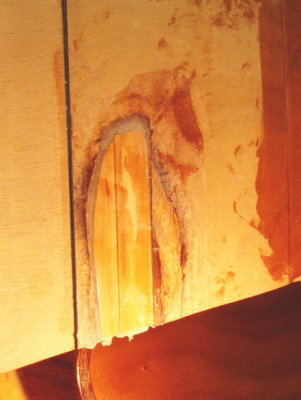
 Transmission bulge requires sistering cutdown frame 8 with more plywood. |
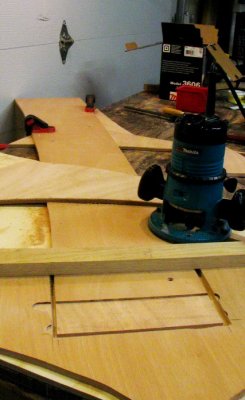
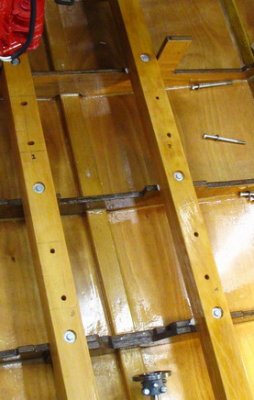 Locating mounting holes; all needed enlarging for wiggle room. |
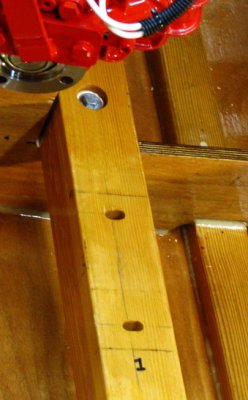 Forward port side holes, enlarged side to side. |
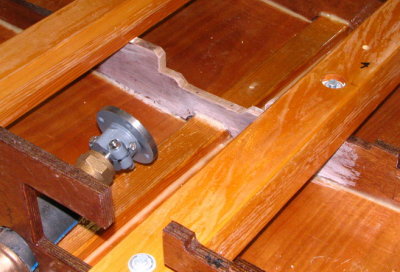
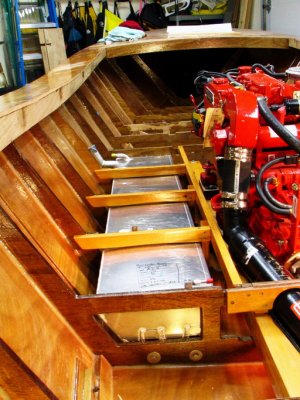
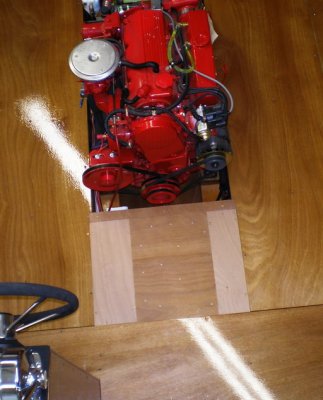
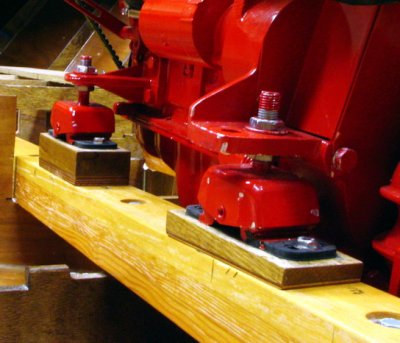 Engine on oak/okoume blocks, final. Westerbeke's system allows easy, precise adjustment. |
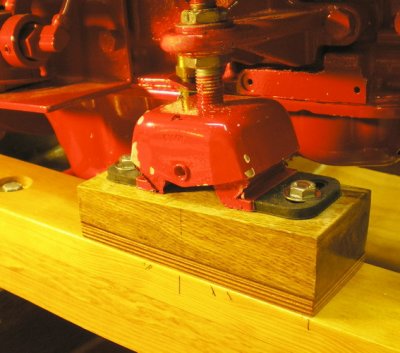 Forward mounting block. Extra plywood added under oak wedge. |
 Final position. |
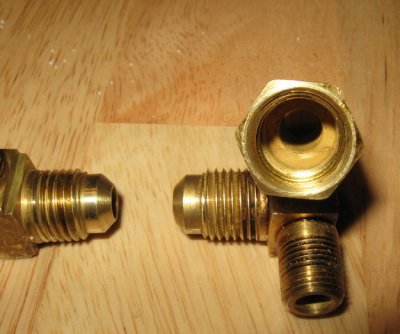
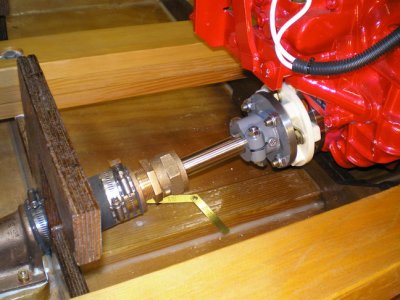 Couplers: R and D flexible version and shaft coupler. |
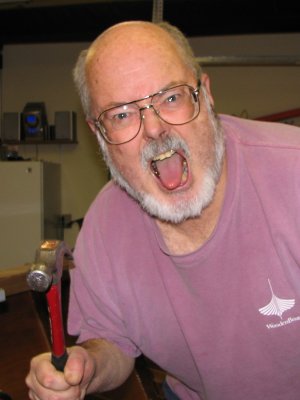 Hammer man is screamin' happy to have his engine in place, in perfect alignment. |
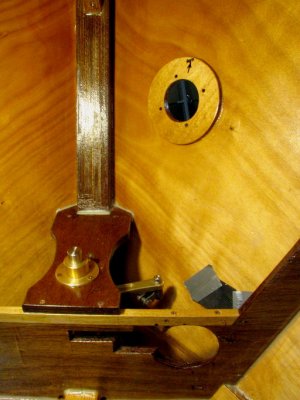
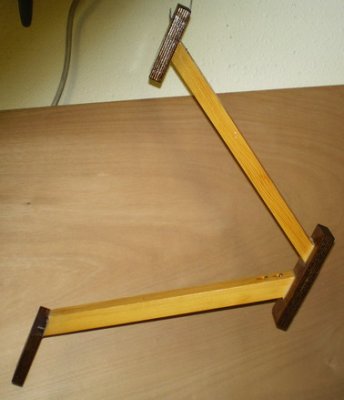
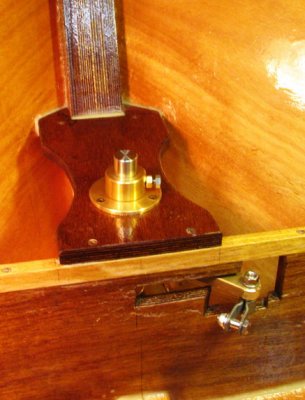 Rudder pivot completed; tiller arm and rudder installed. Very smooth, solid action. |
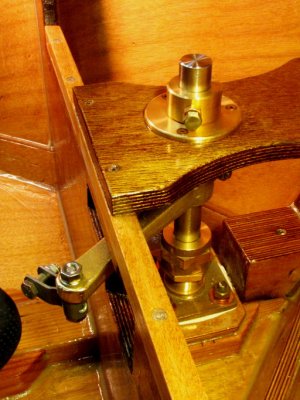 Clevis points towards eventual location of steering cable end. |
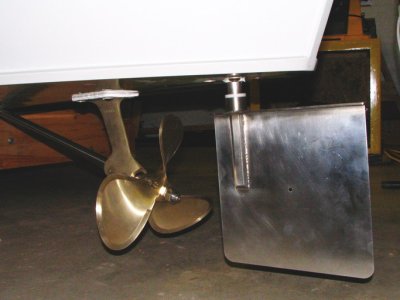 Rudder, prop installed. Shaft, rudder from Precision Machine, Sorrento Valley, CA. |
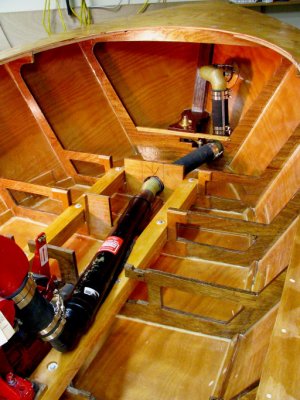
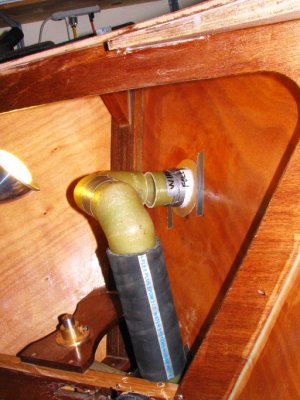
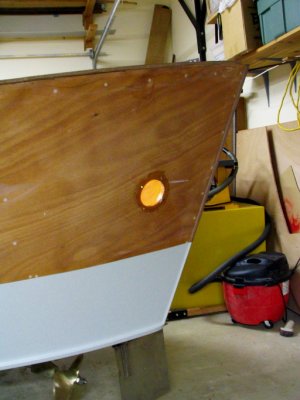 Exhaust system: combo of hose and fiberglass, "ski boat" muffler. Wet exhaust exits hole near the stern. |
 Inside of exhaust thruhull and backing plate. Below frame 12 is passage for exhaust. |
 Final assembly: eight double-hose-clamped joints in all. Two custom elbows. |
 The first: aft end of the muffler required opening 45 degree connector to 55 degrees with 10 degree offset. |
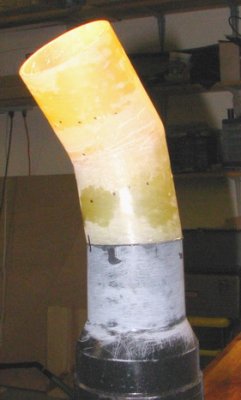
 The second: twisted double 90 to port exhaust over to the thruhull. Glassed joint in the center |
 Twisted double 90. Tack-epoxied, followed by three layers of 6 ox cloth and resin. |
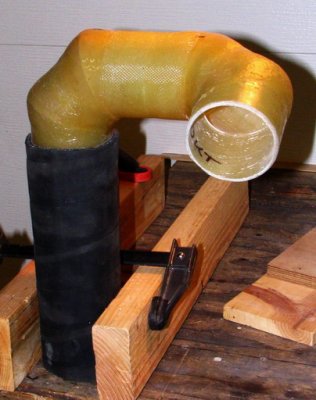
 Twist angle of double 90 determined using mockup of the thruhull fitting; method courtesy longtime buddy Wirfs. |
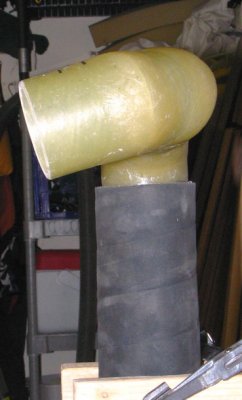
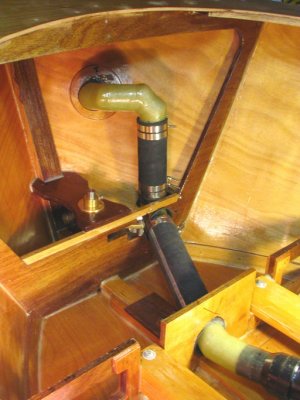 The final home of the twisted double 90. |
 Frames cut are converted to removable overlaps. This is frame 9, just aft of engine compartment. |
 Frame 9 with replacement section installed. |
 Replacements for frames 9 and 10. Parts removed during engine log placement back in (out of view). |
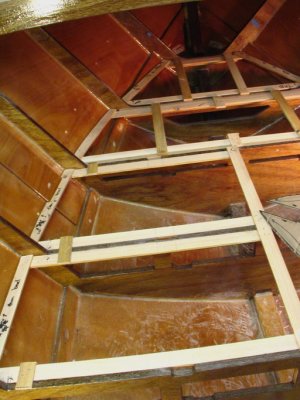
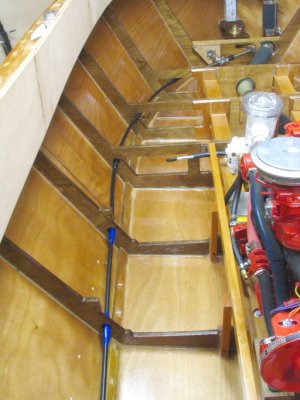
 Port and star stringers anchored to frames 6-9 to support the inboard edges of floorboards. |
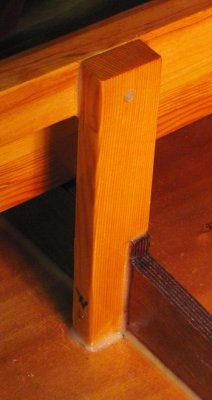 Detail of stringer attachment to frame. |
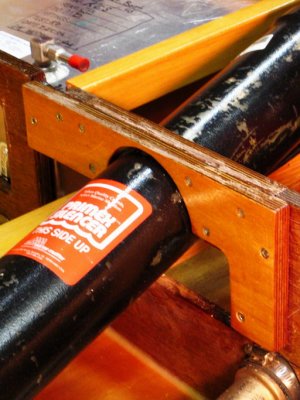
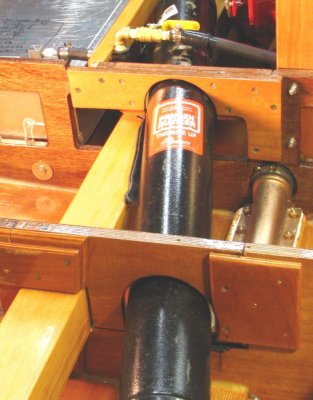
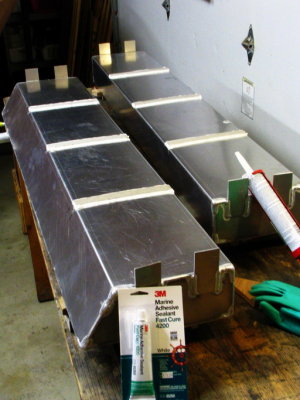 Tank bottoms protected with chafe strips at frame contacts. |
 Fir crossovers for each tank frame position, curing from epoxy saturation. |
 Tanks in place, with supporting structure for floorboards. |
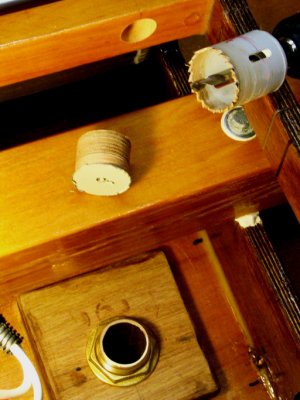 Raw water intake thruhull dry fit forward of frame 9. Cutting these big holes is pucker time. |
 Raw water strainer support at 9, seacock just forward and below. |
 Seacock from above. This brass unit later replaced with bronze one. |
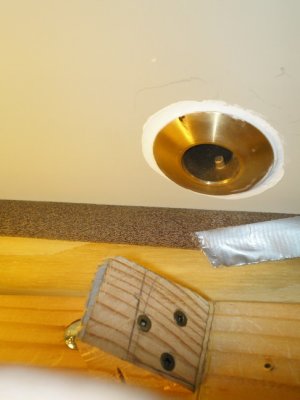 Thruhull from below. |
 And a coarse strainer over the thruhull opening, bedded with 5200. |
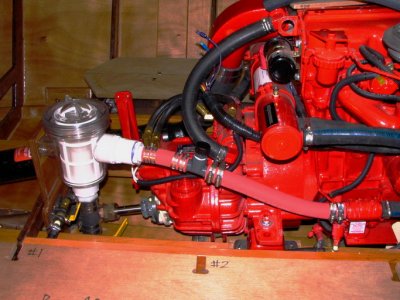
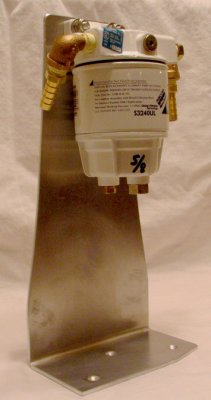
 Raw water strainer in place. |
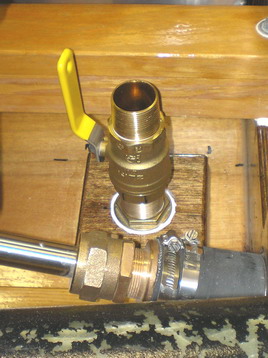
 Fuel lines and tank shutoff valves running to a tee on the RWS support; then thru a filter to engine. |
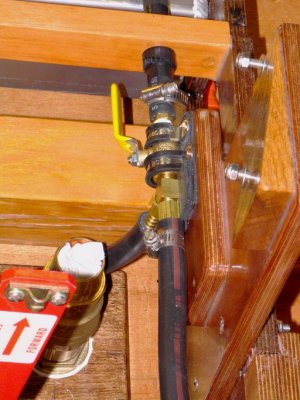 Closeup: star shutoff valve and tee; raw water seacock protected by a rag. |
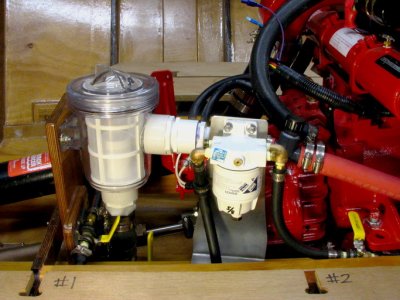
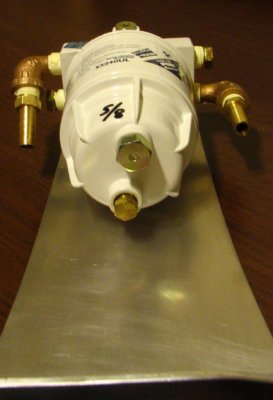
 Raw water installation finished; gray tee for direct fresh water flushing. |
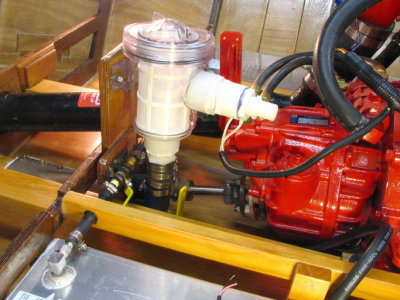
 Test fit of fuel filter, sans hoses, atop the engine log. |
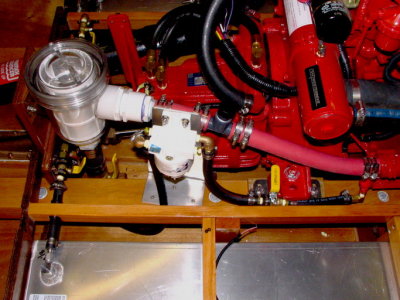 Fuel plumbing completed, sans chafe protection; main shutoff forward of the filter, low. |
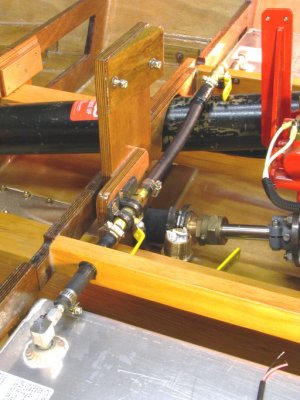
 Side view of completed fuel and raw water plumbing. |
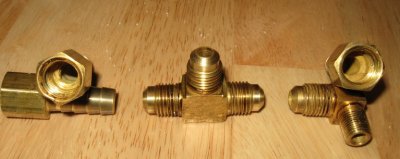 During sea trials, replaced fittings at the T, and at the engine, owing to leaks. |
 The elbow and the T had compression fittings mated to NPT fittings. My bad. They leaked and were replaced. |
 Aluminum fuel filter mount, high, between raw water hose and inside of engine box (coming). |
 Bottom view of filter on mount. |
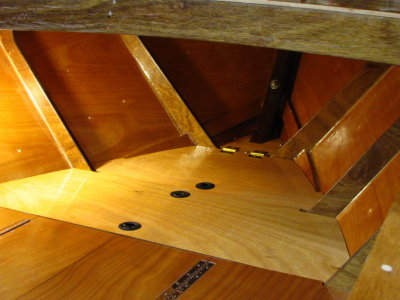
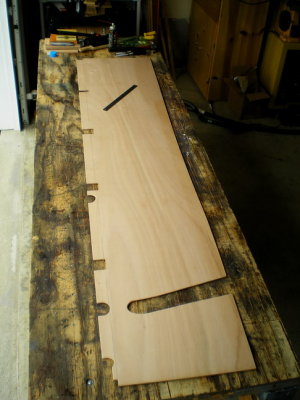
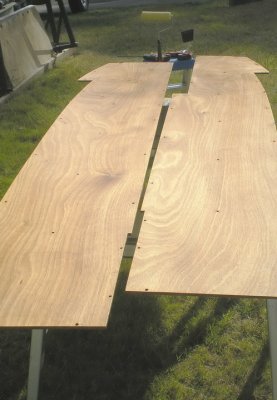
 Cuddy area boards for the sleeping surface. Patterns made of lath strips (thanks, Dave N!). |
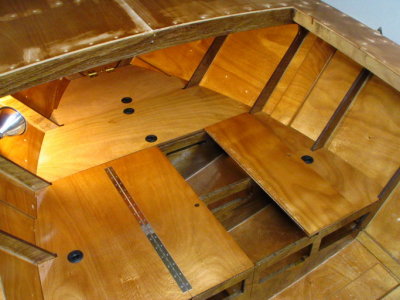 Three sections removable; aft set closed on the port and open on the star. |
 The open area is for footroom when sitting in the cuddy. |
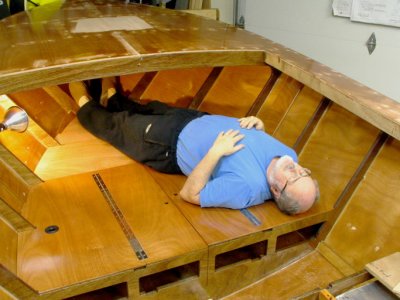 Old guy laid to rest; enough room for a six-footer, barely |
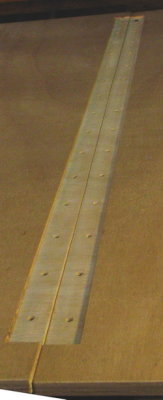 Piano hinges inset to minimize their profile. |
 The front two removable boards. Black circles are recessed latches. |
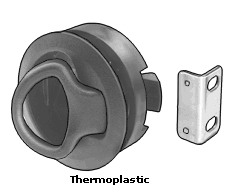 Recessed latch detail (McMaster-Carr) just an eighth of an inch thick abovedecks. |
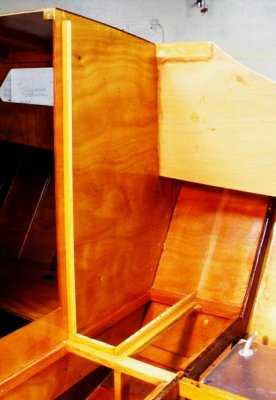
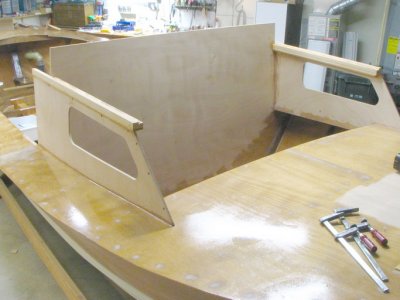 Three-eighths ply at frame 5 defines rear of the cuddy; fir along the outer upper edges. |
 Curved beams of laminated cedar support the cuddy top. Overkill. Cuddy roof strong alone. |
 Beams attached to the sides; nailer forward asecures front cuddy panel. |
 Completed beams, under quarter inch plywood. |
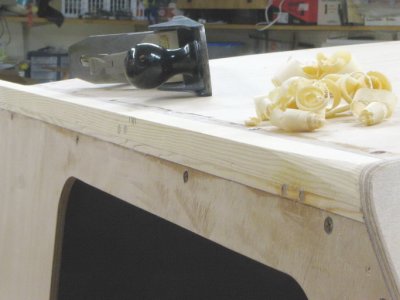 The sides get rounded forward of the eventual windshield location. I love making shavings. |
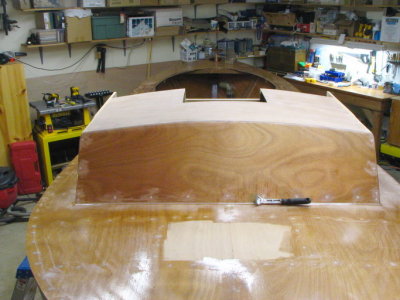
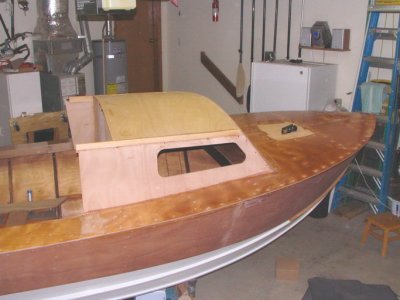 Cuddy is in rough form; no hatch access or door cut yet. |
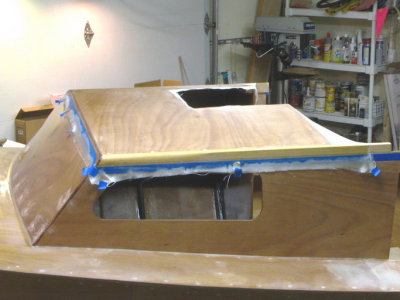
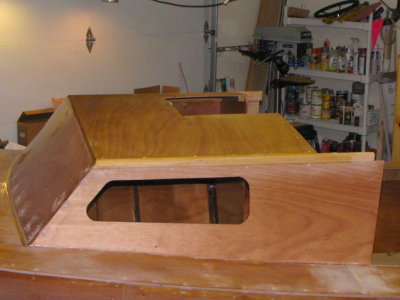
 Hatch and door cut; cuddy exterior sanded, ready for glassing the top. |
 Six oz glass wetted out. Razor blade run along blue tape edge cuts glass; then pull the tape. |
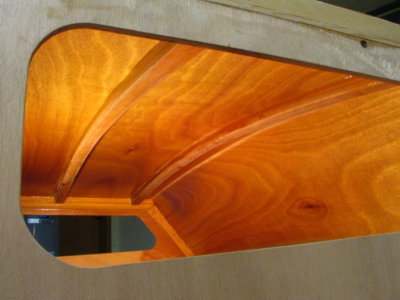
 Filling the weave on the glass, and fairing in the edge of the glass. |
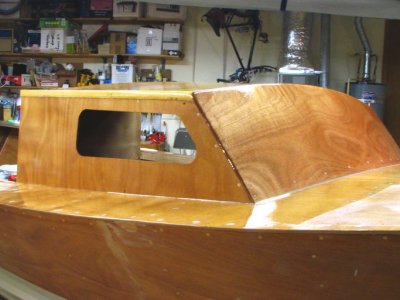 A beauty shot, second coat of epoxy. Too bad it gets painted. |
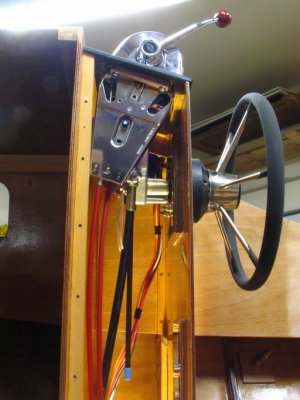
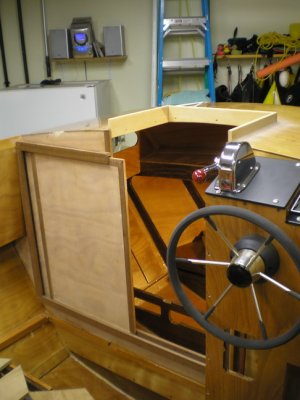
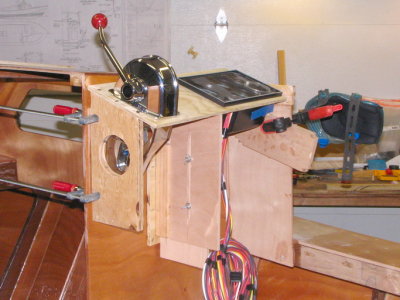 Original version of helm in mockup phase. See Part IV for final version. |
 Steering wheel separates throttle/shift lever and instrument panel; latter will drop an inch. |
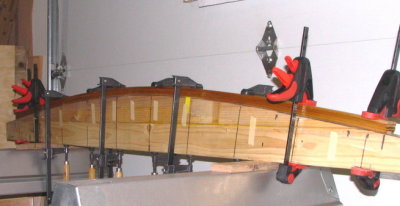
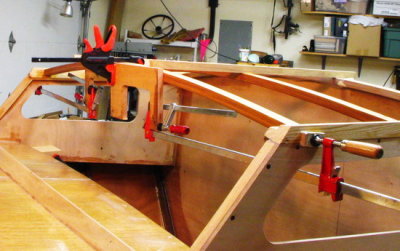
 Extension of sides aft to form coaming. "Batten" is half-inch CPVC pipe, because of spiral curvature. |
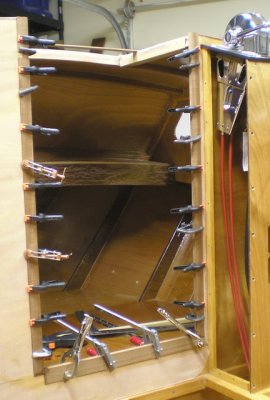
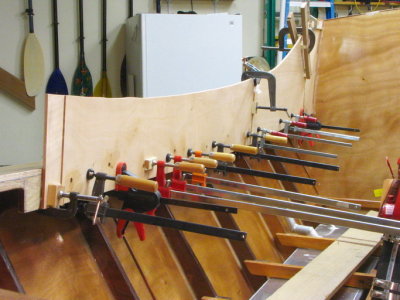 Clamp up first layer of 3/8ths ply; every clamp in the shop needed to produce squeezeout! |
 Bozo "clamp" setup is gives some pressure in the center to maintain registration. |
 Aft coaming lams routed to meld quarter and three eights ply. Three quarter inch lams easier. |
 Here's why: a thin lam had to be gouged out and replaced , a victim of poor clamping |
 Oblique shot of completed coaming as boat is turned, prior to engine test (see below). |
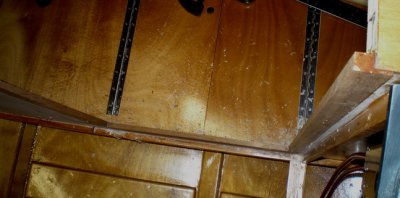
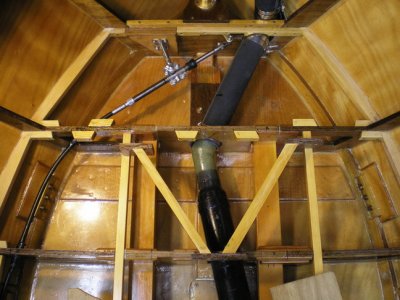
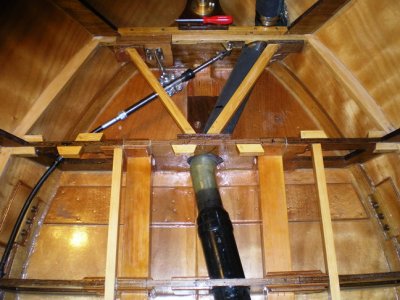
 Steering cable running through frames, chafe protection at each frame, etc. |
 On to the helm; here are cleats and the bottom frame. |
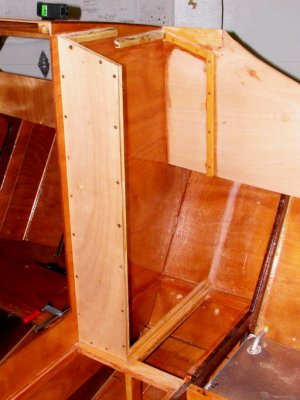 Side panel in place; more cleats. |
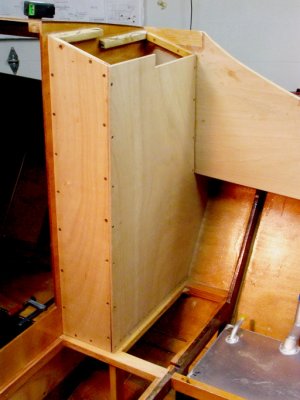 Both sides, now. |
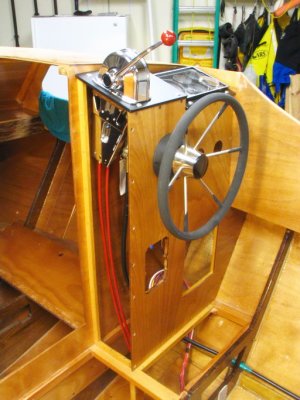 Helm open for easier cable hookup, with steering, instrument panel, and throttle/shift control. |
 The innards. Tight fits, here and there. Single lever control later replaced. |
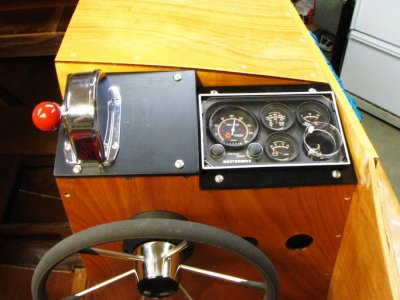 Top o' the helm to ya! Single lever control replaced later -- see Part IV. |
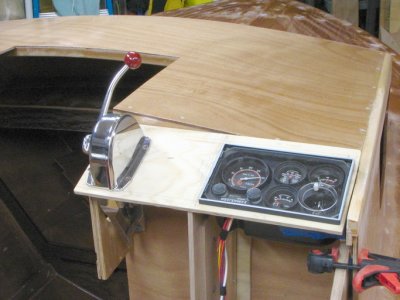
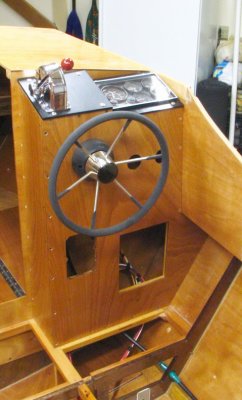 Helm closed; electrical panel left; right an access panel; fuel gauges above later. |

Battery Box Details |
 Battery box, switch, and cables. Check thumbnails for details of installation. Getting close to running the engine. |
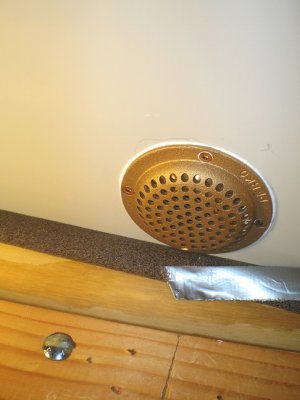
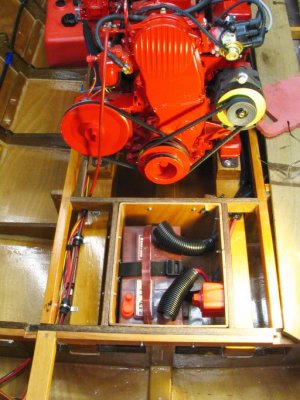
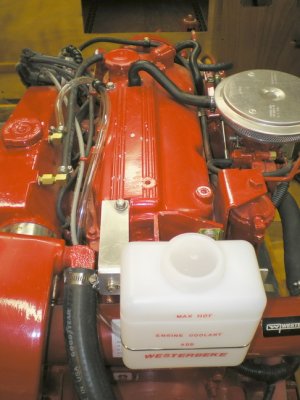 Overflow tank on a custom aluminum mount. Handy holes in the valve cover made this easy. |
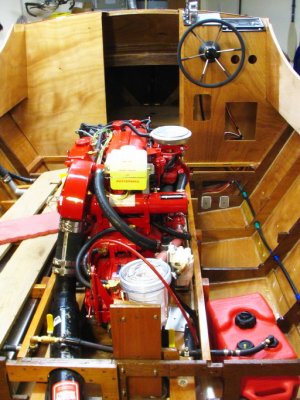 Engine test day; temp fuel tank on the starboard side. Second time was a charm. |
 Filler hose, fuel tank vent hose, and battery box vent hose -- port side. |
 Vents down low, and filler up top. |
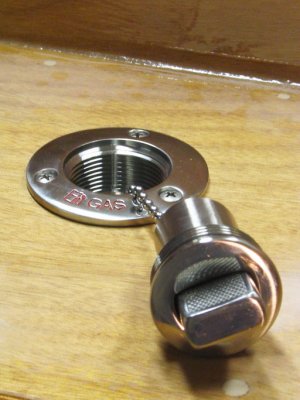 Fancy dancy filler cover. Gotta love it! |
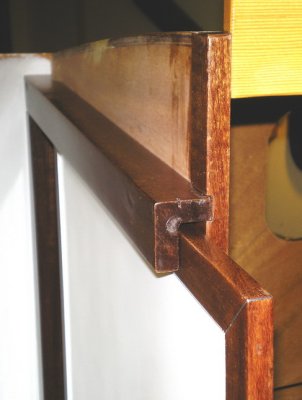
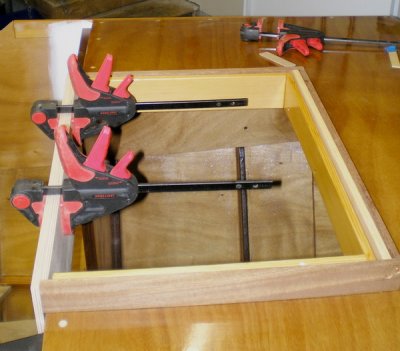
 On to the cuddy access. Sapele perimeter graces opening (here in glueup) and the sliding door. |
 Downward view of door opening, track below and sapele trim all around. |
 Door in tracks to port, opening in center. Below ten shots is the door and opening in closed position. |
 Upper track detail. Lots of room for a slippery plastic strip to fit below, later. |
 Hatch cover for cuddy opening tricky; must fit tightly over the slider. Test clampup. |
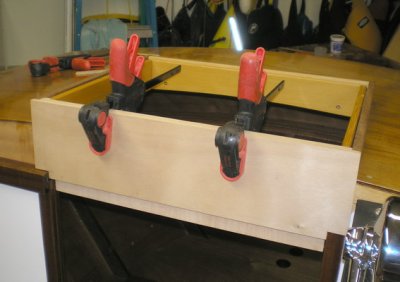 Aft end of cuddy access hatch cover in clampup. |
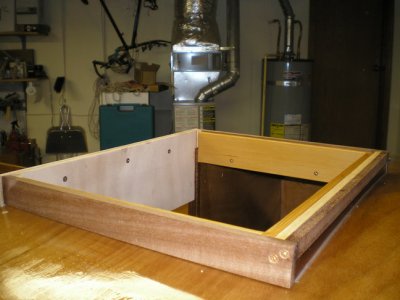 Screwed together, in place. |
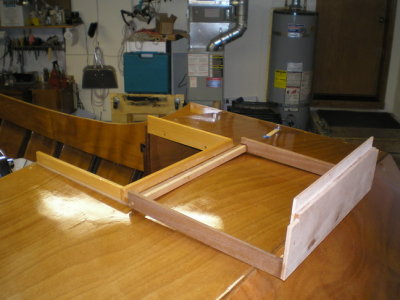 And open, sans plywood cover. |
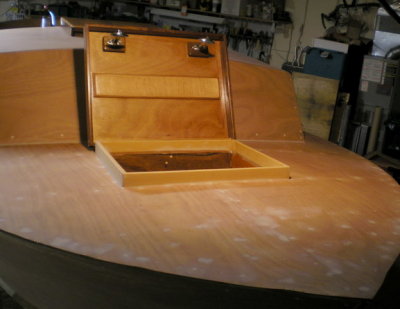
 Cuddy access hatch laid open; piano hinge to come later. Latch TBA. |
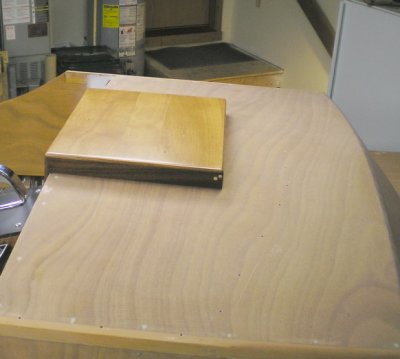 Cuddy hatch closed. I made it too deep, which pushed the windshield forward. |
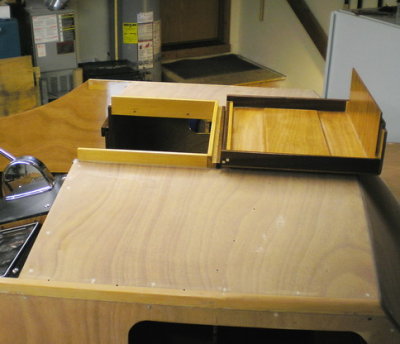
 Forward cuddy hatch flips back: a simple box, here open; latches installed on captured bolts. |
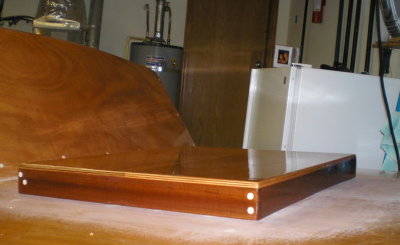 And closed. Both hatch covers will be bright with 2-part LPU (a marine version of Varathane). |
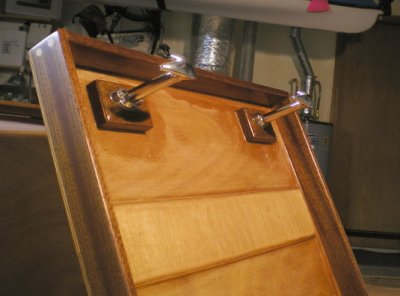 Detail on latches (McMaster-Carr). Reminiscent of the bonnet latches on old time roadsters. |
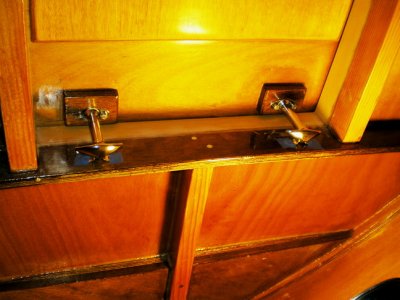 Closed position. Serious closure springs demand 1/4-20 hardware to deck beam. |
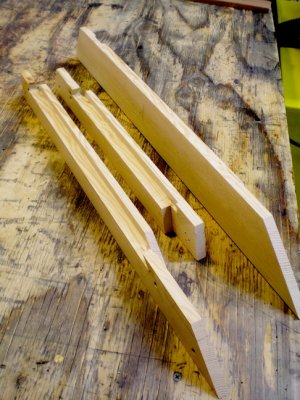 Windshield time: 1-inch fir stock, lap jointed; corner windows pieces. Lotta compound angle miter cuts. |
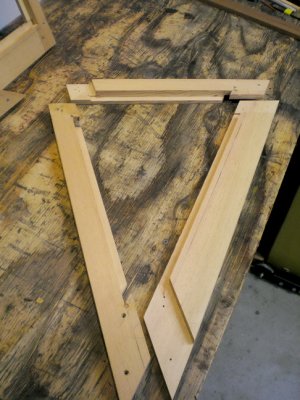 Parts ready for glueup. Stock is heavier than needed. |
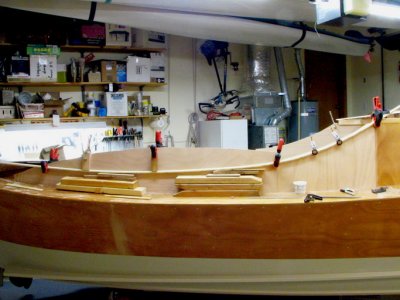
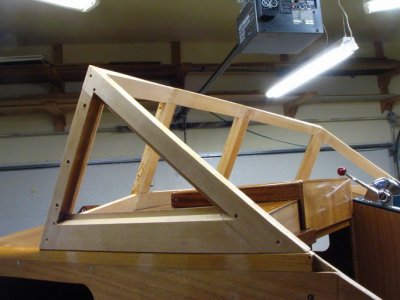 Completed windshield framework scribed to the cuddy trunk, cuddy access in closed mode. |
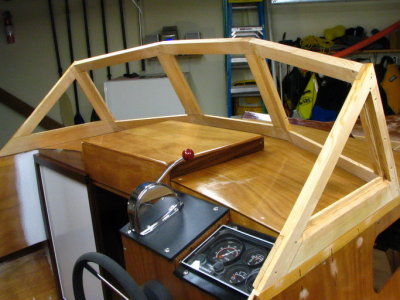 The whole shebang; sliding door area painted; the lower track can be permanently glued in place. |
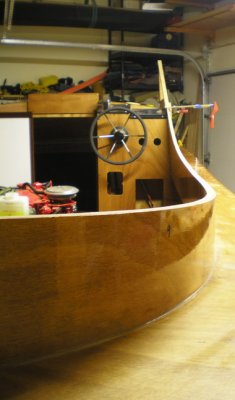 Cutting the coaming to the line; a satisfying curve! Framesto be glued in place; glass after paint. |
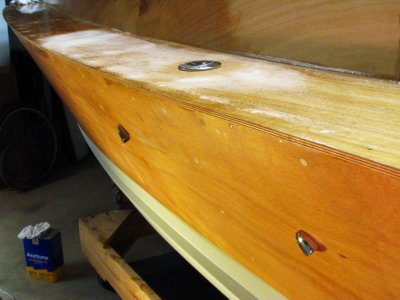
 Shaw Blue on the topsides. |
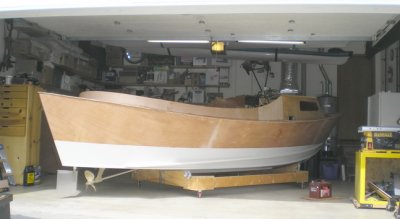
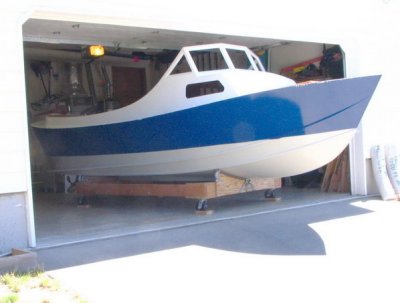 And Orcas White above. Starting to look like a boat, except it is stranded in that garage! |
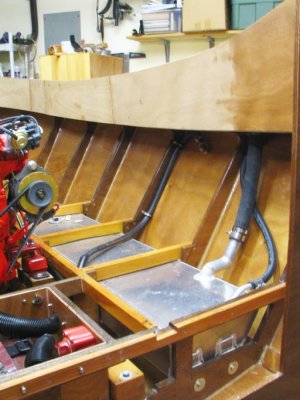
 Back to the cockpit; port ceiling panel with layout for frames and hose passage. |
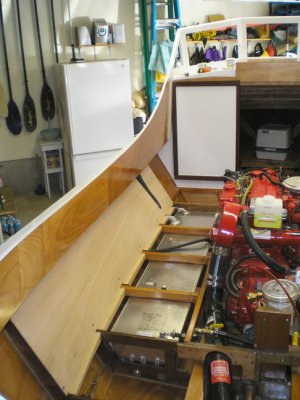 Port ceiling installed; cleats at the bottom edge will support floorboards |
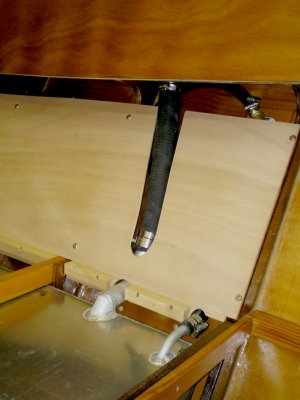 Fuel fill hose protrudes inside ceiling surface; this will get boxed in later. |
 Supports for aftmost floorboard. Removable for service to steering tackle. |
 Last floorboard opening; support system aside, ready to go in. Cleats have to be right for solid floorboards. |
 Rear support system installed. Ready to slap in floorboards. |
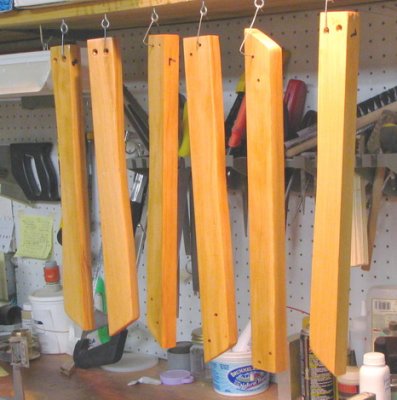
 Saturation coat on side floorboards (8 feet each). A nice sunny day made this a pleasant task. |
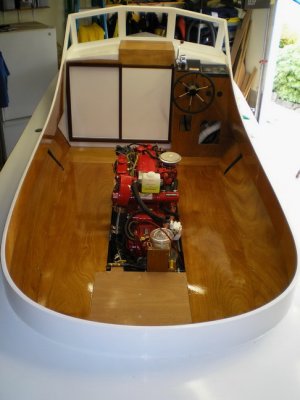 Overall view of cockpit from the rear; fresh floorboards. |
 From the front. |
 Central panel: battery; smaller panels still bare wood. Battery box cover needs latches. |
| comment | share |
| Don Gonser | 20-Oct-2010 00:21 | |
| bartenderdave | 08-Sep-2009 10:43 | |
| bartenderdave | 21-Aug-2008 04:58 | |