


|
|
|
|
|
|
| bartenderdave | profile | all galleries >> Surf Scoter: A Cuddy Cabin Bartender >> 20-4 Bartender Part I | tree view | thumbnails | slideshow |
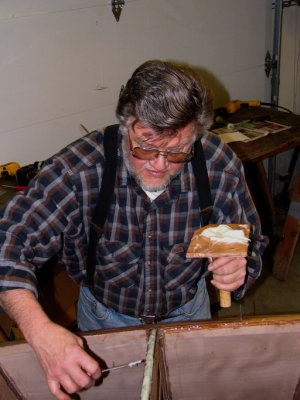
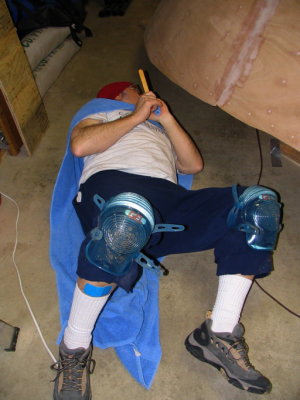
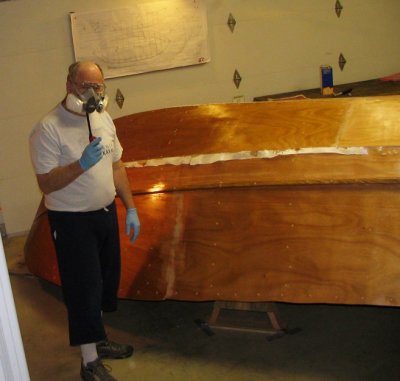
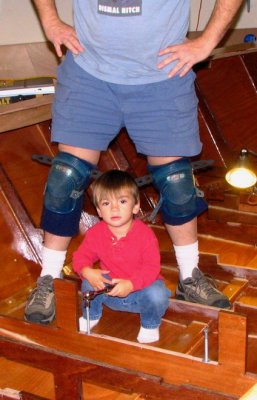
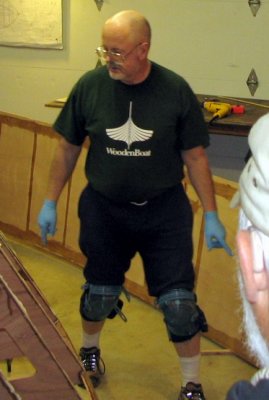 What the compleat epoxy mixer wears. Respirator mask not shown. Kneepads have been a lifesaver. |
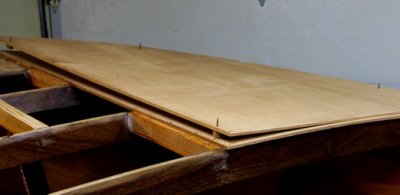
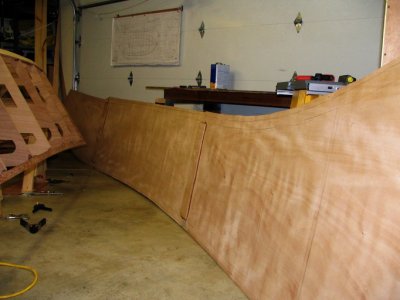 Side plank dry, ready for epoxy. |
 Slappin the goo onto frames. All contact surfaces have a couple coats of epoxy. |
 This frame is a little light on the filled-epoxy mix. Squeezeout not enough, so more is added after mating. |
|
 Hoisting the panel into position. Two preset drywall screws establish registration for this step. |
 Guiding drywall screws into registration holes. |
 Lining up drywall screw for registration |
 Sinking drywall registraion screw. |
|
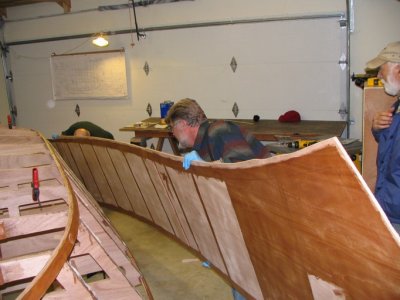
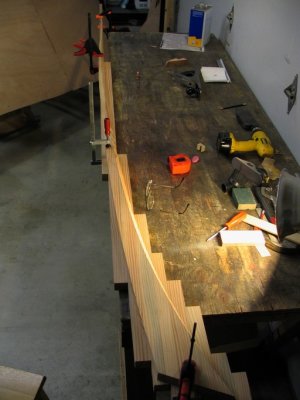
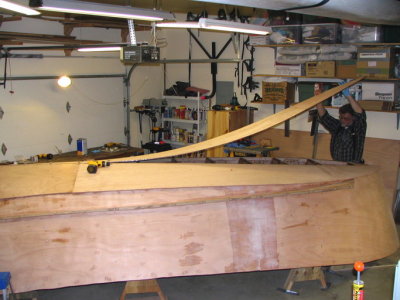
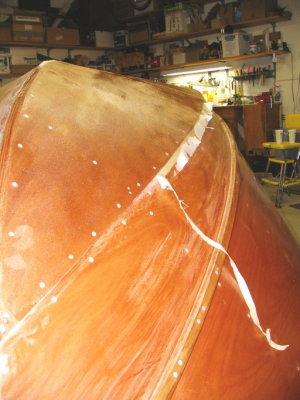
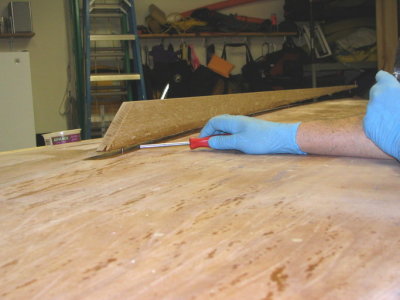
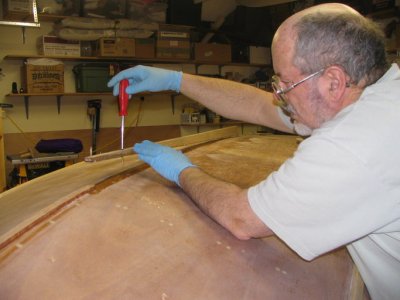
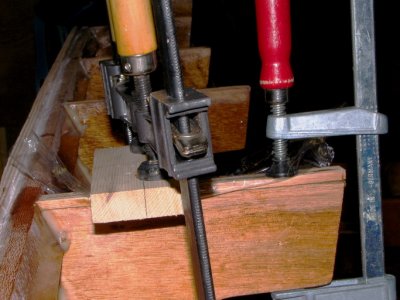
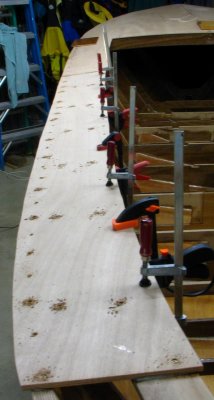
 Stern part lineup. Clamped finger tight, then place screws center first, then toward the ends. |
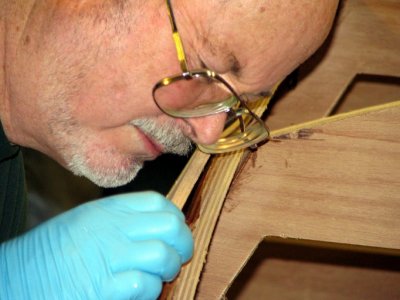
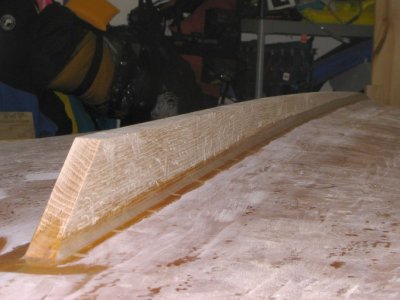
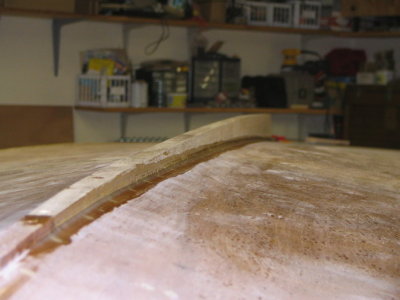
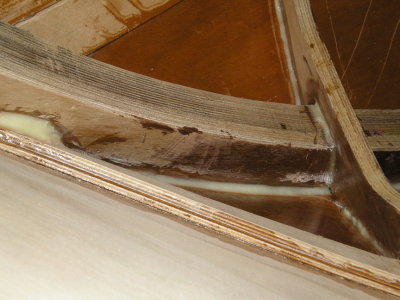
 Next day shot of completed fillet. Squeezeout tooled with tongue depressor, then gloved fingers. |
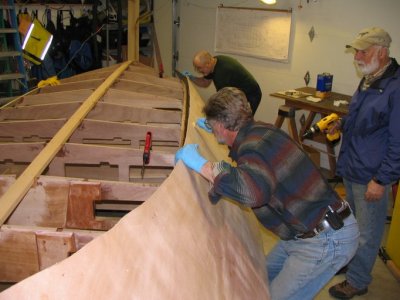
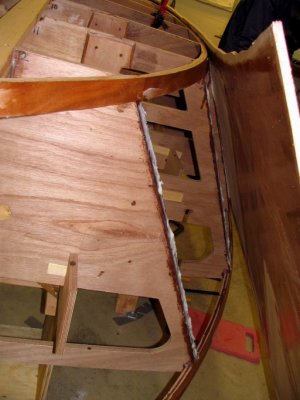
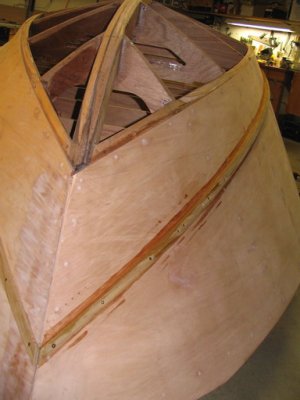
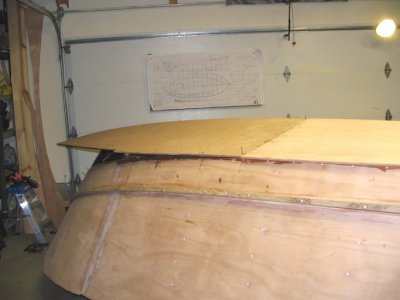
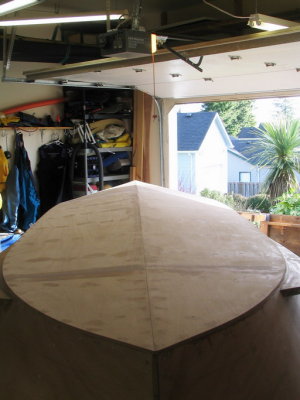
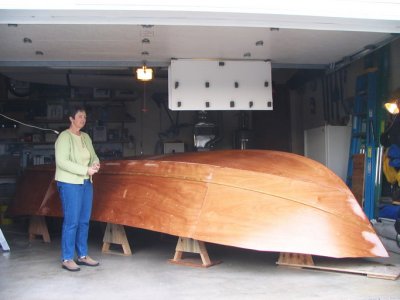
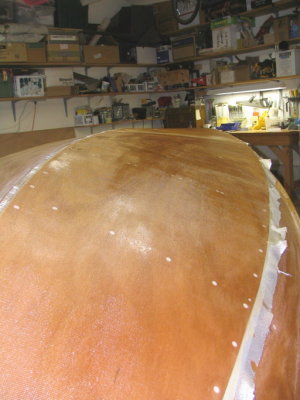
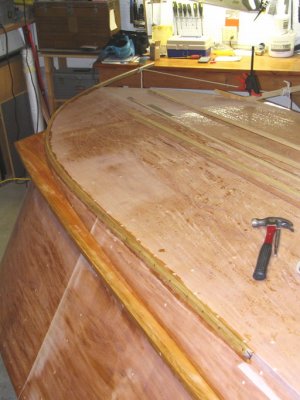
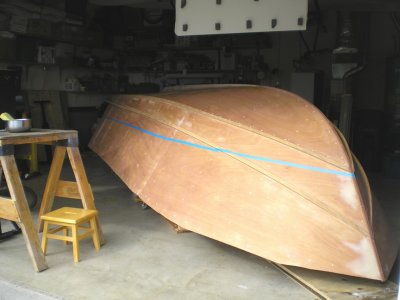
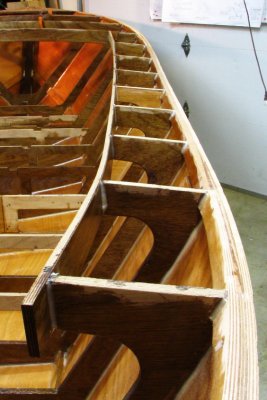
 Second side panel now attached. Bottom panels go on after fitting spray rails and chine guards. |
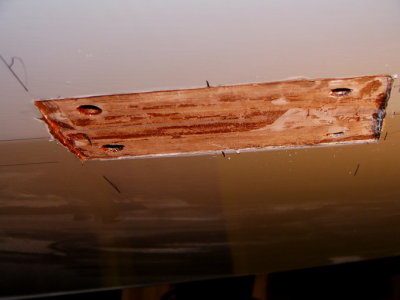
 NOTE: Archaic photo: Current versions of frame kit include precut plywood spray rail fillers. | Photo shows one shaped spray rail filler on top of second blank. These fillers were made from laminates. A very poor idea. It would be a LOT easier and quicker to use single boards, or the plywood fillers included in the frame kit. My bad. |
 Mounting bolt holes for spray rail fillers. |
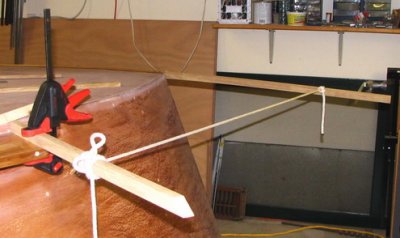
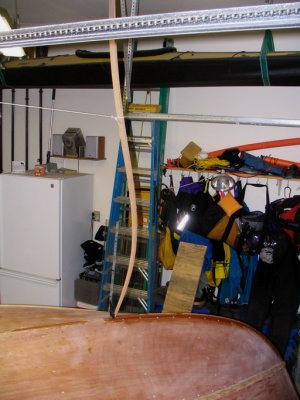
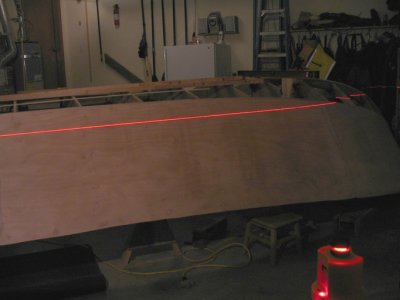 Lasering from frame 4 gave waterline locations across the hull. |
 Spray rail filler epoxied in position. |
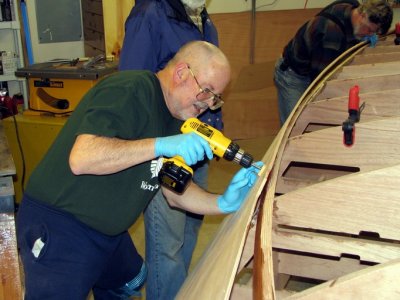
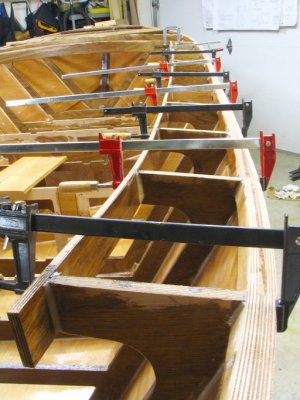
 Guard glued and screwed into position -- eighteen feet of gooped-up wood and some two dozen screws! |
|
 Spray rail guard, bow view. Couple placements into plywood pulled, demanding redos. |
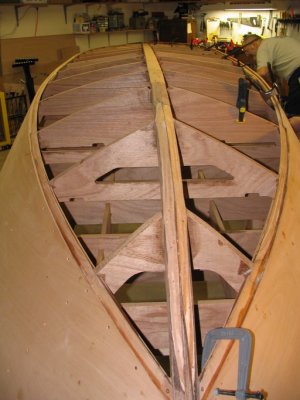
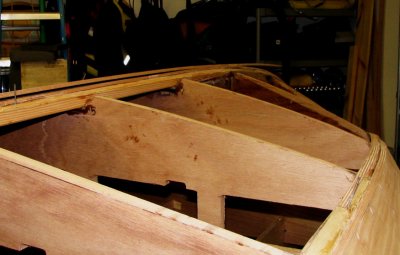
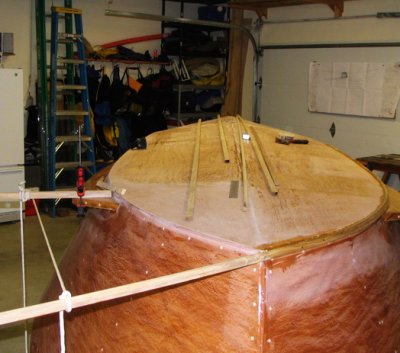
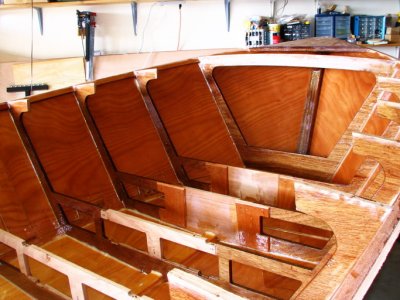
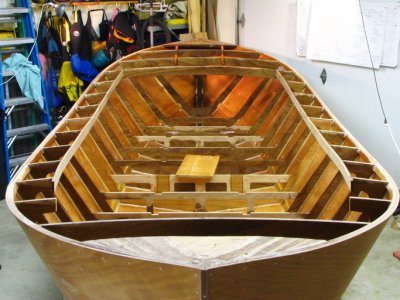
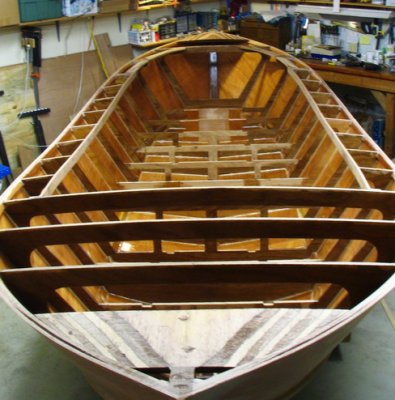
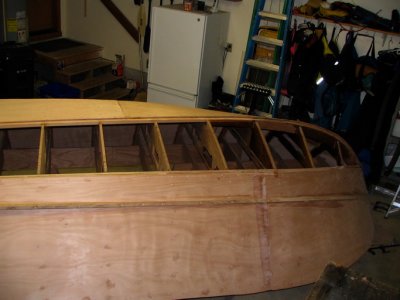 Empty frames prior to attachment of bottom planks; twist at bow makes these trickier. |
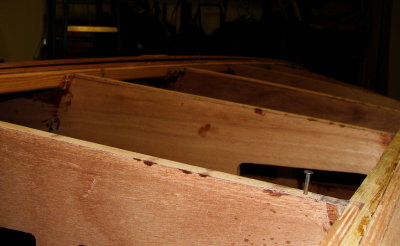
 Aft empty frames; second bottom plank. |
 Inside of the plank saturated with epoxy; tipping off the bubbles with a dry foam brush. |
|
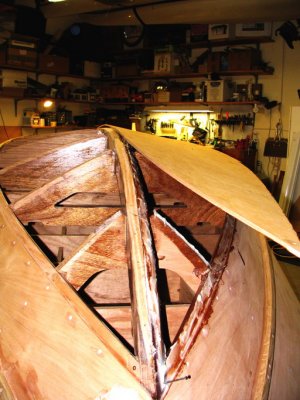
 Lots of goop on the frames, for attachment and for fillets. |
 Locater pins near the bow align the plank roughly to prevent glue smear. |
 Closeup of locating pins. |
 Cut off 8 penny nails hold the aft end of the plank off the frames. |
|
 Plank is laid down after support pins are removed. |
 Glue on frames; bow section of first bottom plank. |
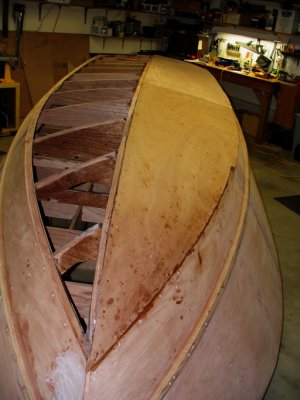 Completed bow section, first bottom plank. |
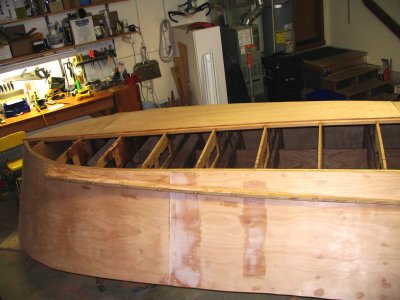
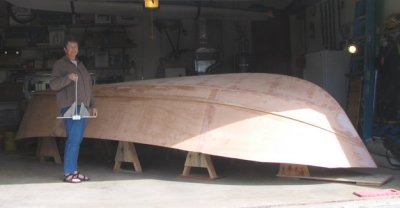
 Both planks attached. Each one requires 2-3 hours to attach. |
|
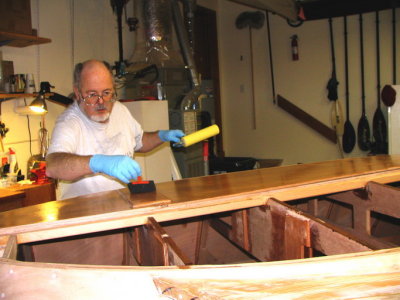
 The outfit keeps dust and stray epoxy blobs off the Caped Filleter during fillet smoothing. |
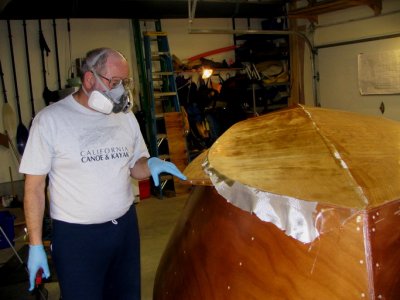
 Ass end of the Caped One, enroute to frames at bow end. |
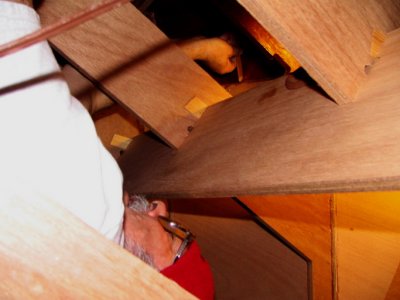 Forming fillet, Frame one. |
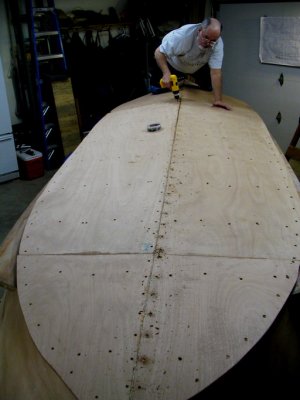
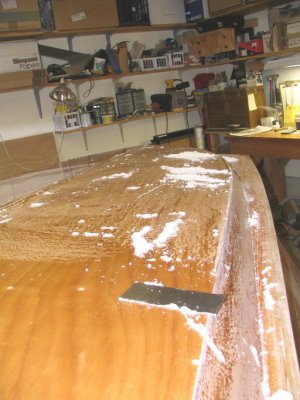
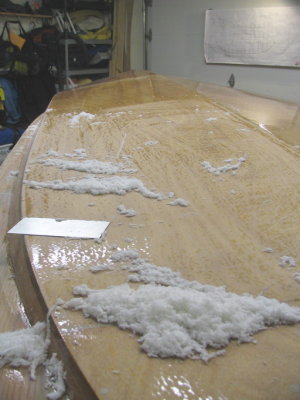
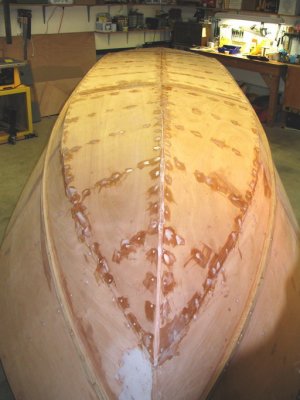 Filling all screw placements and discontinuities at panel joints. System Three's QuikFair is amazing! |
|
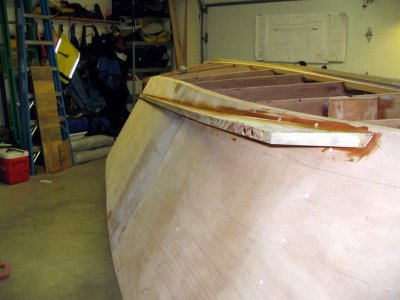
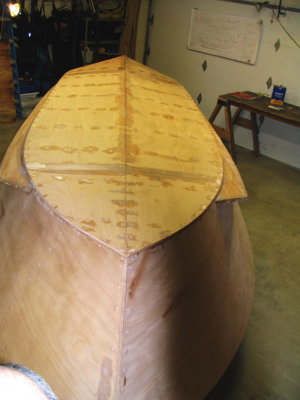 Stern view with fairing compound applied. |
 Stern after sanding. |
 Oblique view after sanding. |
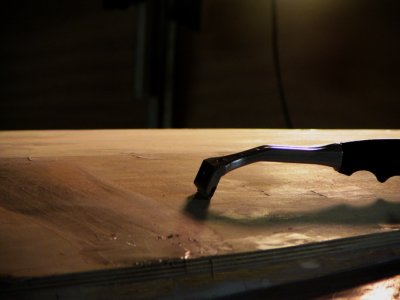 Scraper stage in fairing. A carbide-bladed scraper saves sandpaper and avoids a lot of sanding dust. |
|
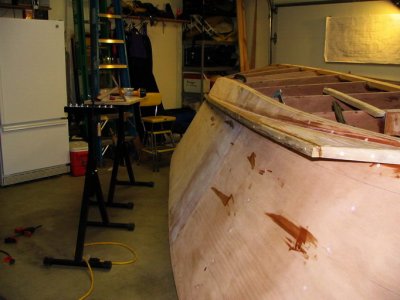
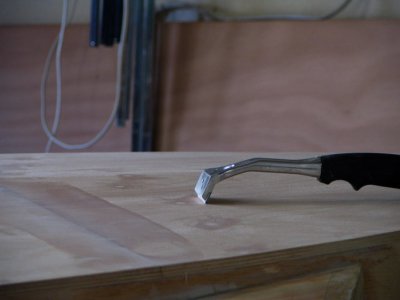 Same section after scraping and sanding. |
 Three hours and a quart and a half of epoxy: saturation coat. Squeegee, roll, tip with foam brush. 9 oz mix at a shot. |
 Glassing: resin allowed to soak in. Squeegee drawn over glass to remove excess resin, for greatest strength. |
 Glass freshly wetted out on bow. |
|
 Stern glass uncured. Mask mandatory when working with this much resin. |
 Bow glass cured. Note masking tape under lower edge. |
 Razor blade run along tape edge while resin is still green, then excess is pulled up and away. |
 Scraping excess resin after two fill coats; saves sanding; best done before full cure. |
|
 Lots of scrapings. Scraping works better than sanding on soft resin. |
 First chine guard segment -- aft portion nailed and epoxied on, looking aft. |
 Same segment, looking forward. |
 Nails end a few inches before the tail, so it can be planed down some, demanding some creative "clamping." |
|
 Wood brace off ceiling holds the aft end of keel strip in place while the epoxy cures. |
 Rear piece of the keel, yucky with epoxy and sitting on screws prior to installation |
 Freshly filleted and screwed into position. |
 Screwing down the forward portion. |
|
 More fresh fillets, merging keel pieces together. |
 Much sanding, filling, and re-sanding later, the boot stripe limit gets masked. |
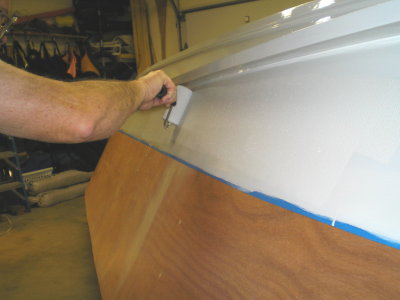 Five coats of two-part LPU are rolled on and tipped out. Very durable, water-based marine coating. |
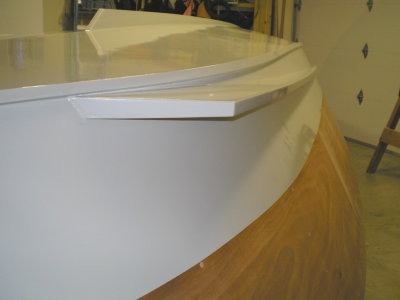 Masking removed. Decks and cabin get paint later. Pinstriping will mark the waterline. |
|
 Rear shot after three coats. Each coat took about three hours. |
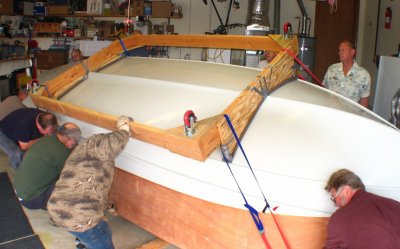
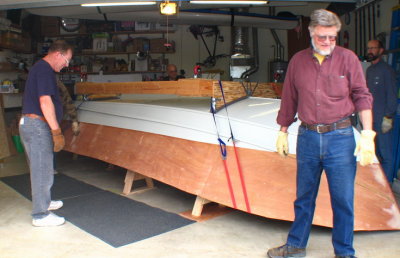 Time to roll the hull! Castered cradle atop the hull, sitting on sawhorses. |
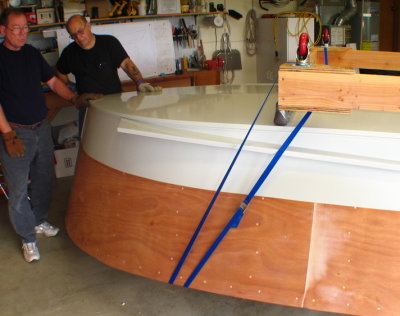 Strap attachment detail. |
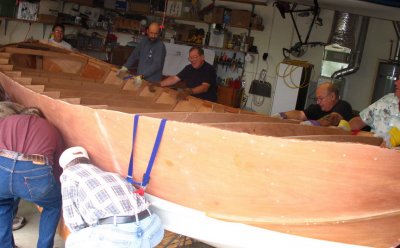
 Sawhorses removed as eight helpers lift the hull. An easy lift with this many guys. |
|
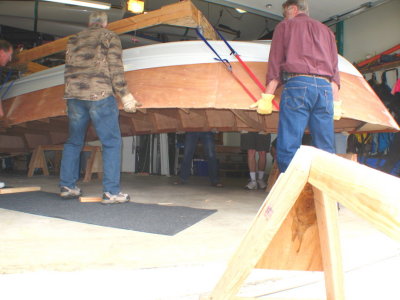
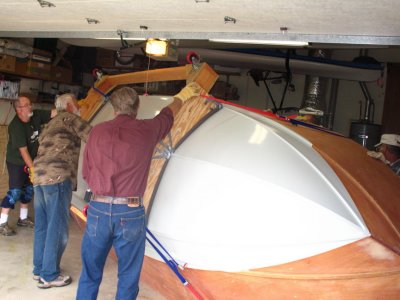
 Hull is moved farther back in the garage to allow rolling room. |
 Roll begins. |
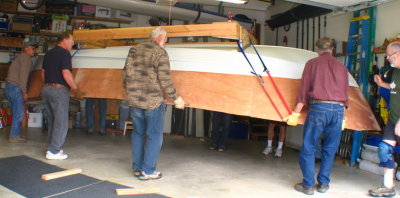
 Almost halfway. |
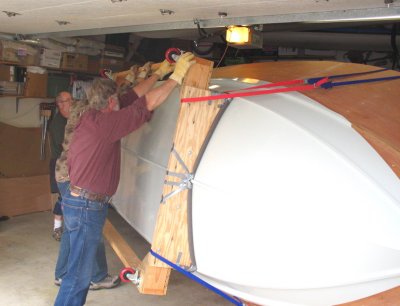 Half rolled. Cradle made for easy handholds as it came over. |
|
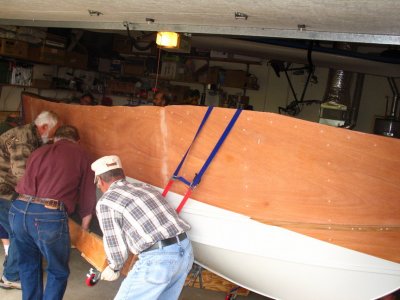 Three-fourths rolled. |
 Roll almost complete. |
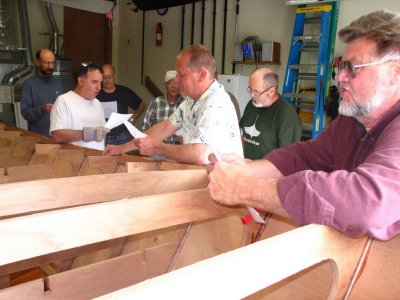 Old Guy Chorus: half can't carry the tune ("Barrett's Privateers," Stan Rogers); the other half can't hear! |
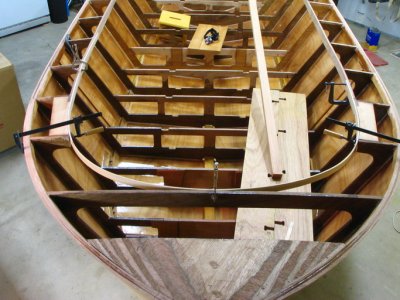
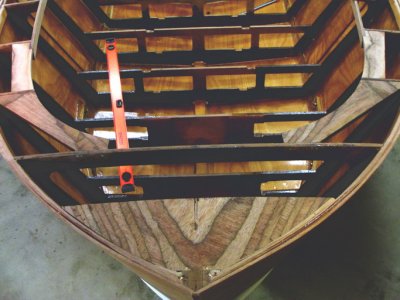
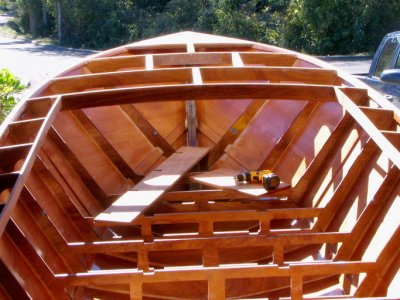
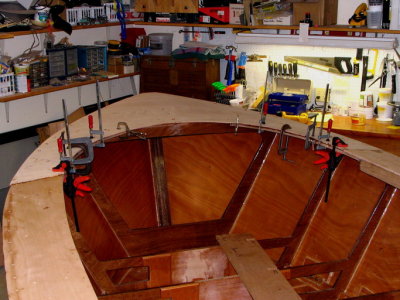
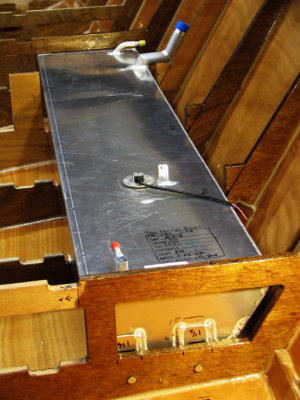
 ERROR: I removed all the jig cross braces prematurely. Should have left alternate ones in place. | Test fit of starboard tank -- headed for the cutout area below, vent and filler exiting the hull under the deck. |
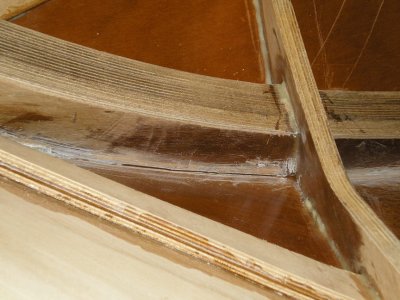 A couple poor fillets on the keelson/hull line are gouged and sanded to get to solid material. |
 Re-filleting those seams. |
 Frame 12 is opened for rudder system installation and service. |
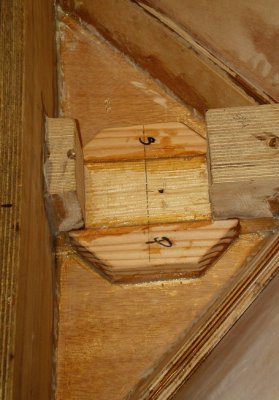 A platform for the rudder bearing, formed from the keelson and some added doug fir, topped by ... |
|
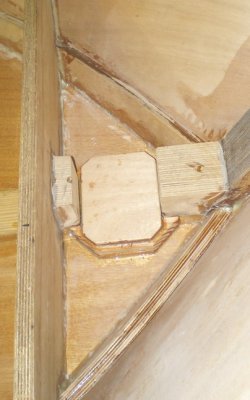 A 3/8th inch plywood cap, to make up enough thickness for a 2 1/4-inch deep rudder bearing, to be installed later. |
 Seemed like it would be easier to saturate the exposed wood now, before decks go on. Underdecking will get epoxy as it is laid |
 Some fairing to prep for decking; the added frame (6 1/2) was a bit low on top, demanding another quarter inch slice of plywood. |
 I used the jig beams for nailers, exploiting the puzzle joints to make a 12-foot piece for each side. This is glueup. |
|
 Starboard nailer. |
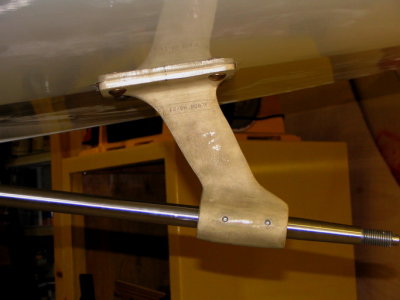
 Full view. The nailers curve in a very precise way, to fit the ends of the frames. Lots of cool planing |
 First set of two filler blocks support stern deck and define coaming curve. Batten aids installation. |
 Side view of a filler block. 3/4 inch plywood used in lieu of the thicker fir specified on the plans. |
|
 Filler blocks and stern breasthooks are finished and faired. Fairing these was fun. |
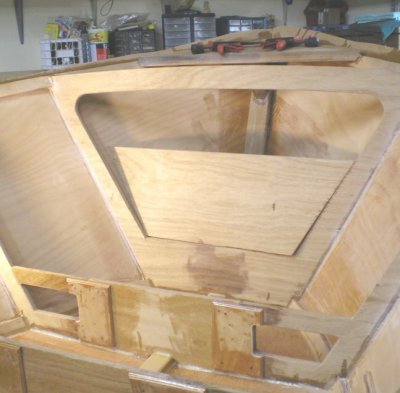
 All surfaces decking faired and ready for deck beam installation. |
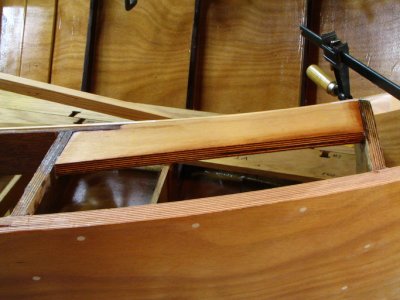
 Deck beams glued in. The set between frames 1 and 2 defines the outsides of the future hatch. |
 Bow decking requires care as the panel is aligned onto glue-covered frames, etc. Drywall screws index the sheet, making for a o |
|
 Both bow panels installed. |
 Placing ring nails into the nailer demands good aim. Divots represent nail ends ground flush. |
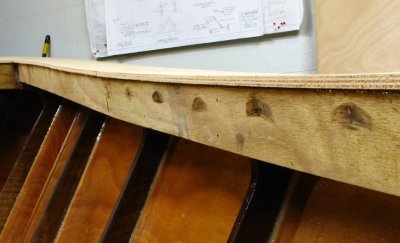
 Port panel -- screws on sheer, Ring nails elsewhere, including butt plate at splice. |
 Reversed clamps stacked on top of plywood chunks press a rear butt block splice plate in position. |
|
 Last panel in glueup. |
 Decking completed, screwholes filled; some fairing and filling to come yet. Hull is now stiff enough to remove jig braces. |
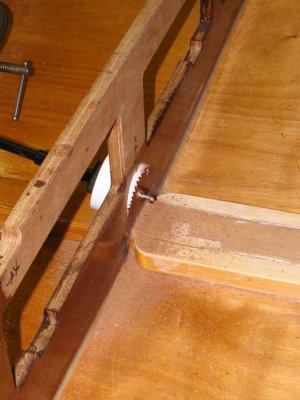 Shaft log prep: 2-7/8 inch hole saw punctures frame 9, over a keelson augmented to support the shaft log casting. |
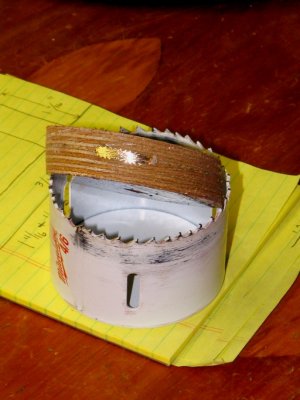 These Milwaukee 4/6 hole saws cut well -- ran through two bronze screws and kept on truckin'! |
|
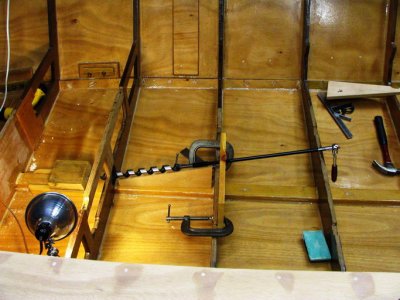
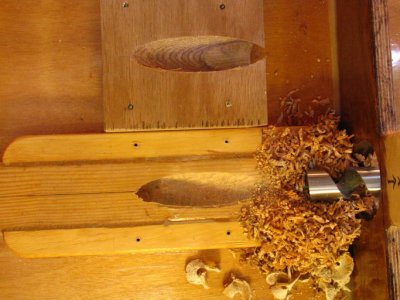
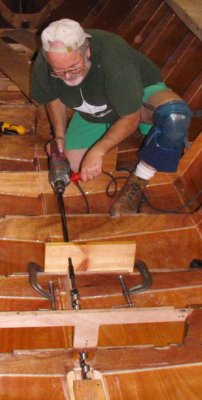 Power boring the first attempt at the shaft hole, with jig board to hold the angle. |
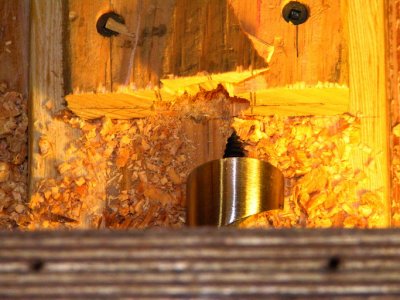 First round failure: guide block split, allowing too much bit runout. |
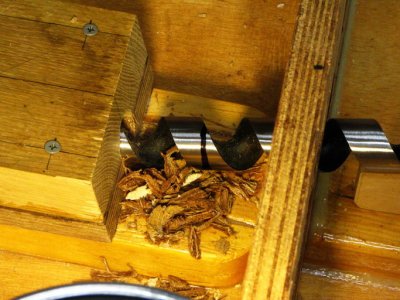
 Shoddy hole filled with epoxy/wood flour; oak/plywood guide block helped the bit run true. |
 Most of the boring was done by hand using a socket wrench for better control. |
|
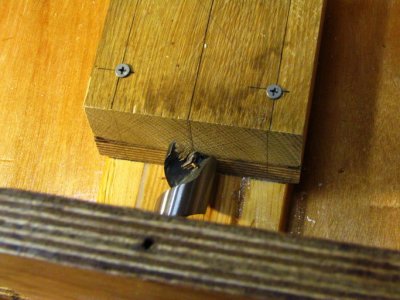
 About an inch in -- guide block solid as an oak. |
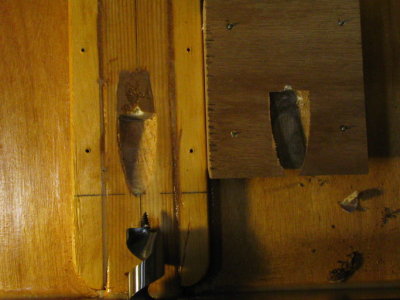 Bore is right on the money -- remnant epoxy/wood flour barely visible on the left. |
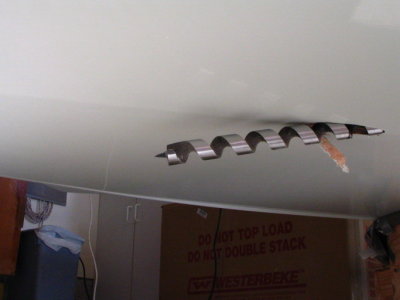 Auger exits the hull -- right where it needs to be. |
 A clean hole and a good guide block. |
|
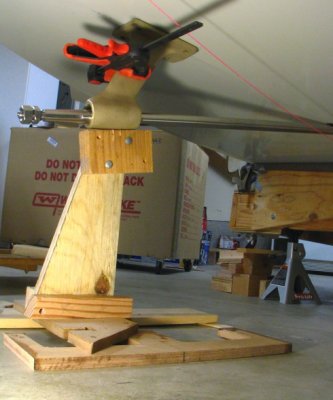
 Bozo the clown and his eighteen-inch auger. One happy guy |
 Log and propeller shaft test fitted. |
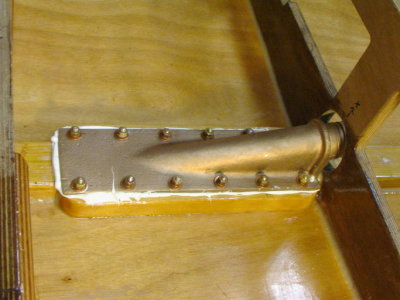 Log is bedded and permanently installed with 1/4-20 hardware. That 3M 4200 goop is really sticky! |
 Rudder pivot also got bedded today, using up the tube of 4200 bedding compound. |
|
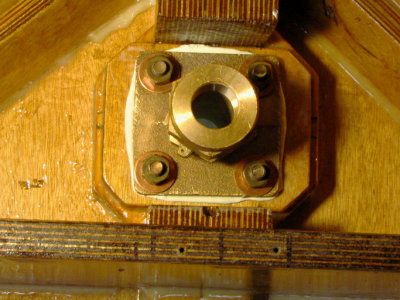
 Final lineup for the strut base awaits bearing is installation, and the shaft log bedding cure. |
 Hull recess for strut base. |
 Temporary installation of strut; ready for the 4200. |
 Chafe strips get stuck onto the tank undersides with more 4200. These are made of Trex, that composite decking material. |
|
 Chafe strip closeup. |
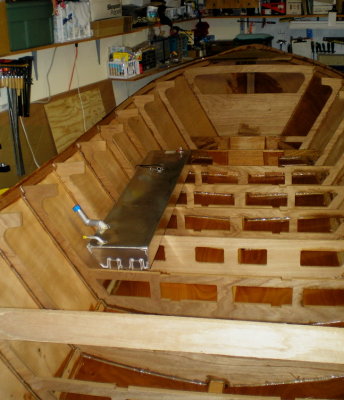
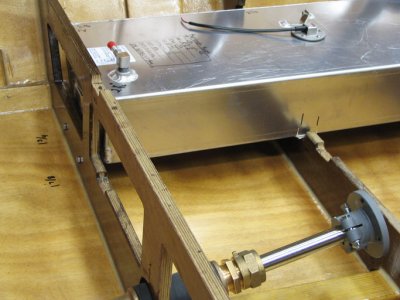
 Starboard tank, temporarily bolted in position -- easier to fit before the engine logs go in |
 Rear of port tank, and shaft. |
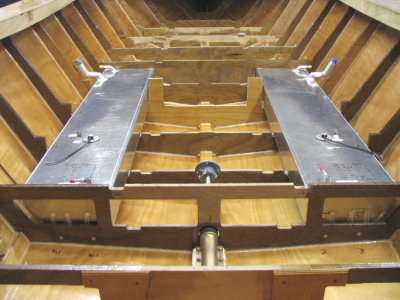 Overview of tanks and shaft installation. |
|
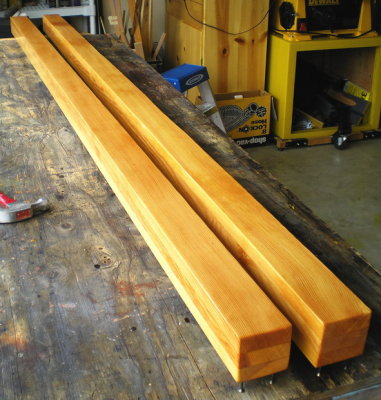
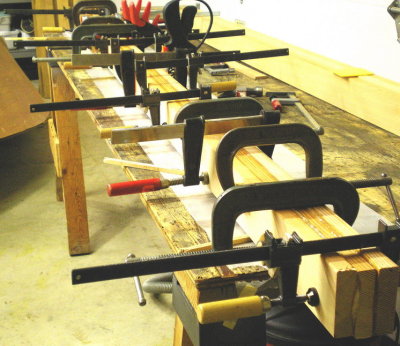 Lamination of one-inch-thick fir boards to make 3 x 3 x 8 ft engine logs. |
 Logs after saturation coats of epoxy. |
 Port log set low, parallel to the upper sole surface. Notches cut high and worked down using an end-to-end level technique. |
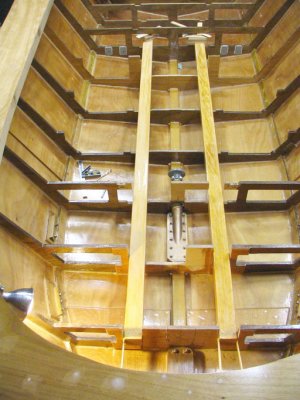 Second log brought in using a cross-level. Satisfying but tedious work, most of it on the knees. |
|
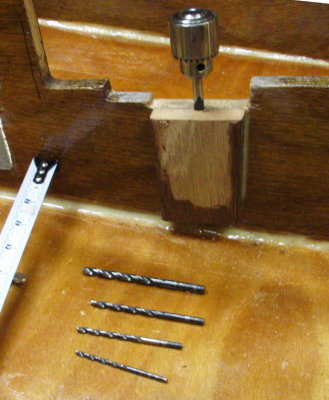 The frame 6 lag screw holes were placed partially under the top of the frame; hand-twisting bits enlarged holes to 5/16. |
 Young Daniel doing some of the heavy lifting. He's OK with a socket wrench ... but not the 4200! |
 Both logs bedded and bolted down. They are solid. Really feels good to have a nice home for the engine. |
| comment | share |
| Mr. Mumbo Jumbo | 07-Nov-2012 04:40 | |
| Mr. Mumbo Jumbo | 07-Nov-2012 04:39 | |
| bartenderdave | 08-Sep-2009 10:46 | |
| Larry Clark | 05-Jun-2009 14:51 | |
| Tim Laws | 05-May-2008 01:40 | |