


|
|
|
|
|
|
| ATSF_Arizona John Sing | profile | all galleries >> Galleries >> kato_n_scale_unimate_install | tree view | thumbnails | slideshow |
| previous page | pages 1 2 3 4 ALL | next page |
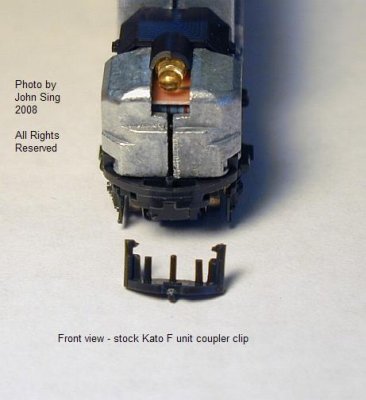
 Kato w m showing how orig clip and MT goes on.jpg |
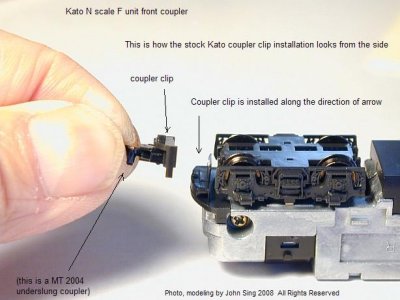
 Kato w o F unit orig clip on frame and mount clip 1.jpg |
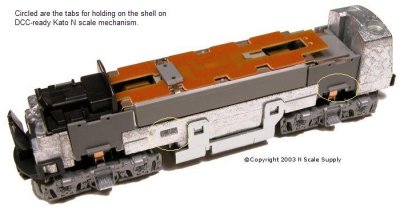
 A 1 removing shell - location of tabs.jpg |
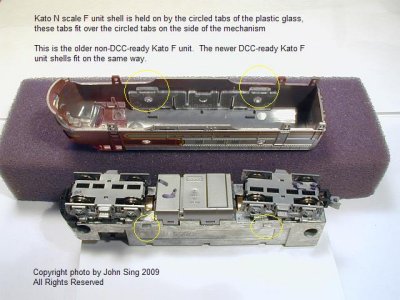 A 11 shell held on by plastic glass.jpg |
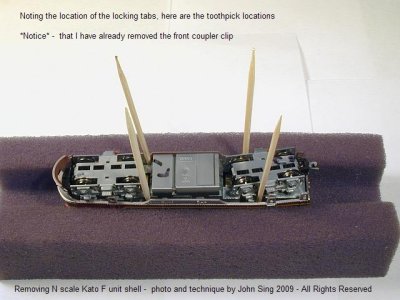 A 2 location of toothpicks.jpg |
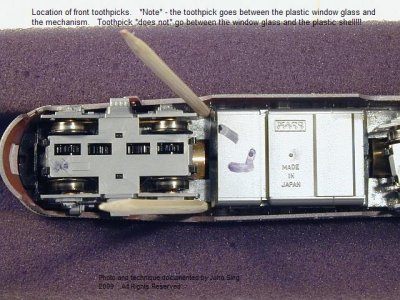 A 3 location of toothpicks front.jpg |
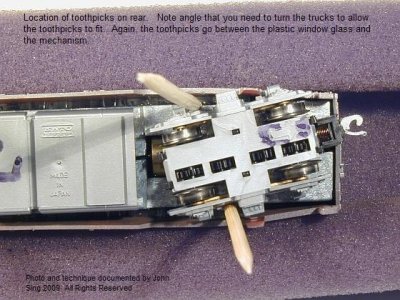 A 4 location of toothpicks rear.jpg |
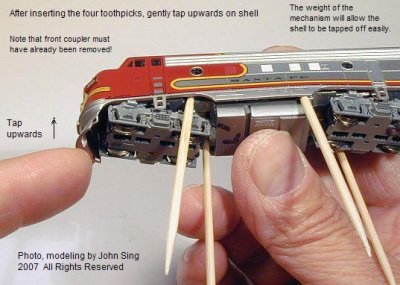 A 5 Tap gently on pilot to remove shell 1.jpg |
 A 12 Kato DCC ready F unit frame tabs for shell.jpg |
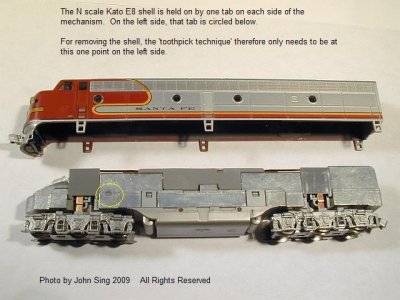 Kato N E8 shell tabs left.jpg |
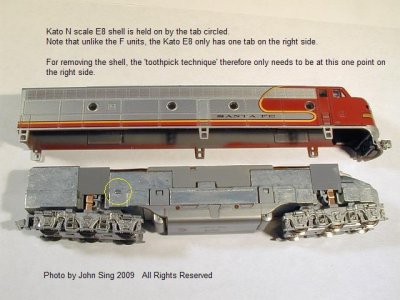 Kato N E8 shell tabs right.jpg |
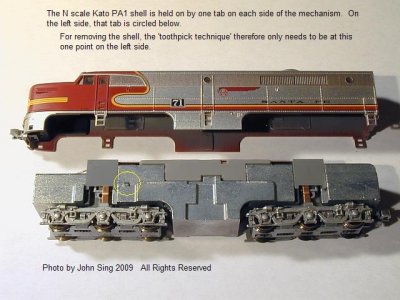 Kato PA1 shell tabs left.jpg |
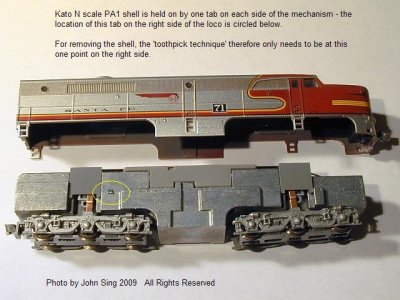 Kato PA1 shell tabs right.jpg |
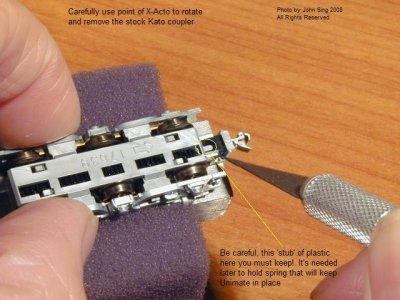 a Remove Kato coupler 1.jpg |
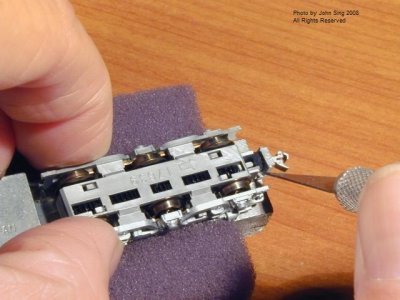 a Remove Kato coupler 2.jpg |
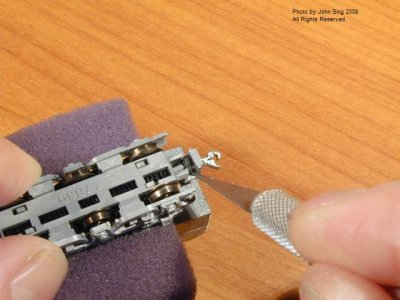 a Remove Kato coupler 3.jpg |
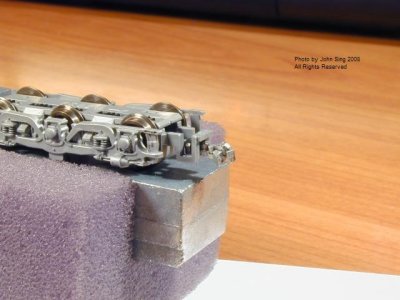 a Remove Kato coupler 4.jpg |
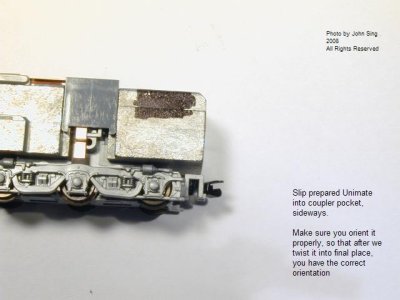
 Install Unimate a.jpg |
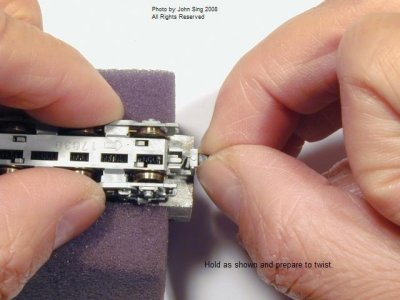
 Install Unimate b.JPG |
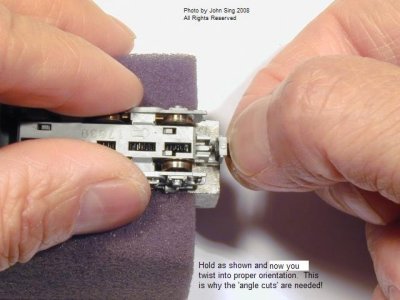
 Install Unimate c.JPG |
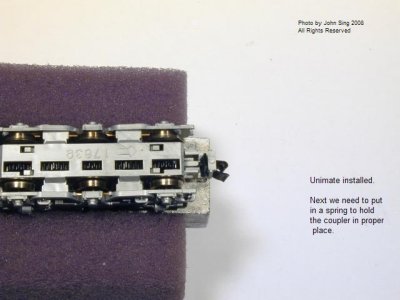
 Install Unimate d.JPG |
 Install Unimate e.JPG |
 Install Unimate f.JPG |
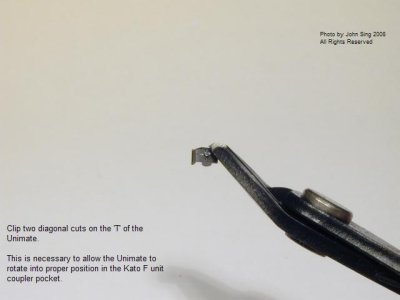
 Install Unimate g.JPG |
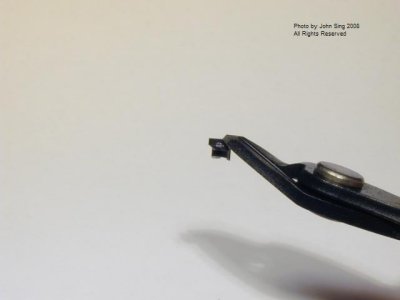
 Install Unimate h.JPG |
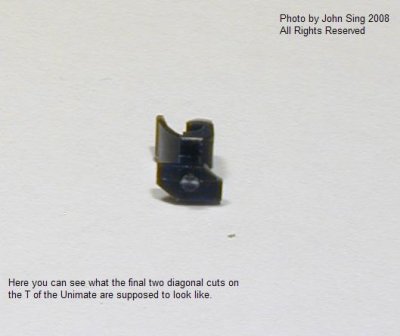
 Install Unimate i.JPG |
 Install Unimate j.JPG |
 Install Unimate k.JPG |
 Install Unimate l.JPG |
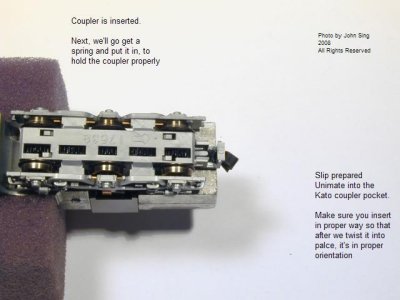
 Install Unimate m.JPG |
 Install Unimate n.JPG |
 Install Unimate o.JPG |
 Install Unimate p.JPG |
 Install Unimate q.JPG |
 Install Unimate r.JPG |
 Install Unimate s.JPG |
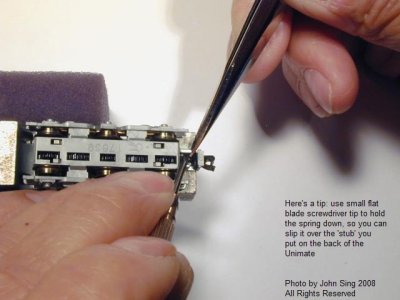
 Install Unimate t.JPG |
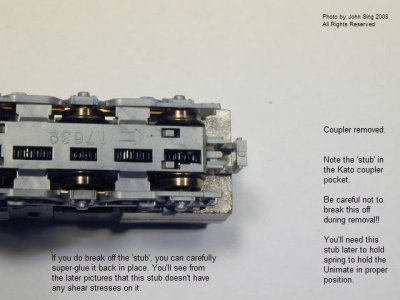
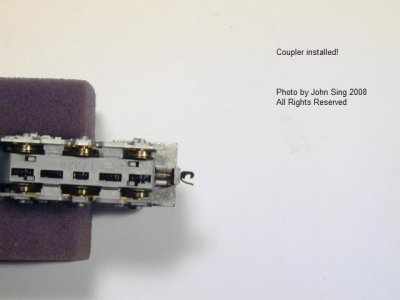
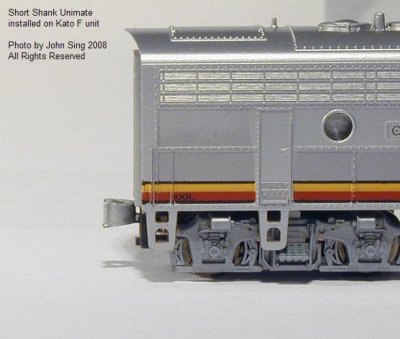
 UnimatedKato1.jpg |
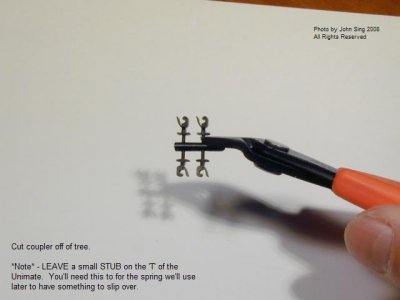
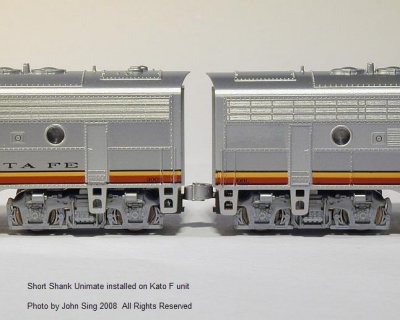
 UnimatedKato2.jpg |
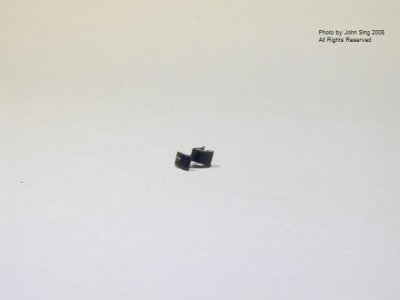
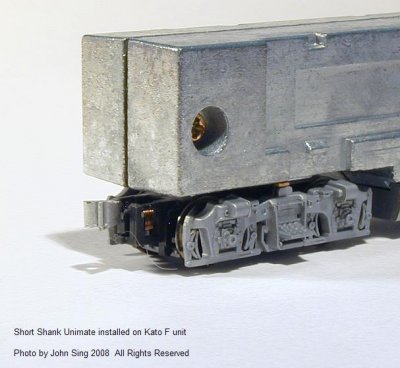
 UnimatedKato3.jpg |
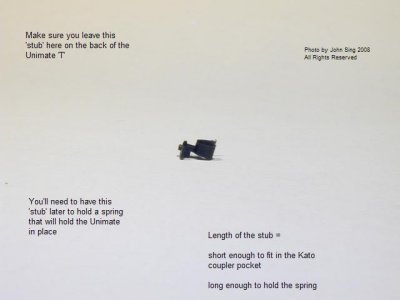
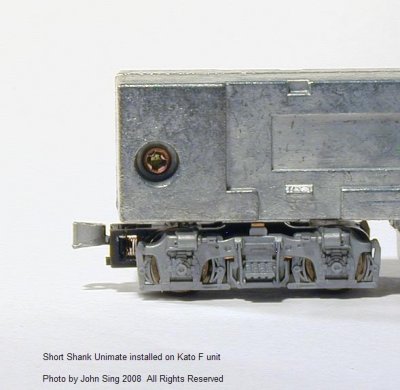
 UnimatedKato4.jpg |
| previous page | pages 1 2 3 4 ALL | next page |
| comment | share |