


|
|
|
|
|
|
| 914-6 GT | profile | all galleries >> NP - The 914-6 GT Project >> Recent Work | tree view | thumbnails | slideshow |
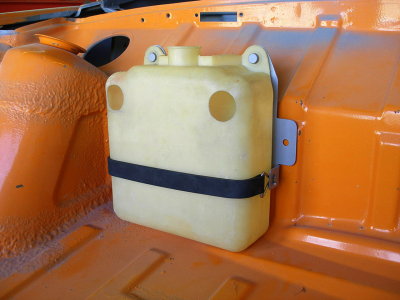
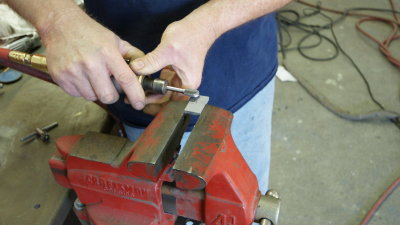
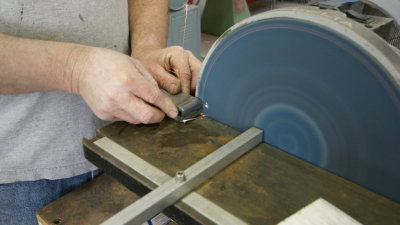
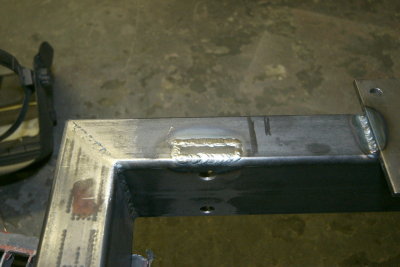
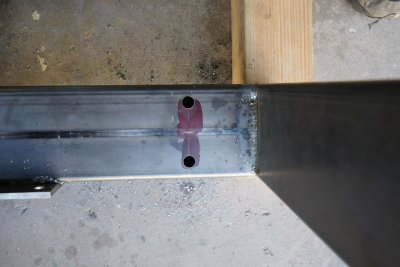
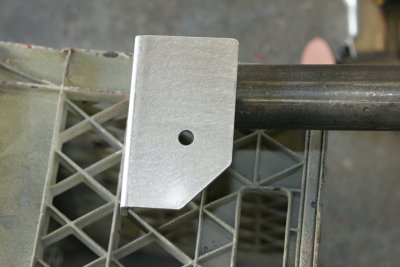
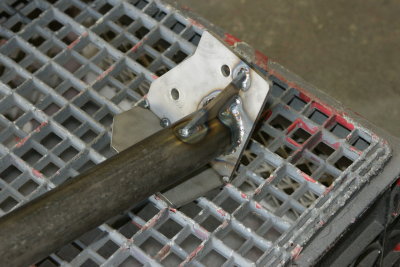
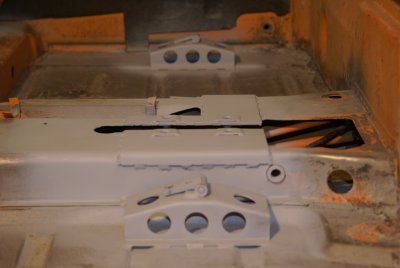
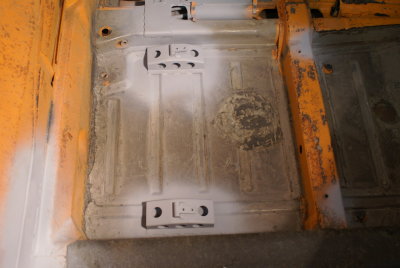
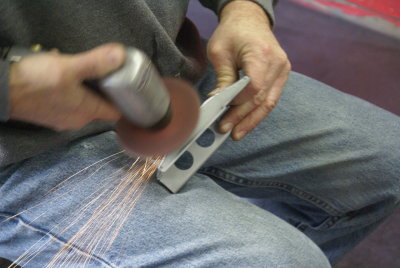
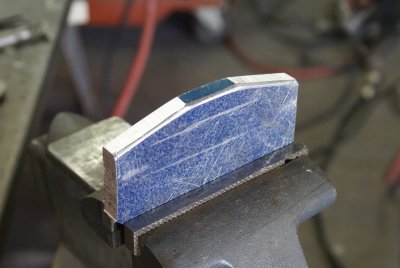
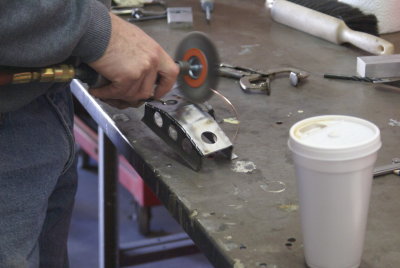
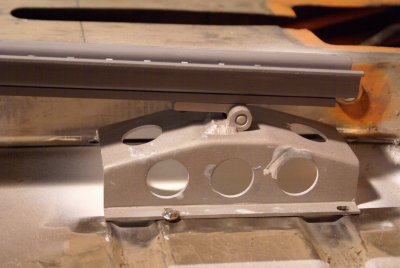
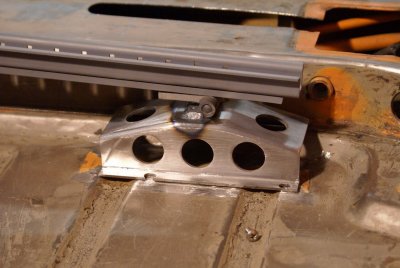
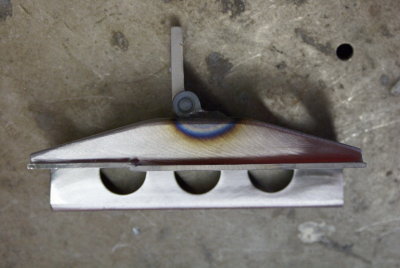
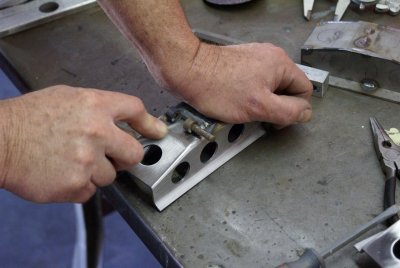
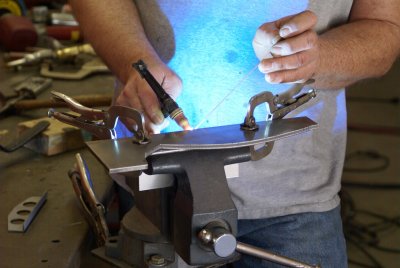
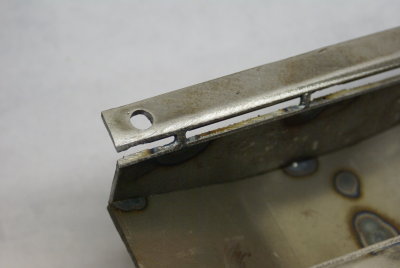
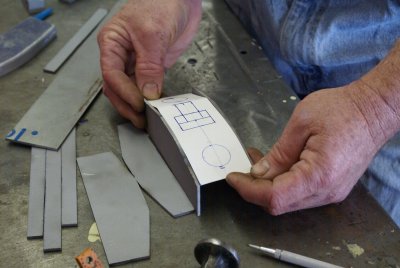
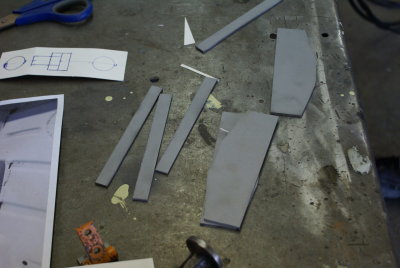
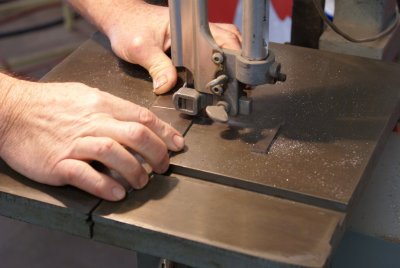
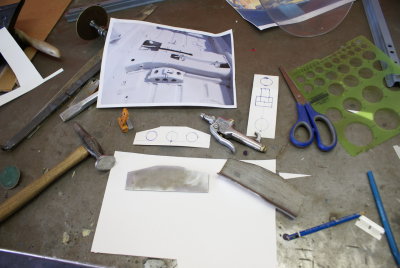
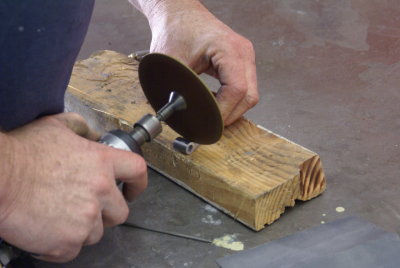
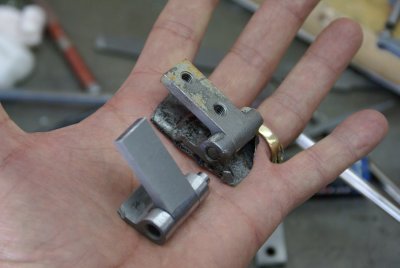
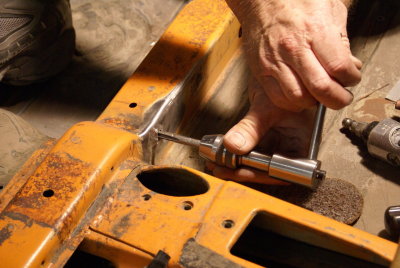
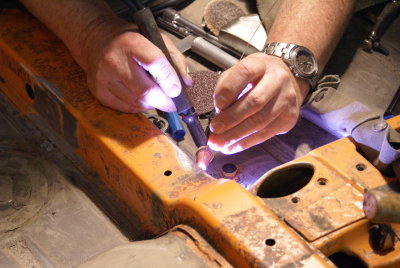
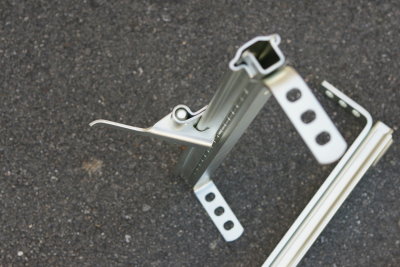
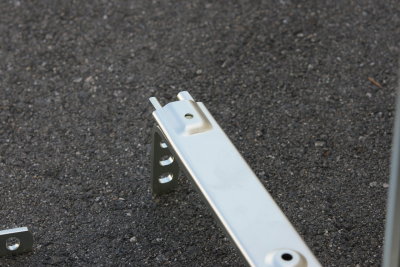
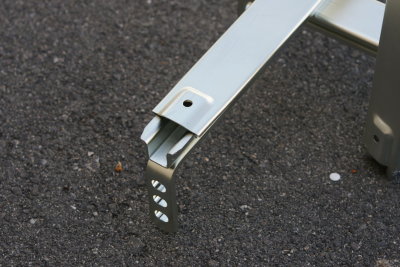
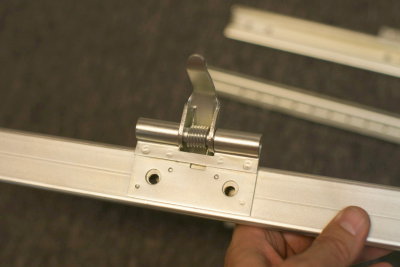
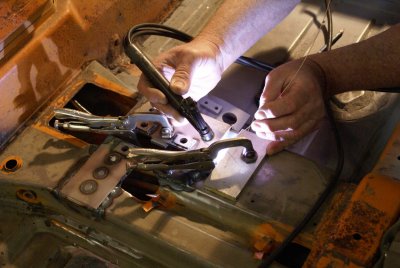
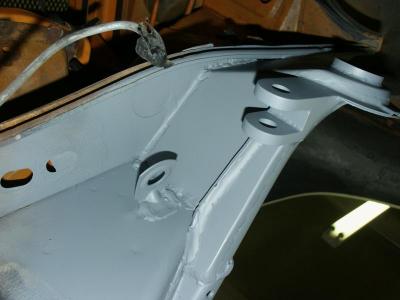
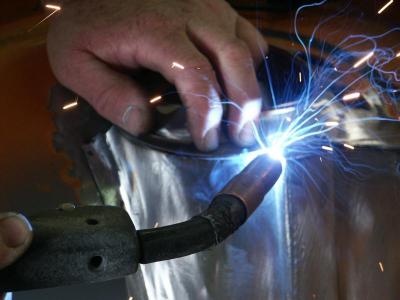
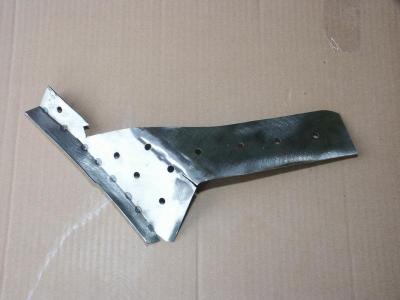
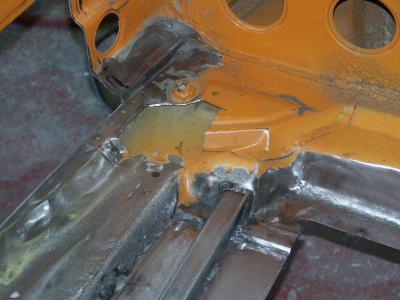
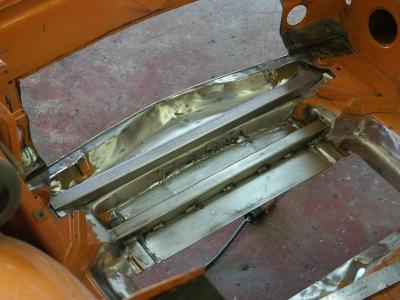
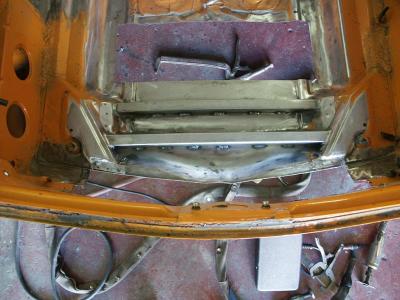
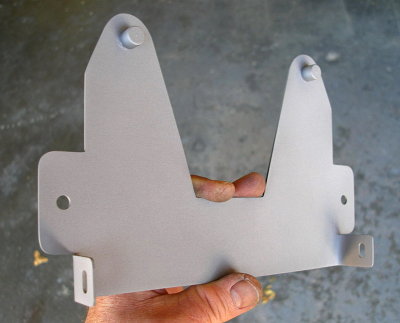 914-6 GT Oil-Overflow Bottle Bracket - Photo 2 |
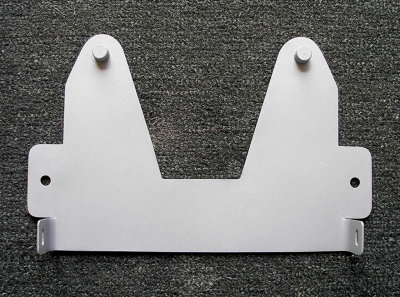
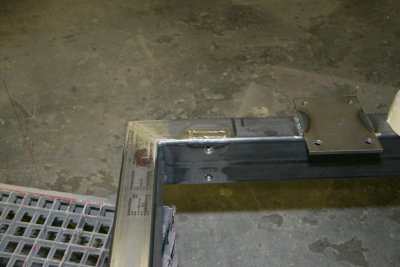
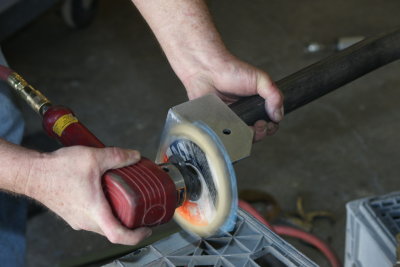
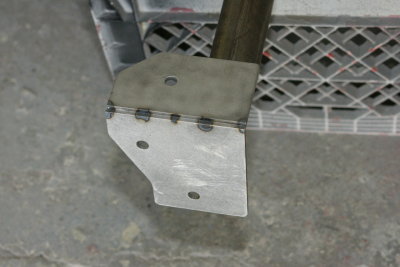
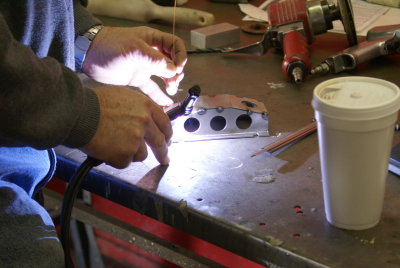
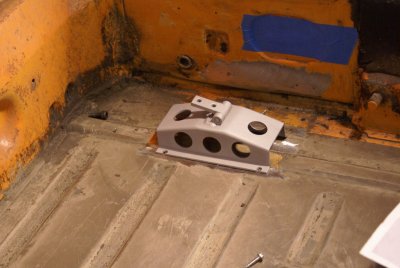
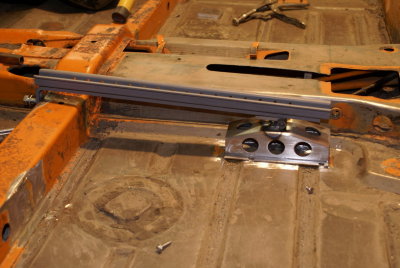
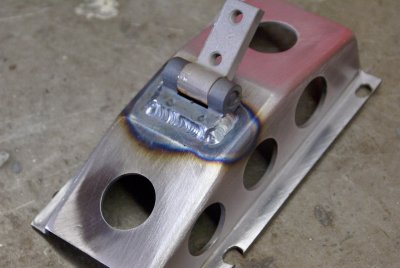
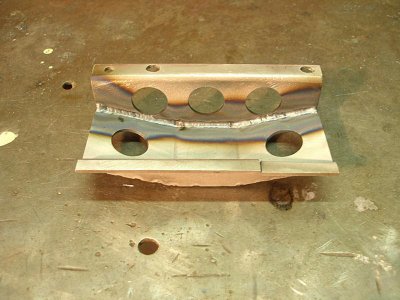
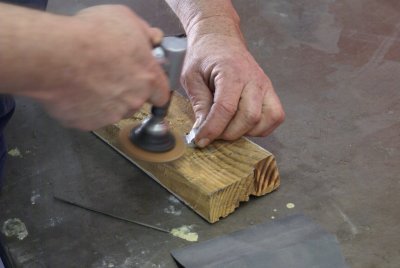
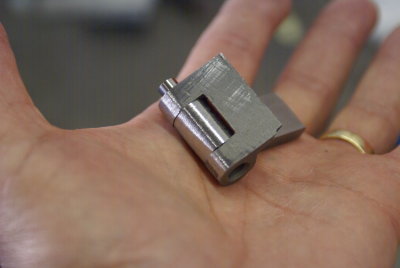
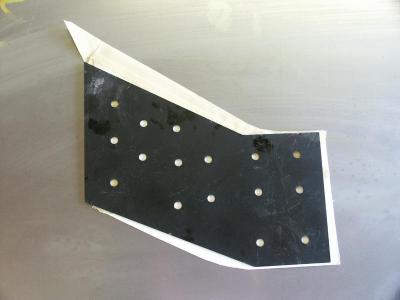
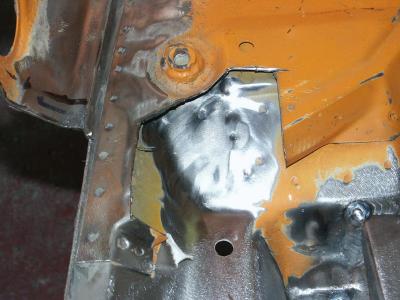
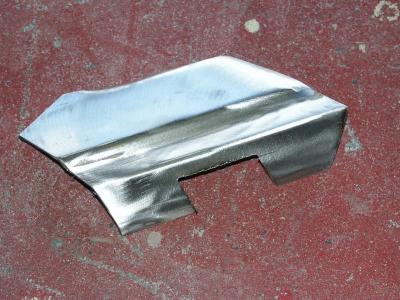
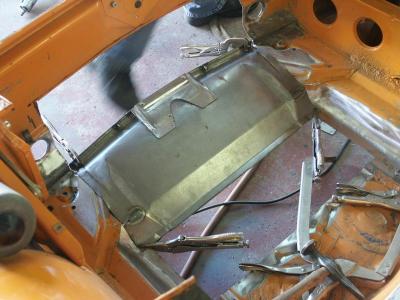
 914-6 GT Oil-Overflow Bottle Bracket - Photo 4 |
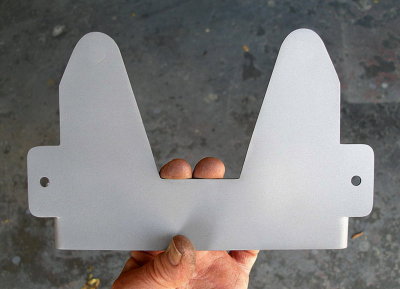
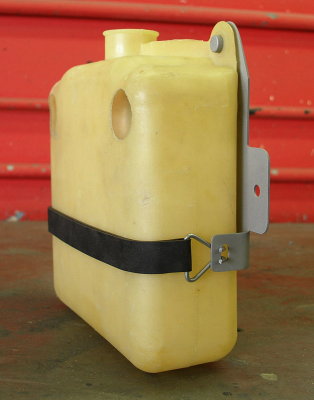
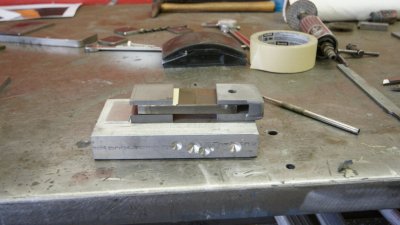
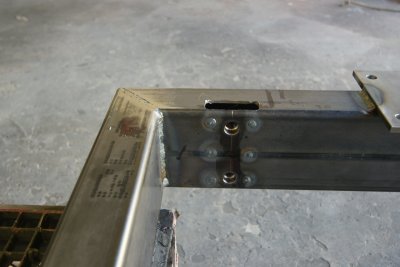
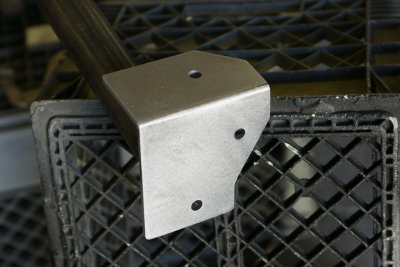
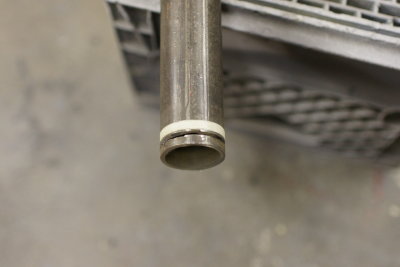
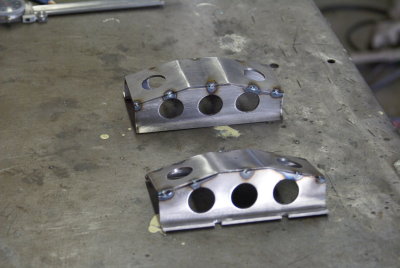
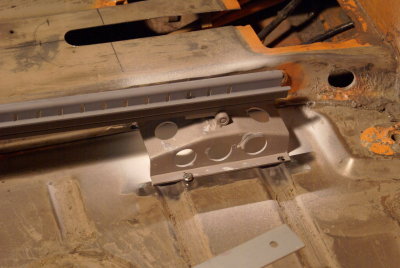
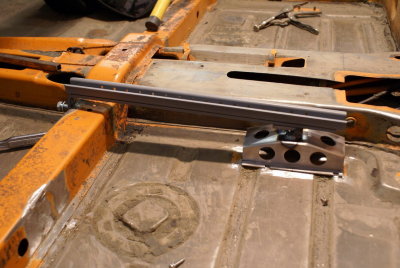
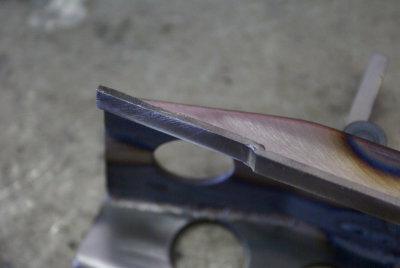
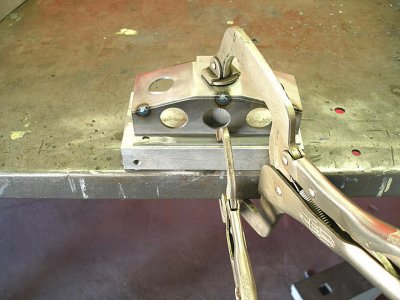
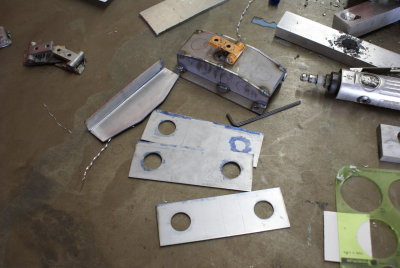
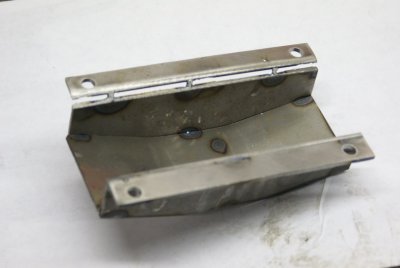
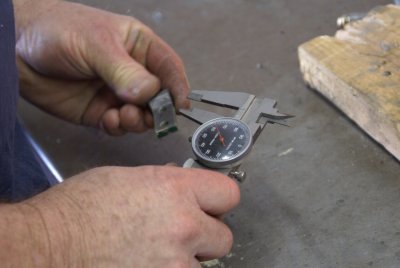
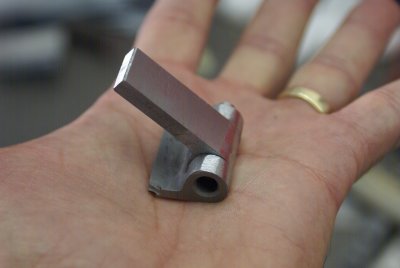
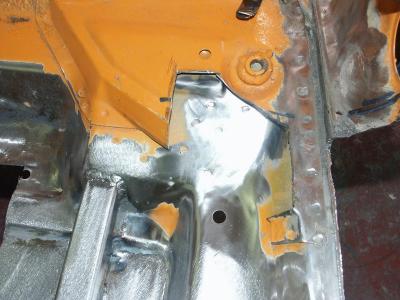
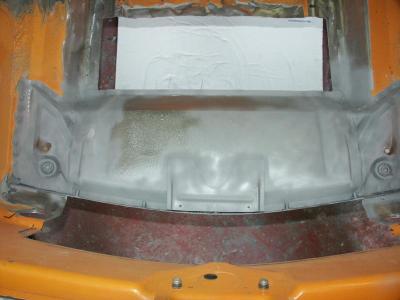
 914-6 GT Oil-Overflow Bottle Bracket - Photo 1 |
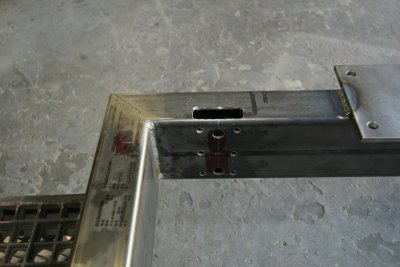
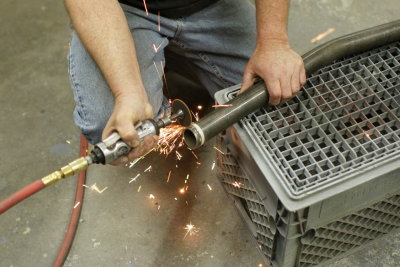
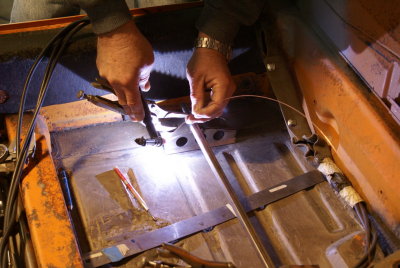
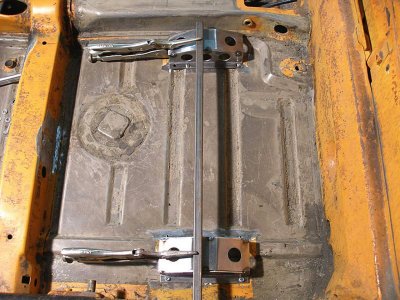
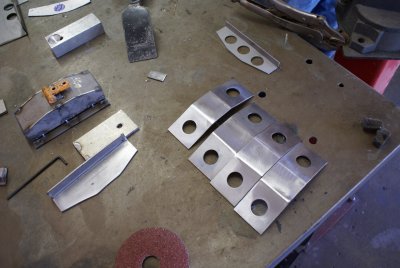
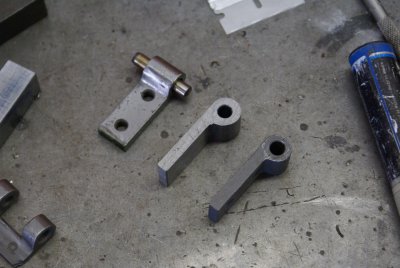
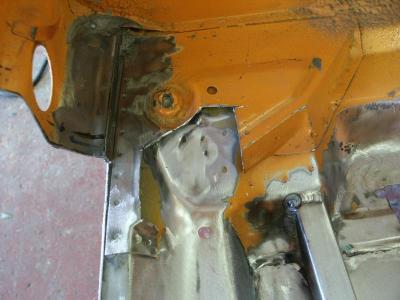
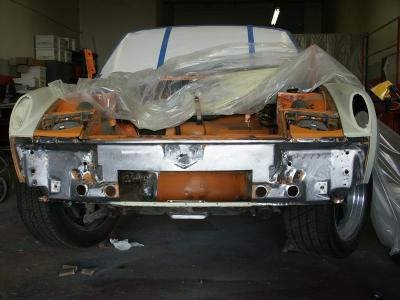
 914-6 GT Oil-Overflow Bottle Bracket - Photo 5 |
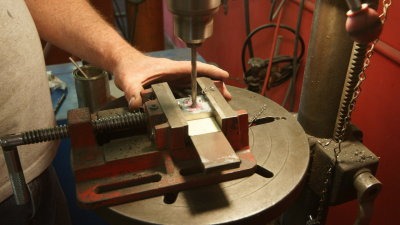
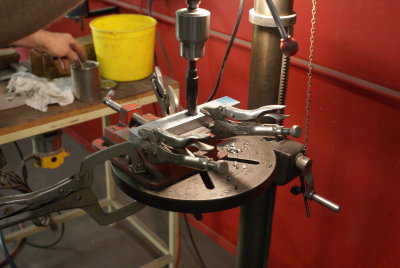
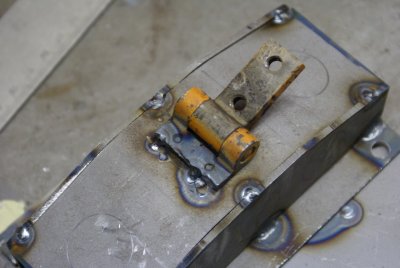
 914-6 GT Oil-Overflow Bottle Bracket - Photo 6 |
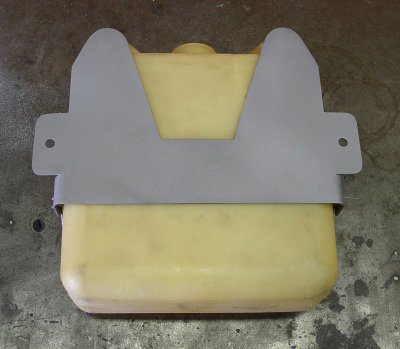
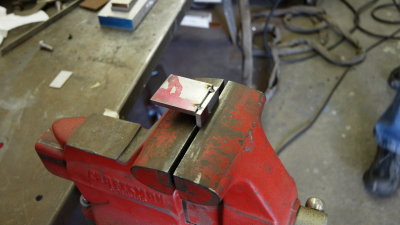
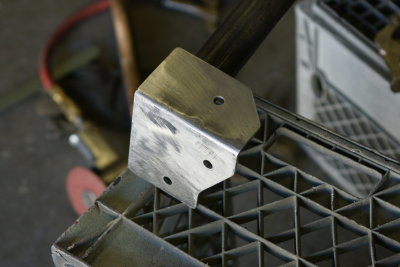
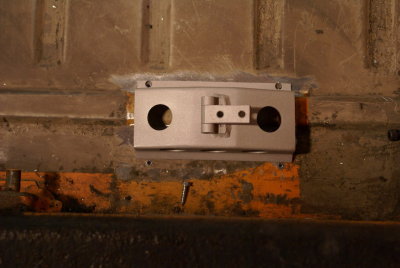
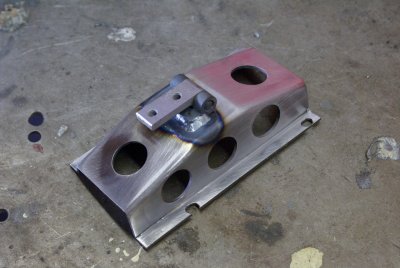
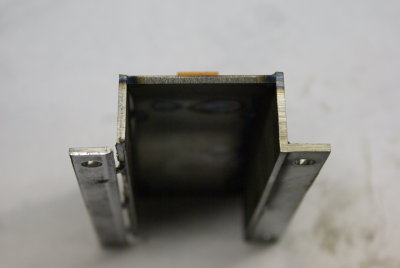
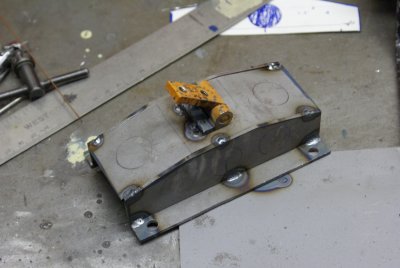
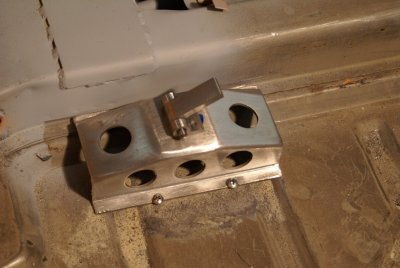
 914-6 GT Oil-Overflow Bottle Bracket - Photo 8 |
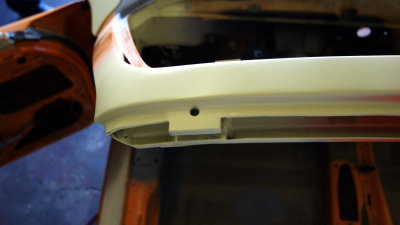
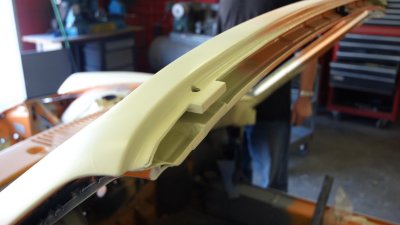
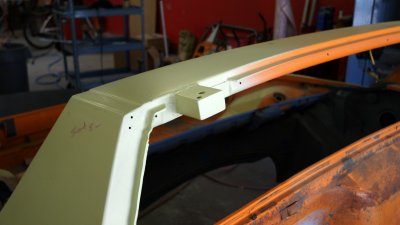
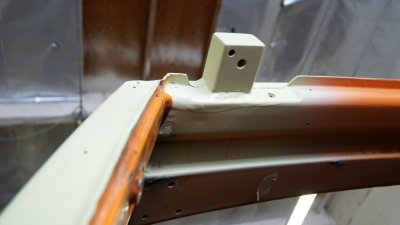
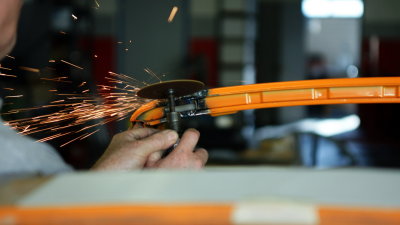
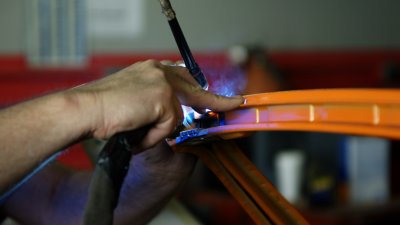
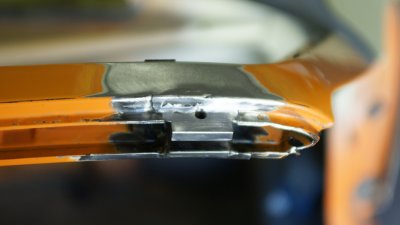
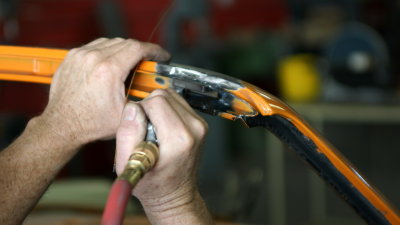
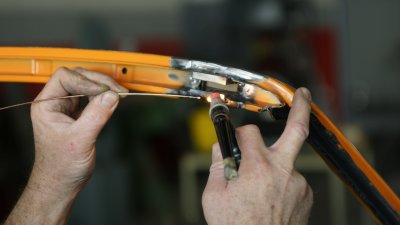
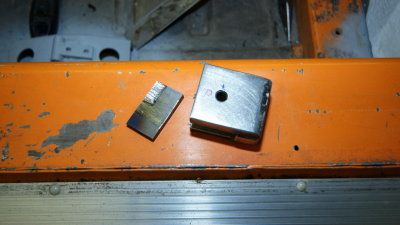
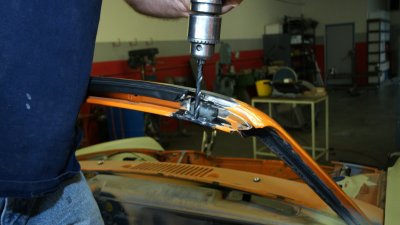
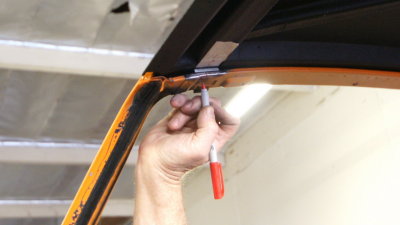
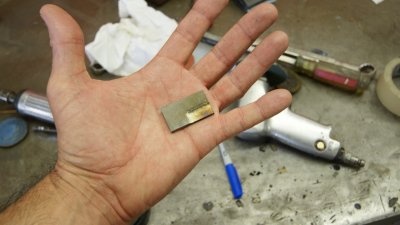
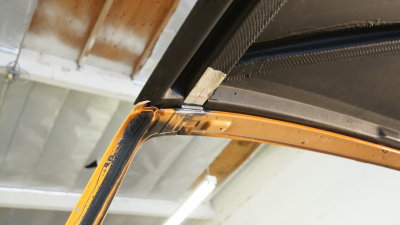
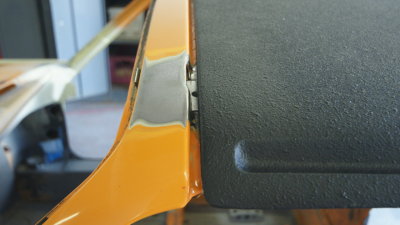
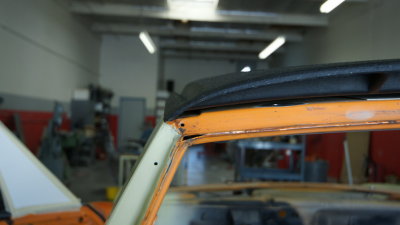
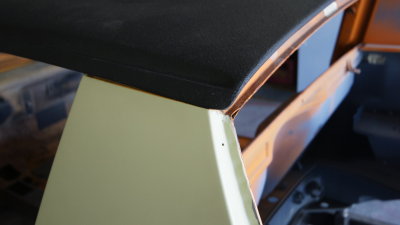
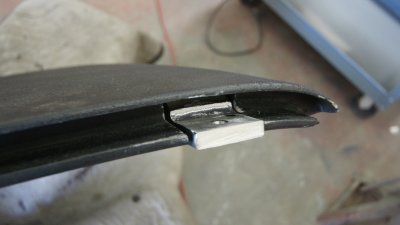
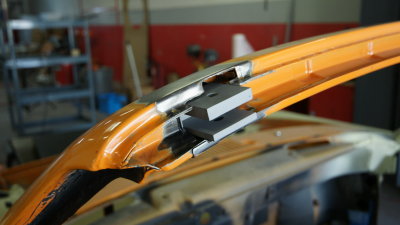
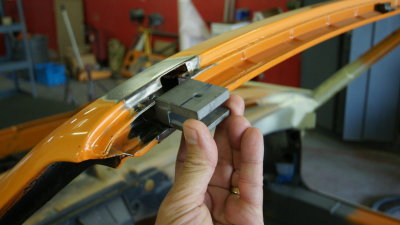
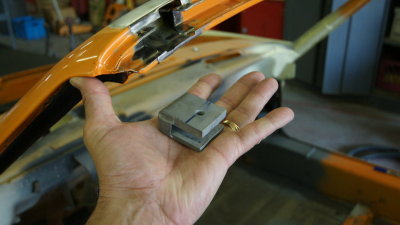
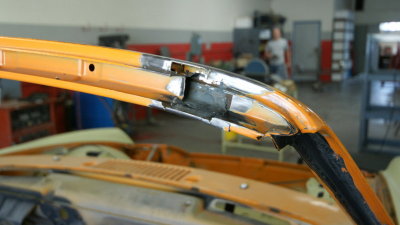
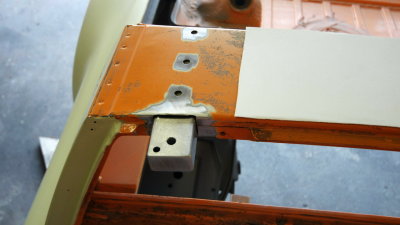
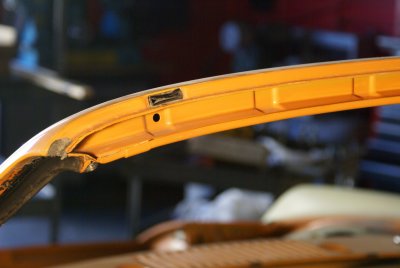
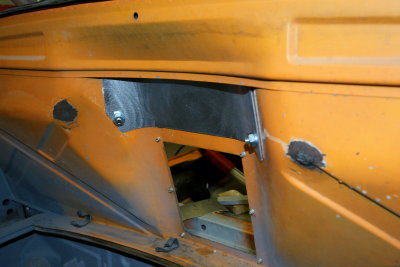
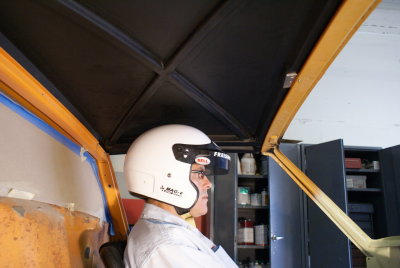
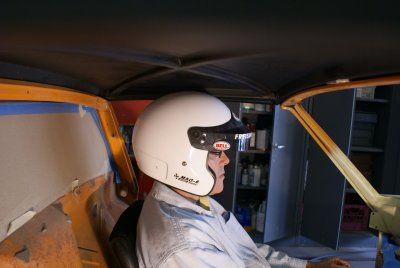
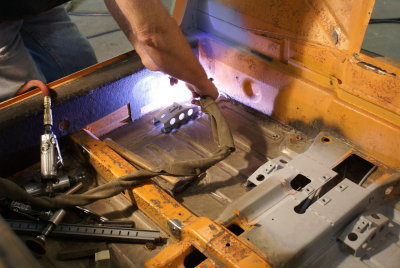
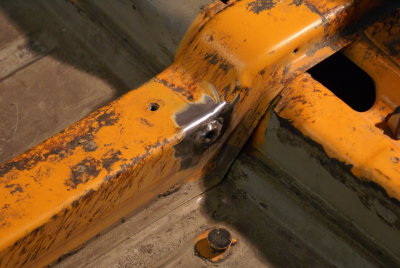
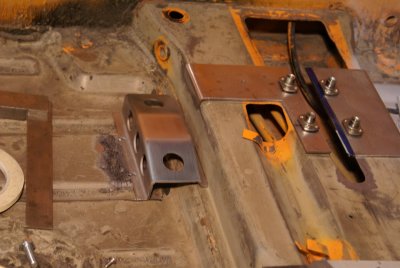
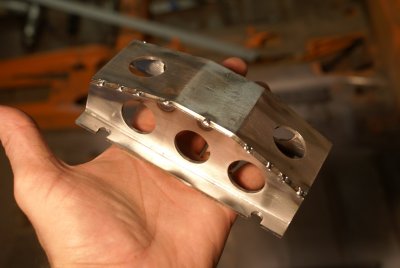
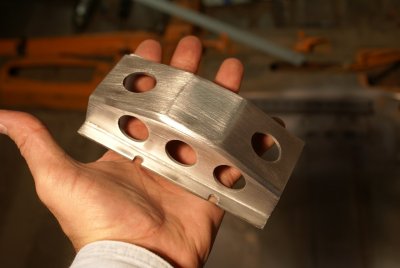
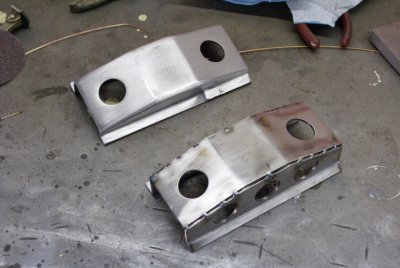
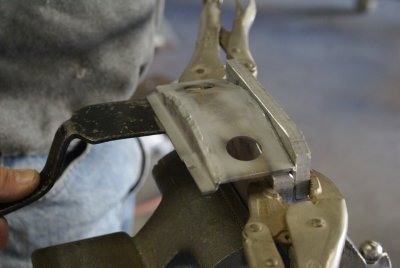
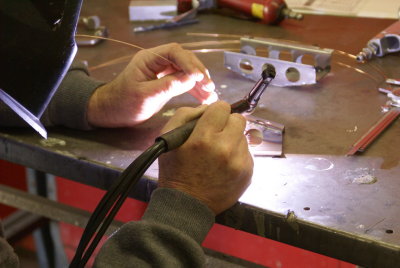
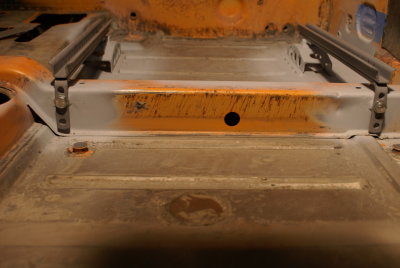
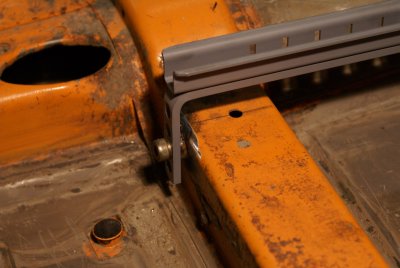
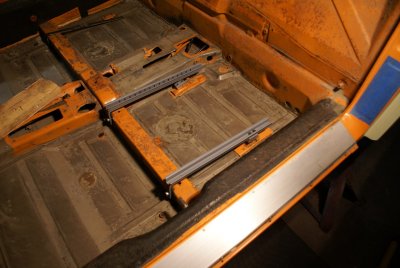
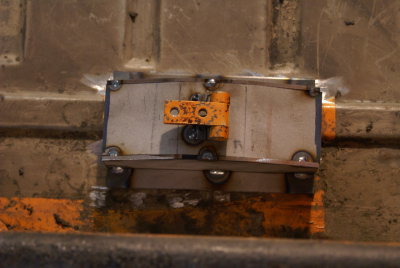
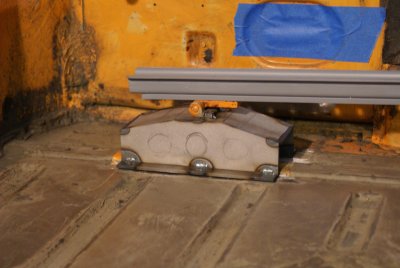
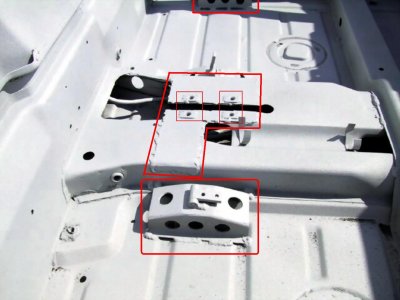
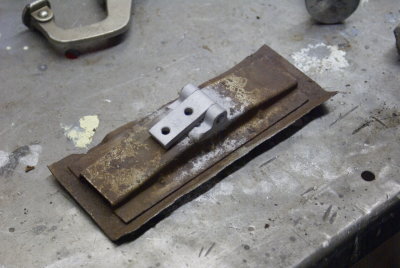
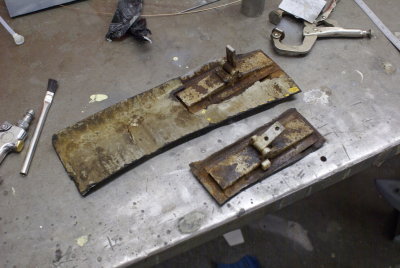
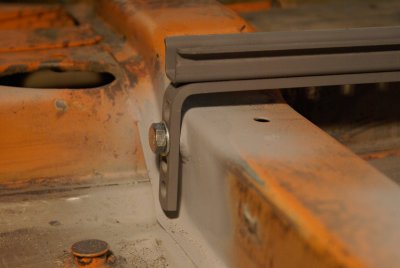
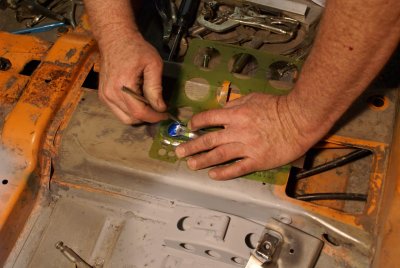
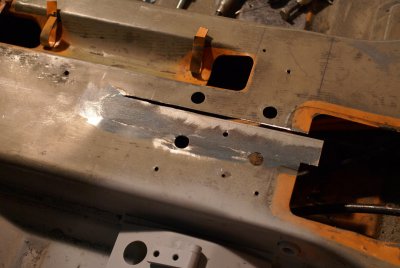
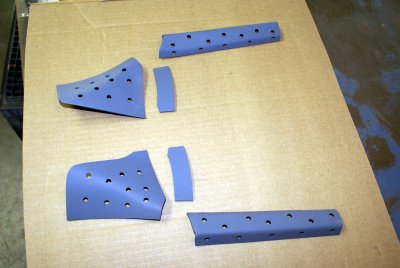
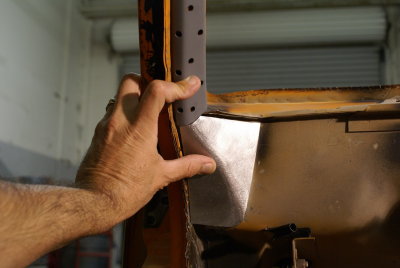
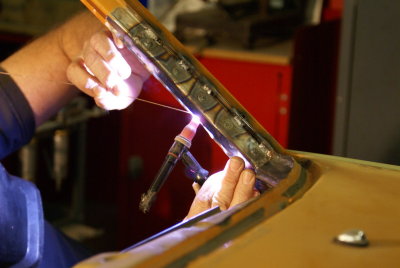
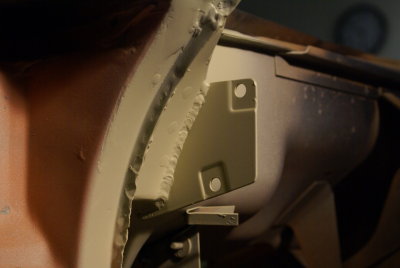
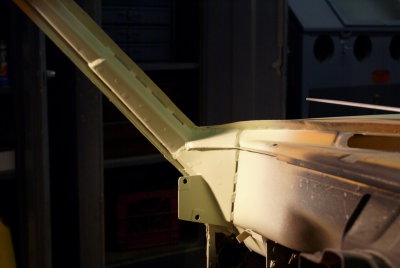
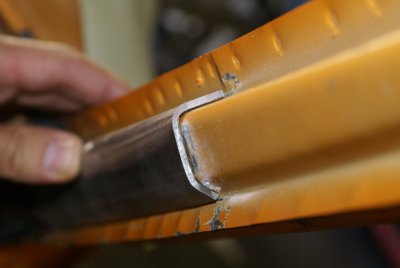
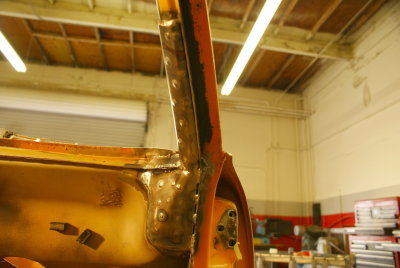
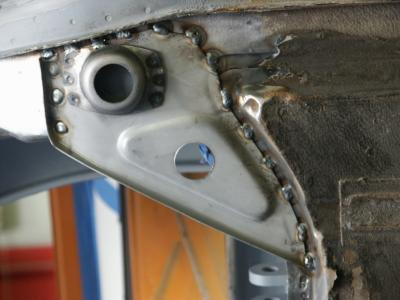
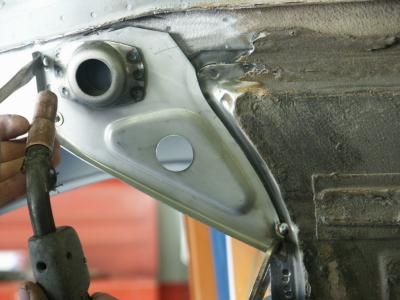
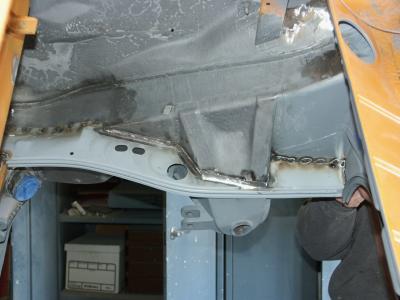
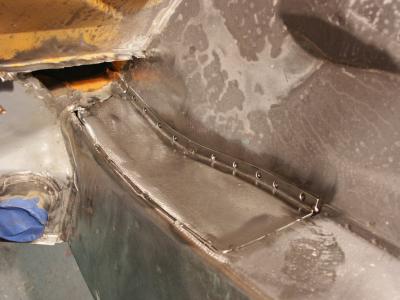
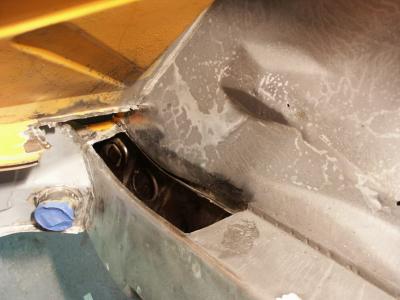
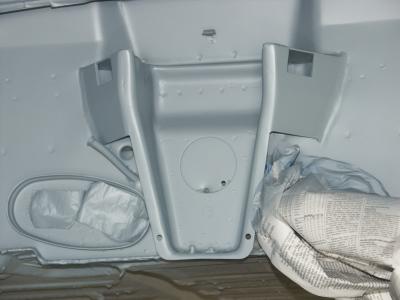
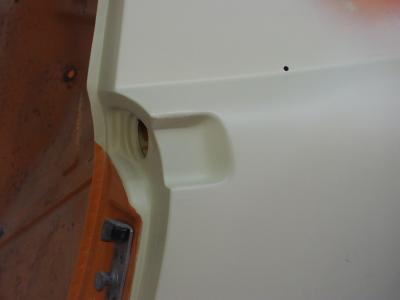
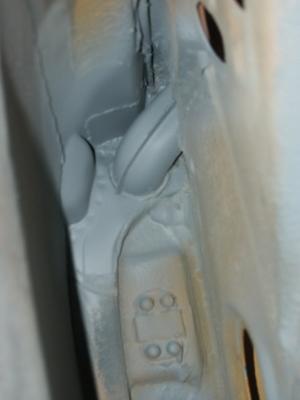
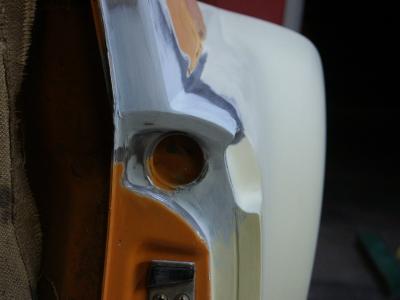
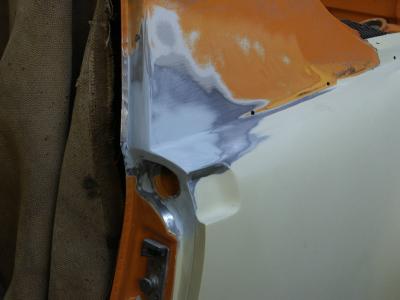
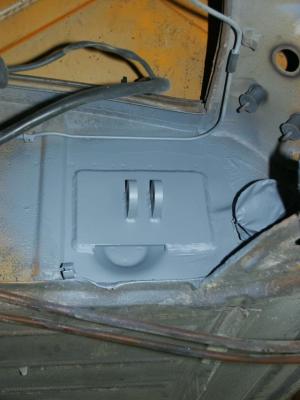
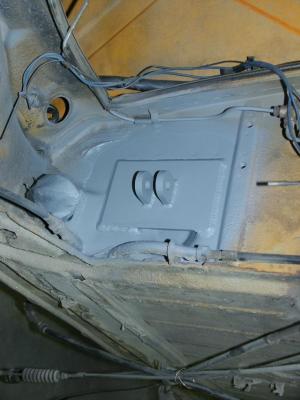
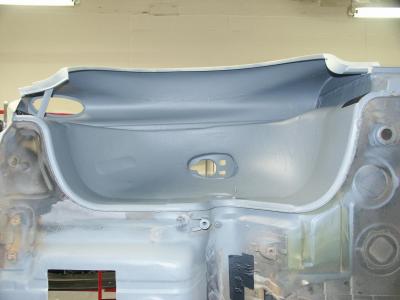
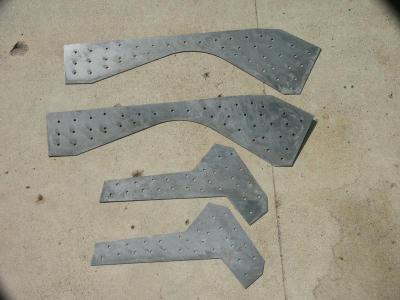
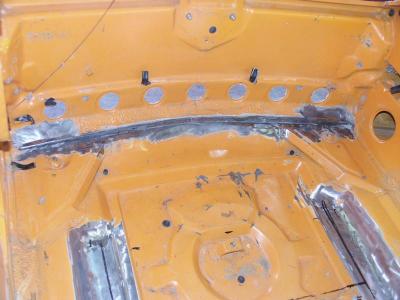
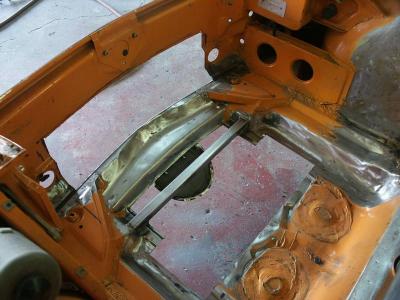
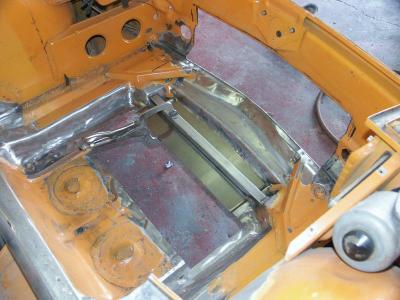
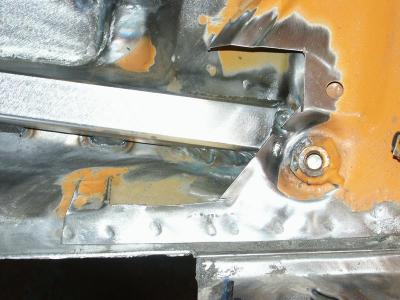
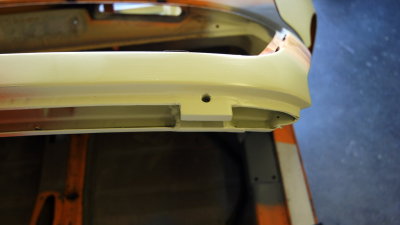 914-6 GT Targa-Top Attachments Tab Installation Completed - Photo 1 |
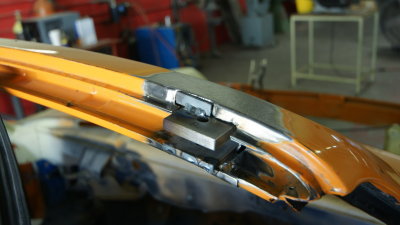
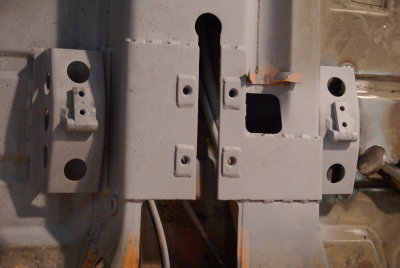
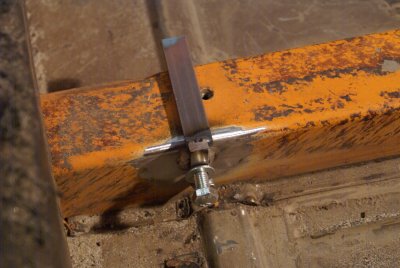
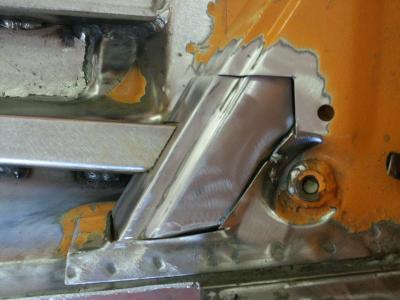
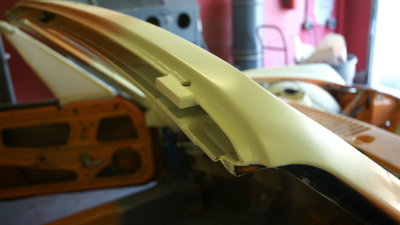 914-6 GT Targa-Top Attachments Tab Installation Completed - Photo 2 |
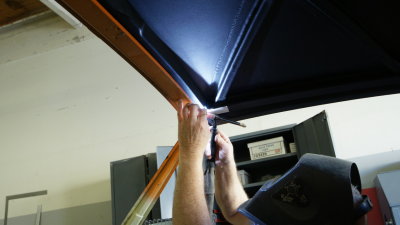
 914-6 GT Targa-Top Attachments Tab Installation Completed - Photo 5 |
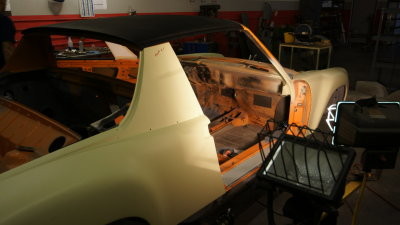
 914-6 GT Targa-Top Attachments Tab Installation Completed - Photo 7 |
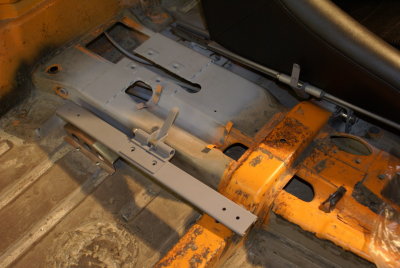
 914-6 GT Targa-Top Attachments Tab Installation Completed - Photo 14 |
 914-6 GT Targa-Top Attachments Tab Installation Completed - Photo 15 |
 914-6 GT Targa-Top Attachments Tab Installation Completed - Photo 20 |
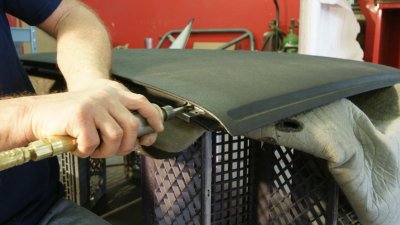
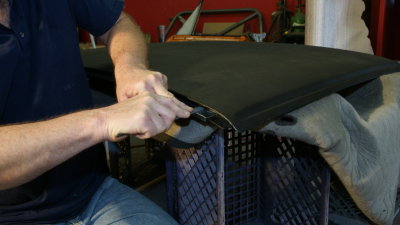
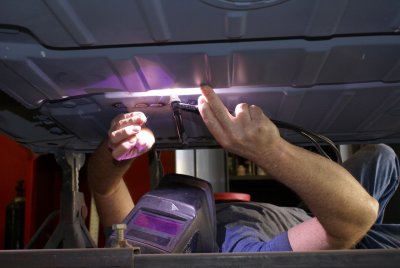
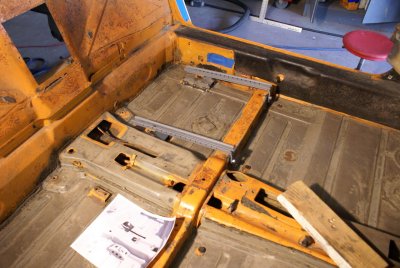
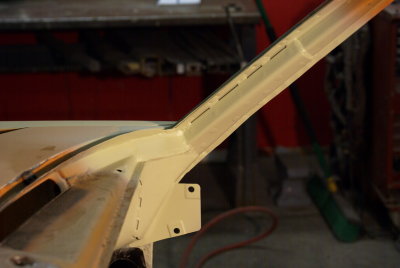
 GT Targa-Top - Install Sequence - Photo 130 |
 GT Targa-Top - Install Sequence - Photo 129 |
 GT Targa-Top - Install Sequence - Photo 127 |
 GT Targa-Top - Install Sequence - Photo 123 |
 GT Targa-Top - Install Sequence - Photo 117 |
 GT Targa-Top - Install Sequence - Photo 116 |
 GT Targa-Top - Install Sequence - Photo 115 |
 GT Targa-Top - Install Sequence - Photo 111 |
 GT Targa-Top - Install Sequence - Photo 107 |
 GT Targa-Top - Install Sequence - Photo 106 |
 GT Targa-Top - Install Sequence - Photo 105 |
 GT Targa-Top - Install Sequence - Photo 103 |
 GT Targa-Top - Install Sequence - Photo 102 |
 GT Targa-Top - Install Sequence - Photo 96 |
 GT Targa-Top - Install Sequence - Photo 95 |
 GT Targa-Top - Install Sequence - Photo 89 |
 GT Targa-Top - Install Sequence - Photo 84 |
 GT Targa-Top - Install Sequence - Photo 75 |
 GT Targa-Top - Install Sequence - Photo 73 |
 GT Targa-Top - Install Sequence - Photo 68 |
 GT Targa-Top - Install Sequence - Photo 64 |
 GT Targa-Top - Install Sequence - Photo 63 |
 GT Targa-Top - Install Sequence - Photo 58 |
 GT Targa-Top - Install Sequence - Photo 50 |
 GT Targa-Top - Install Sequence - Photo 49 |
 GT Targa-Top - Install Sequence - Photo 44 |
 GT Targa-Top - Install Sequence - Photo 41 |
 GT Targa-Top - Install Sequence - Photo 40 |
 GT Targa-Top - Install Sequence - Photo 37 |
 GT Targa-Top - Install Sequence - Photo 39 |
 GT Targa-Top - Install Sequence - Photo 36 |
 GT Targa-Top - Install Sequence - Photo 34 |
 GT Targa-Top - Install Sequence - Photo 32 |
 GT Targa-Top - Install Sequence - Photo 28 |
 GT Targa-Top - Install Sequence - Photo 26 |
 GT Targa-Top - Install Sequence - Photo 22 |
 GT Targa-Top - Install Sequence - Photo 17 |
 GT Targa-Top - Install Sequence - Photo 12 |
 GT Targa-Top - Install Sequence - Photo 9 |
 GT Targa-Top - Install Sequence - Photo 7 |
 GT Targa-Top - Install Sequence - Photo 4 |
 GT Targa-Top - Install Sequence - Photo 2 |
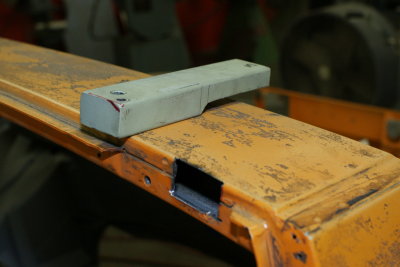
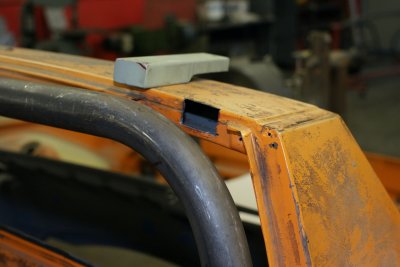
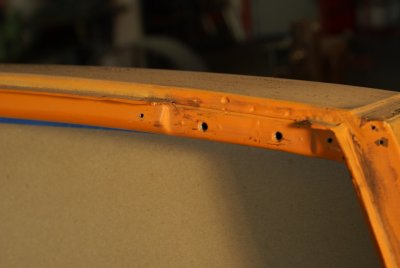
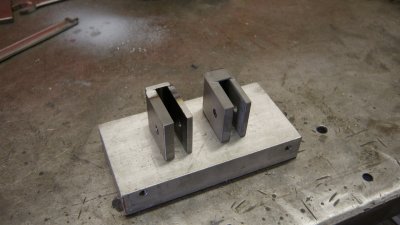
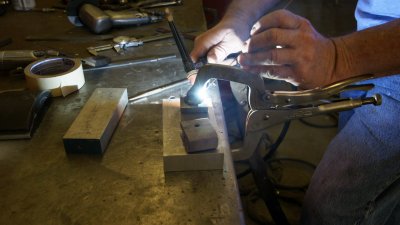
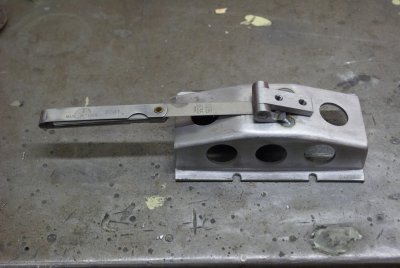
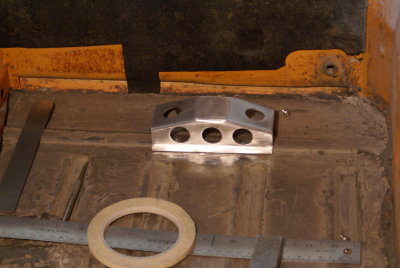
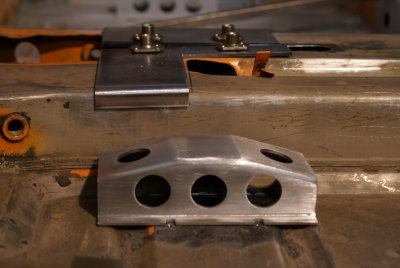
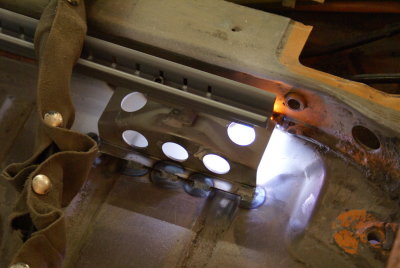
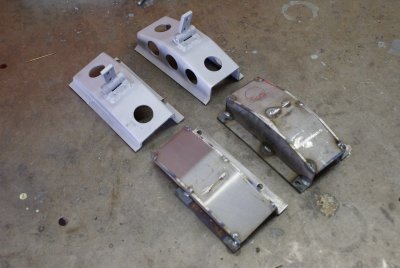
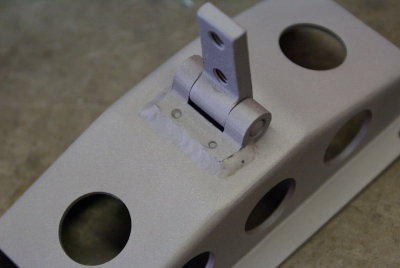
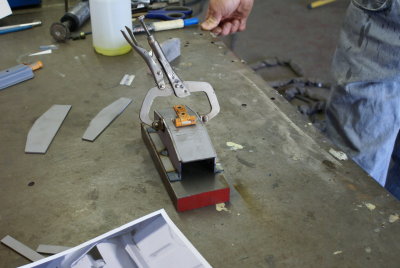
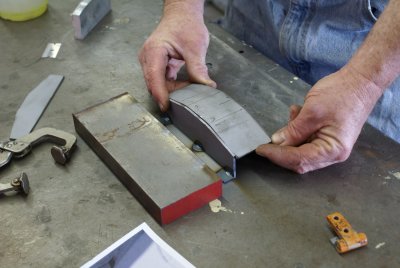
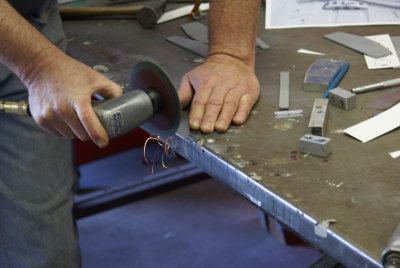
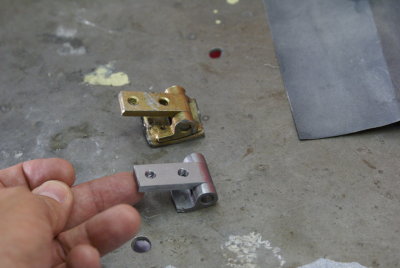
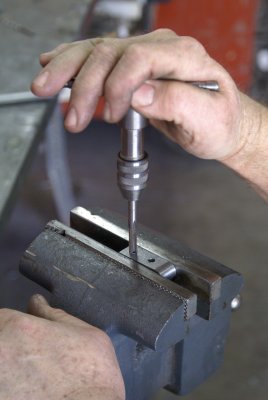
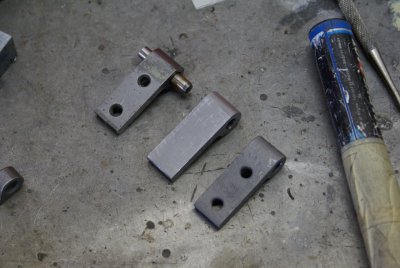
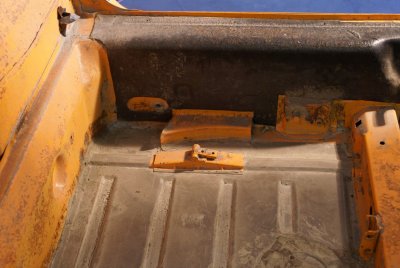
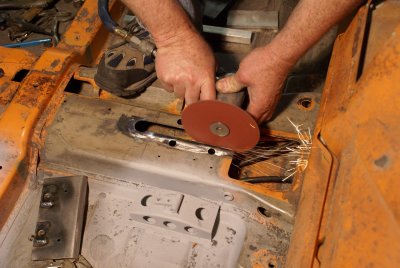
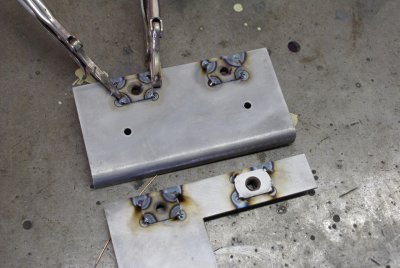
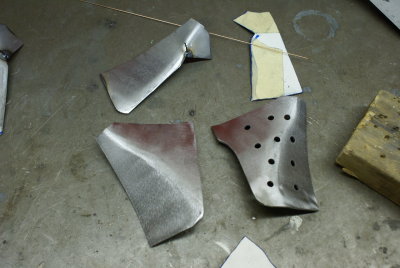
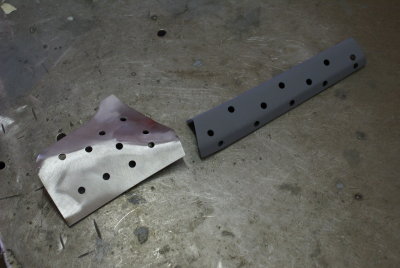
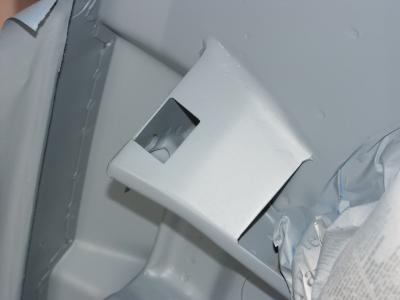
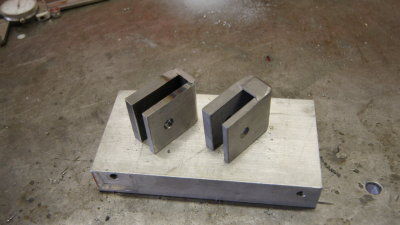 GT Targa Top Fabrication - Front Attachment Tabs - Photo 25 |
 GT Targa Top Fabrication - Front Attachment Tabs - Photo 22 |
 GT Targa Top Fabrication - Front Attachment Tabs - Photo 20 |
 GT Targa Top Fabrication - Front Attachment Tabs - Photo 17 |
 GT Targa Top Fabrication - Front Attachment Tabs - Photo 13 |
 GT Targa Top Fabrication - Front Attachment Tabs - Photo 11 |
 GT Targa Top Fabrication - Front Attachment Tabs - Photo 8 |
 GT Targa Top Fabrication - Front Attachment Tabs - Photo 3 |
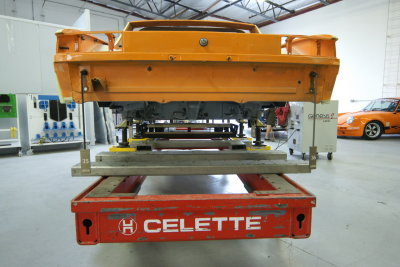
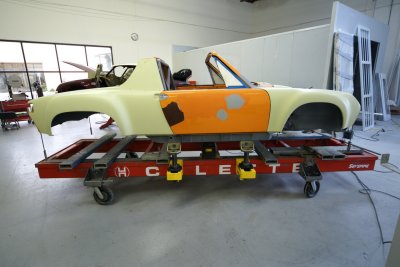
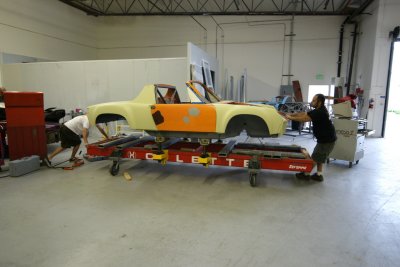
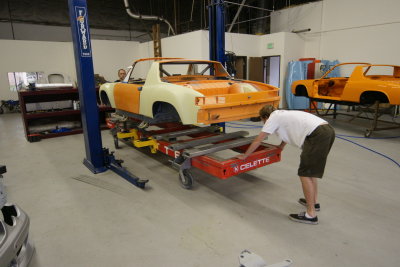
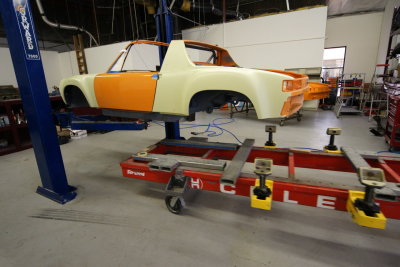
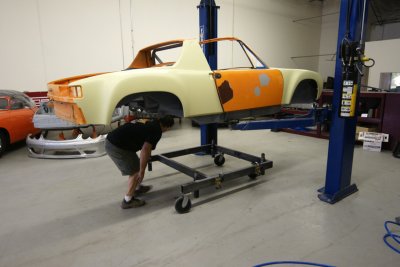
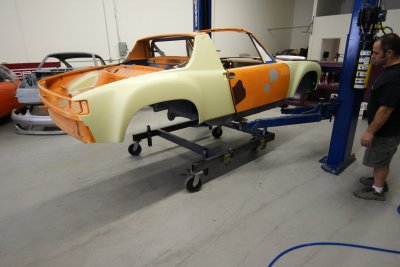
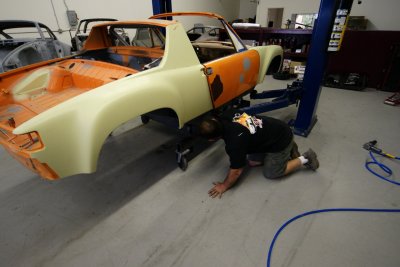
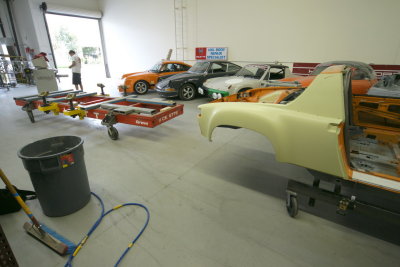
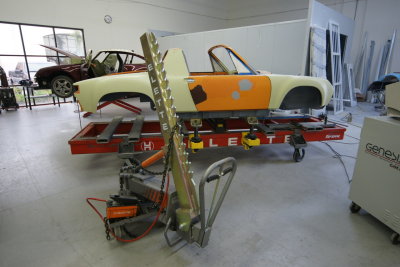
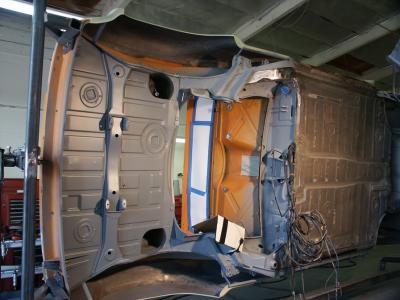
 914-6 GT in route to a Celette Bench - Photo 2 |
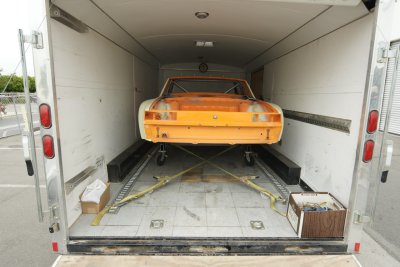 914-6 GT in route to a Celette Bench - Photo 14 |
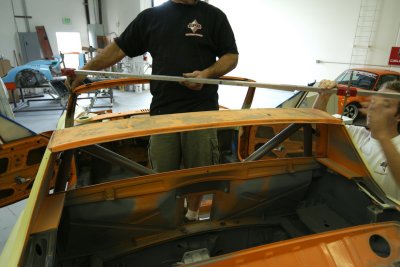
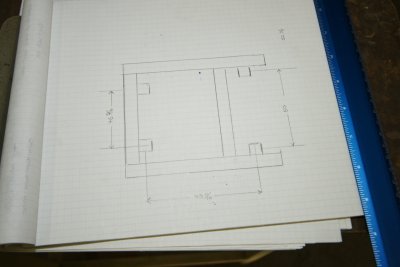
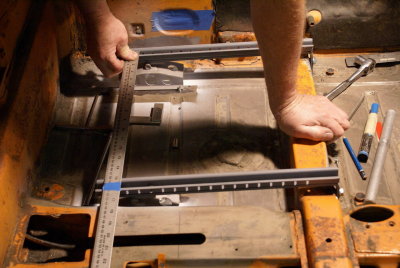
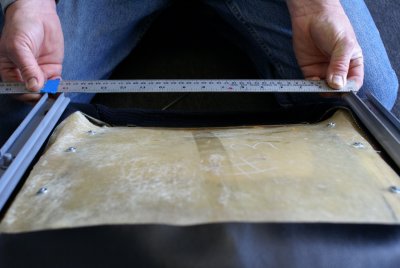
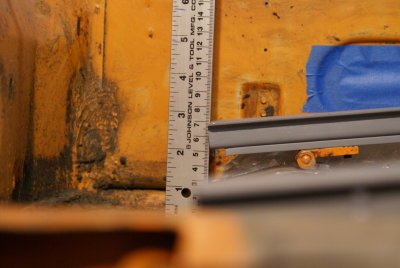
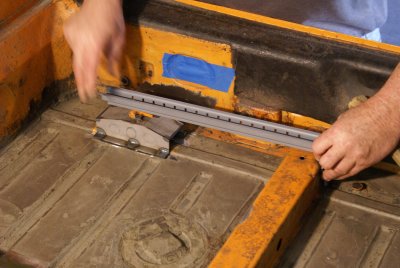
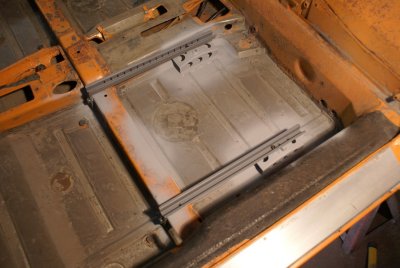
 914 Targa-Top Measurements - Photo 6 |
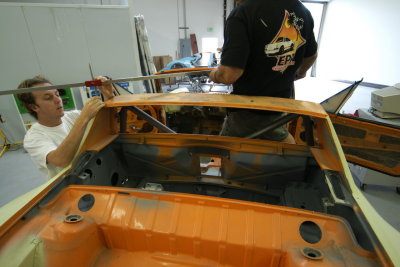
 914 Targa-Top Measurements - Photo 5 |
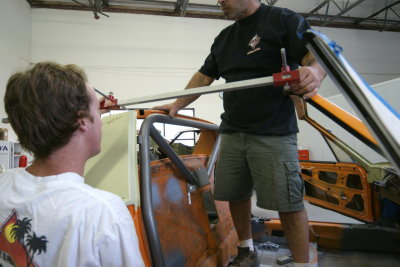
 914 Targa-Top Measurements - Photo 4 |
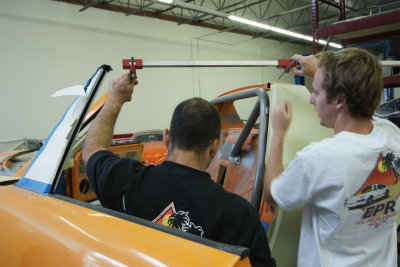
 914 Targa-Top Measurements - Photo 3 |
 914 Targa-Top Measurements - Photo 2 |
 914 Targa-Top Measurements - Photo 1 |
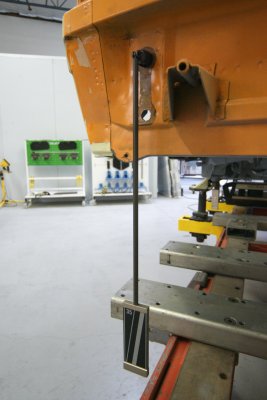
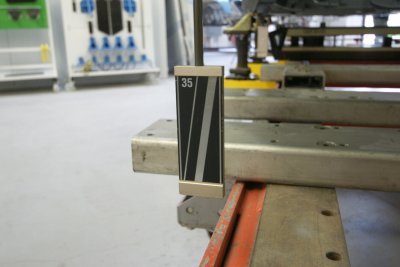
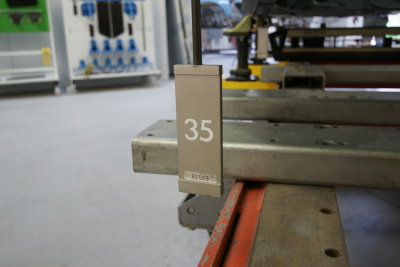
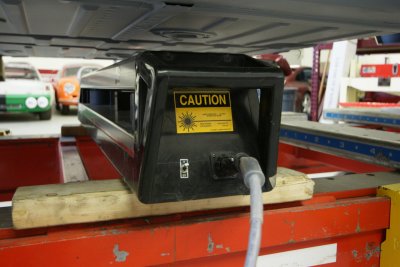
 Laser Alignment Test - Photo 17 |
 Laser Alignment Test - Photo 15 |
 Laser Alignment Test - Photo 14 |
 Laser Alignment Test - Photo 13 |
 Laser Alignment Test - Photo 12 |
 Laser Alignment Test - Photo 9 |
 Laser Alignment Test - Photo 8 |
 Laser Alignment Test - Photo 6 |
 Laser Alignment Test - Photo 4 |
 Laser Alignment Test - Photo 1 |
 Attaching the 914 Chassis to the Celette Test Bench - Photo 15 |
 Attaching the 914 Chassis to the Celette Test Bench - Photo 14 |
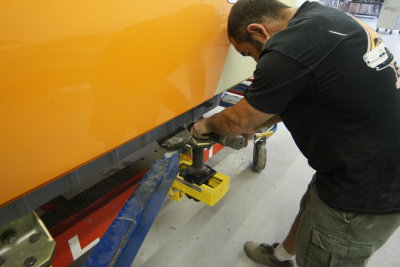 Attaching the 914 Chassis to the Celette Test Bench - Photo 9 |
 Attaching the 914 Chassis to the Celette Test Bench - Photo 6 |
 Attaching the 914 Chassis to the Celette Test Bench - Photo 4 |
 Attaching the 914 Chassis to the Celette Test Bench - Photo 3 |
 Attaching the 914 Chassis to the Celette Test Bench - Photo 2 |
 Attaching the 914 Chassis to the Celette Test Bench - Photo 1 |
 The Celette Test Bench System - Photo 8 |
 The Celette Test Bench System - Photo 2 |
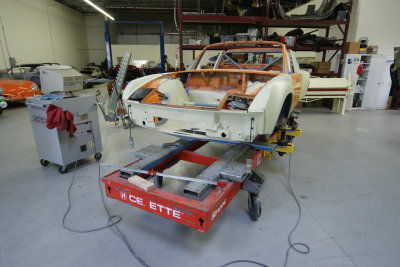 The Celette Test Bench System - Photo 1 |
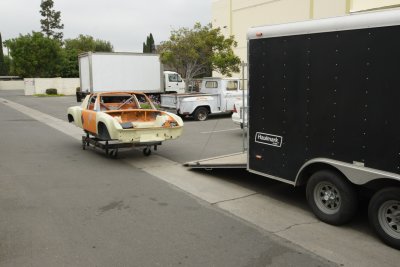
 914-6 GT in route to a Celette Bench - Photo 17 |
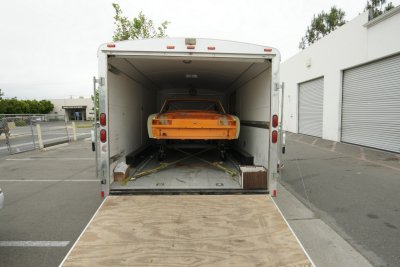 914-6 GT in route to a Celette Bench - Photo 13 |
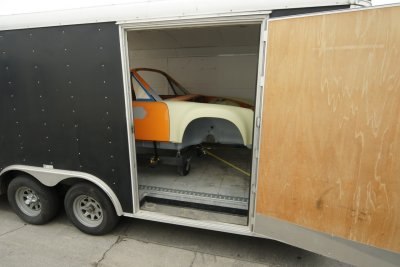 914-6 GT in route to a Celette Bench - Photo 8 |
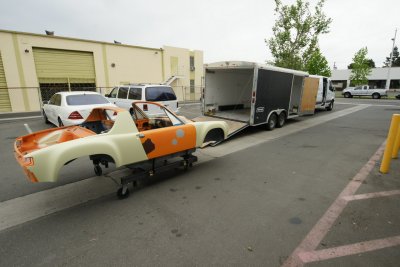 914-6 GT in route to a Celette Bench - Photo 1 |
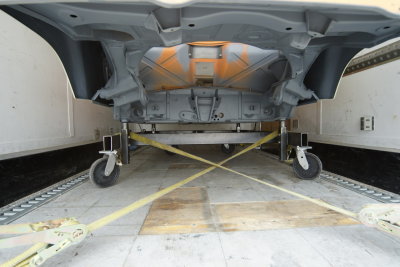
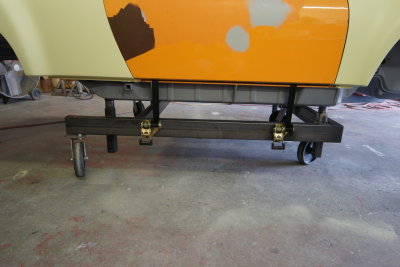
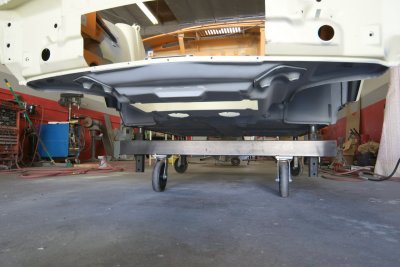
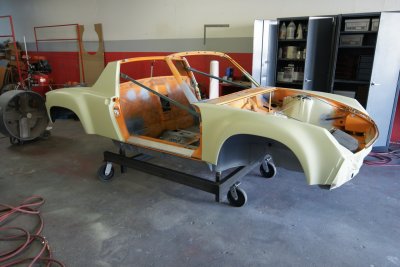
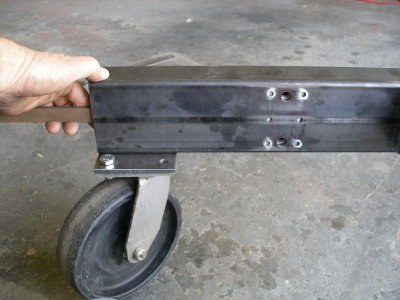
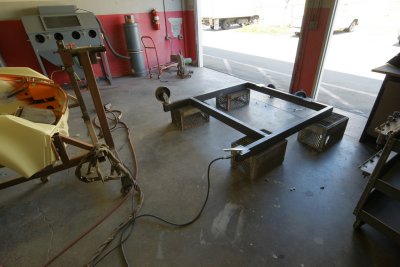
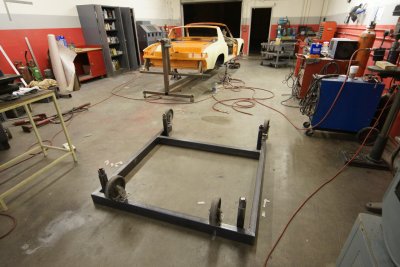
 Dolly Completed - Photo 1 |
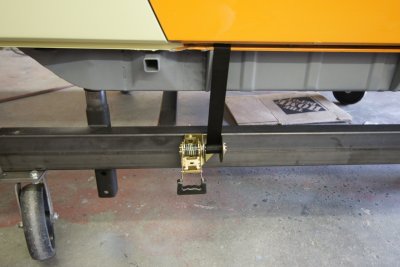
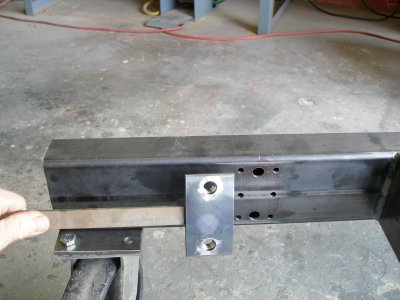
 Dolly Completed - Photo 2 |
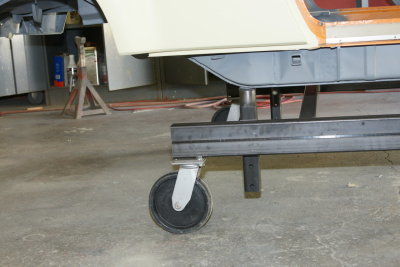
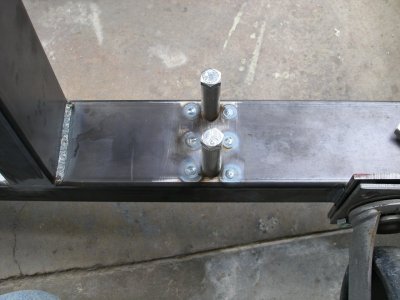
 Dolly Completed - Photo 3 |
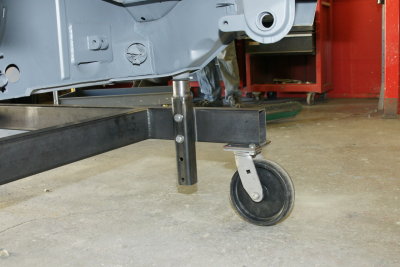
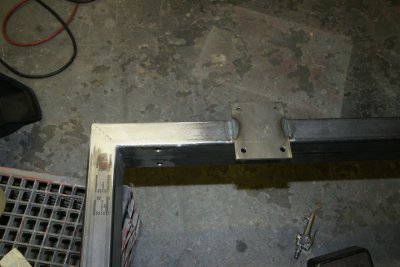
 Dolly Completed - Photo 4 |
 Dolly Completed - Photo 19 |
 Dolly Completed - Photo 20 |
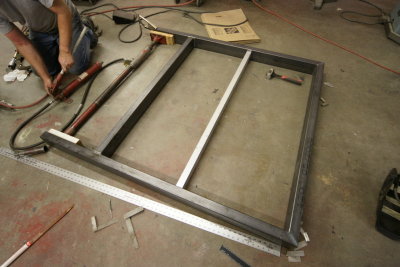
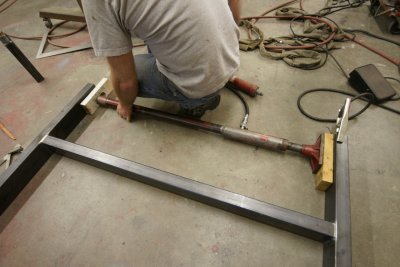
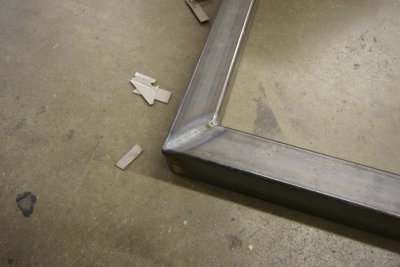
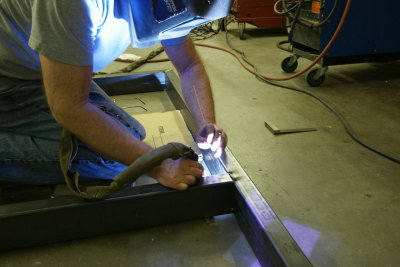
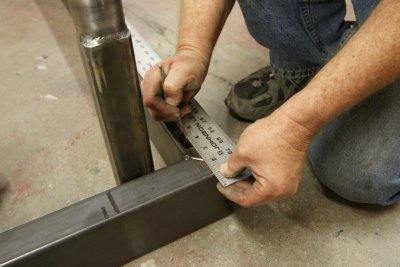
 Dolly Fabrication Steps - Photo 130 |
 Dolly Fabrication Steps - Photo 122 |
 Dolly Fabrication Steps - Photo 115 |
 Dolly Fabrication Steps - Photo 112 |
 Dolly Fabrication Steps - Photo 106 |
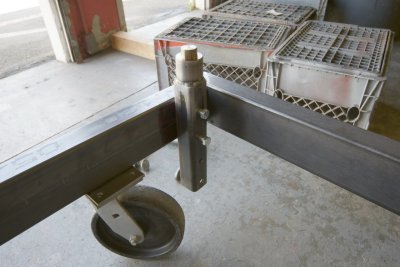 Dolly Fabrication Steps - Photo 101 |
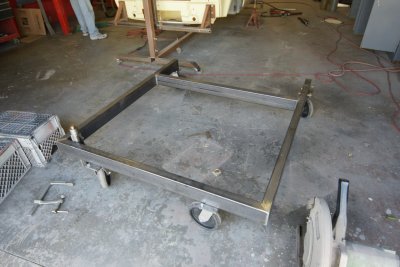 Dolly Fabrication Steps - Photo 99 |
 Dolly Fabrication Steps - Photo 98 |
 Dolly Fabrication Steps - Photo 95 |
 Dolly Fabrication Steps - Photo 94 |
 Dolly Fabrication Steps - Photo 91 |
 Dolly Fabrication Steps - Photo 90 |
 Dolly Fabrication Steps - Photo 89 |
 Dolly Fabrication Steps - Photo 88 |
 Dolly Fabrication Steps - Photo 87 |
 Dolly Fabrication Steps - Photo 86 |
 Dolly Fabrication Steps - Photo 83 |
 Dolly Fabrication Steps - Photo 71 |
 Dolly Fabrication Steps - Photo 67 |
 Dolly Fabrication Steps - Photo 63 |
 Dolly Fabrication Steps - Photo 59 |
 Dolly Fabrication Steps - Photo 48 |
 Dolly Fabrication Steps - Photo 44 |
 Dolly Fabrication Steps - Photo 40 |
 Dolly Fabrication Steps - Photo 29 |
 Dolly Fabrication Steps - Photo 26 |
 Dolly Fabrication Steps - Photo 8 |
 Dolly Fabrication Steps - Photo 6 |
 Dolly Fabrication Steps - Photo 5 |
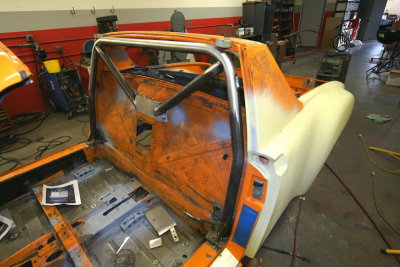
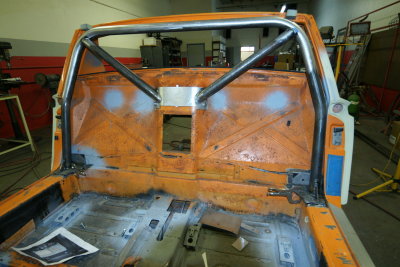
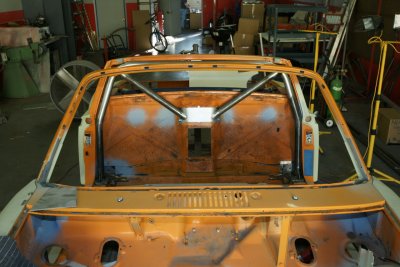
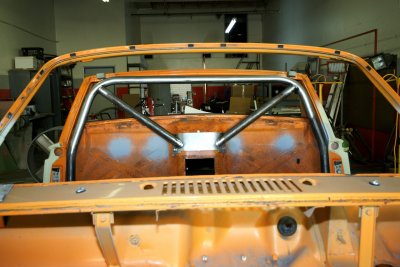
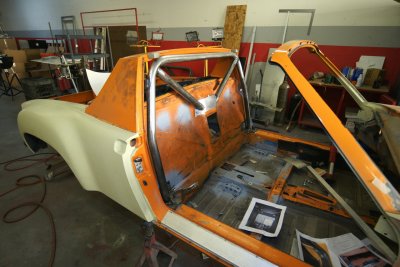
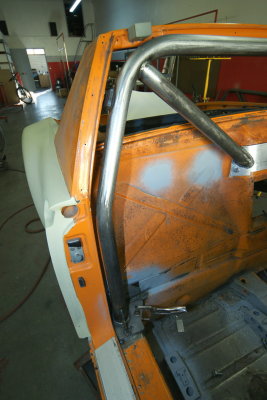
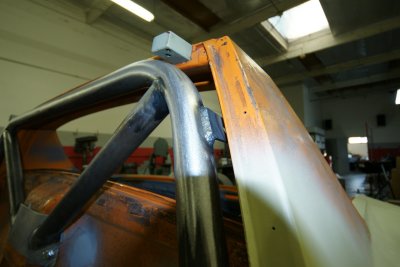
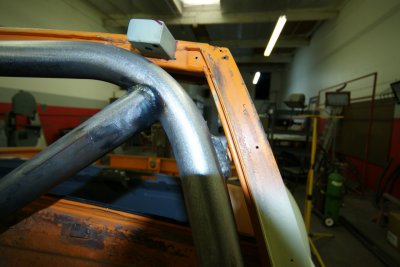
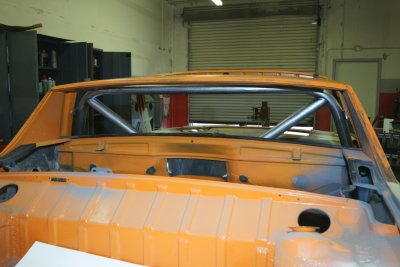
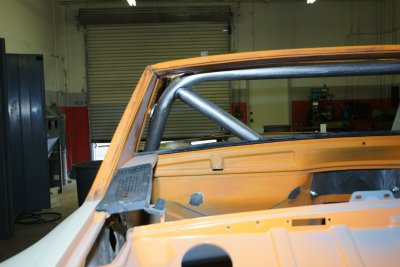
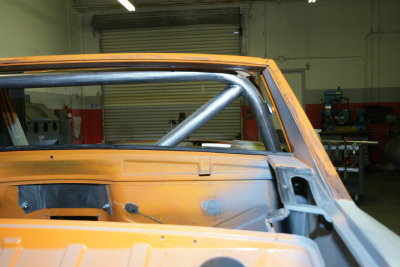
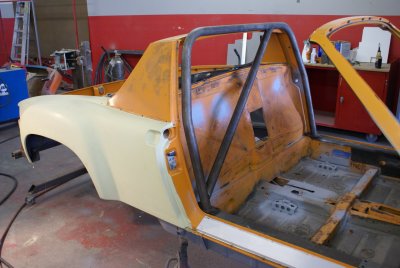
 914-6 GT Roll Bar - Finished - Photo 2 |
 914-6 GT Roll Bar - Finished - Photo 3 |
 914-6 GT Roll Bar - Finished - Photo 4 |
 914-6 GT Roll Bar - Finished - Photo 7 |
 914-6 GT Roll Bar - Finished - Photo 8 |
 914-6 GT Roll Bar - Finished - Photo 10 |
 914-6 GT Roll Bar - Finished - Photo 12 |
 914-6 GT Roll Bar - Finished - Photo 14 |
 914-6 GT Roll Bar - Finished - Photo 19 |
 914-6 GT Roll Bar - Finished - Photo 20 |
 914-6 GT Roll Bar - Finished - Photo 22 |
 914-6 GT Roll Bar - Finished - Photo 24 |
 914-6 GT Roll Bar - Finished - Photo 26 |
 914-6 GT Roll Bar - Finished - Photo 28 |
 914-6 GT Roll Bar - Finished - Photo 31 |
 914-6 GT Roll Bar - Finished - Photo 33 |
 914-6 GT Roll Bar - Finished - Photo 40 |
 914-6 GT Roll Bar - Finished - Photo 41 |
 914-6 GT Roll Bar - Finished - Photo 50 |
 914-6 GT Roll Bar - Finished - Photo 53 |
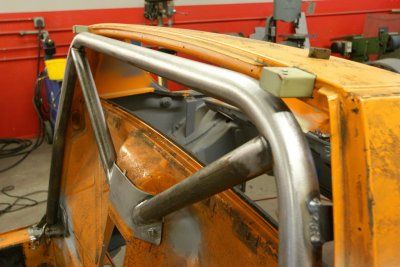
 914-6 GT Roll Bar Fabrication - Photo 87 |
 914-6 GT Roll Bar Fabrication - Photo 86 |
 914-6 GT Roll Bar Fabrication - Photo 84 |
 914-6 GT Roll Bar Fabrication - Photo 83 |
 914-6 GT Roll Bar Fabrication - Photo 80 |
 914-6 GT Roll Bar Fabrication - Photo 78 |
 914-6 GT Roll Bar Fabrication - Photo 49 |
 914-6 GT Roll Bar Fabrication - Photo 48 |
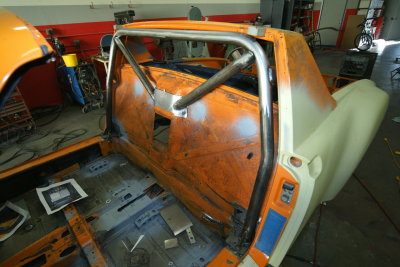
 Roll-Bar - Photo 4 |
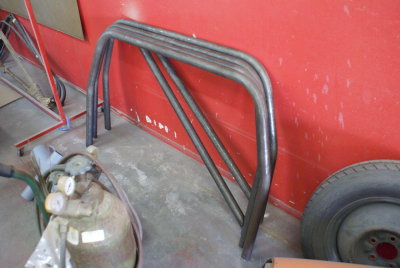 Roll-Bar - Photo 1 |
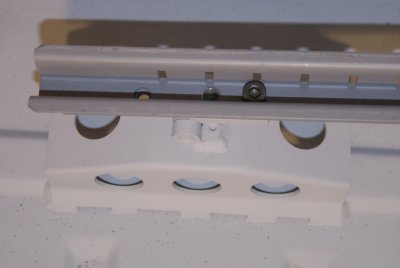
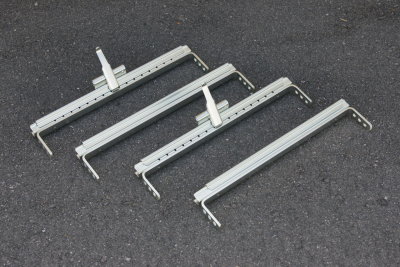
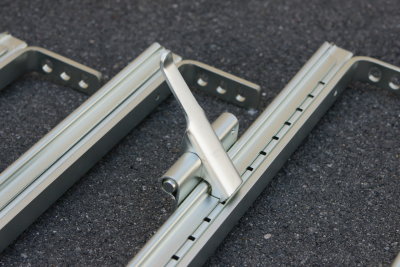
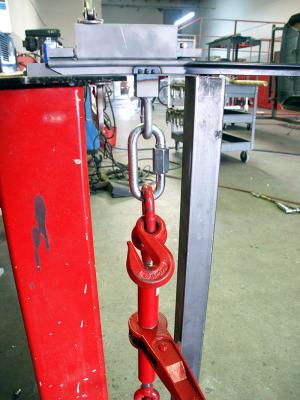
 GT Targa Top Attachment Hardware - Photo 19 |
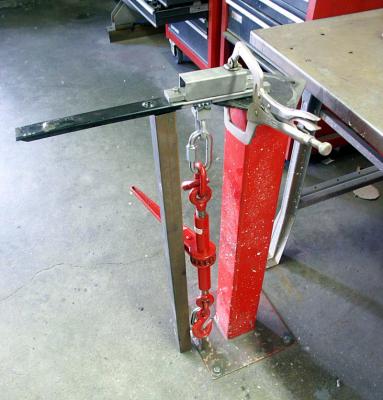
 GT Targa Top Attachment Hardware - Photo 20 |
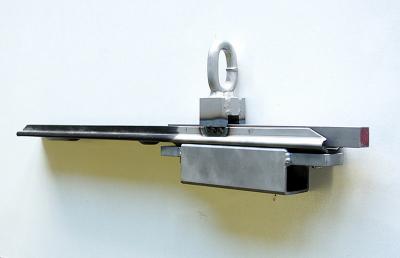
 GT Targa Top Attachment Hardware - Photo 21 |
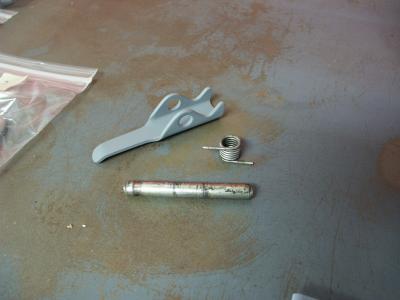
 GT Targa Top Attachment Hardware - Photo 22 |
 DSC01962.JPG |
 DSC01959.JPG |
 DSC01949.JPG |
 DSC01928.JPG |
 DSC01920.JPG |
 DSC01910.JPG |
 DSC01905.JPG |
 DSC01895.JPG |
 DSC01893.JPG |
 DSC01890.JPG |
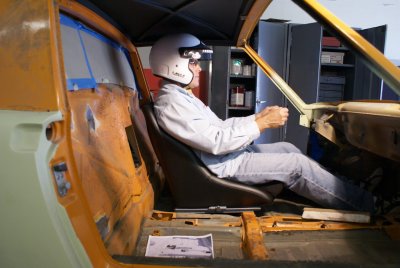
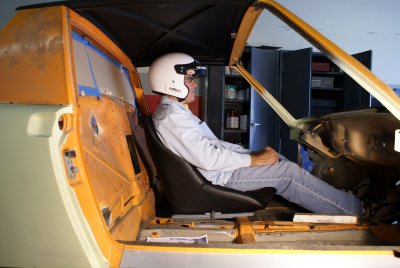
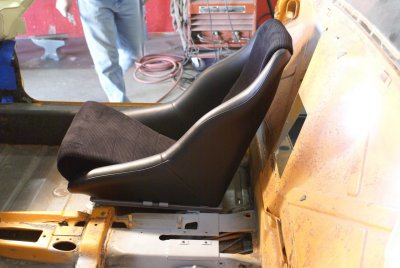
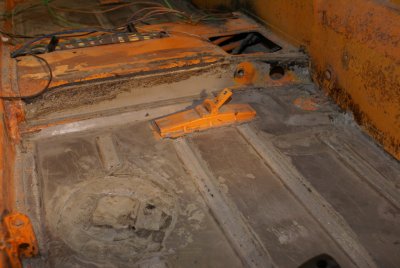
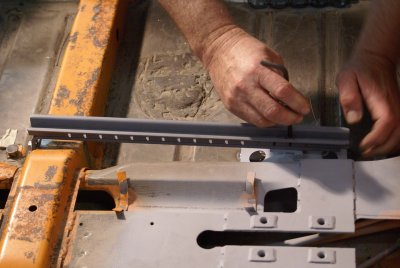
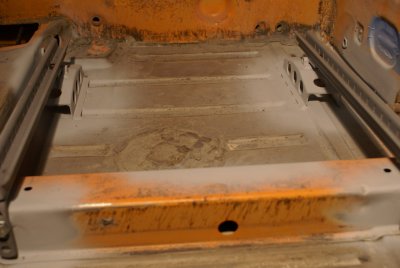
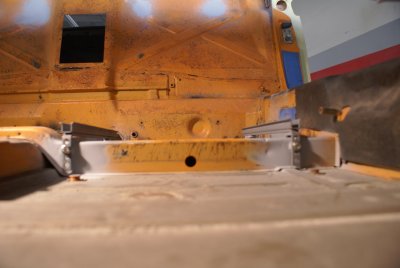
 914-6 GT Scheel Rally-Type Seat-Rail Installation - Photo 66 |
 914-6 GT Scheel Rally-Type Seat-Rail Installation - Photo 63 |
 914-6 GT Scheel Rally-Type Seat-Rail Installation - Photo 57 |
 914-6 GT Scheel Rally-Type Seat-Rail Installation - Photo 54 |
 914-6 GT Scheel Rally-Type Seat-Rail Installation - Photo 51 |
 914-6 GT Scheel Rally-Type Seat-Rail Installation - Photo 49 |
 914-6 GT Scheel Rally-Type Seat-Rail Installation - Photo 43 |
 914-6 GT Scheel Rally-Type Seat-Rail Installation - Photo 41 |
 914-6 GT Scheel Rally-Type Seat-Rail Installation - Photo 38 |
 914-6 GT Scheel Rally-Type Seat-Rail Installation - Photo 36 |
 914-6 GT Scheel Rally-Type Seat-Rail Installation - Photo 33 |
 914-6 GT Scheel Rally-Type Seat-Rail Installation - Photo 32 |
 914-6 GT Scheel Rally-Type Seat-Rail Installation - Photo 24 |
 914-6 GT Scheel Rally-Type Seat-Rail Installation - Photo 20 |
 914-6 GT Scheel Rally-Type Seat-Rail Installation - Photo 19 |
 914-6 GT Scheel Rally-Type Seat-Rail Installation - Photo 18 |
 914-6 GT Scheel Rally-Type Seat-Rail Installation - Photo 12 |
 914-6 GT Scheel Rally-Type Seat-Rail Installation - Photo 5 |
 914-6 GT Scheel Rally-Type Seat-Rail Installation - Photo 2 |
 914-6 GT Scheel Rally-Type Seat-Rail Installation - Photo 1 |
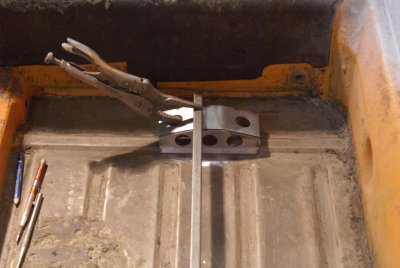
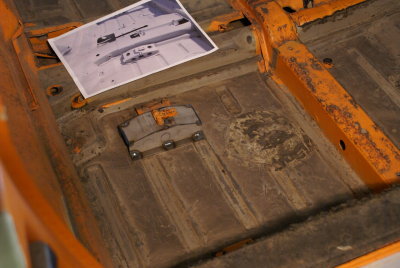
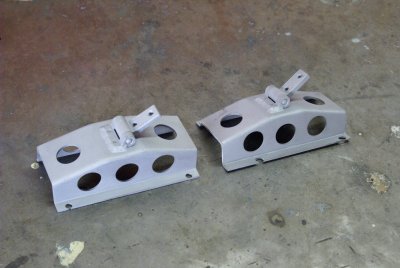
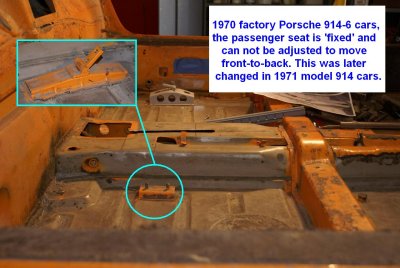 1970 Porsche 914-6 Passenger Seat Bracket - Photo 1 |
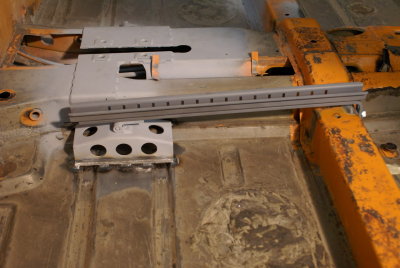
 914-6 GT Scheel Seat-Rail Brackets Fabrication - Photo 55 |
 914-6 GT Scheel Rally-Type Seat-Rail Installation - Photo 77 |
 914-6 GT Scheel Rally-Type Seat-Rail Installation - Photo 52 |
 914-6 GT Scheel Rally-Type Seat-Rail Installation - Photo 50 |
 914-6 GT Scheel Rally-Type Seat-Rail Installation - Photo 47 |
 914-6 GT Scheel Rally-Type Seat-Rail Installation - Photo 43 |
 914-6 GT Scheel Rally-Type Seat-Rail Installation - Photo 39 |
 914-6 GT Scheel Rally-Type Seat-Rail Installation - Photo 36 |
 914-6 GT Scheel Rally-Type Seat-Rail Installation - Photo 29 |
 914-6 GT Scheel Rally-Type Seat-Rail Installation - Photo 27 |
 914-6 GT Scheel Rally-Type Seat-Rail Installation - Photo 21 |
 914-6 GT Scheel Rally-Type Seat-Rail Installation - Photo 19 |
 914-6 GT Scheel Rally-Type Seat-Rail Installation - Photo 18 |
 914-6 GT Scheel Rally-Type Seat-Rail Installation - Photo 17 |
 914-6 GT Scheel Rally-Type Seat-Rail Installation - Photo 16 |
 914-6 GT Scheel Rally-Type Seat-Rail Installation - Photo 14 |
 914-6 GT Scheel Rally-Type Seat-Rail Installation - Photo 12 |
 914-6 GT Scheel Rally-Type Seat-Rail Installation - Photo 5 |
 914-6 GT Scheel Rally-Type Seat-Rail Installation - Photo 3 |
 914-6 GT Scheel Rally-Type Seat-Rail Installation - Photo 2 |
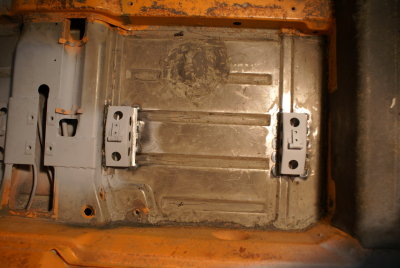
 914-6 GT Scheel Seat-Rail Brackets Fabrication - Photo 50 |
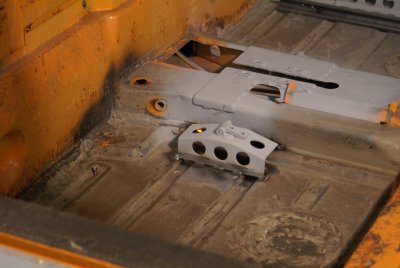
 914-6 GT Scheel Seat-Rail Brackets Fabrication - Photo 46 |
 914-6 GT Scheel Seat-Rail Brackets Fabrication - Photo 41 |
 914-6 GT Scheel Seat-Rail Brackets Fabrication - Photo 40 |
 914-6 GT Scheel Seat-Rail Brackets Fabrication - Photo 39 |
 914-6 GT Scheel Seat-Rail Brackets Fabrication - Photo 37 |
 914-6 GT Scheel Seat-Rail Brackets Fabrication - Photo 36 |
 914-6 GT Scheel Seat-Rail Brackets Fabrication - Photo 35 |
 914-6 GT Scheel Seat-Rail Brackets Fabrication - Photo 33 |
 914-6 GT Scheel Seat-Rail Brackets Fabrication - Photo 32 |
 914-6 GT Scheel Seat-Rail Brackets Fabrication - Photo 30 |
 914-6 GT Scheel Seat-Rail Brackets Fabrication - Photo 29 |
 914-6 GT Scheel Seat-Rail Brackets Fabrication - Photo 28 |
 914-6 GT Scheel Seat-Rail Brackets Fabrication - Photo 26 |
 914-6 GT Scheel Seat-Rail Brackets Fabrication - Photo 25 |
 914-6 GT Scheel Seat-Rail Brackets Fabrication - Photo 22 |
 914-6 GT Scheel Seat-Rail Brackets Fabrication - Photo 21 |
 914-6 GT Scheel Seat-Rail Brackets Fabrication - Photo 20 |
 914-6 GT Scheel Seat-Rail Brackets Fabrication - Photo 19 |
 914-6 GT Scheel Seat-Rail Brackets Fabrication - Photo 18 |
 914-6 GT Scheel Seat-Rail Brackets Fabrication - Photo 14 |
 914-6 GT Scheel Seat-Rail Brackets Fabrication - Photo 10 |
 914-6 GT Scheel Seat-Rail Brackets Fabrication - Photo 9 |
 914-6 GT Scheel Seat-Rail Brackets Fabrication - Photo 8 |
 914-6 GT Scheel Seat-Rail Brackets Fabrication - Photo 7 |
 914-6 GT Scheel Seat-Rail Brackets Fabrication - Photo 6 |
 914-6 GT Scheel Seat-Rail Brackets Fabrication - Photo 5 |
 914-6 GT Scheel Seat-Rail Brackets Fabrication - Photo 4 |
 914-6 GT Scheel Seat-Rail Brackets Fabrication - Photo 3 |
 914-6 GT Scheel Seat-Rail Brackets Fabrication - Photo 2 |
 914-6 GT Scheel Seat-Rail Brackets Fabrication - Photo 1 |
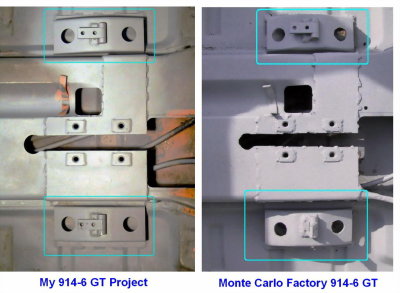 My GT and the Monte Carlo GT |
<< Rally 914 Cars >> |
 DSC01886.JPG |
 DSC01882.jpg |
 DSC01880.JPG |
 DSC01878.JPG |
 DSC01876.JPG |
 DSC01875.JPG |
 DSC01874.JPG |
 DSC01871.JPG |
 DSC01870.JPG |
 DSC01867.JPG |
 DSC01865.JPG |
 DSC01835.JPG |
 DSC01826.JPG |
 914-6 GT Scheel Seat-Rail Installation - Photo 4 |
 914-6 GT Scheel Seat-Rail Installation - Photo 3 |
 914-6 GT Scheel Seat-Rail Installation - Photo 2 |
 914-6 GT Scheel Seat-Rail Installation - Photo 1 |
 DSC01914.JPG |
 914-6 GT Scheel Rally-Type Seat-Rail Installation - Photo 81 |
 914-6 GT Scheel Rally-Type Seat-Rail Installation - Photo 78 |
 914-6 GT Scheel Rally-Type Seat-Rail Installation - Photo 74 |
 914-6 GT Scheel Rally-Type Seat-Rail Installation - Photo 70 |
 914-6 GT Scheel Rally-Type Seat-Rail Installation - Photo 68 |
 914-6 GT Scheel Rally-Type Seat-Rail Installation - Photo 64 |
 914-6 GT Scheel Rally-Type Seat-Rail Installation - Photo 61 |
 914-6 GT Scheel Rally-Type Seat-Rail Installation - Photo 58 |
 914-6 GT Scheel Rally-Type Seat-Rail Installation - Photo 56 |
 914-6 GT Scheel Rally-Type Seat-Rail Installation - Photo 54 |
 Restored Scheel Seat Rails for a 914-6 GT - Photo 1 |
 Restored Scheel Seat Rails for a 914-6 GT - Photo 3 |
 Restored Scheel Seat Rails for a 914-6 GT - Photo 7 |
 Restored Scheel Seat Rails for a 914-6 GT - Photo 10 |
 Restored Scheel Seat Rails for a 914-6 GT - Photo 16 |
 Restored Scheel Seat Rails for a 914-6 GT - Photo 20 |
 914-6 GT Scheel Seat Rails Restored - Photo 1 |
 914-6 GT Scheel Seat Rails Restored - Photo 7 |
 914-6 GT Scheel Seat Rails Restored - Photo 5 |
 914-6 GT Scheel Seat Rails Restored - Photo 11 |
 Scheel Seat Rails for my 914-6 GT - Photo 1 |
 Tooling - How to straighten a bent seat-rail - Photo 3 |
 Tooling - How to straighten a bent seat-rail - Photo 2 |
 Tooling - How to straighten a bent seat-rail - Photo 1 |
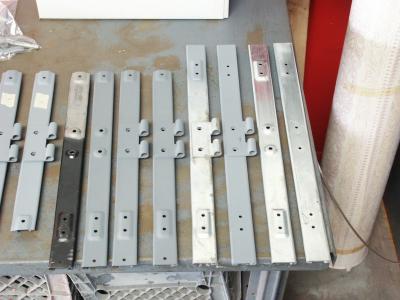
 914-6 GT Seat-Rails Resto Scheel - Photo 19 |
 914-6 GT Seat-Rails Resto Scheel - Photo 2 |
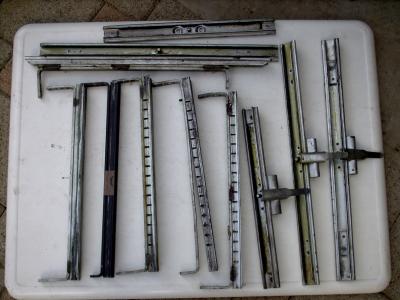 Bild 001 |
 914-6 GT Lower Seat Rail from Armando |
 914-6 GT Upper & Lower Seat Rails - Photo 1 |
 DSC01644.JPG |
 DSC01619.JPG |
 DSC01610.JPG |
 DSC01598.JPG |
 DSC01547.JPG |
 DSC01486.JPG |
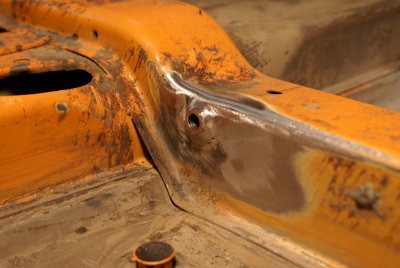
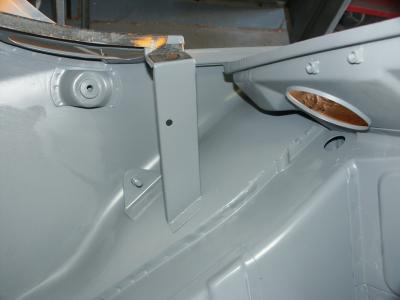
 Windshield Posts Reinforcements - Photo 1 |
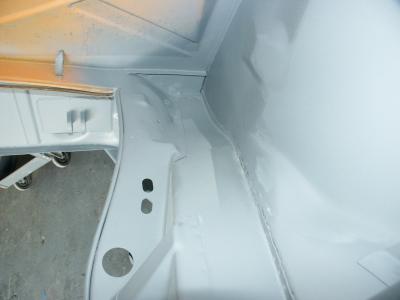
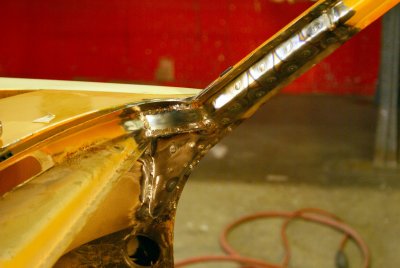 GT Windshield Reinforcements - Photo 79 |
 GT Windshield Reinforcements - Photo 20 |
 GT Windshield Reinforcements - Photo 26 |
 GT Windshield Reinforcements - Photo 34 |
 GT Windshield Reinforcements - Photo 52 |
 GT Windshield Reinforcements - Photo 56 |
 GT Windshield Reinforcements - Photo 26 |
 GT Windshield Reinforcements - Photo 50 |
 GT Windshield Reinforcements - Photo 59 |
 GT Windshield Reinforcements - Photo 82 |
 GT Windshield Reinforcements - Photo 96 |
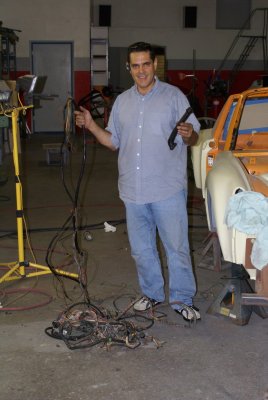 914-6 Wiring Harness Removal - Photo 19 |
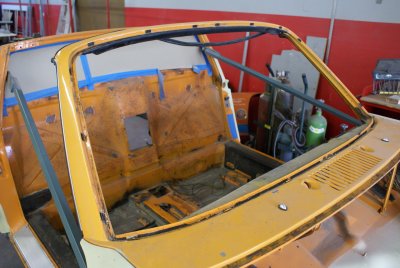 914 Windshield Removal - Photo 11 |
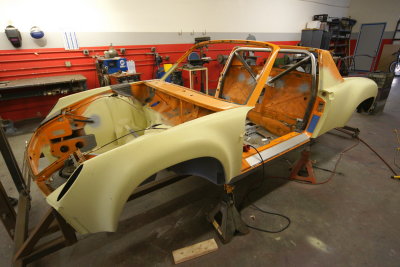
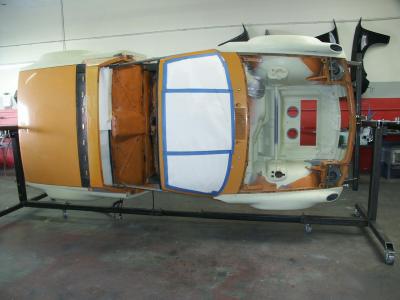
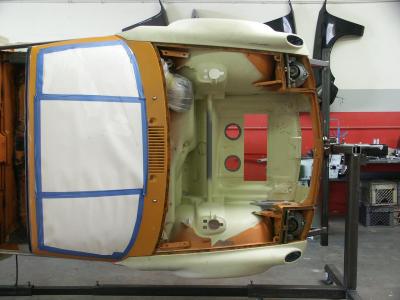
 My 914-6 GT / Chassis Restoration - Photo 207 |
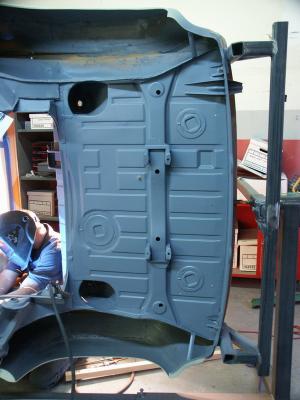
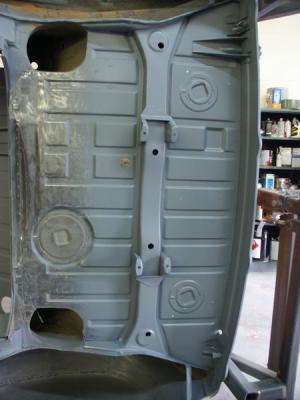
 914-6 GT Battery Area Chassis Restoration - Photo 73 |
 914-6 GT Battery Area Chassis Restoration - Photo 72 |
 914-6 GT Battery Area Chassis Restoration - Photo 71 |
 914-6 GT Battery Area Chassis Restoration - Photo 70 |
 914-6 GT Battery Area Chassis Restoration - Photo 66 |
 914-6 GT Battery Area Chassis Restoration - Photo 65 |
 My 914-6 GT / Chassis Restoration - Photo 196 |
 My 914-6 GT / Chassis Restoration - Photo 194 |
 My 914-6 GT / Chassis Restoration - Photo 192 |
 My 914-6 GT / Chassis Restoration - Photo 191 |
 My 914-6 GT / Chassis Restoration - Photo 172 |
 My 914-6 GT / Chassis Restoration - Photo 163 |
 My 914-6 GT / Chassis Restoration - Photo 155 |
 914-6 GT Battery Area Chassis Restoration - Photo 49 |
 Chassis Restoration - Cockpit - Photo 26 |
 Chassis Restoration - Cockpit - Photo 20 |
 914-6 GT Battery Area Chassis Restoration - Photo 41 |
 914-6 GT Battery Area Chassis Restoration - Photo 33 |
 914-6 GT Battery Area Chassis Restoration - Photo 30 |
 914-6 GT Battery Area Chassis Restoration - Photo 25 |
 My 914-6 GT / Chassis Restoration - Photo 101 |
 My 914-6 GT / Chassis Restoration - Photo 97 |
 914-6 GT Battery Area Chassis Restoration - Photo 21 |
 914-6 GT Battery Area Chassis Restoration - Photo 19 |
 My 914-6 GT / Chassis Restoration - Photo 84 |
 My-GT Chassis Resto - Photo 78 |
 My-GT Chassis Resto - Photo 81 |
 My-GT Chassis Resto - Photo 75 |
 My-GT Chassis Resto - Photo 73 |
 My-GT Chassis Resto - Photo 72 |
 Longitudinal Restoration - Photo 24 |
 Longitudinal Restoration - Photo 21 |
 Longitudinal Restoration - Photo 18 |
 Longitudinal Restoration - Photo 16 |
 Longitudinal Restoration - Photo 14 |
 Longitudinal Restoration - Photo 8 |
 Longitudinal Restoration - Photo 5 |
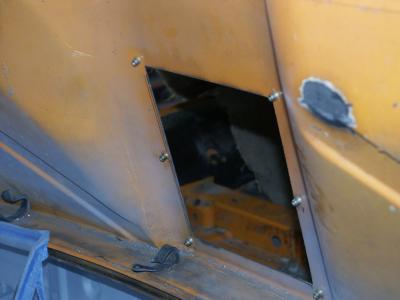 914-6 GT Engine Bay Firewall Access Cover - Photo 8 |
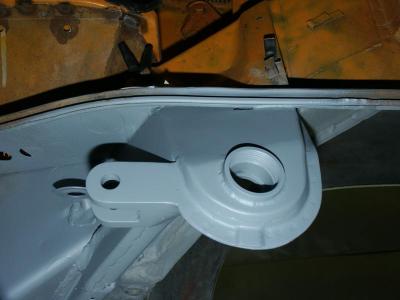
 Motor Mount Reinforcement - Photo 2 |
 Motor Mount Reinforcement - Photo 3 |
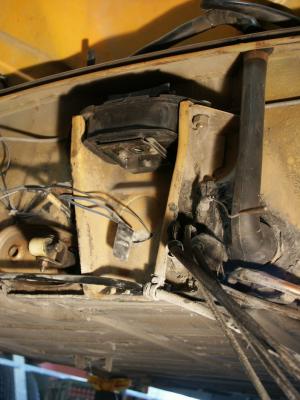 Motor Mount Reinforcement - Photo 1 |
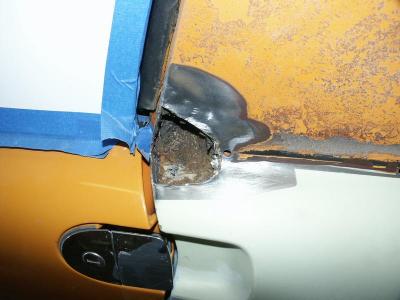
 Quarter Panel L-H Side Rust Repair - Photo 27 |
 Quarter Panel L-H Side Rust Repair - Photo 31 |
 Quarter Panel L-H Side Rust Repair - Photo 24 |
 Quarter Panel L-H Side Rust Repair - Photo 22 |
 Quarter Panel L-H Side Rust Repair - Photo 20 |
 Quarter Panel L-H Side Rust Repair - Photo 15 |
 Quarter Panel L-H Side Rust Repair - Photo 6 |
 Quarter Panel L-H Side Rust Repair - Photo 4 |
 Quarter Panel L-H Side Rust Repair - Photo 1 |
 Rotisserie Mods Install - Photo 127 |
 Rotisserie Mods Install - Photo 128 |
 Dog-Ear Reinforcement - Photo 91 |
 Dog-Ear Reinforcement - Photo 92 |
 Dog-Ear Reinforcement - Photo 95 |
 Dog-Ear Reinforcement - Photo 96 |
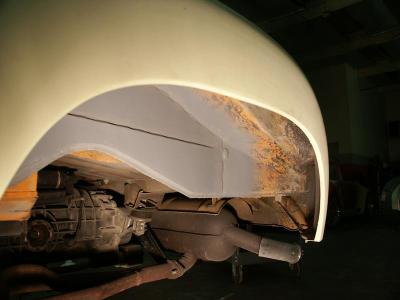
 Front Left Fenderwell Area Restored - Photo 1 |
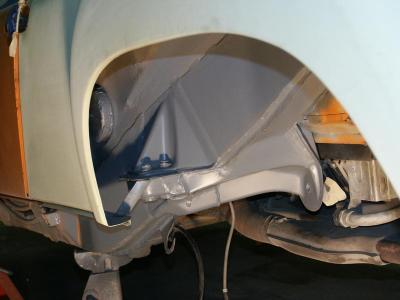
 Front Right Fenderwell Area Restored - Photo 2 |
 My-GT Front Area Restored - Photo 6 |
 My-GT Front Area Restored - Photo 7 |
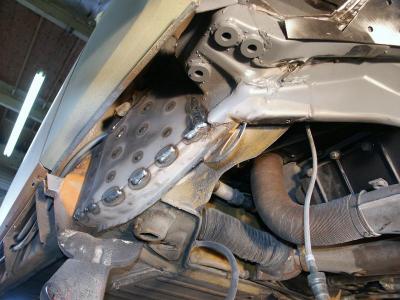
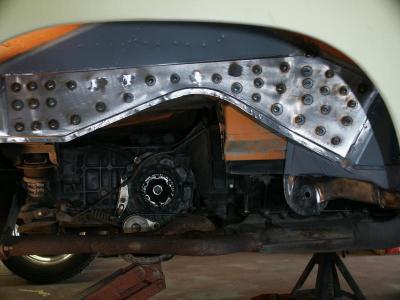
 GT Shock Tower Reinforcements - Photo 117 |
 GT Shock Tower Reinforcements - Photo 48 |
 GT Stiff Kit Install LH Side - Photo 22 |
 GT Stiff Kit Install LH Side - Photo 20 |
 GT Stiff Kit Install LH Side - Photo 15 |
 GT Stiff Kit Install LH Side - Photo 12 |
 GT Stiff Kit Install RH Side - Photo 38 |
 GT Stiff Kit Install RH Side - Photo 37 |
 GT Stiff Kit Install RH Side - Photo 30 |
 GT Stiff Kit Install RH Side - Photo 26 |
 GT Stiff Kit Install RH Side - Photo 15 |
 GT Stiff Kit Install RH Side - Photo 13 |
 GT Stiff Kit Install RH Side - Photo 2 |
 GT Stiff Kit Install RH Side - Photo 1 |
 914-6 GT BEHR Front Oil Cooler Installation - Photo 2 |
 914-6 GT BEHR Front Oil Cooler Installation - Photo 1 |
 GT Front Cooler Install - Photo 48 |
 GT Front Cooler Install - Photo 58 |
 GT Front Cooler Install - Photo 63 |
 GT Front Cooler Install - Photo 65 |
 GT Front Cooler Install - Photo 66 |
 GT Front Cooler Install - Photo 67 |
 GT Front Cooler Install - Photo 68 |
 GT Front Cooler Install - Photo 70 |
 GT Front Cooler Install - Photo 73 |
 GT Front Cooler Install - Photo 74 |
 GT Front Cooler Install - Photo 76 |
 GT Front Cooler Install - Photo 78 |
 GT Front Cooler Install - Photo 83 |
 GT Front Cooler Install - Photo 84 |
 GT Front Cooler Install - Photo 89 |
 GT Front Cooler Install - Photo 92 |
 GT Front Cooler Install - Photo 96 |
 GT Front Cooler Install - Photo 106 |
 GT Front Cooler Install - Photo 122 |
 GT Front Cooler Install - Photo 124 |
 GT Front Cooler Install - Photo 127 |
| comment | share |
| 914-6 GT | 27-Jun-2009 19:56 | |