


|
|
|
|
|
|
| twistedlim | profile | all galleries >> Galleries >> Galloup School of Lutherie Journeyman Session | tree view | thumbnails | slideshow |
| previous page | pages 1 2 3 4 5 6 7 8 9 10 11 12 13 14 15 16 ALL | next page |
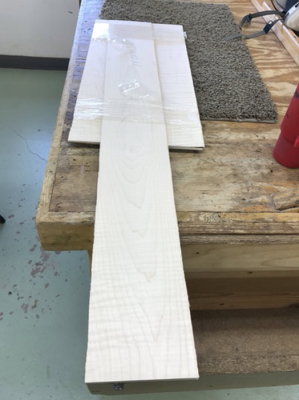 Acoustic Guitar starting components |
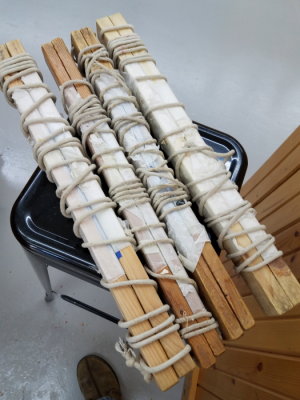 Rope and stick clamps used to clamp the 2 pieces of the top and back together. |
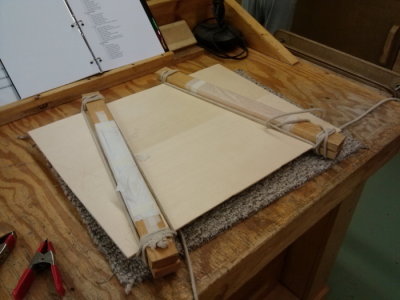 Glueing top and bottom pieces together with wood and rope clamps. |
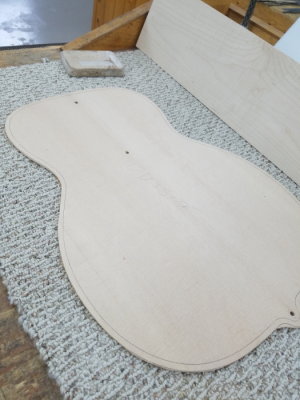
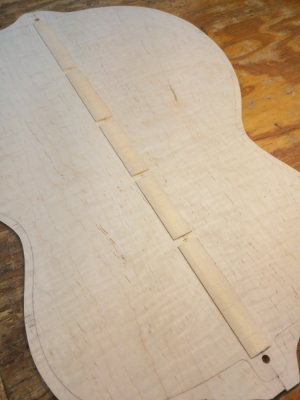
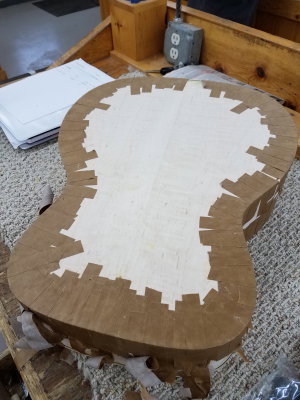
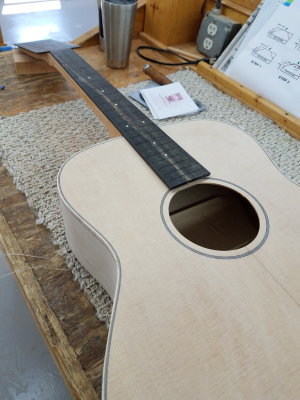
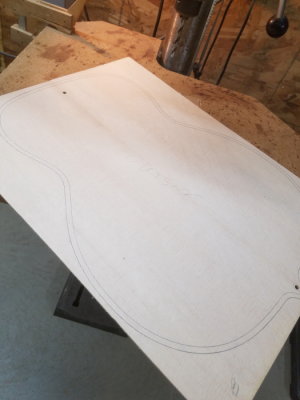 Spruce top glued, sanded to thickness and top traced with location holes for later set-ups. |
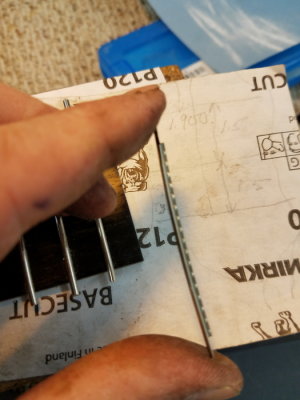
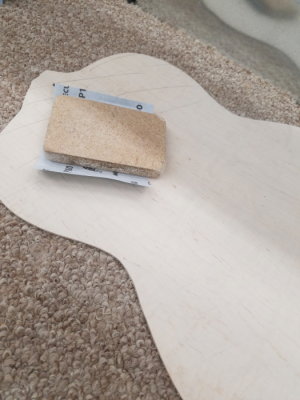 The beginning of the sanding process. Maple back sanded from 120, 180 to 220 grit. |
 Top cut out with location holes and sound hole located. |
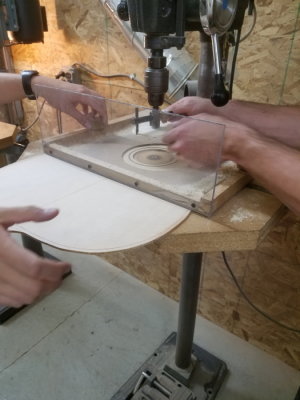
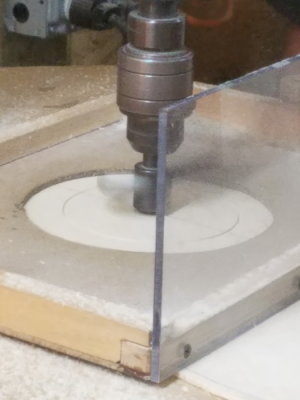 Cutting out the groove for the rosette. |
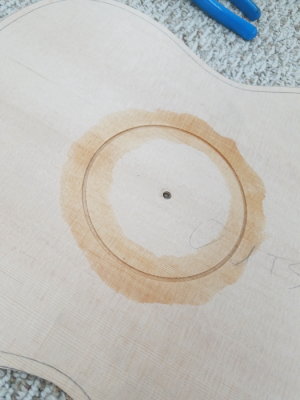 Rosette pocket cut. |
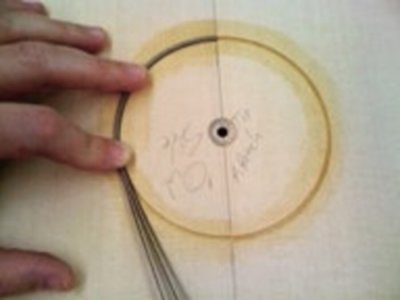 Inserting rosette. |
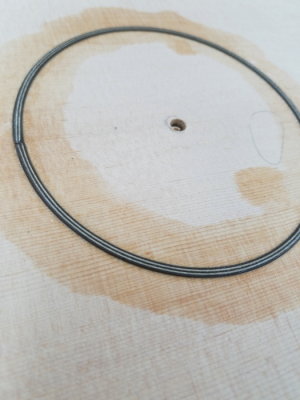 Rosette done. |
 Cutting the sound hole from the top. |
 Cutting sound hole. |
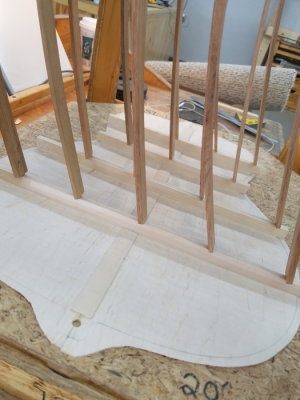
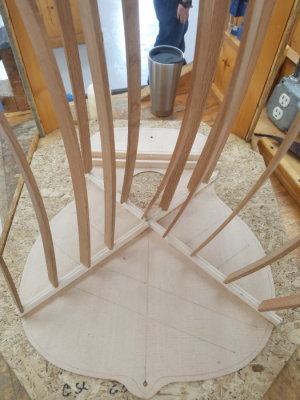
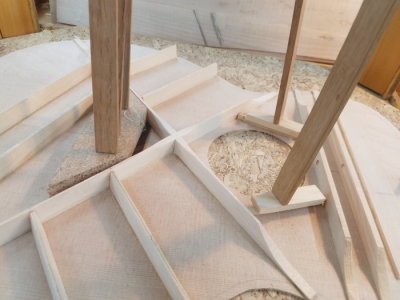
 Center brace glued and pockets chiseled out for back braces. |
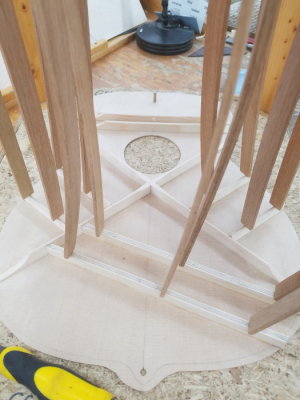
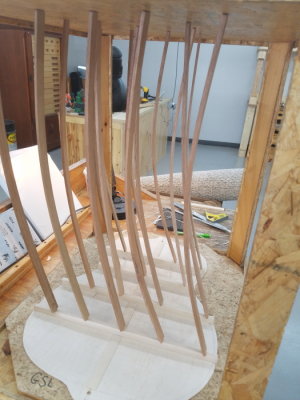 Back braces glued and clamped into place using "go sticks" to apply even pressure across the brace. |
 Back ladder bracing. |
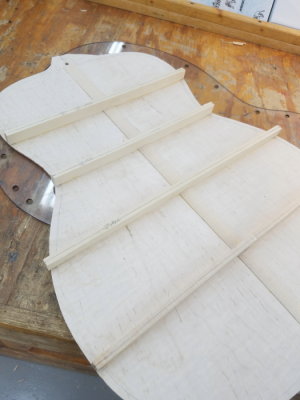 Clamps removed, back braces secured. |
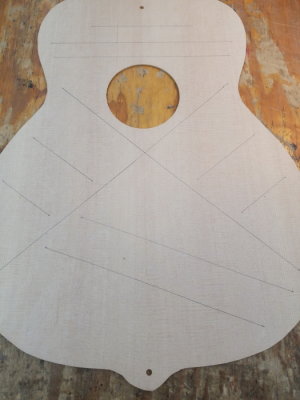 Layout lines for the X bracing, tone bars and wing braces |
 X bracing and top braces glued and clamped via go-sticks. |
 Other end view of X brace being glued and clamped. |
 Tone bars and wing braces glued and clamped. |
 Bridge plate and sound hold braces glued and clamped. |
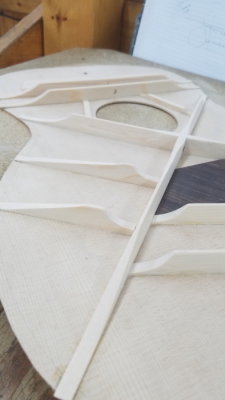 Top bracing completed. All braces and tone bars hand tapered an scalloped. |
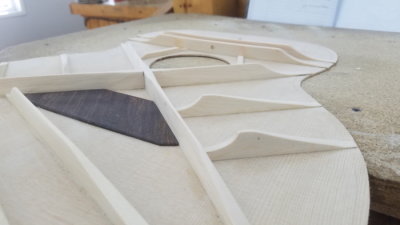 Another view of top bracing. |
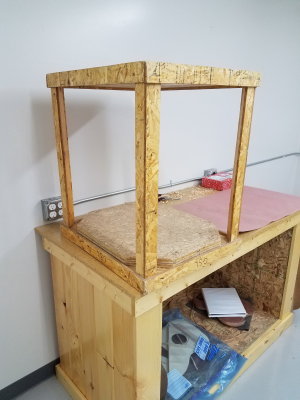
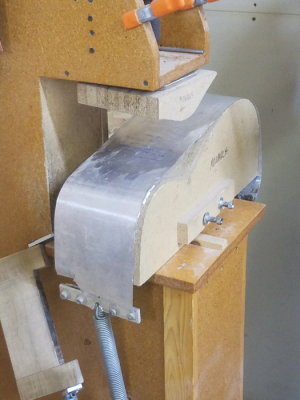 Side heat press. |
 Metal, heat element sandwich. |
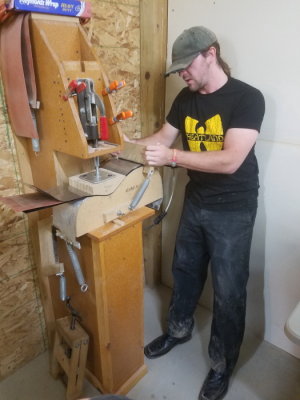 Applying pressure to the heated, dampened wood to clamp it into position. |
 Closer view of clamp. |
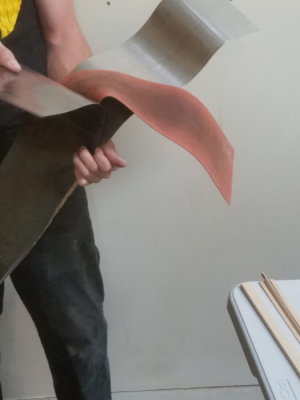
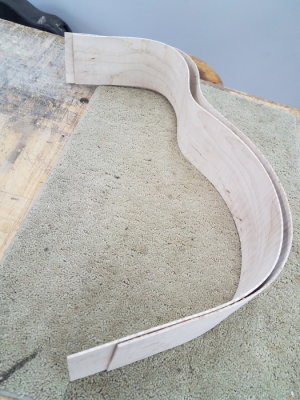 Sides as they come out of the bending press. |
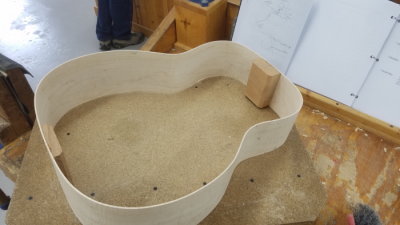 Blocks installed |
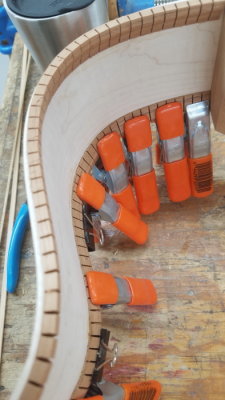
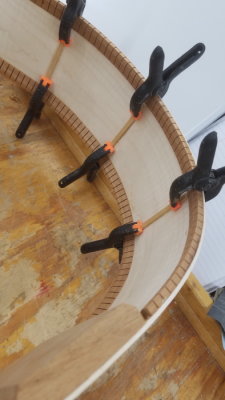
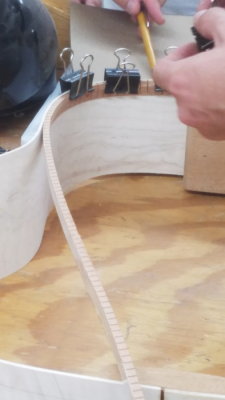 Adding Kerfing to the inside of the body to help support the top and bottom when glued to the side. |
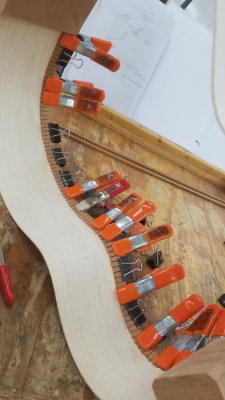 More Kerfing |
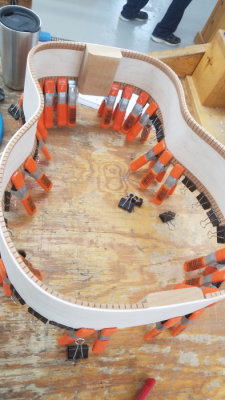 Kerfing clamped |
 After the clamps are removed. |
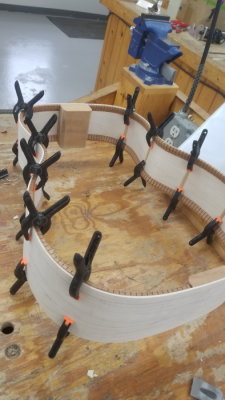 Strips glued to inside of body to prevent cracking of the sides. |
 Clamped in place. |
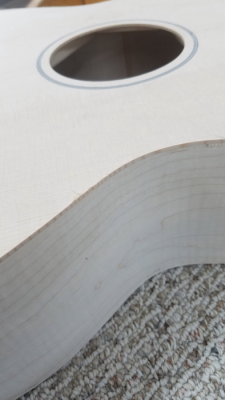
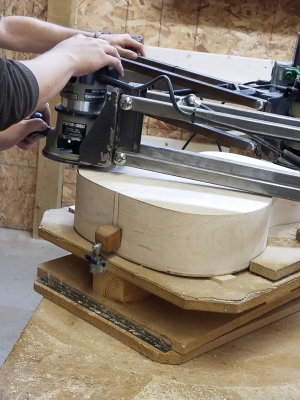
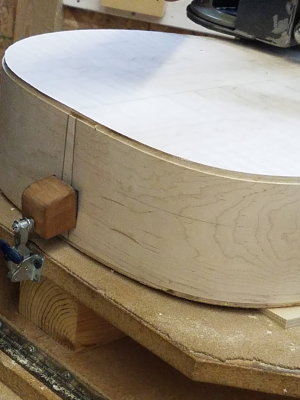
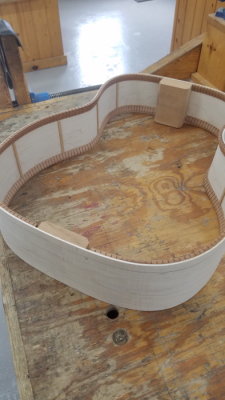 Ready for final body height sanding. |
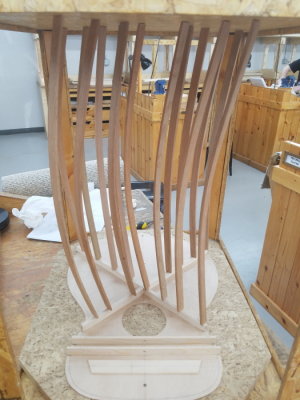
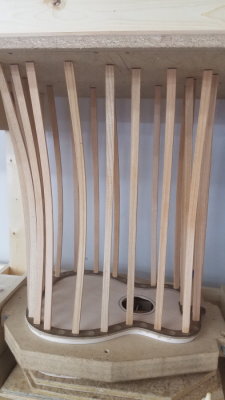
 Body in holding jig for sanding and attaching top and bottom to the sides. |
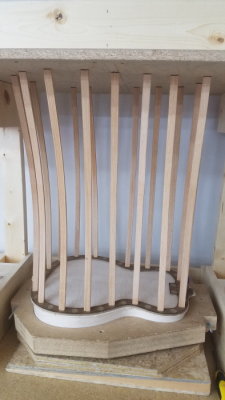 Bottom glued to sides and clamped with go-sticks. |
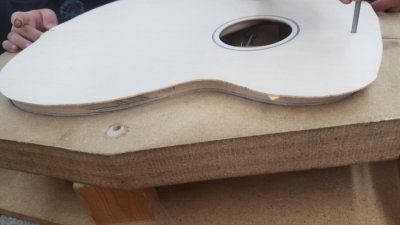
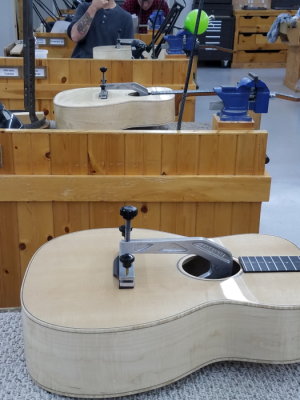
 Top glued on and clamped with go-sticks. |
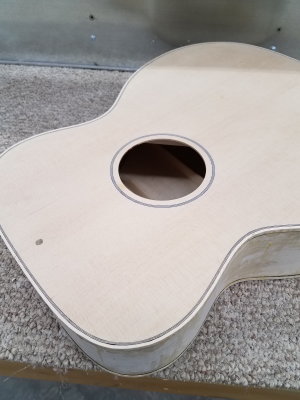
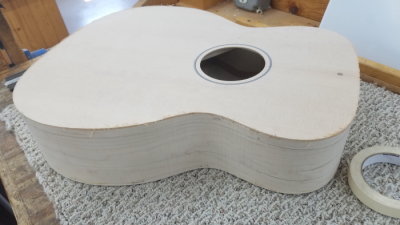 We have a bird house! |
 Top view |
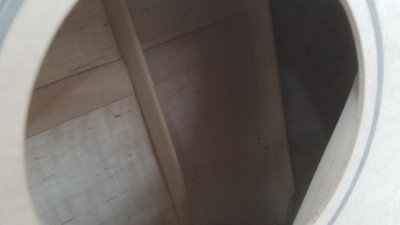 Another view in the sound hole. |
 Routering for binding |
 Done with first cut. |
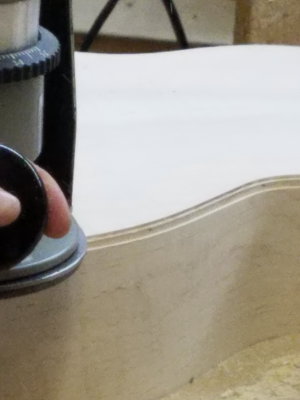 Second router cut. |
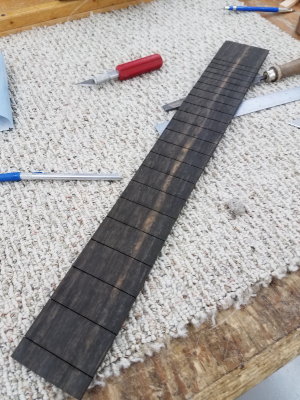 Ebony fret board blank. |
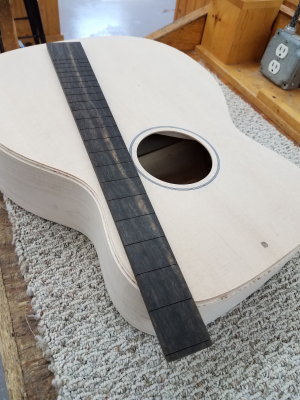 Body and fretboard blank |
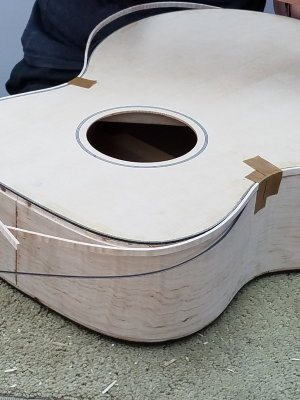
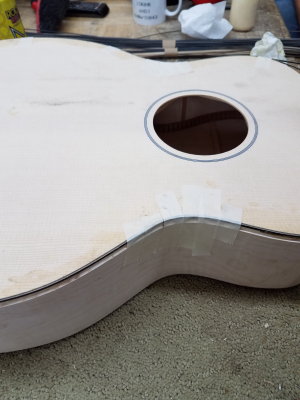 First cut of binding installed. |
 Hold down with tape. |
 Maple binding and trim to install. (worst part of the build for me) |
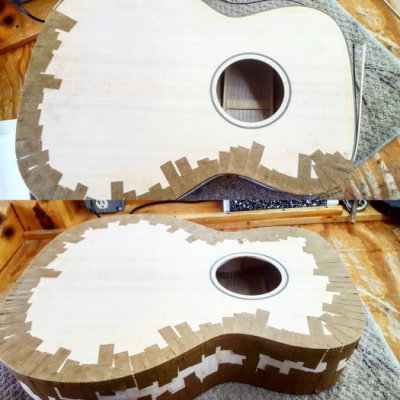 Gluing and taping binding |
 More tape, more glue |
 Binding installed and ready for some heavy sanding. |
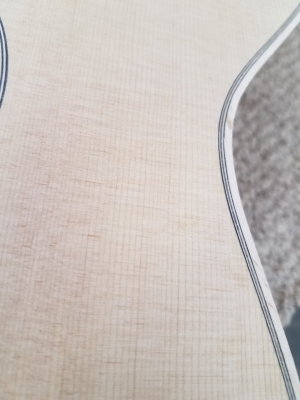 Top view of binding |
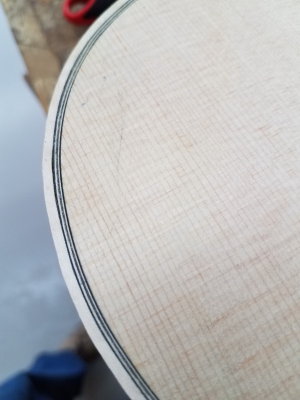 Edge |
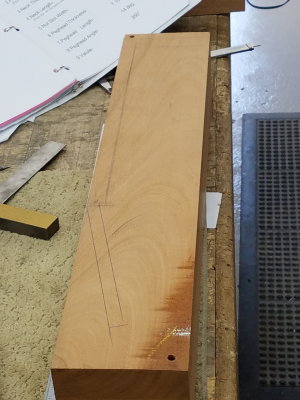 Neck Blank |
 Pre cut and ready for final rough cut. |
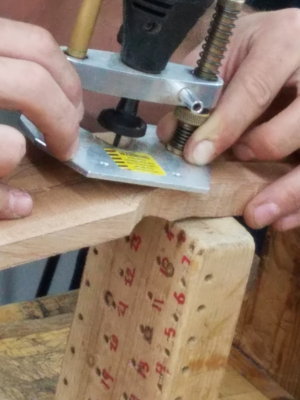
 Routed channel for truss rod. |
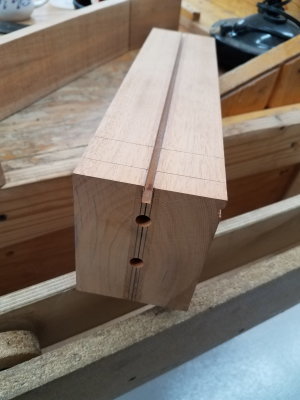 Truss rod channel. |
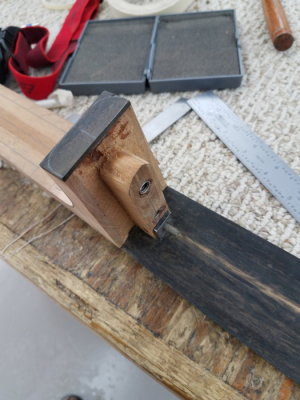
 Go stick clamping jig |
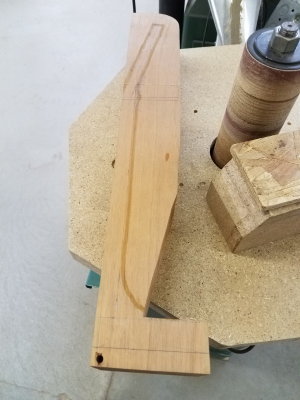
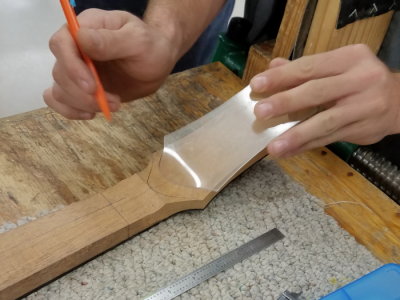
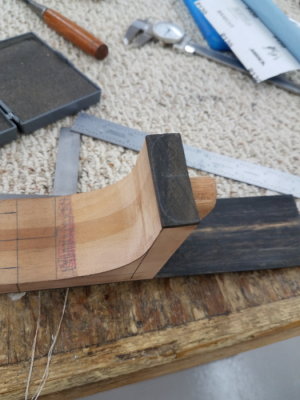
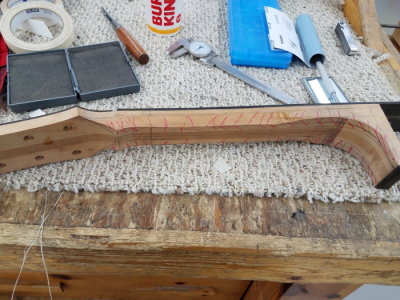
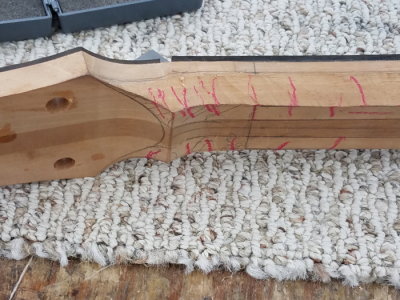
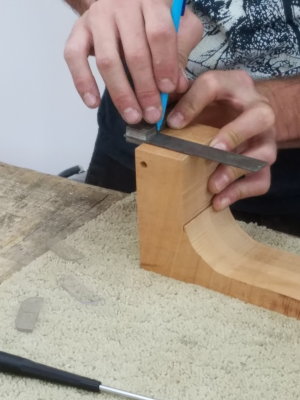 Laying out neck angles for material removal. |
 More layout |
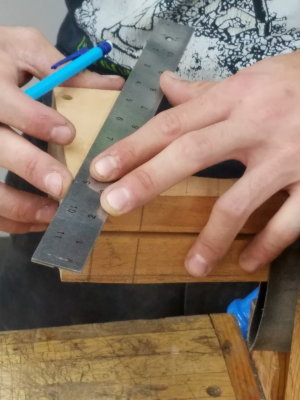 Neck layout |
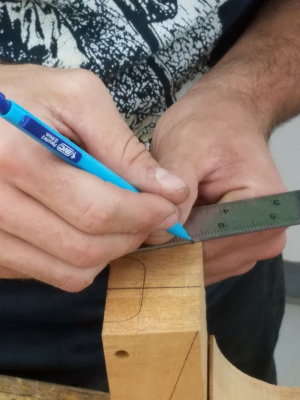 Neck layout |
 Neck layout |
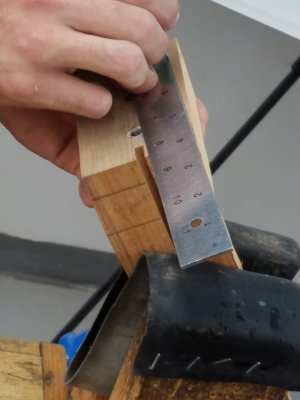
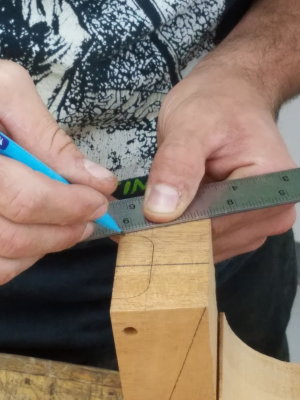
 Measuring to router out slot for truss rod end. |
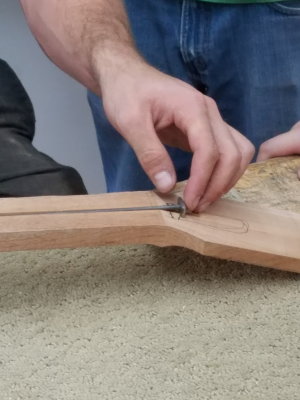
 Routering truss rod end slot |
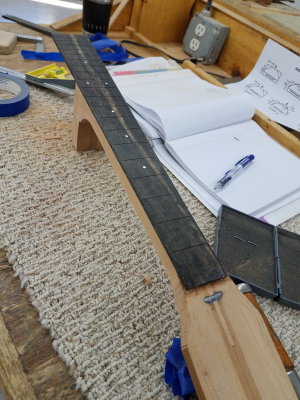 Fretboard glued in after truss rod set. |
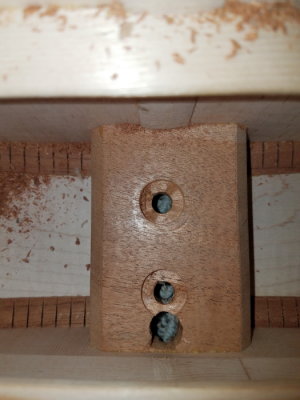
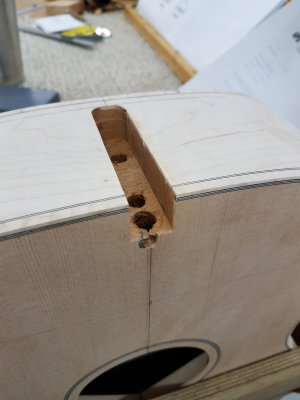 Mortise cut into body and holes drilled to attach neck |
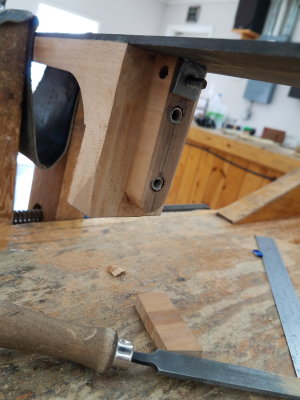 Tenon cut out of neck |
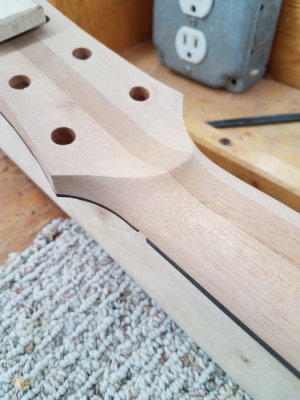
 Ebony faceplate glued to headstock. |
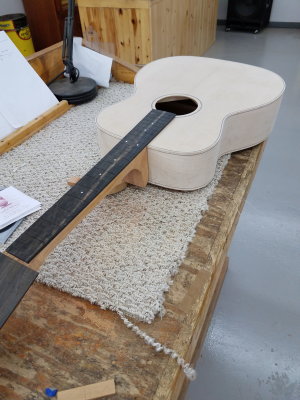 Starting to look like a guitar. |
 Reverse angle |
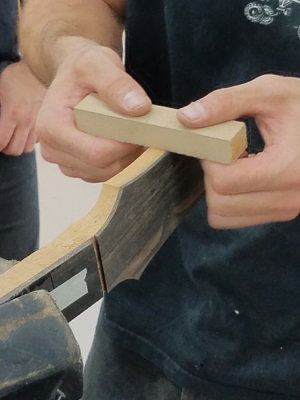 Sanding final fit of ebony and mahogany |
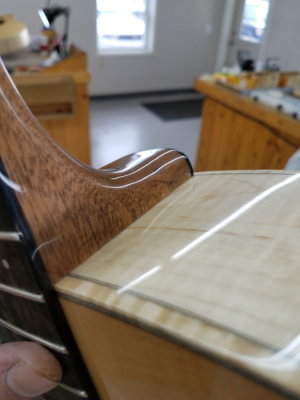
 Neck to body fit |
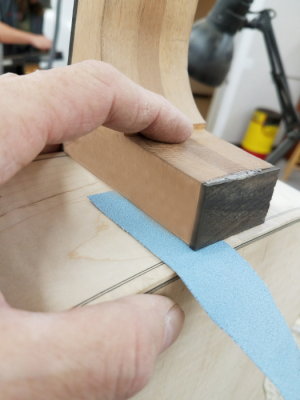 Slip sanding neck for perfect, seamless fit. |
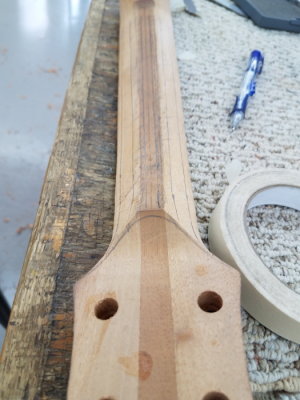
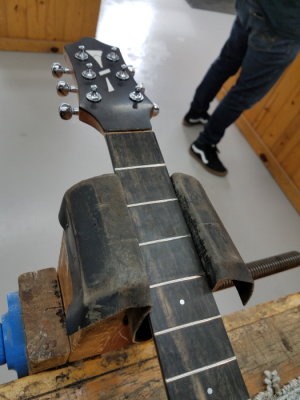
 Laying out neck |
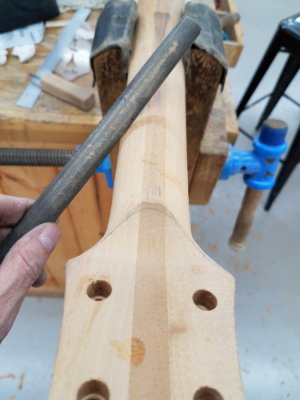
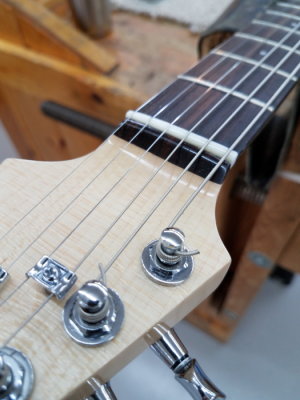
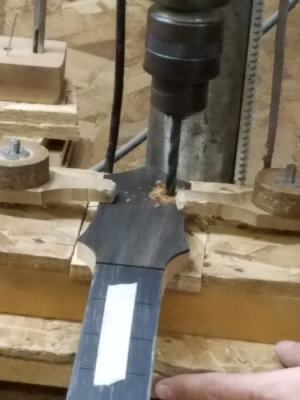 Drilling tuning machine holes |
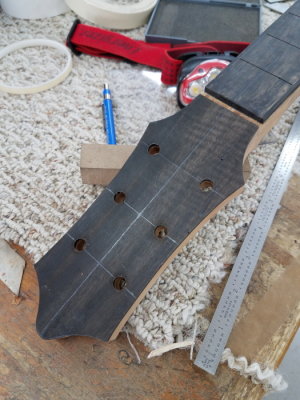 Headstock drilled for tuning machines |
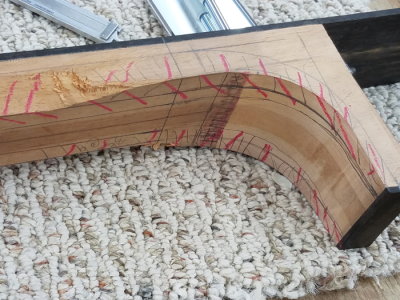
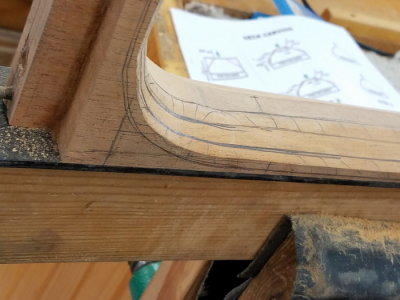
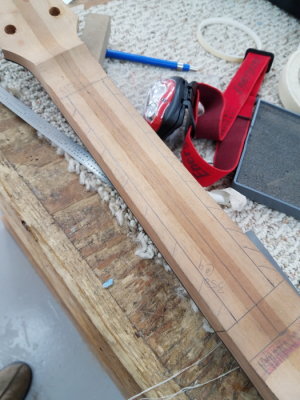 Initial neck contour layout for chisel |
 Layout |
 Layout |
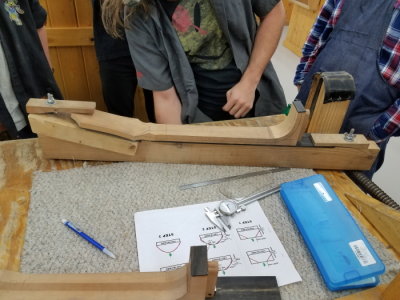 Neck holding jig |
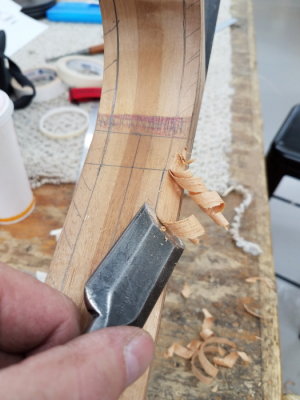 First cut removal |
 Taking shape |
 More layout |
 Again |
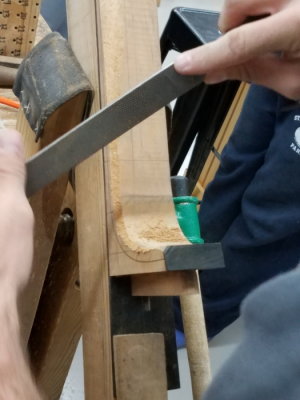 Rasp and file neck |
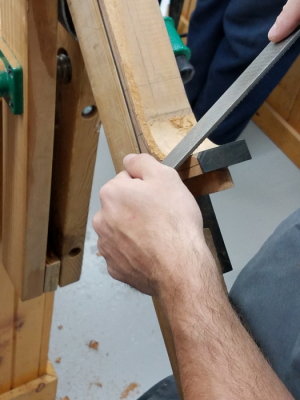 Rasp and file neck |
 Another neck layout after removing the first cut |
 More layout for removal |
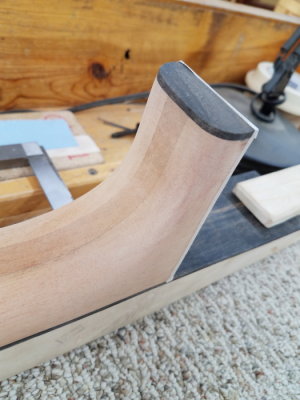
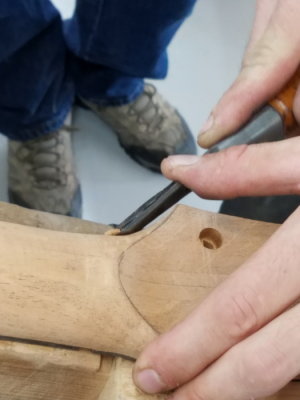 Carving valute |
 Getting close |
 90% there |
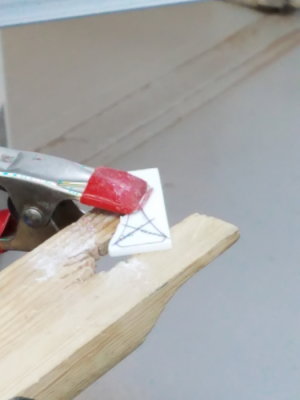 Headstock inlay layout |
 Fretboard jig |
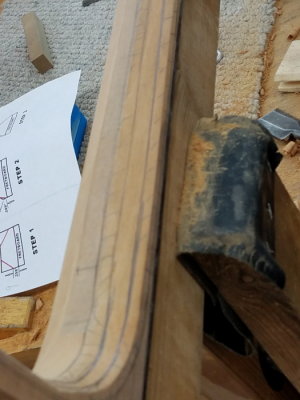
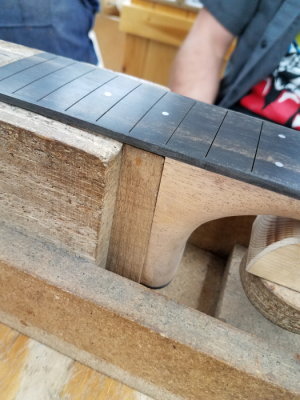
 Headstock to valute to neck |
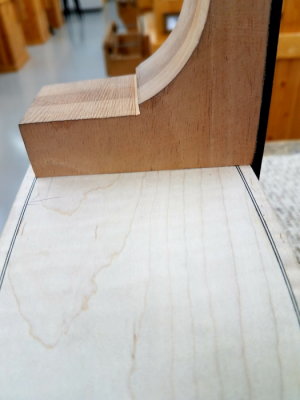
 Neck to heal |
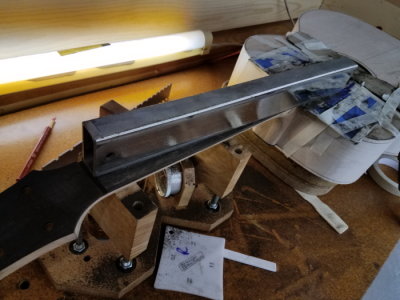 Leveling and contouring fretboard |
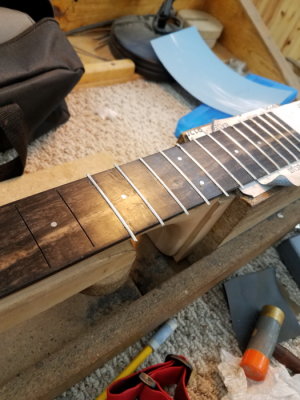
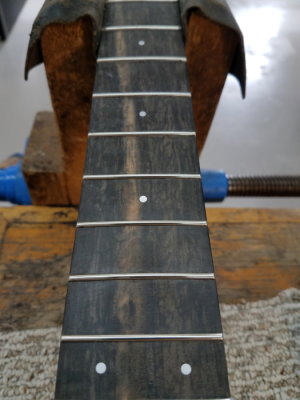
 Straight, radiused and polished fretboard |
 Cutting tang in frets |
 Installing frets |
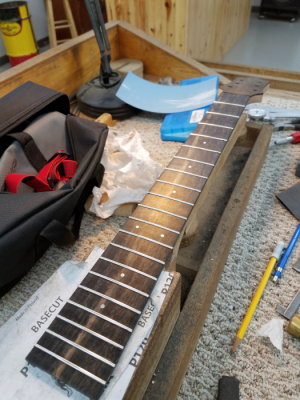 Fretboard done. Radius, leveled and frets installed filed and beveled. |
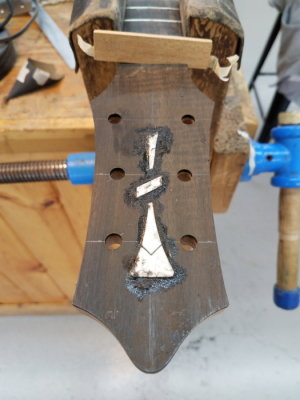 Inlay glued in. |
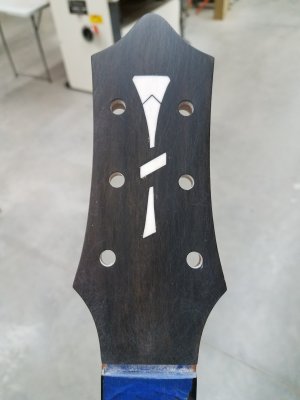 Inlay finished. |
 After a long busy day... |
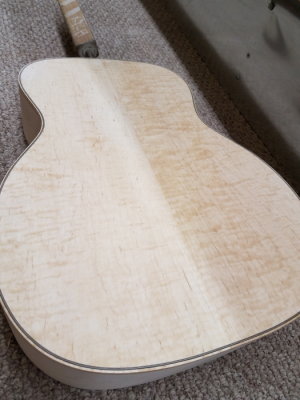 Back sanded |
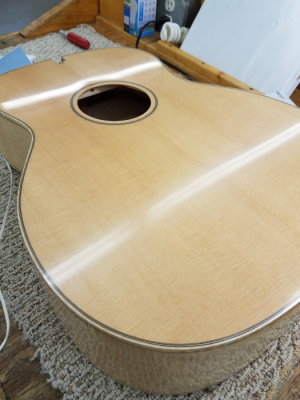
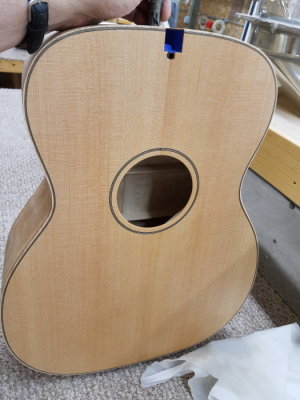 Top sanded |
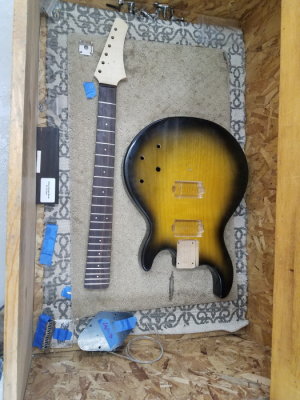
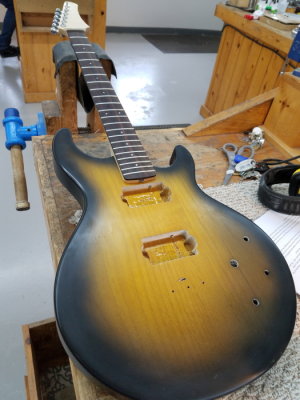
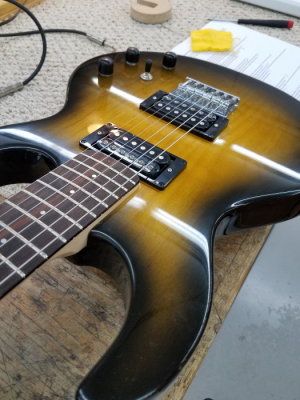
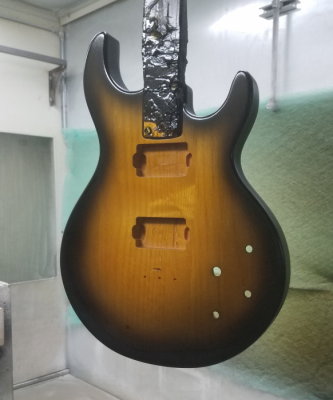 Electric Guitar, sunburst finish with 16 c.oats of Lacquer |
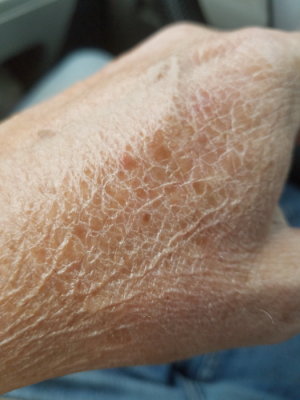 14 coats of clear lacquer on my hand I used to hold the body while spraying . |
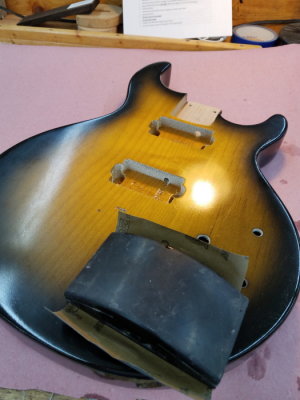 Final wet sand of electric. 800, 1000, and finally 1200 grit sandpaper |
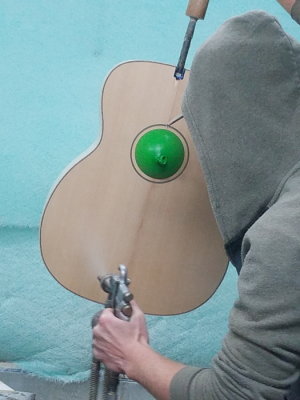 Spraying acoustic |
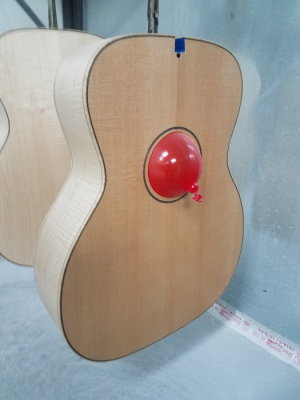 6 coats of lacquer (many more to come) |
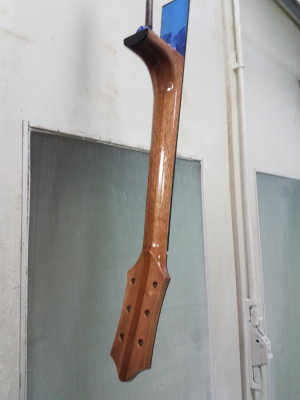 Acoustic neck sprayed |
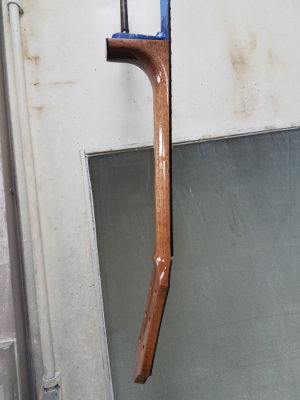 Acoustic neck |
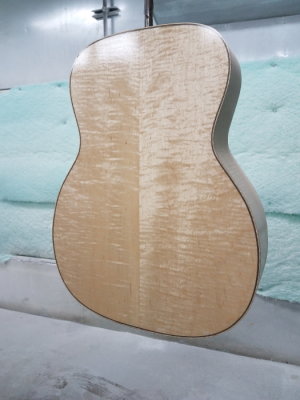 Acoustic back |
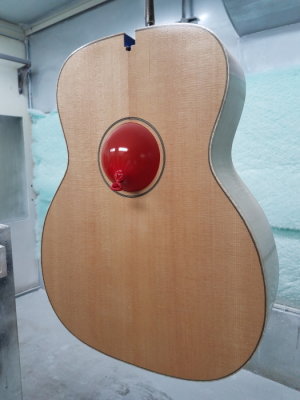 Front again after first 6 coats |
 Meanwhile, back to the electric |
 Body and neck assembled back together |
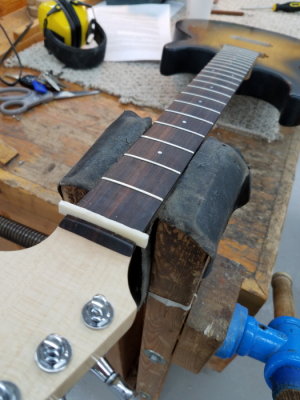 Fitting the nut blank |
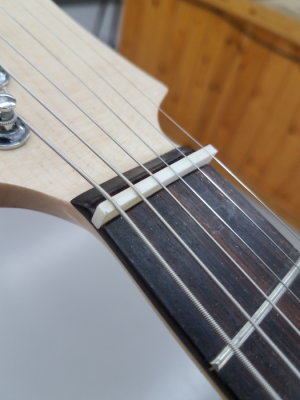 Spacing strings |
 Arrached bridge |
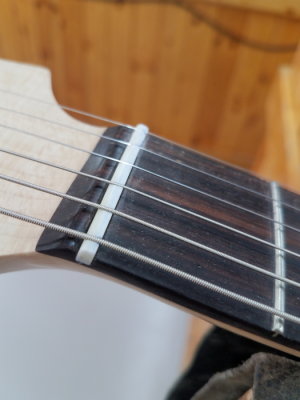 Nut slots cut and top taken down to proper height. |
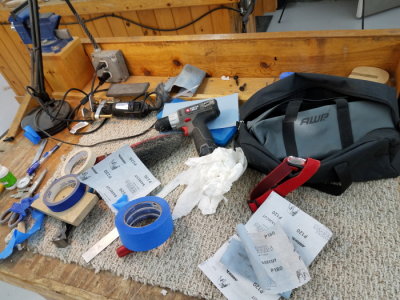
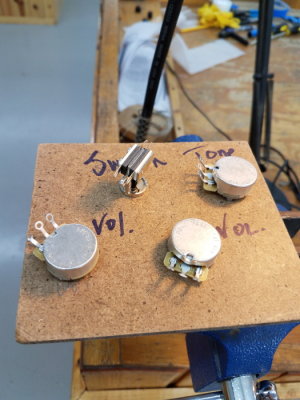 Switch, tone and volume pots attached to soldering board |
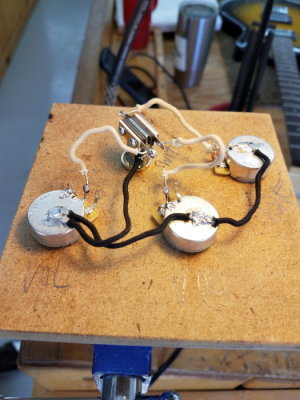 Pots and switched soldered together |
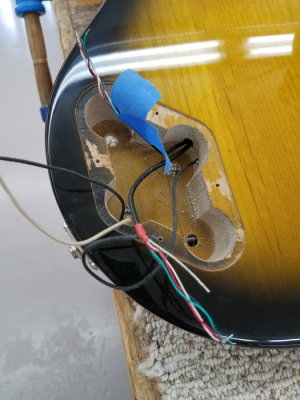 Pick up wires and end pin jack wires soldered and pulled into back pocket |
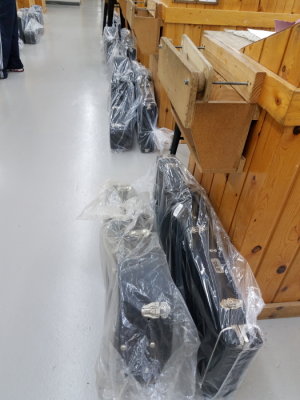 New cases have arrived! |
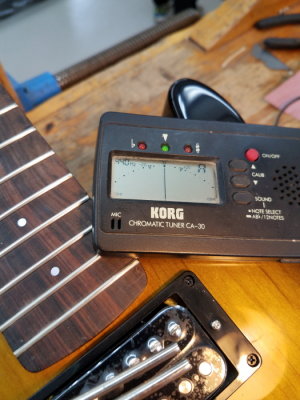 electronics tested and working! |
 Final neck set, bridge set for proper string height, radius and intonation. |
 Done and polished body top |
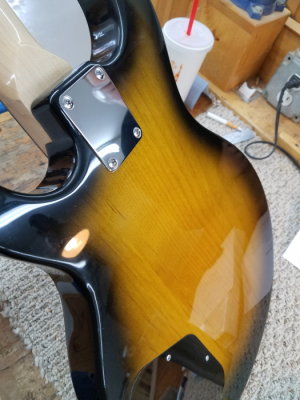 Back |
 Nut polished |
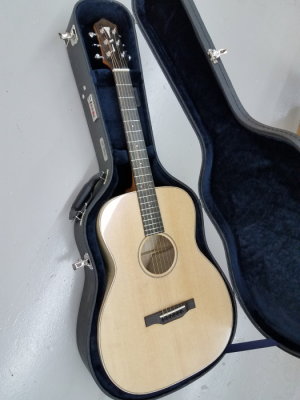
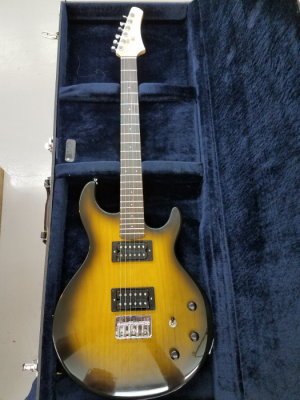 Finished, in case awaiting final grade. |
 Frets installed in acoustic |
 Fretboard |
 Body sanded to 1200 ready for buffing |
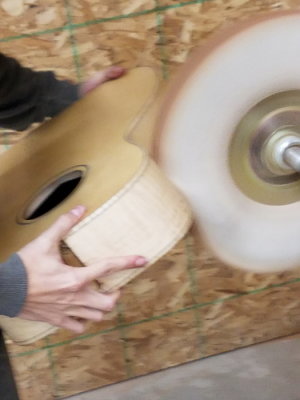 Buffing |
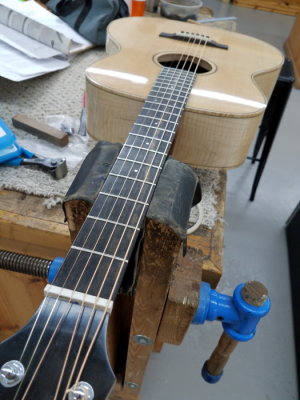
 Neck body fit after 4 hours of slip sanding |
 Neck bolts coundtersunk |
 Fretboard glued to top after lacquer was removed |
 Neck set |
 Neck set |
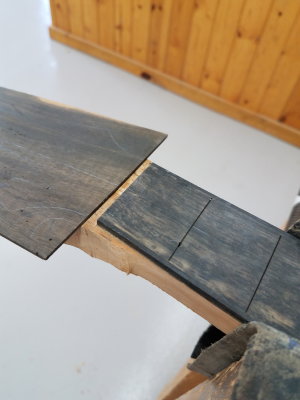
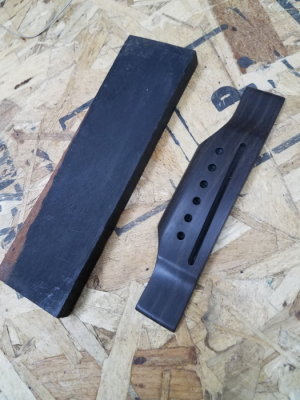 Bridge finished (blank of left is what we started with) |
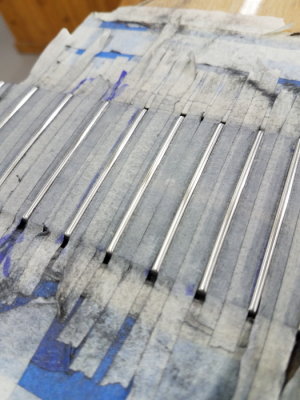 Frets leveled, crowned, sanded and polished. |
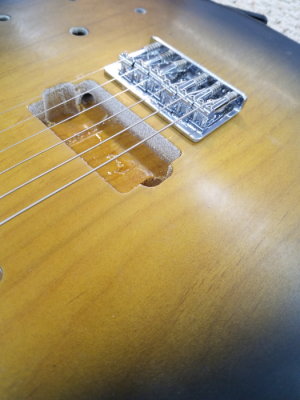
 Lacquer removal using router jig |
 Lacquer removal using router jig |
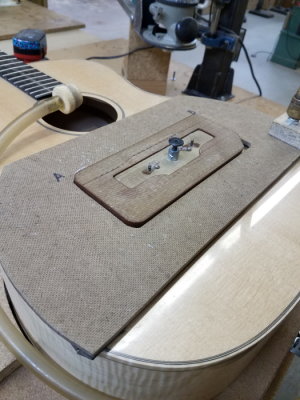 Lacquer removal using router jig |
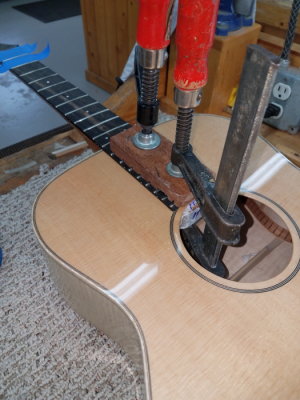
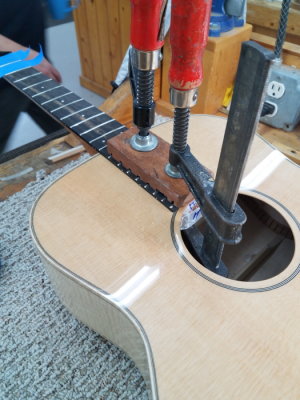
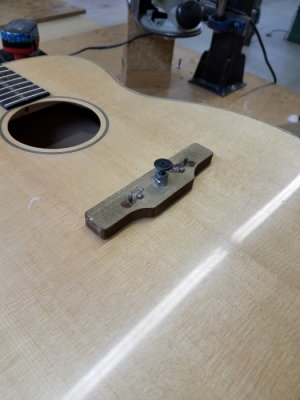
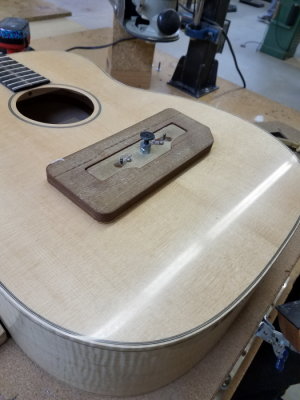
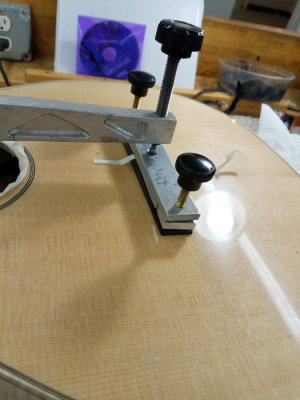 Bridge clamp "dry run" |
 Dry run |
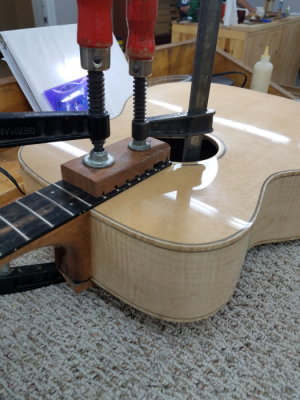
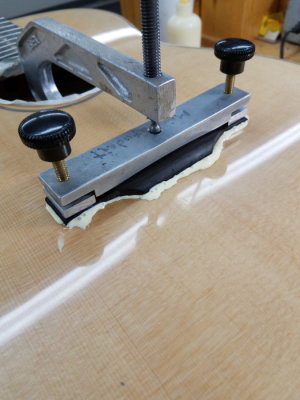 Bridge glued, clamped with plenty of run out. |
 Bridge clamped |
 Today's goal was to get everyones bridges clamped to dry overnight. |
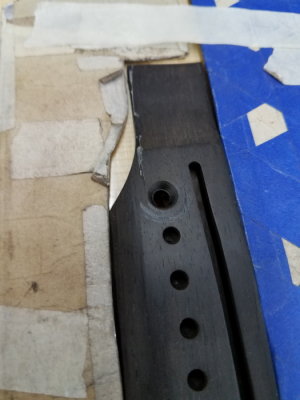 Bridge pin holes drilled though body and countersunk. |
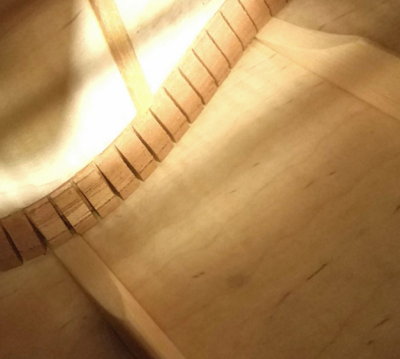
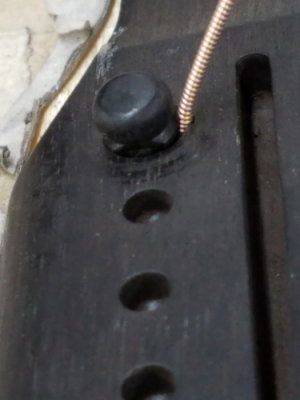 Grooving bridge pin holes to allow for string using solid bridge pins. |
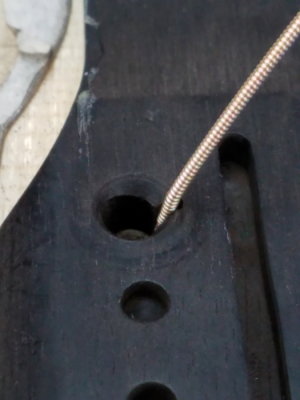 String groove cut for Low E string. |
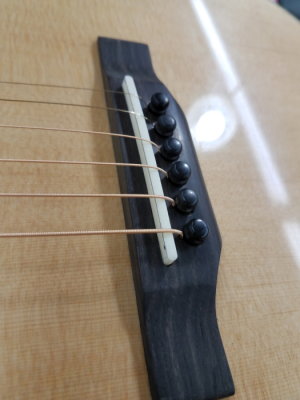
 Bone saddle fit and finished to length and width. |
 Rough height cut |
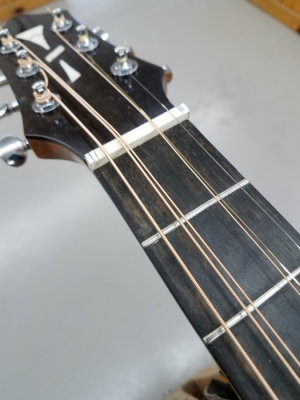 Bone nut cut and fit to width and length |
 Top view |
 String slots spaced and measured |
 Done for the week, next week finish saddle, nut and set up, sand buff and polish everything and it will be done! |
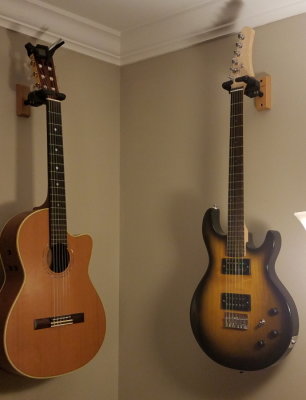 The electric is now home with its new friends.. |
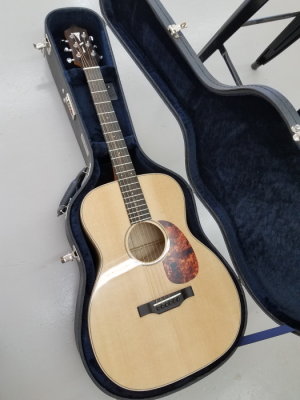 Acoustic finished for grading. (pick guard removed after grading) |
 Top |
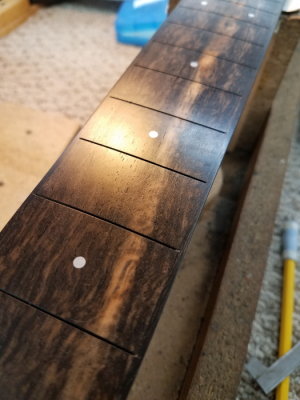
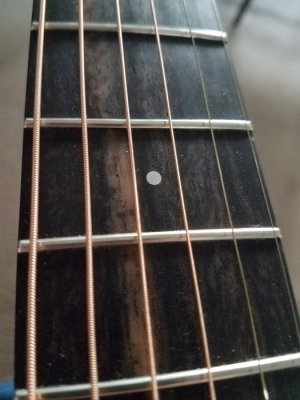 Nice stripe in ebony fretboard. Frets polished. |
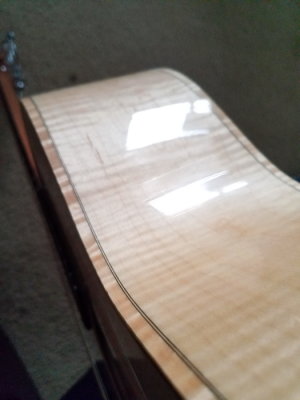 Solid maple sides and binding |
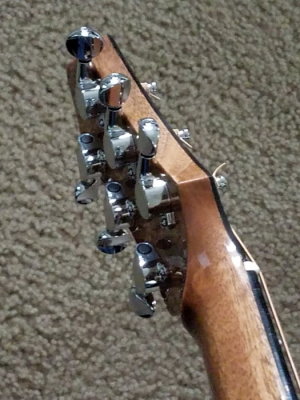 Gotoh Tuning machines |
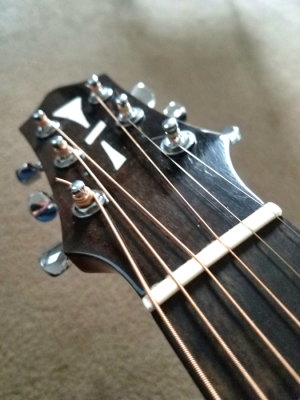 Headstock |
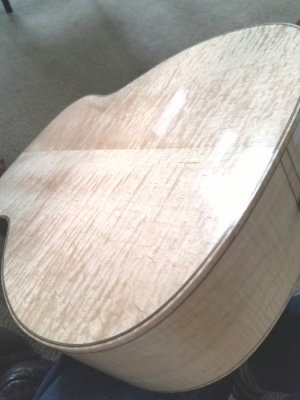 Solid Maple Back |
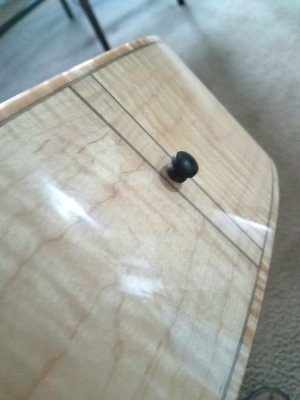 Bottom, tapered ebony end pin. |
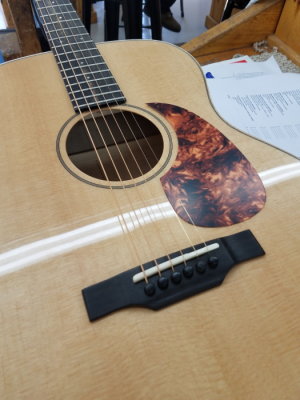
 Top without pick guard |
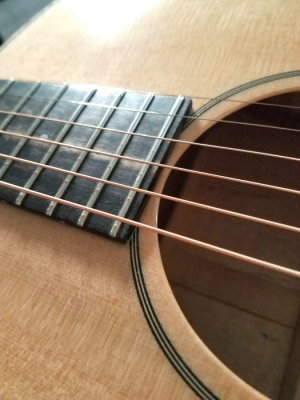 Soundhole, fretboard |
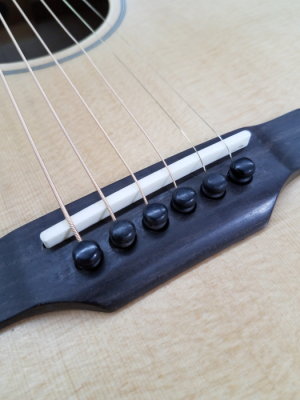
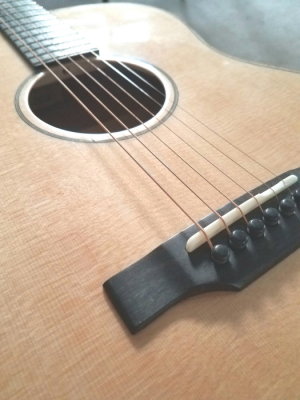
 Final saddle and bridge |
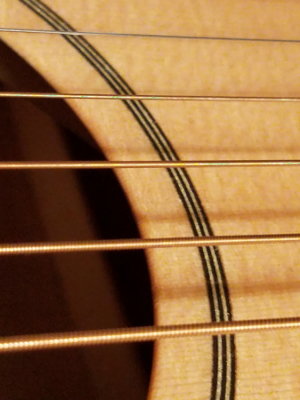 Finished rosette |
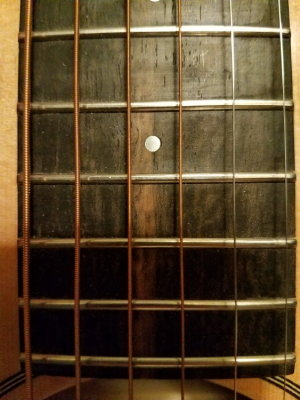 Ebony fret board |
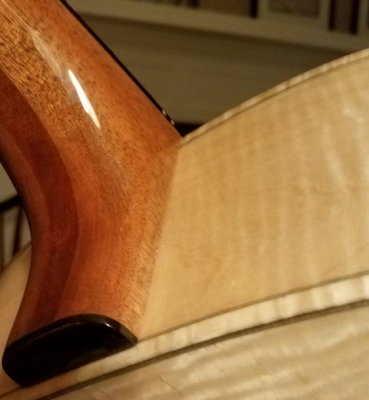 neck to body fit |
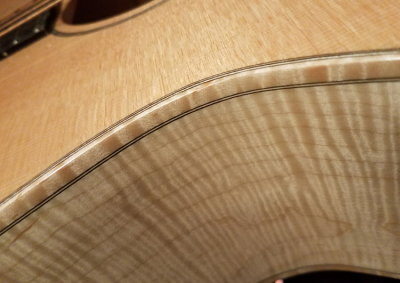 Maple side and binding |
 scalloped braces |
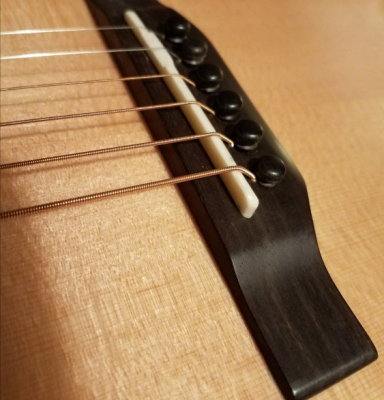 Bridge and saddle |
 Valute |
 Graduation |
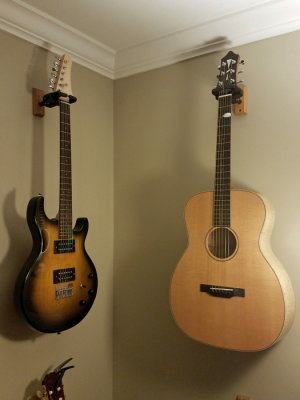 Home sweet home. |
| previous page | pages 1 2 3 4 5 6 7 8 9 10 11 12 13 14 15 16 ALL | next page |
| comment | share |
| Guest | 23-Sep-2017 19:01 | |