


|
|
|
|
|
|
| Positive Image Photography | profile | all galleries >> Randomness >> Scale Models >> Tamiya F104 Pro >> The build process | tree view | thumbnails | slideshow |
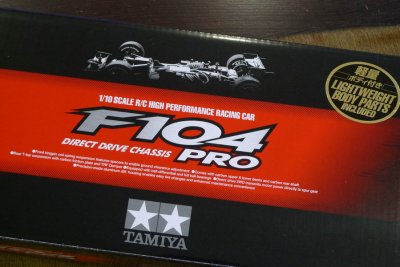 Le Box! |
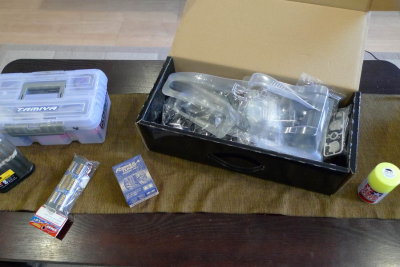 Getting ready. |
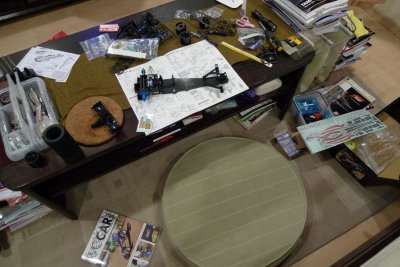
 Sorting out. |
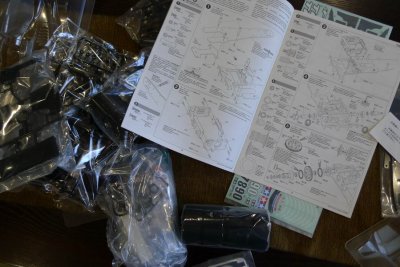
 ...and here we go! |
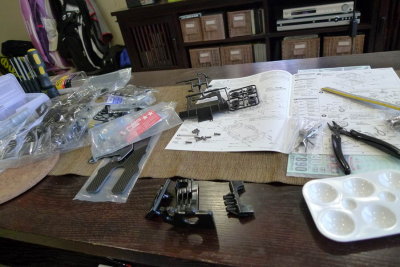
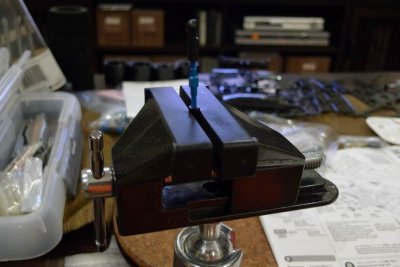
 Makeshift workstation. |
 Quitting for the evening... |
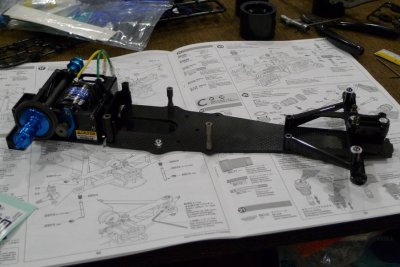
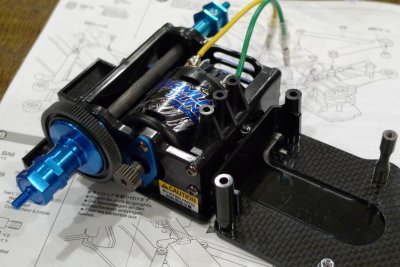 Progress thus far: Lower level chassis assembly, rear differential and motor mount. (Tamiya 32T Formula-tuned motor) |
 Oh yes, have I ever mentioned that I take my fun seriously? |
 Sitting at one spot for hours at a go can make you hungry... |
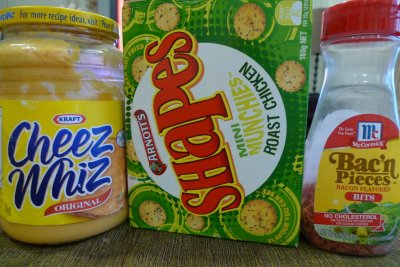
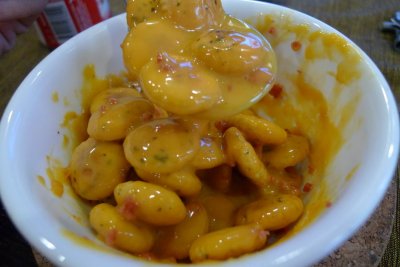 Hot melted Cheeze whiz and Arnott's Mini Munchies with a dash of fake bacon bits. |
 Yes, this is my only vice. (Heh) |
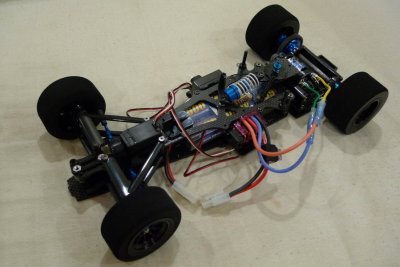 Chassis mostly assembled. |
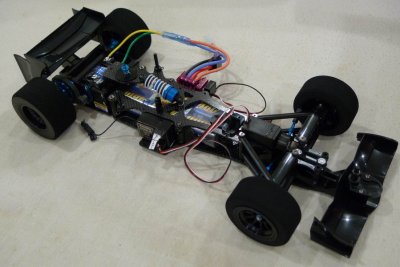 End of Day 2: Addition of front and rear wings. |
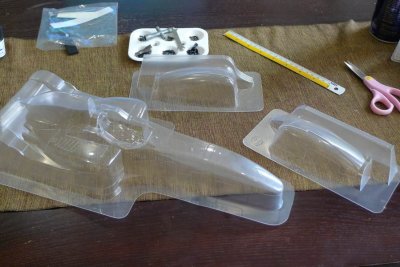 Bodyshell, uncut. |
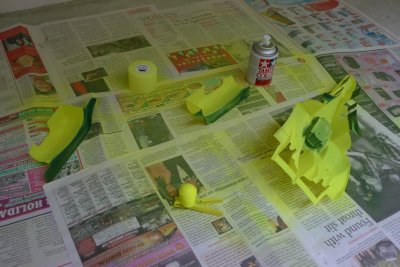
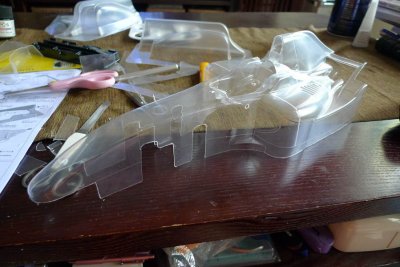 Trimmings removed, holes drilled, edges filed down. Took me a good 3-plus hours to get to this stage. |
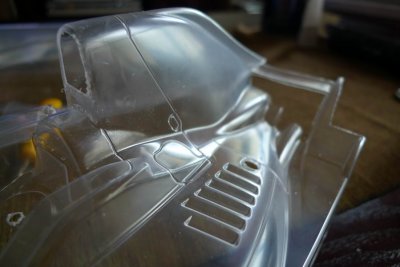 Cut outs were the trickiest. |
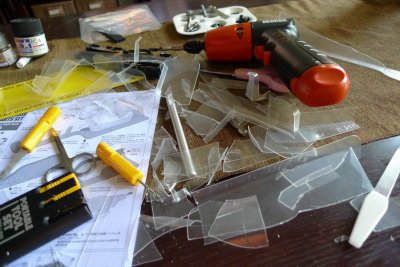 The resulting chaff. |
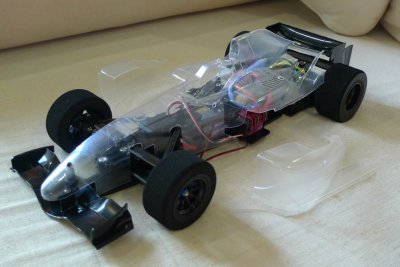 Day 3 progress: Ghost car! Enough already. Hungry and tired. |
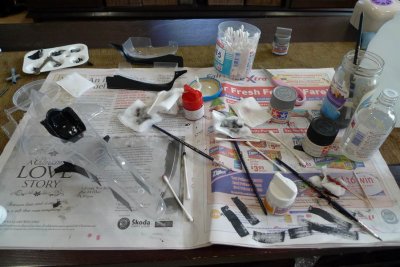 Back in action after a day's break. Painting and finishing. |
 I didn't have any other colour for polycarbonate paint, so I took the lazy way out: Entire cockpit in black. :p |
 Sprayin'. |
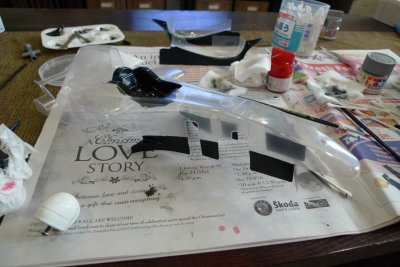
 Almost done! Just need to remove protective plastic covering and applying decals and screwing on the driver's head. |
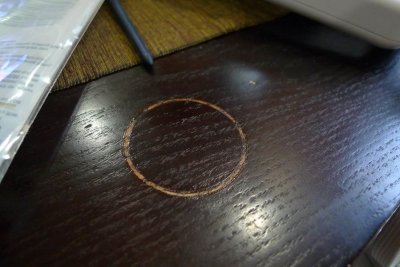 Damn, this is what happens when thinner meets table lacquer. |
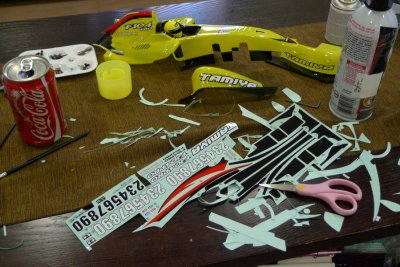 Applying the stickers ain't as straighforward as one might think. 3 hours, and I'm still not done yet. |
| comment | share |