photo sharing and upload picture albums photo forums search pictures popular photos photography help login
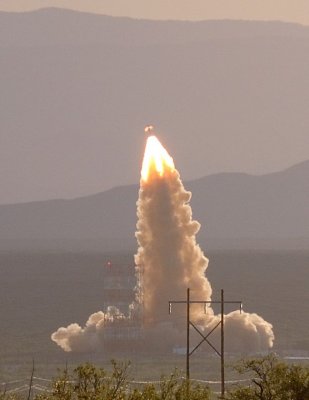
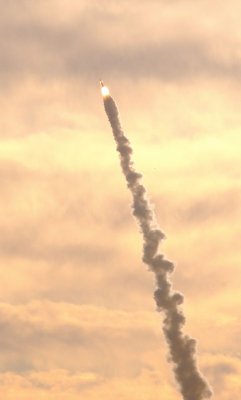
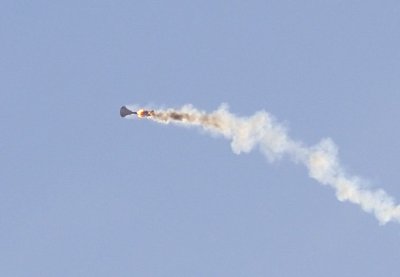
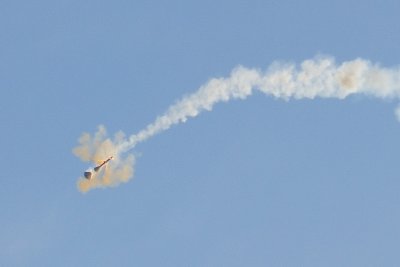
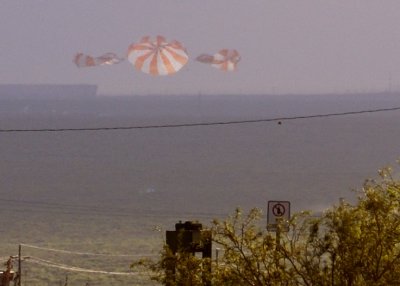
Steve Lockhart | profile | all galleries >> Galleries >> Pad Abort One Flight Test tree view | thumbnails | slideshow

Pad Abort One Flight Test

The Orion Pad Abort One (PA-1) flight test of the Launch Abort Vehicle (LAV).

I took these photos attending the test of the Orion Launch Abort System's (LAS) ability to carry the Orion Crew Module away from an exploding booster while sitting on the launch pad.

The LAS and the CM together are called the Launch Abort Vehicle. The LAS has three different solid rocket motors. The main Abort Motor, the Jettison Motor and the Attitude Control Motor (ACM).

The Abort Motor burns quickly and accelerates the entire LAV at about 15-17 G's for a few seconds to get the Crew Module the hell outta Dodge. Or should I say to dodge Hell.

On its way up small attitude control jets on the ACM keep the vehicle pointing in the right direction. At first they pitch the vehicle over a bit from its straight up orientation so that it gets carried down range from the launch pad. You don't want to go straight up only to drift back down to the launch pad.

Once it is headed in the right direction away from the launch pad, the ACM maintains the proper angle of attack and sideslip angles until it's time to reorient the vehicle near the top of the trajectory. Then it swings the vehicle around so its blunt end flys forward.

Then it's the jettison motor's turn. This pulls the LAS away from the Crew Module.

With the LAS gone the drogue, pilot and main chutes can then be deployed from the CM.

These photos were taken 4.2 nautical miles away from the launch site at White Sands Missle Range. I just had my 18-200mm zoom so the launch photos are heavily cropped.
PA-1 Test 016.JPG
PA-1 Test 016.JPG
PA-1 Test 031.JPG
PA-1 Test 031.JPG
PA-1 Test 082.jpg
PA-1 Test 082.jpg
PA-1 Test Flight 084.jpg
PA-1 Test 085.jpg
PA-1 Test 085.jpg
PA-1 Test 089.jpg
PA-1 Test 089.jpg
PA-1 Test 092.jpg
PA-1 Test 092.jpg
PA-1 Test 100.jpg
PA-1 Test 100.jpg
PA-1 Test 101.jpg
PA-1 Test 101.jpg
PA-1 Test 102.jpg
PA-1 Test 102.jpg
PA-1 Test 103.jpg
PA-1 Test 103.jpg
PA-1 Test 104.jpg
PA-1 Test 104.jpg
PA-1 Test 105.jpg
PA-1 Test 105.jpg
PA-1 Flight 107.JPG
PA-1 Flight 107.JPG
PA-1 Test 109.jpg
PA-1 Test 109.jpg
PA-1 Test Flight 111.jpg
PA-1 Test Flight 113.jpg
PA-1 Test 114.jpg
PA-1 Test 114.jpg
PA-1 Test 121.jpg
PA-1 Test 121.jpg
PA-1 Test 124.jpg
PA-1 Test 124.jpg
PA-1 Test Flight 128.jpg
PA-1 Test 137.jpg
PA-1 Test 137.jpg
PA-1 Test Flight 155.jpg