


|
|
|
|
|
|
| shinjohn | profile | all galleries >> '01 Odyssey Mods (Audio), Pics, and Meets >> Stage 1 of Ody Audio Upgrade | tree view | thumbnails | slideshow |
| previous page | pages 1 2 3 4 5 6 ALL | next page |
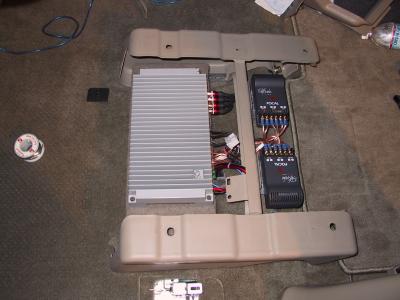
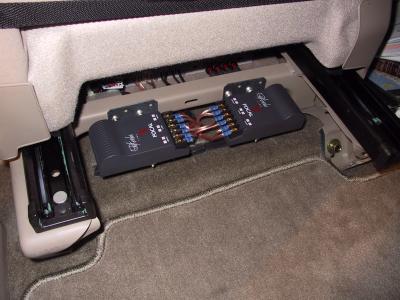
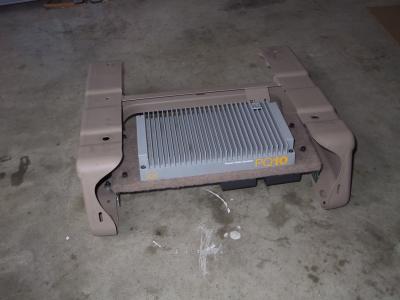 amp mounted on seat frame |
 under side of mount... crossover original pos, moved later |
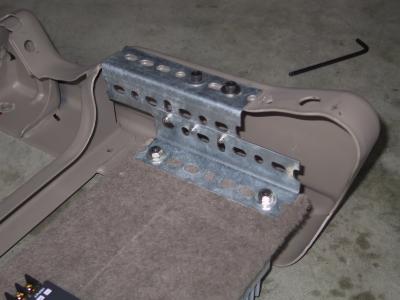 close up of brackets (quick and dirty) |
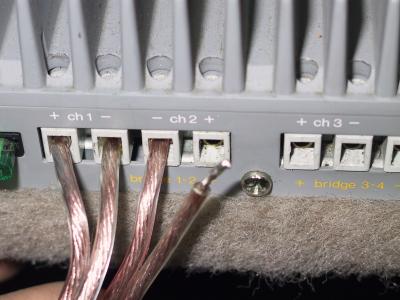 always tin leads when putting in screw terminal blocks |
 I use solder/shrink wrap and molex connectors to make my harness cleaner |
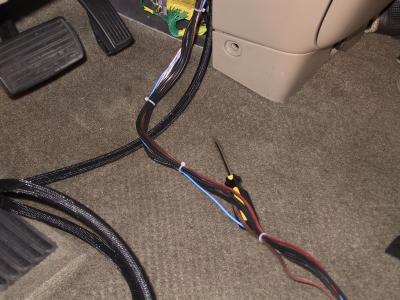 tied up bundle, 4-channel audio cable |
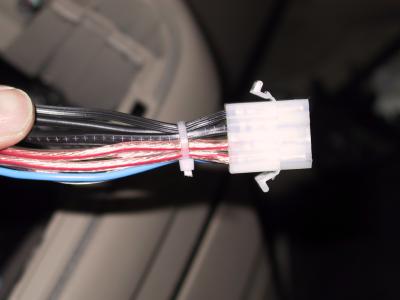
 close up of 12 pin molex used on bundle |
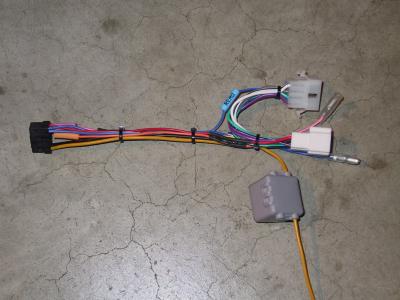
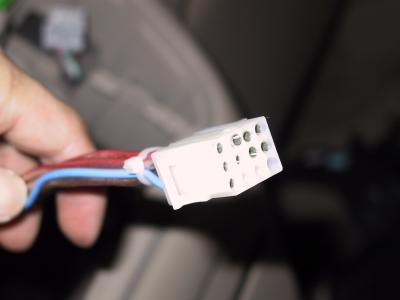
 8 speaker leads and remote turn on through molex |
 mounted crossovers on separate brackets, back side of seat |
 top view, driver's seat frame |
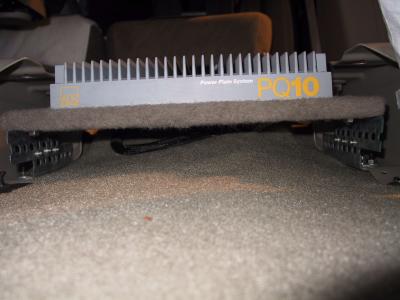 front view, amp |
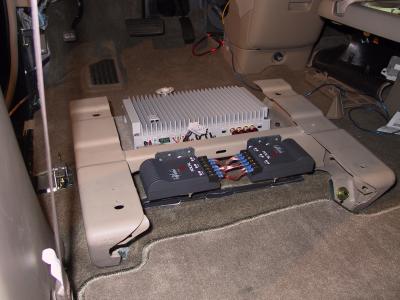
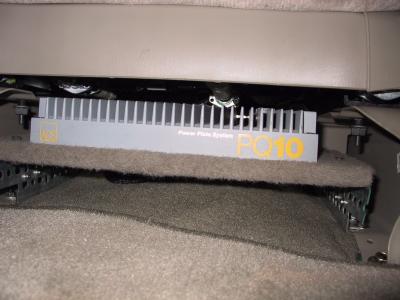
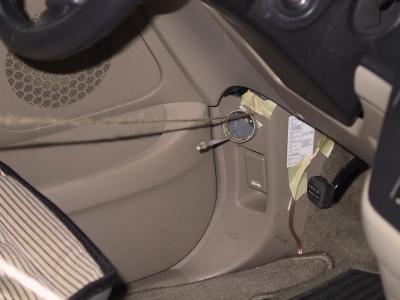
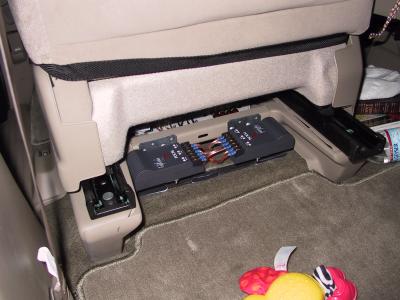
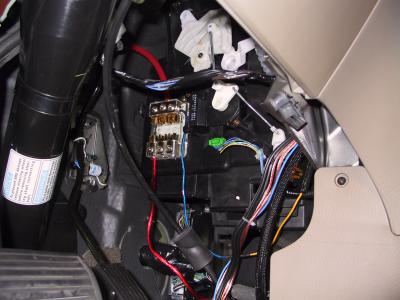 location of power distribution fuse box |
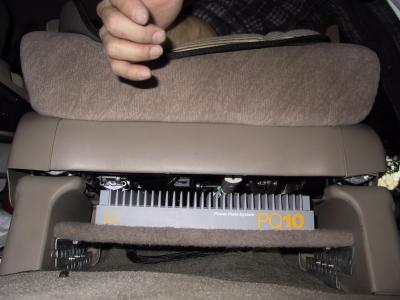
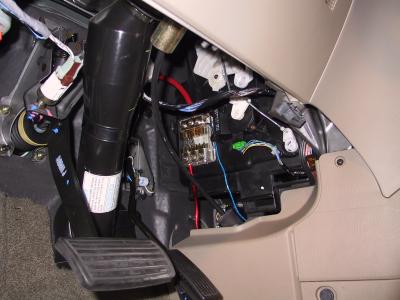 with cover on |
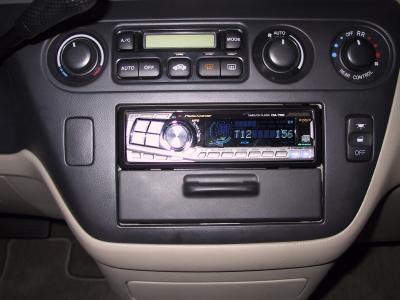
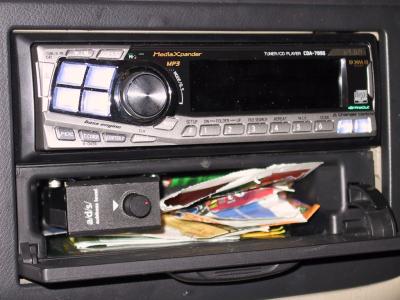
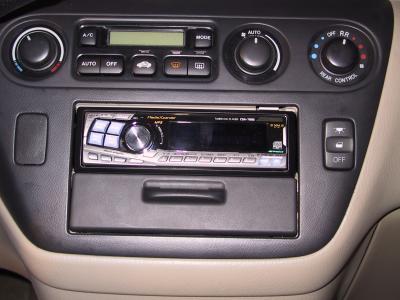 head unit - still need to fill top gap with ABS bezel shim |
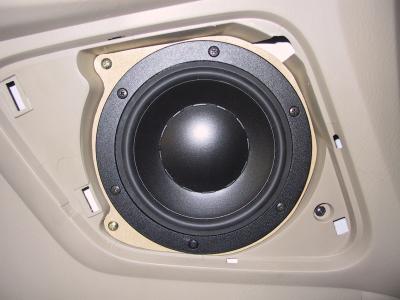
 Focal 165K mid bass in door - temporary mount |
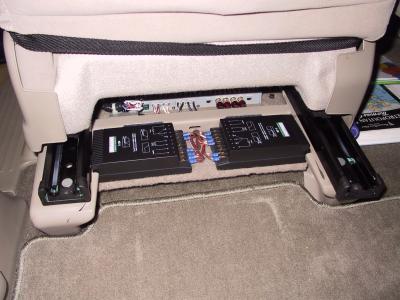
 rear view of driver's seat, crossovers easily accessed for adjusting |
 front view again |
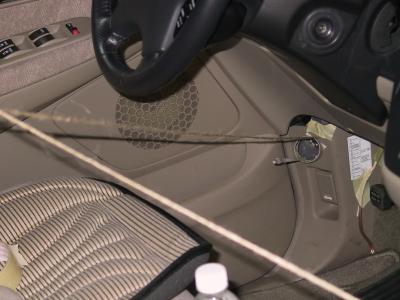 tweeter angle tuning using string, chopsticks, tape |
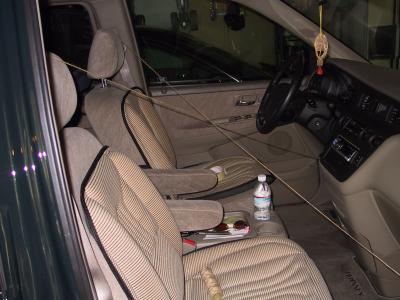 note I've setup for "crossfire" config |
 angle is a little off, what the heck.... |
 passenger side tweeter pod, view from driver's seat |
 close up of driver's side pod, sanded, primed and painted to match interior. Color match is good enough, though not perfect |
 passenger tweeter pod, had to modify the pod to adjust angle significantly |
 close up of driver's tweeter from passenger seat |
 close up of passenger tweeter, dang, dinged the paint! |
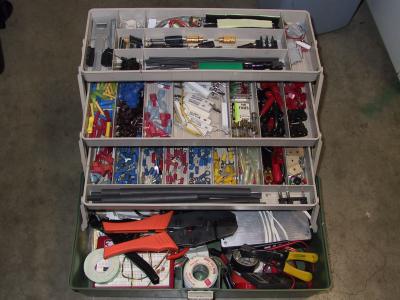 my car audio "tool box" (fishing tackle box) |
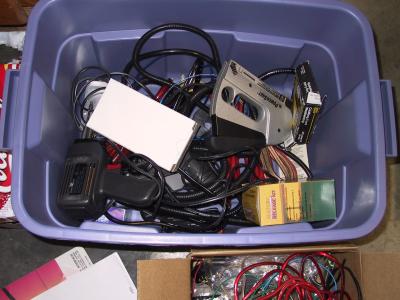 Rubbermaids rule! Dang, I need to clean up! |
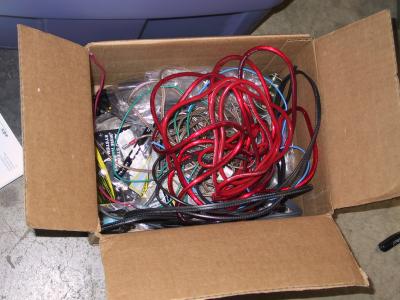 OK, sometimes cardboard boxes come in handy too. I've got too much loose cable.. |
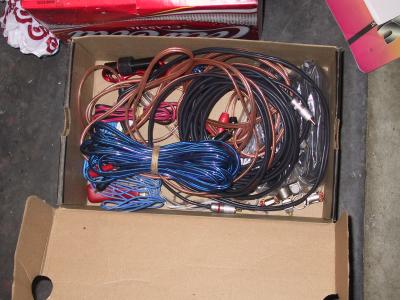 shoe box of junk |
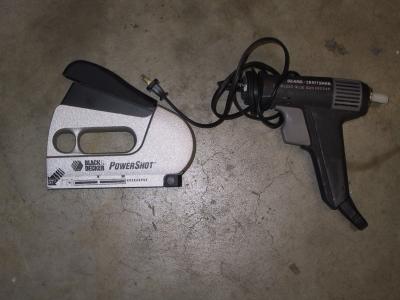
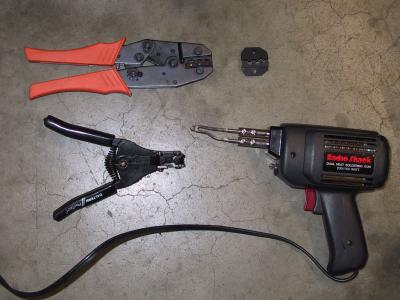 essential tools of the trade |
 more tools |
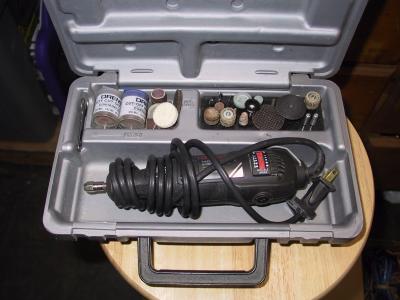 old trusty dremel... |
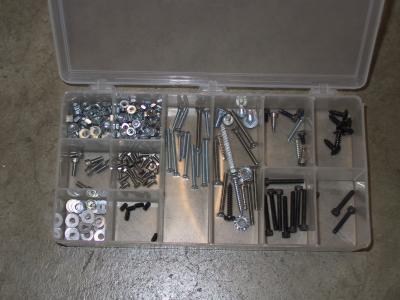 one of about 10 boxes of misc. hardware I have |
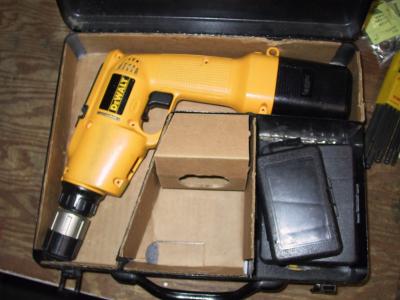 my 12 year old Dewalt cordless, batteries are dying! |
 my favorite utility knife |
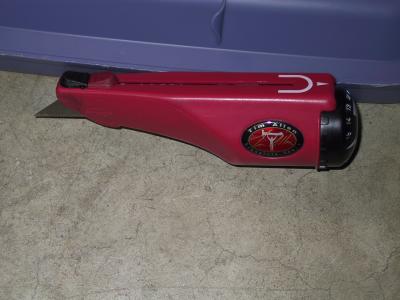
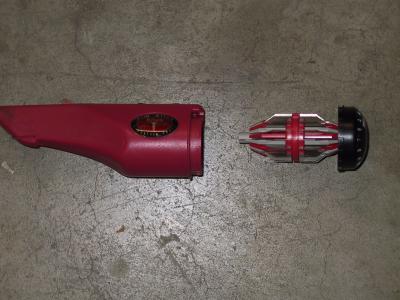 cool blade cartridge, huh? |
 rear view, covers back on |
 front covers back on |
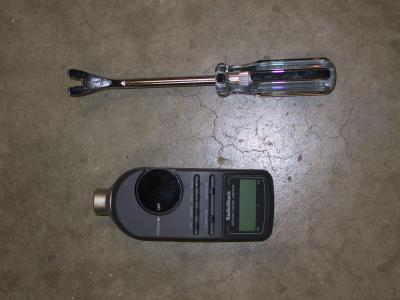 a couple more tools: clip removal tool, SPL meter |
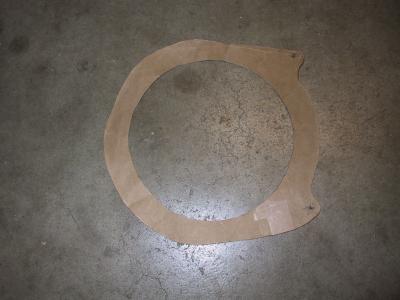 template for speaker baffle/shims I made |
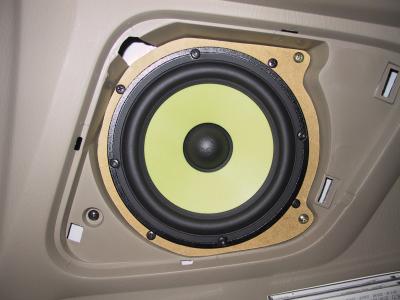 much better, solid mount, pic before was temp mount |
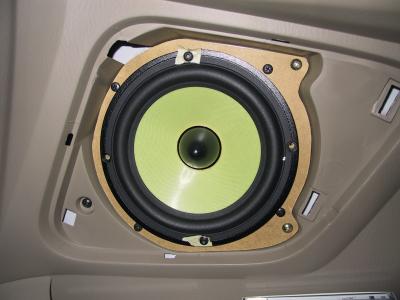 165K2 driver fits nicely with shim/spacer (tape so I can return the speaker after "demo" with no damage) |
 dimensions of the largest driver so far I'm aware of someone fitting in the doors of an Ody cleanly |
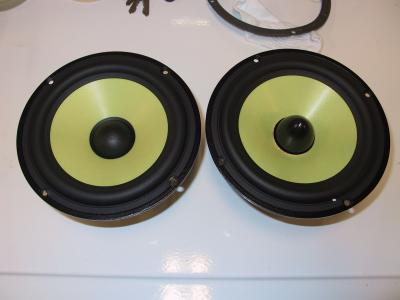 165K and 165K2 side by side |
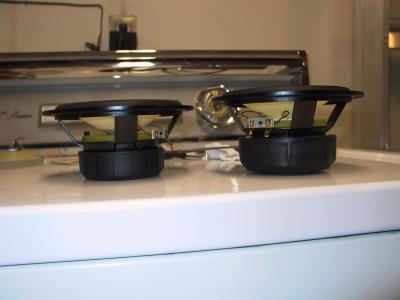 look how much deeper the K2 is. Almost 3" mounting depth from flange... |
 Repostitioned the radio... maybe I won't do the extra trim piece... |
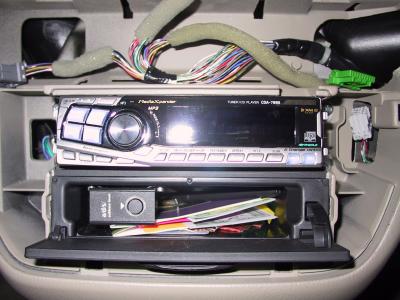 added a piece of trim plastic between the pocket and head unit |
 No gaps now. Nice and clean, subtle. |
 Last speaker to go in this door: Dynaudio MW160 midbass |
 Big passive crossovers require their own platform |
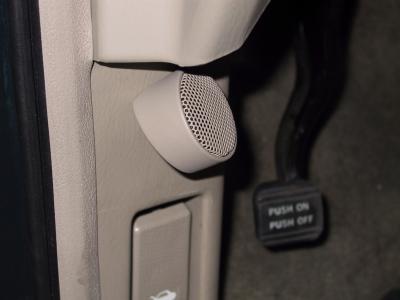
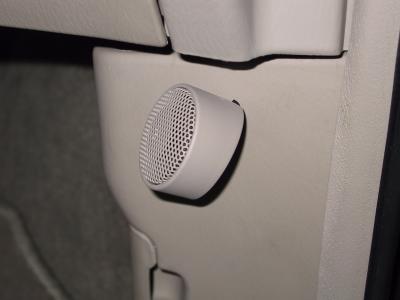
 driver's side tweeter pod |
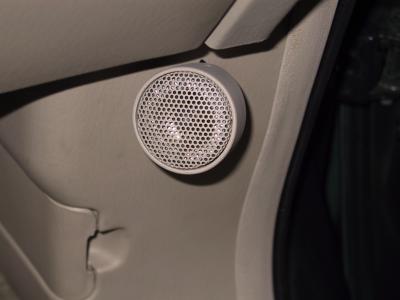
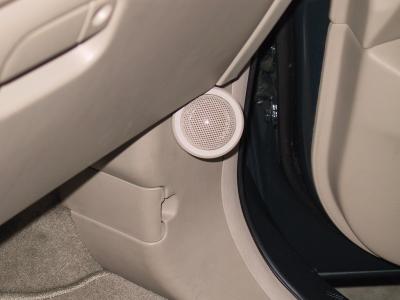 passenger side tweeter pod |
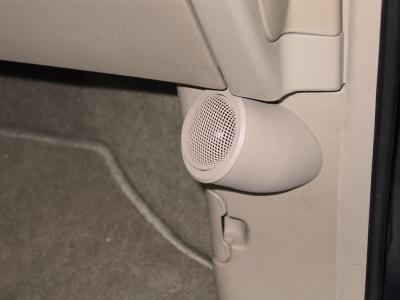 passenger side |
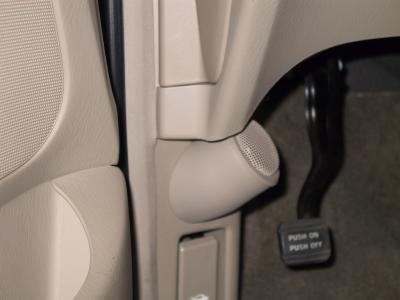 driver's side |
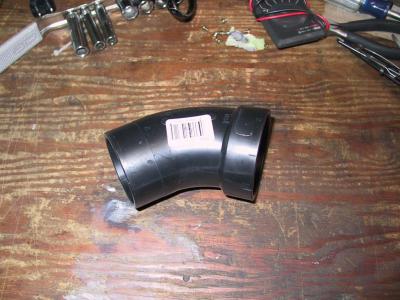 2" PVC pipe coupling, 60 deg bend = Dynaudio MD100 tweeter sleeve (yes, I know its bulky) |
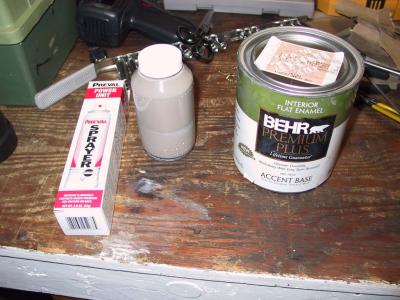 how to spray paint match.. aside primer, you need these items found at your local Home Depot |
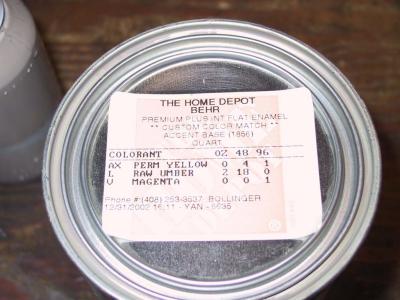 Here's the recipe for paint patching the plastic, if you interior matches mine |
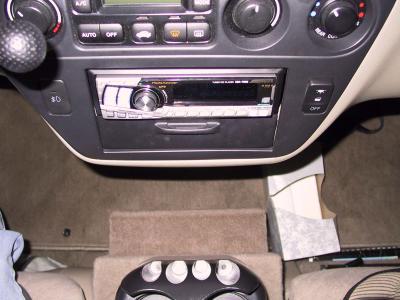
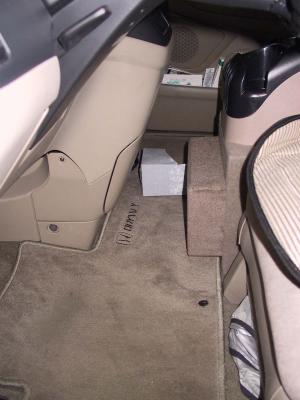
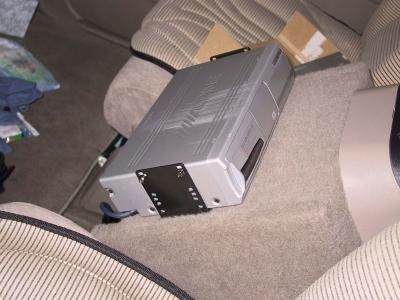 Friend had an older changer he wasn't using, so he gave it to me. Decided to mount it to the front of the sub console. |
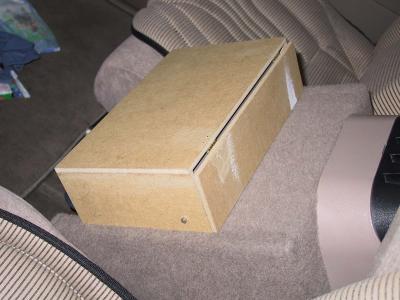 Made a "slip on" cover/protector to hide the changer from would-be thieves. |
 Top door hinges and swings open. |
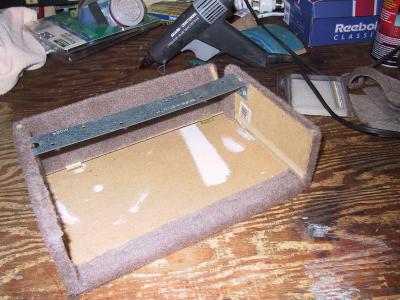
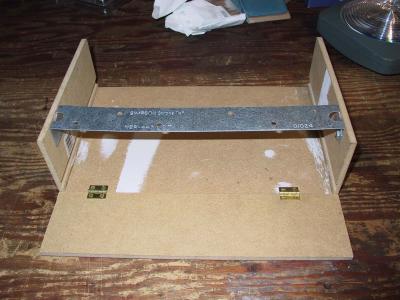 Construction of the cover. Note the cross member keeps the cover positioned by resting on the changer brackets. |
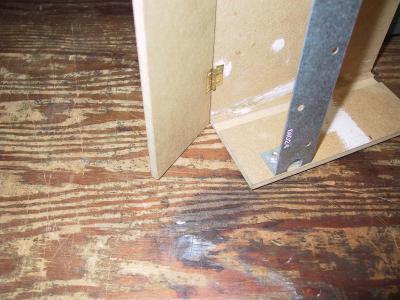 Note the slot on the side walls; those slots fit over the side mounting screws of the changer, holding the cover in place. |
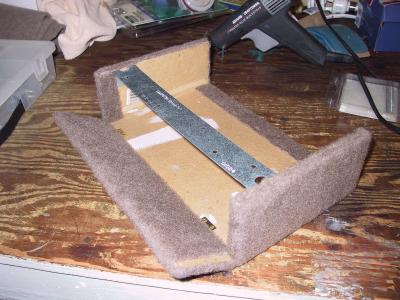
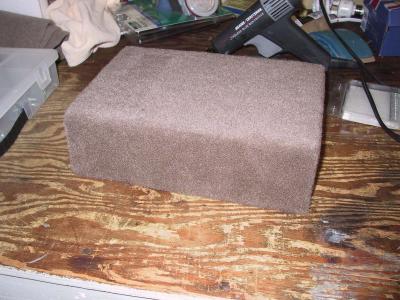 Put some carpet over it to make it look stealth |
 Carpeting detail. |
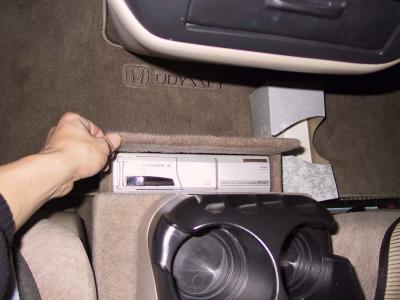
 Hinged door still works great. |
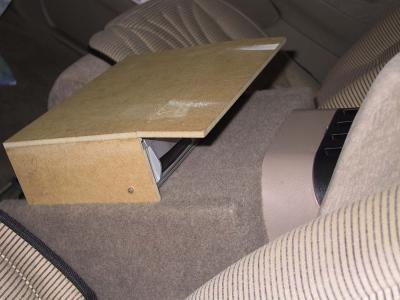
 Top down view, cover closed. |
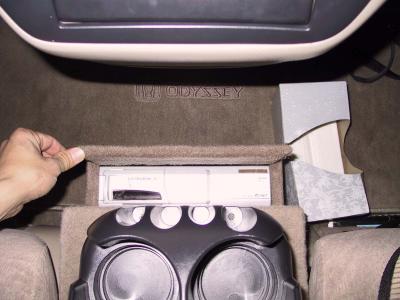 Cover open, changer completely accessible. |
 Another from the driver's perspective. |
 Yes, it looks somewhat like an afterthought, because it was! But it is still very stealth, and functional. |
| previous page | pages 1 2 3 4 5 6 ALL | next page |
| comment | share |