


|
|
|
|
|
|
| runningextra | profile | all galleries >> Galleries >> Norfolk & Western 4750 Cu. Ft. Hopper | tree view | thumbnails | slideshow |
| previous page | pages 1 2 3 4 ALL | next page |
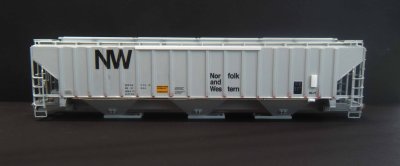
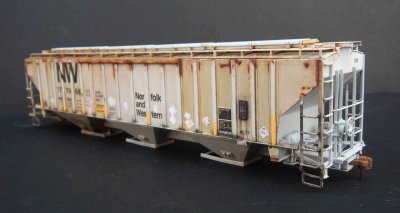
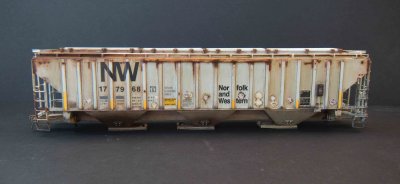
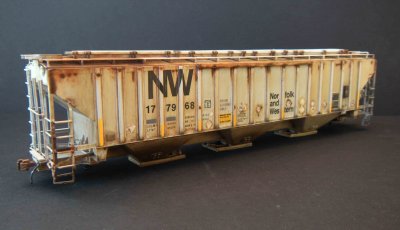
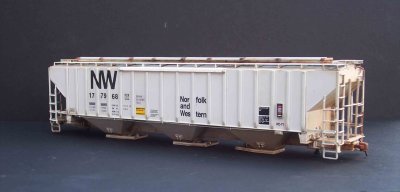
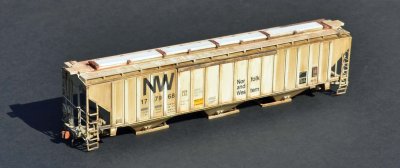
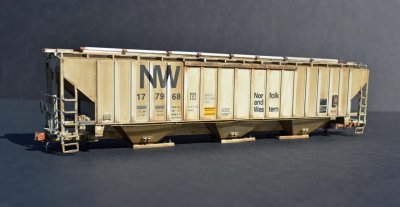
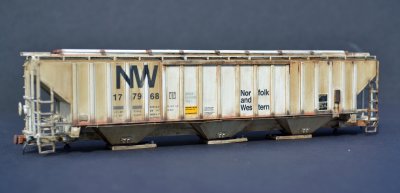
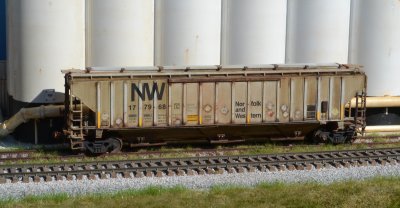 Norfolk & Western #177968 |
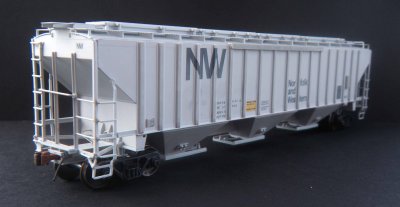
 The starting point |
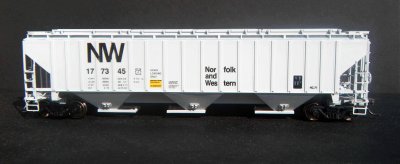
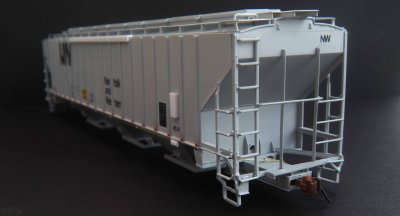
 Unwanted lettering removed from side 1 |
 Drip lip and ACI label plate built |
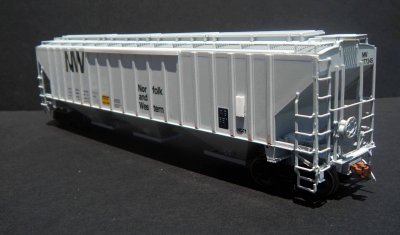
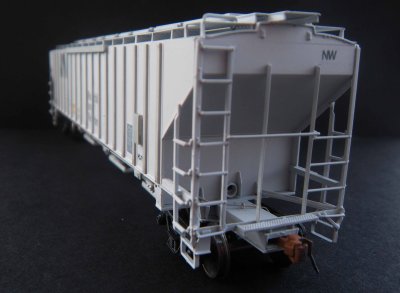
 Ribs holes filled on Side 1 |
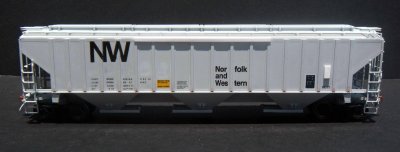
 Rib holes filled on side 2 but I haven't removed the lettering yet...... |
 Lettering removed from side 2 finally |
 Train air line run...Should have used .015 instead of .012 but.... |
 More of the air line |
 More of the air line |
 More of the air line |
 Dont do like me and fade before adding all the decals back onto the model |
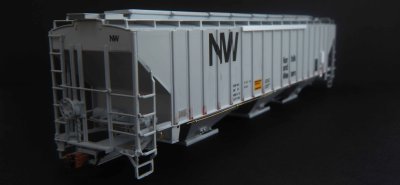
 Added parts painted |
 Weathering started, with some wheel splatter |
 First stages of my weathering process |
 I try to work from left to right across my models |
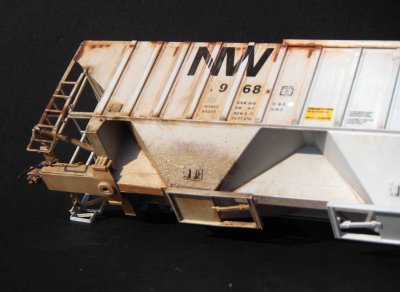 A look at the bottom bay |
 First stage weathering applied all the way across the model |
 As you can see from the last pic and this one I also added all the lettering and decals at this point |
 Painfullly obvious here that I do one side at a time, then the ends last |
 Side one is prettu much complete, I did do some tweaking here and there on the weathering |
 Different view of side 1 |
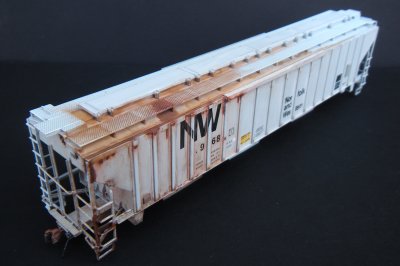
 Rooftop view of side 1 |
 Side 2 with lettering applied |
 Initial weathering applied to side 2 |
 Another view |
 More detailed weathering being applied |
 Multiitude of weathering tones |
 Placards added and ribs wiped clean |
 I did not like the thick IMRC hopper gates so I thinned them down a little |
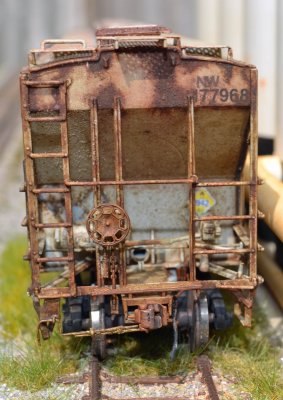
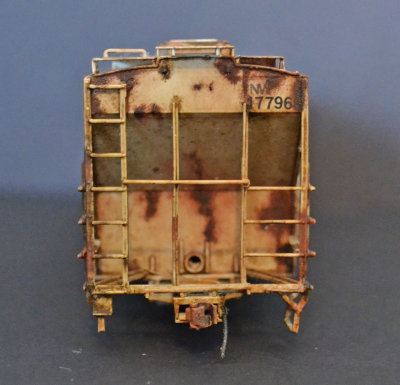 A end getting beaten up |
 B ends turn |
 B end and side two, still working on the hopper gates |
 A end and side two |
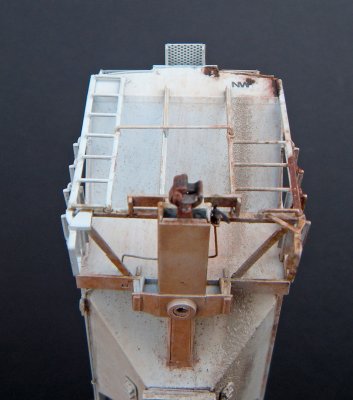
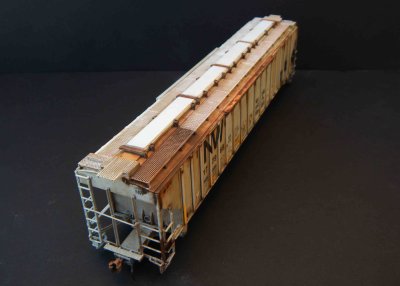
 The Roof!! |
 The Roof!! |
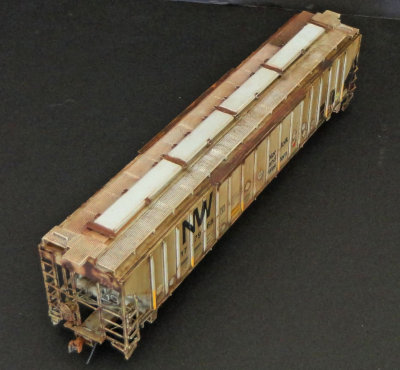 The Roof!! |
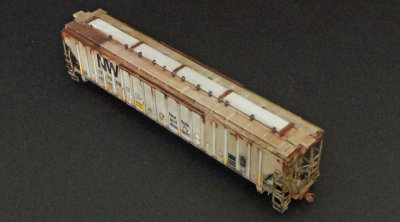 Guess what...The Roof!! |
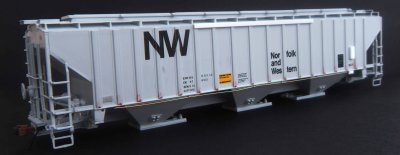
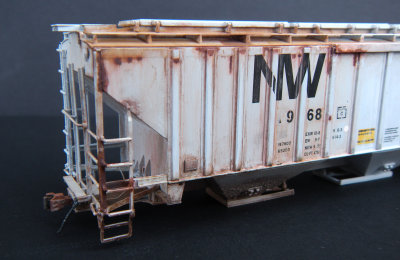
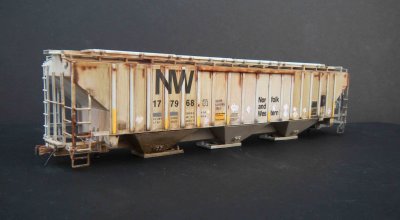
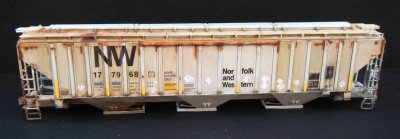
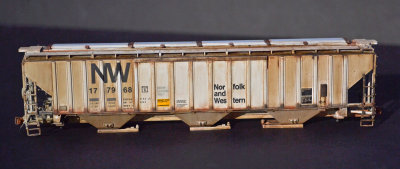
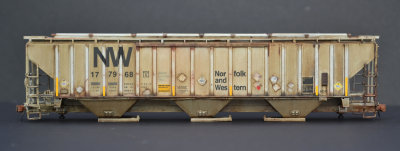
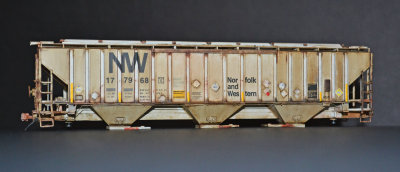
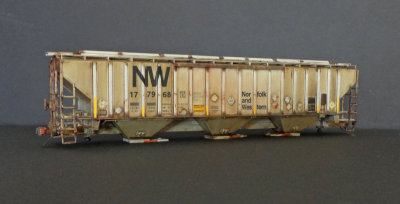
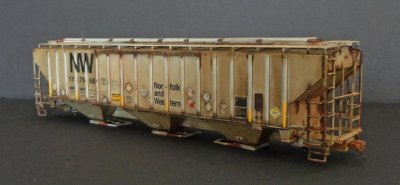
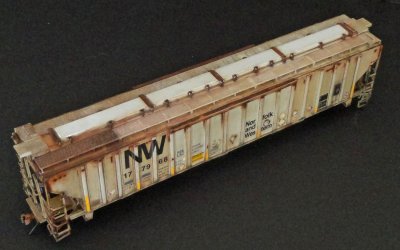
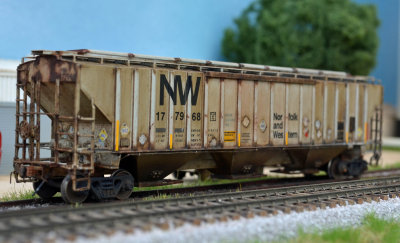 Completed Model |
 Completed Model |
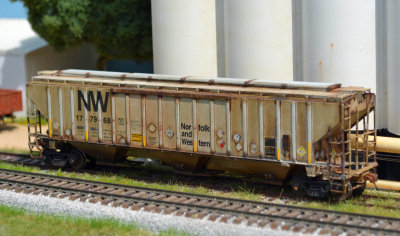 Completed Model |
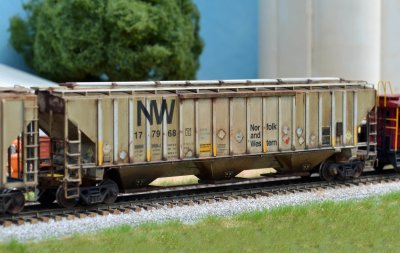 Completed Model |
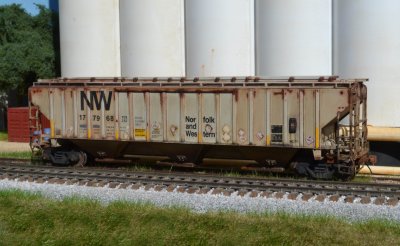 Completed Model |
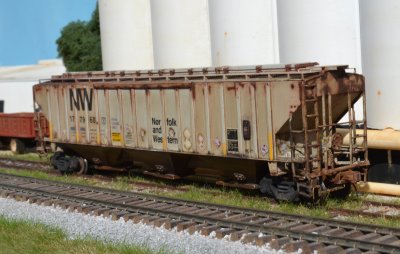 Completed Model |
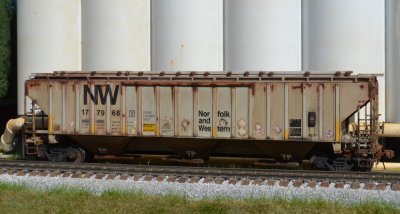 Completed Model |
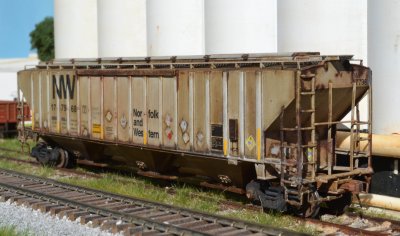 Completed Model |
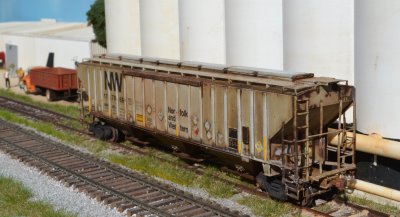 Completed Model |
| previous page | pages 1 2 3 4 ALL | next page |
| comment | share |
| Ralf Bohnsack | 18-Dec-2012 18:18 | |