


|
|
|
|
|
|
| Maxwell Heazlewood | profile | all galleries >> JEREMY J. JAGUAR >> JEREMY J. IN THE WORKSHOP >> XJ8 REAR SHOCK REPLACEMENT | tree view | thumbnails | slideshow |
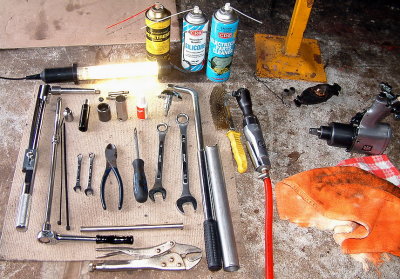 Makes the job simpler if you have a good range of tools and access to air. |
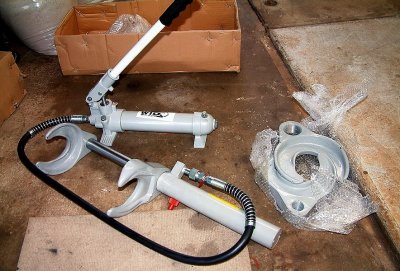 I also bought a good hydraulic spring compressor. |
 Use plenty of penetrating fluid on all necessary bolts and nuts |
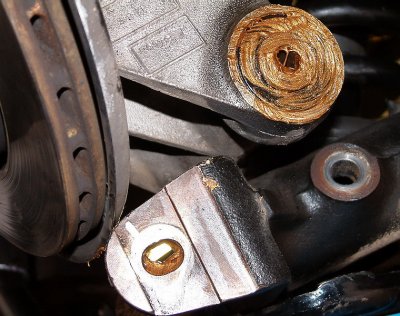
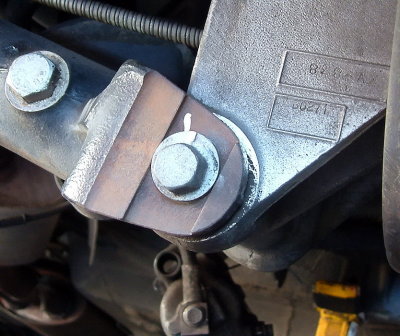 Position index the outer fulcrum bolt head before undoing as this controls rear wheel wheel toe settings |
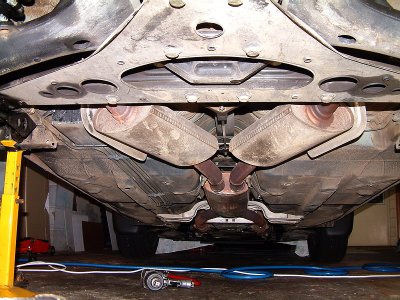
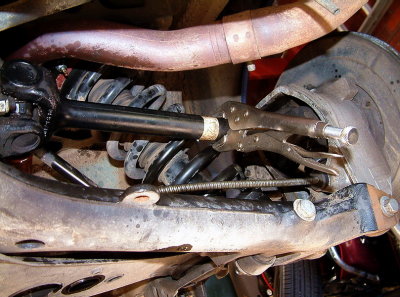
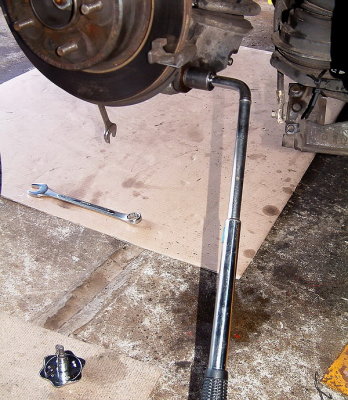 You can use air or as I did, my 'long arm persuader', then hub and drive shaft are moved to one side and tied to exhaust pipe |
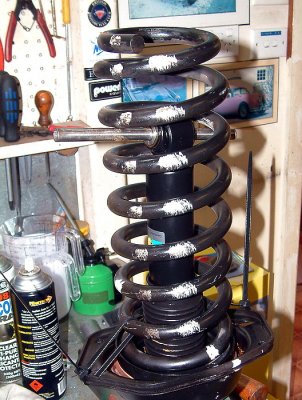
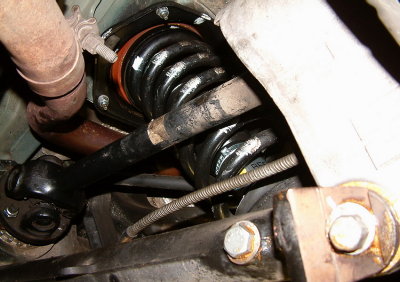
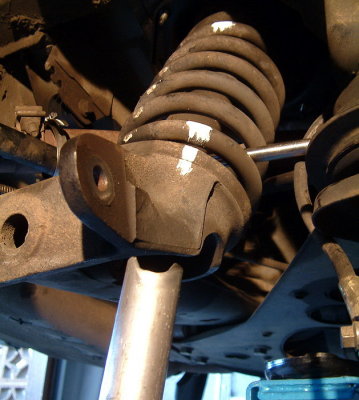 My 'special tool' for compressing shock up into spring before slipping rod through shock eye to hold in position |
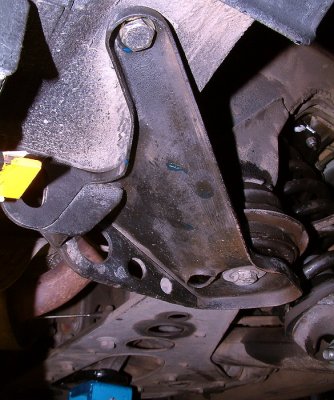
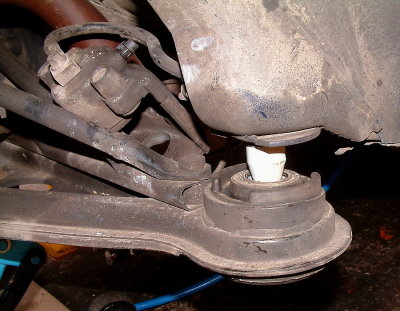 Greater access is gained by unbolting the outer 'A' frame mounting to gain that extra 25mm of clearence |
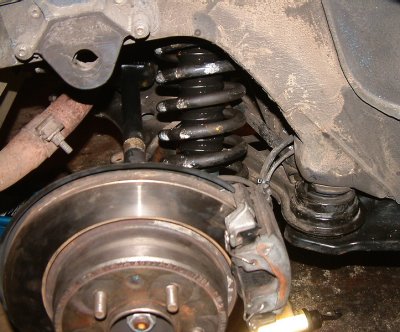
 Mark the position of the spring and mounting plates before applying the compressor |
 After undoing the 4 top plate nuts, the spring is compressed, bottom arm levered down and spring slid out |
 Whole area clean up and checked while dismantled |
 Good oportunity to apply some rust prevention |
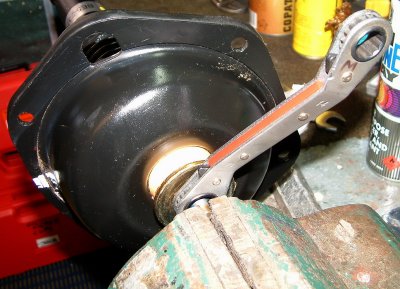
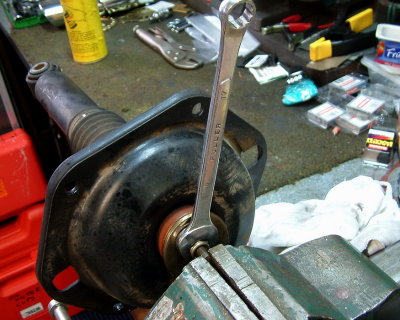 dismantle shock by holding in vice and undoing top nut |
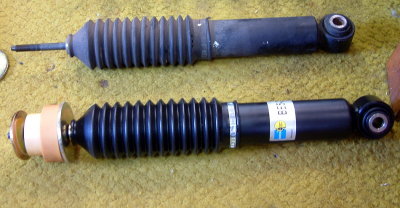 Rather tired original against the new |
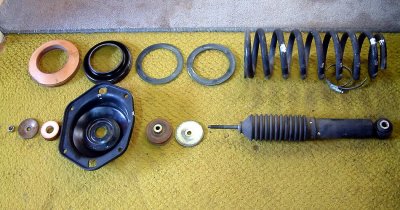 The correct order of parts, make sure all is returned the same way |
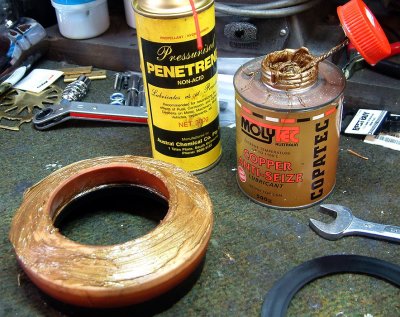 Plenty of Copper Eze on large bushings to prevent squeaking |
 All assembled correctly........ |
 Spring held to top plate using zip ties |
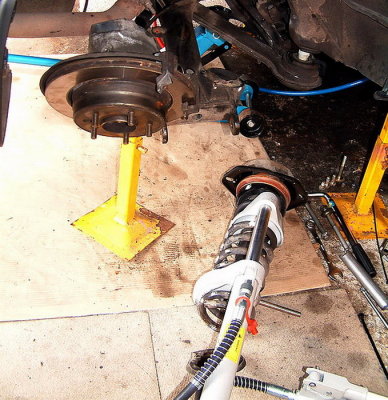
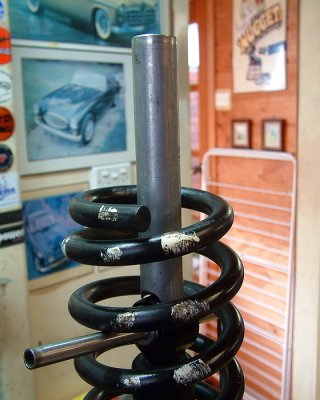 Using my 'special tool' to compress shock down into spring to be held by rod |
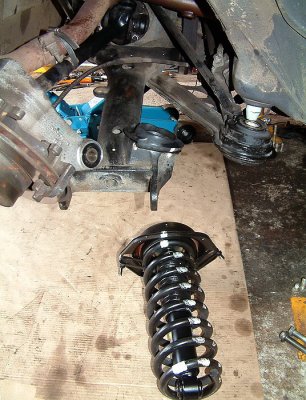 ........and ready to slip back into place, making sure that bottom rubber spring seat is properly located by two dabs of silicon |
 Well lube the outer hub fulcrum points |
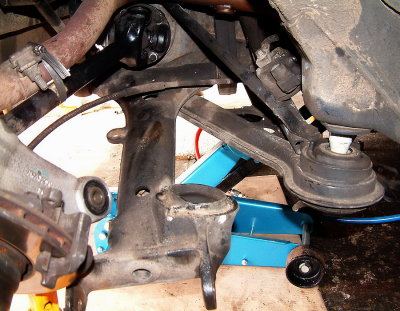
 The compressed assembly is manouvered back into position, 4 nuts replaced and tightened diagonally |
 Outer 'A' frame bushes retightened and support frames replaced |
 Hub ass. replaced, outer fulcrum bolt done up making sure previous index marks line up and caliper ass. replaced |
 Everything tightened up with the minimum of disassemly, time for a good clean up |
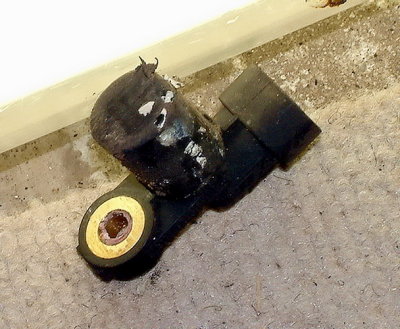 While you're about it, clean up the ABS sensors........ |
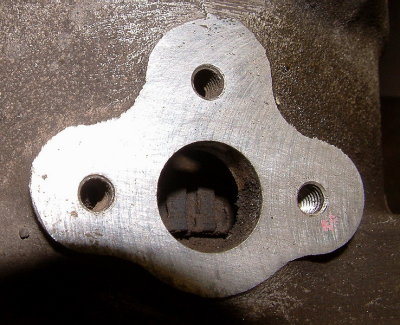 .........and the mounting points, making sure you clean the reluctor wheel of all debri |
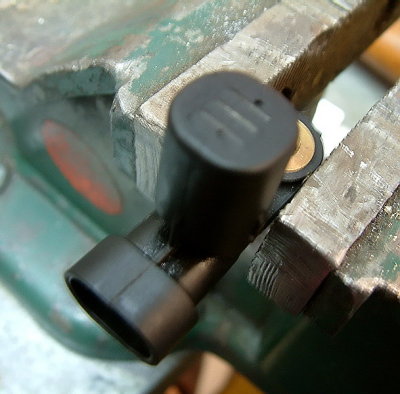 Sensor nice and clean, especially the earth mounting |
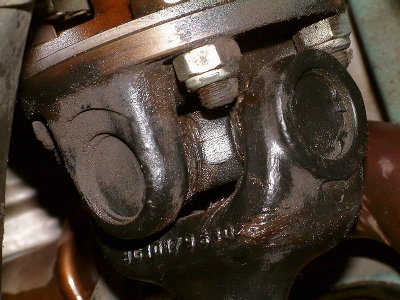 Give uni joints a good lube |
 And check for play using mole grips with hand brake hard on |