23-AUG-2014
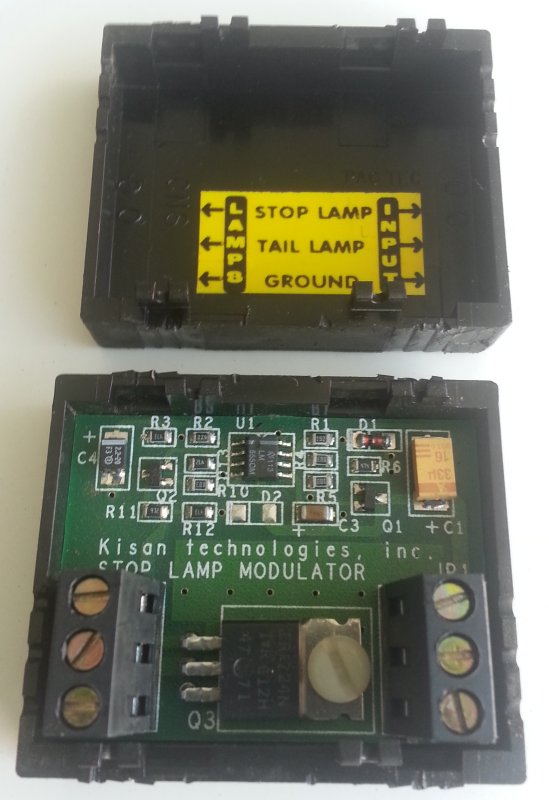
Kisan Tailblazer - Brake light modulator
Kisan made incredible product. I bought a Kisan Tailblazer splice-in unit in 1997 (as that was the only one available back then) when I first started riding. It was a 600cc Suzuki Bandit. I then moved to a Honda CBR-1100XX in 1999 and I moved the Tailblazer to it. After 15 years and 70k miles, I moved to a 2014 Yamaha FJR-1300A and the TailBlazer was moved to it.
This unit is rated for 100W. Basically it can make anything flash by interrupting the ground wire. The connections are simple: there are 3 inputs (tail light, brake light, ground wire) and there are 3 outputs (tail light, brake light, ground wire.) When the brake is on, the modulator interrupts the ground wire to make flashes. Therefore, we can wire this ground wire to any number of lights and make them flash. It works with LED and halogen. I used it to flash both LEDs and halogen on my XX. On the FJR, I didn't want to cut the ground wires to the stock dual tail lights so the stock tail lights are not wired for flash.
23-AUG-2014
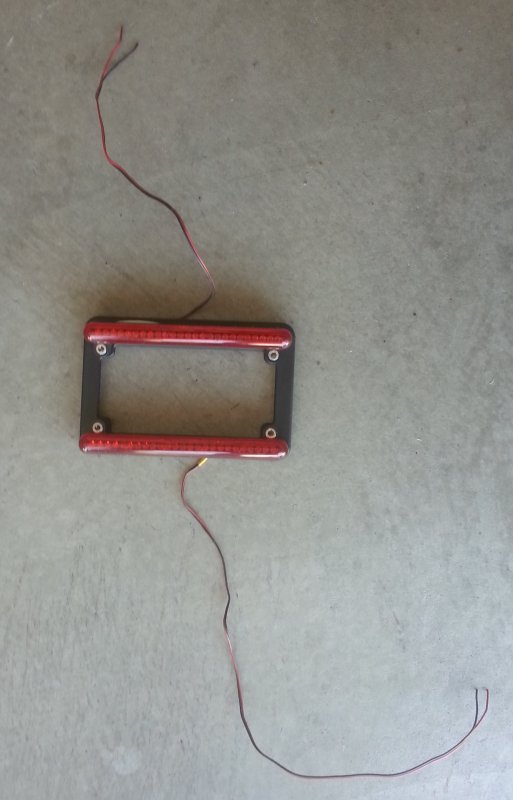
License plate frame LEDs
I wired these LEDs as running light (always on.) When the brake is on, the Tailblazer flashed them for several seconds then they become solid.
23-AUG-2014
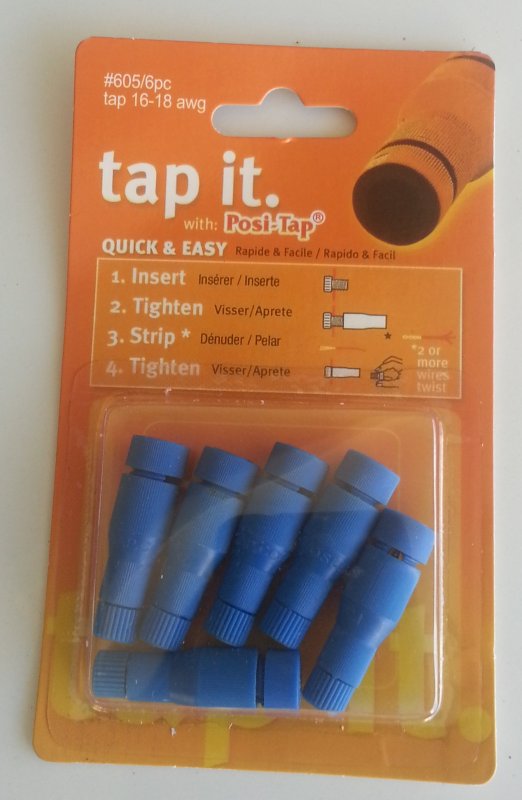
Posi-Tap
I ordered some Posi-Tap for 16-18 gauge wires from Crutchfield.com (excellent service and free shipping.)
I used them to tap into the tail light wire (Blue wire) and brake light wire (Yellow wire) to feed the Kisan Tailblazer. As to the ground, I just wire it from 1 of the seat bolt and feed it to the Tailblazer.
23-AUG-2014
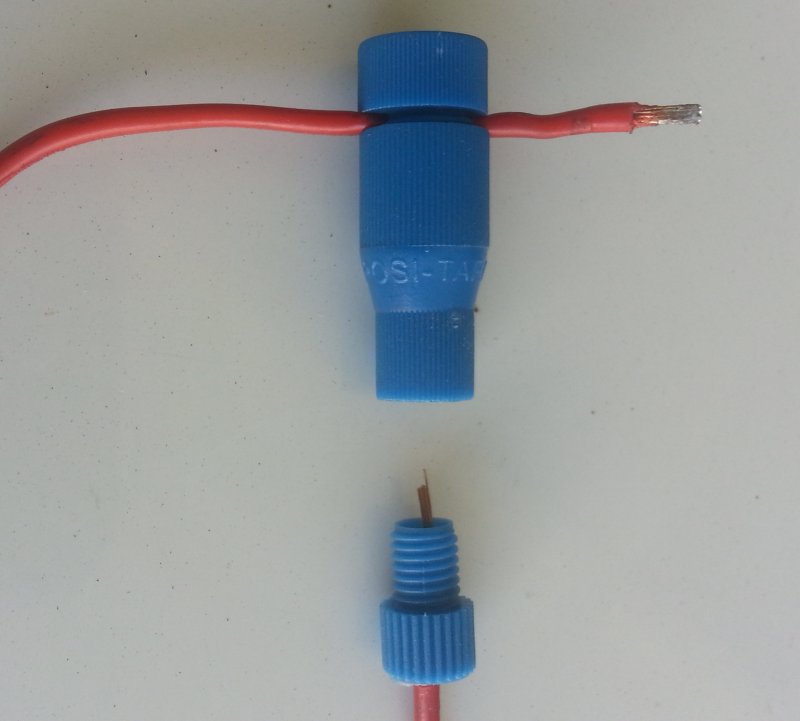
Posi-Tap - How it works
This is how a Posi-Tap works. It has a pointed pin that inserts into the insulation to tap into any wire. Then a wire is connected to it to feed anything.
The nice thing is that they are removable and reusable.
23-AUG-2014
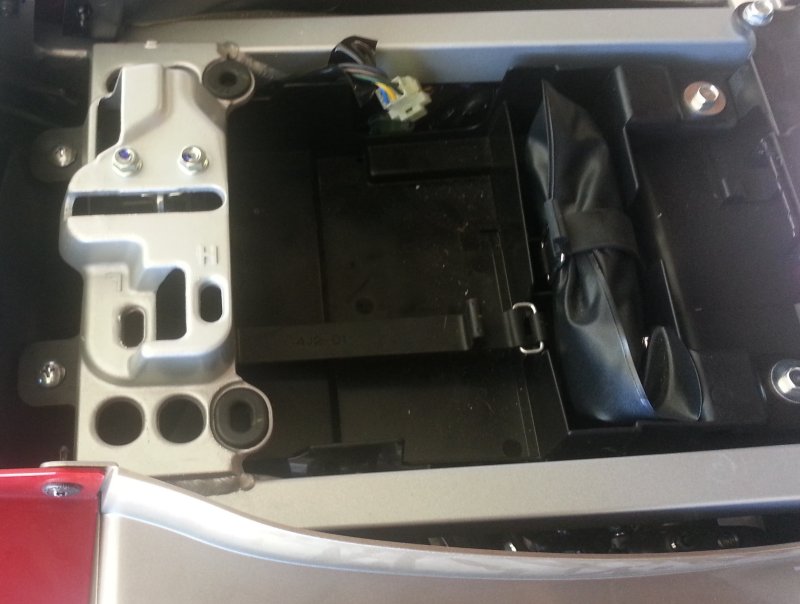
Tap point
There wasn't much room behind the tail light so I traced the wiring to a connector under the rider's seat. After carefully cutting off a few inches of the plastic wrapper and disconnected the connector, I could pull out the connector and tapped into the tail and brake light wires here, then tucked it back to where it was before.
23-AUG-2014
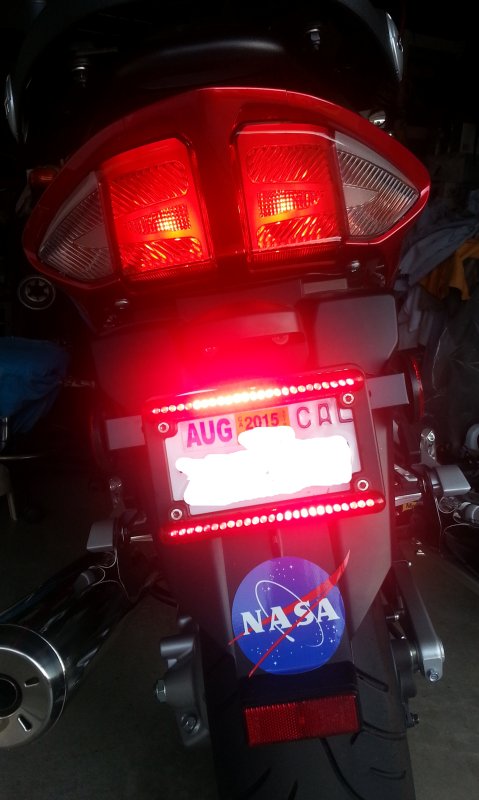
License plate frame LEDs
Now that's how they look like. The license plate frame LEDs will flash when the brake is ON.
25-AUG-2014
Plastic drill bit
I did not like the MRA X-Creen mounted with the clamp-on mount, as it put the spoiler too high even at its lowest position. At its lowest position, the spoiler was 3" above the top of the stock windshield and I did not like that.
Since it came with the bolt-on mount, I'm going to install it. But I need to drill 4 1/4" holes. I got the drill bit for plastic (the bottom one) and it's so much easier to drill than the one for metal as the angle is sharper.
25-AUG-2014
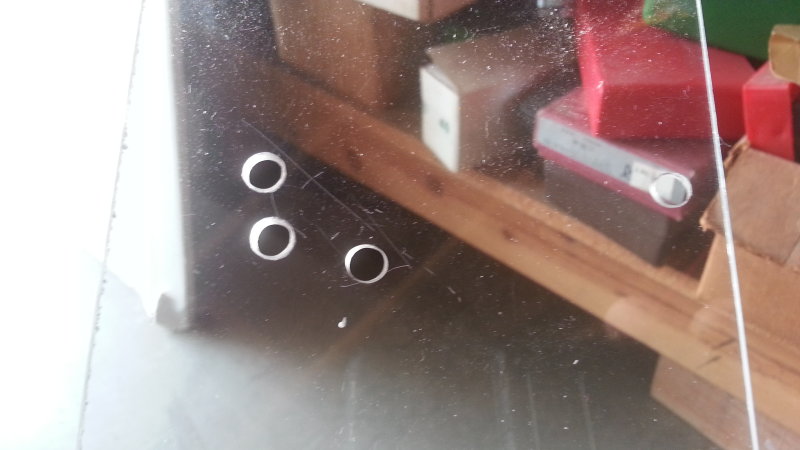
Practice runs on a piece of plexiglas
I got a piece of plexiglas from Homedepot to do some practice drill before I did it for real on the expensive windshield.
25-AUG-2014
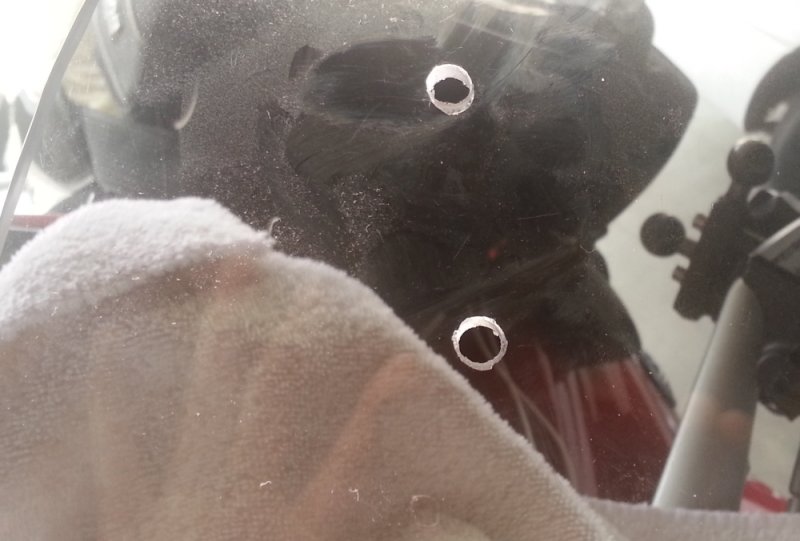
Did it for real on the windshield
25-AUG-2014
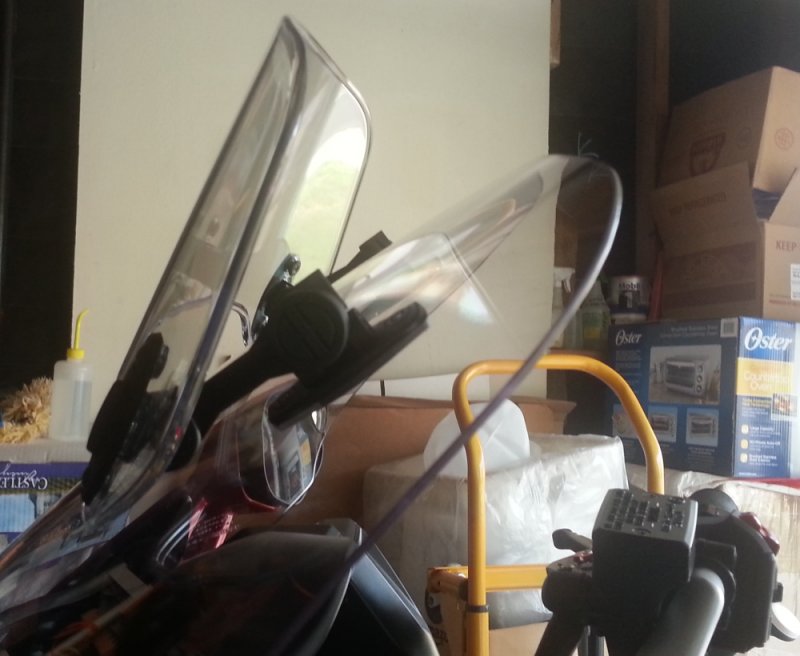
MRA X-Creen mounted with bolt-on mounts
It was great that it's now mounted with the bolt-on mounts. I drilled the holes so that after mounted it, the spoiler top is flushed with the top of the stock windshield when the spoiler is at its lowest position.
26-AUG-2014
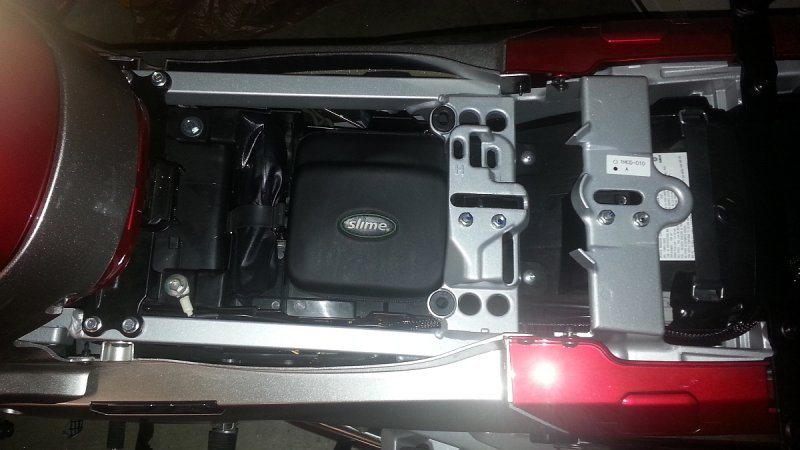
Slime air compressor
The Slime portable air compressor fits nicely under the rider's seat! Nice!
01-SEP-2014
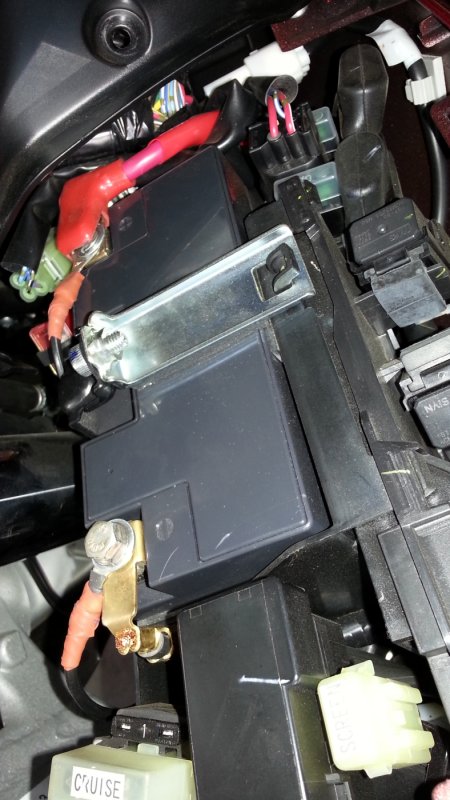
Sept 1, 2014 - SAE connector cable
I installed a SAE connector cable to the battery as the battery is not easily accessed. With the SAE connector, I will be able to connect to a battery charger at home or a Slime portable air compressor while on the road. I will also connect my Widder heated vest to this connector.
I replaced the 2 battery bolts with longer bolts as I'm a perfectionist: I put a washer and a lock washer under the bolts (the stock bolts did not have any washer), together with the SAE cable ring terminals so the stock bolts were too short.