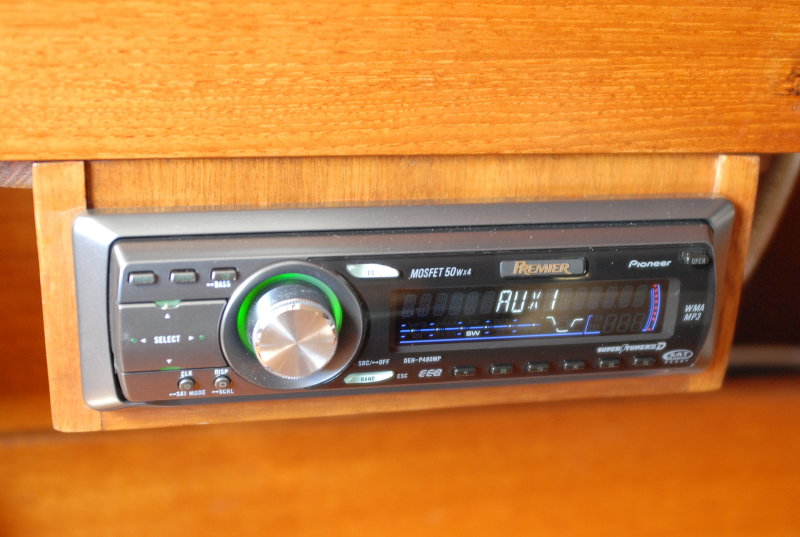
I have been meaning to address the issue of my boats stereo for a while and figured while doing the re-wire was as good a time as any.
The old stereo box bugged me as the PO had stained mahogany to match the teak, Yuk! Most would have never noticed, but of course I did. Secondly the PO did not allow any room for air circulation in the old stereo enclosure. The stereo sat directly on the wood and scraped the edges as it slid in. There was not even room for the face plate adapter that the stereo slides into.
To make a long story shorter the stereo would heat up and distort after a while.
23-JAN-2010
Begin The Cutting
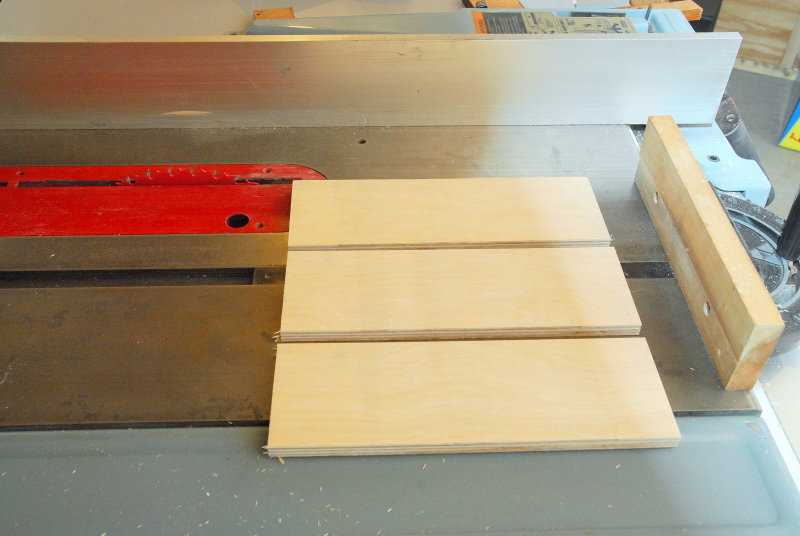
I decided on the height I wanted the enclosure to be for air circulation and then ripped some 1/2" marine grade baltic birch plywood.
Because teak faced marine ply is soooo expensive, about $225.00-$275.00 per sheet for 1/2", I decided on a veneer. My friend Tim was kind enough to give me some scraps he had left over from restoring his boat.
23-JAN-2010
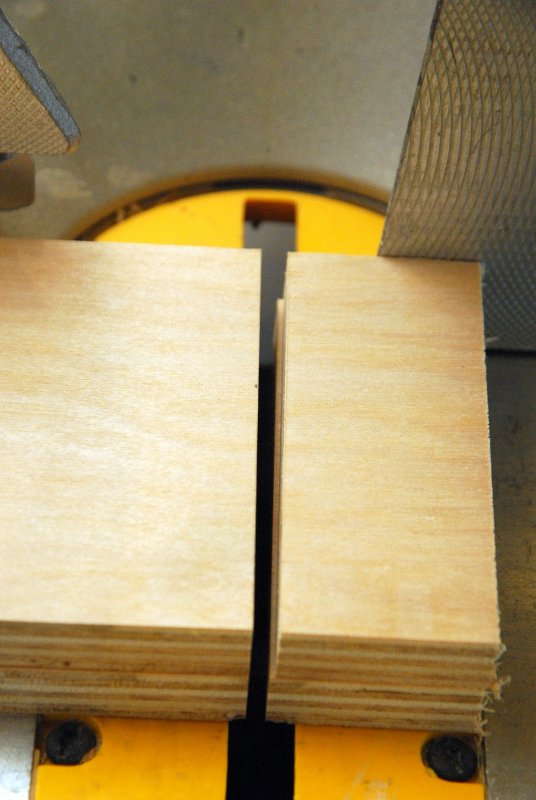
Cut The Sides To Length
For the ripping part I cut them a little long then stacked the side and cut them together. I did this to be sure both sides were the exact same length. I could have used my saw stop, for repeatability, but it took less time to just stack them.
23-JAN-2010
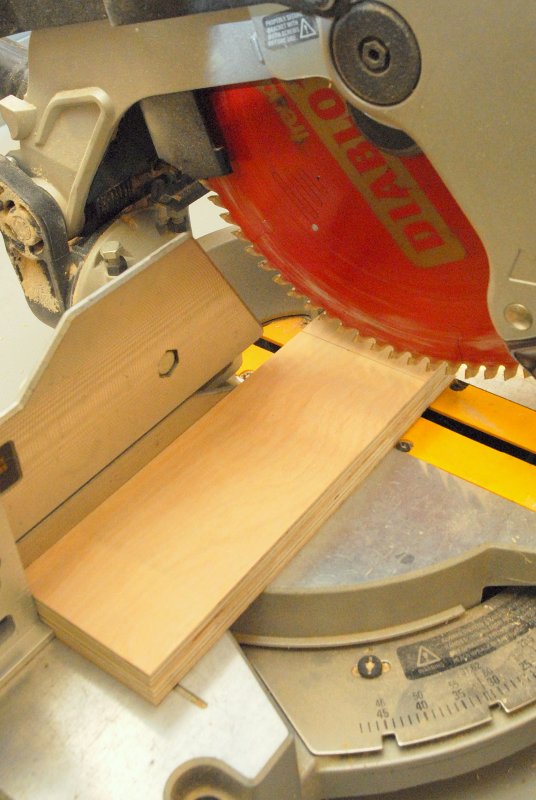
Clean Cuts For Veneer
When using a veneer you'll want sharp blades and clean cuts. I used a 40 tooth thin kerf Freud blade in my table saw, for expensive plywood though I rip with an 80 tooth, and I used an 80 tooth Freud blade in my chop saw for cross cutting.
23-JAN-2010
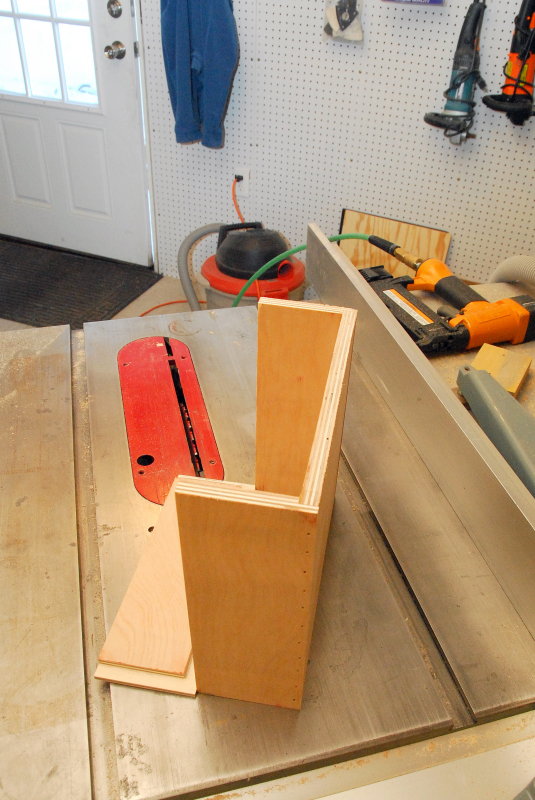
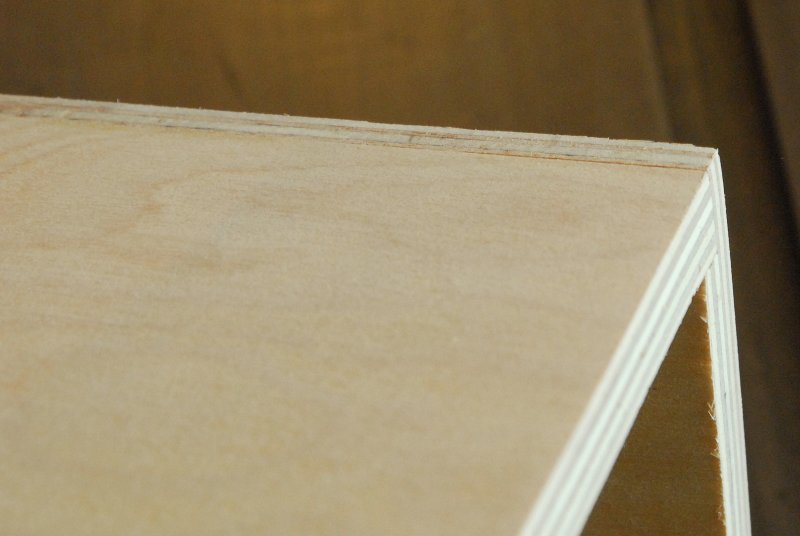
Dado The Sides, Glue & Brad Nail
The next step was to dado the edges where the sides and bottom met. I also used the dado blade to cut the front face so it to sat into the front not just on top of it. Once these cuts were made I glued and brad nailed the sides on.
I used what I had left of my stash of 18ga stainless steel brad nails. I've had them for years, and think I got them from McFeeley's, but I do remember them being quite pricey. If you fill the nail head holes with wood flour or glue & sawdust you should be fine with any brad nail, especially under veneer. I like the stainless brads so they never rust & bleed through in the moist marine environment.
23-JAN-2010
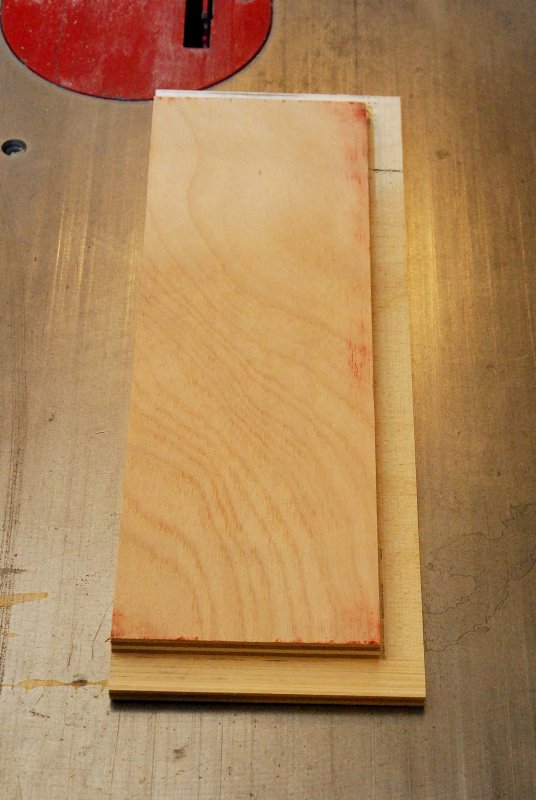
The Face Plate
This is the face that the stereo will eventually sit into. I did not nail & glue it into the box until I had cut the opening for the stereo and confirmed the fit. I rather mess up before it has been glued and nailed to the enclosure as it would make starting over that much easier.
23-JAN-2010
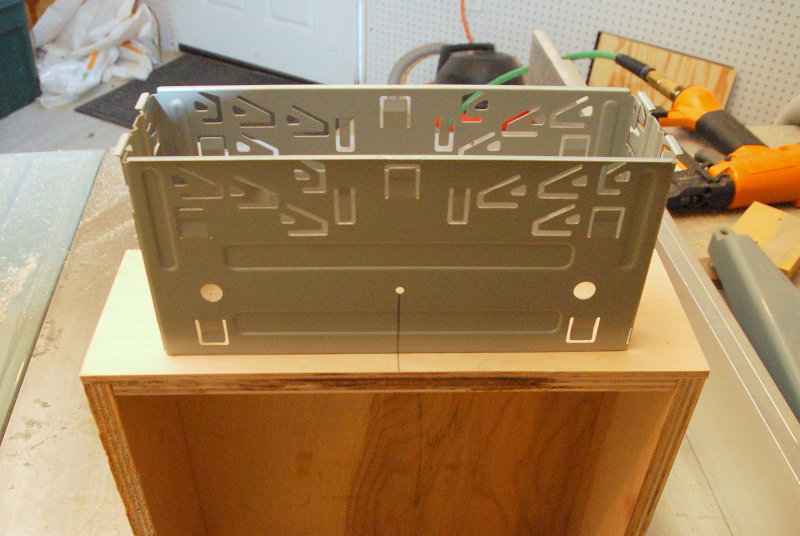
Mark The Centers
I then marked the center of the face plate and the center of the stereo case insert and traced the outline of it onto the face plate.
23-JAN-2010
Cut The Face Plate Opening
To cut the opening in the face I used my Dremel Multi-Tool. Sadly my Fein was on the boat, but having back up tools is never a bad thing. In some instances I really prefer an oscillating tool for precision work, over a jig saw. In a situation like this my Bosch jig saws base plate would not have even fit on the face plate without wobbling. I also find I can do more accurate straight line cuts with an oscillating tool than I can with a jig saw.
23-JAN-2010
Test Fit The Face Plate & Stereo Adapter
Next I test fit the stereo case. From the original cut it did take a little bit of fine sanding with the oscillating tool before it slid in. There is not much room for error as the flange on these is quite slim, so they need to fit nearly perfectly.
23-JAN-2010
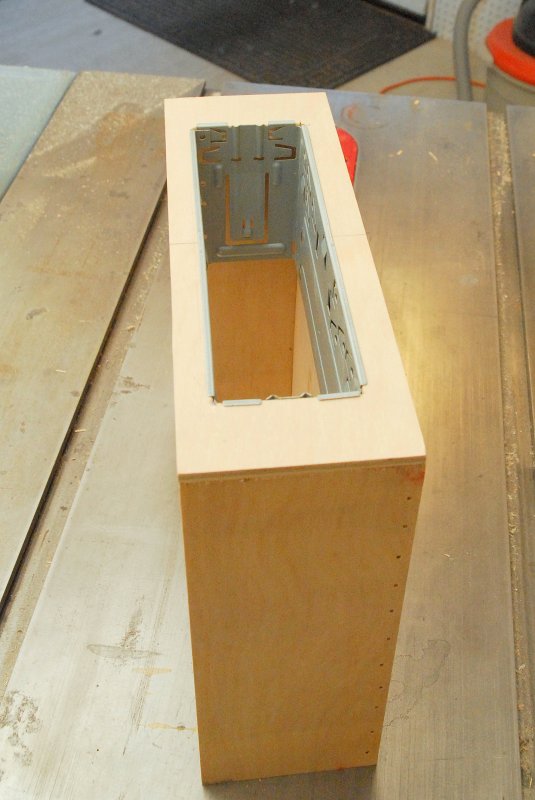
Make Sure Everything Fits Perfectly Flush
Once the stereo case fit the face I glued and brad nailed it to the rest of the enclosure. I then went to town with a long board and sand paper making all the surfaces perfectly flat for the veneer. The edge on the right is still a little proud in this photo, but I took it down flush with the rest of the box.
23-JAN-2010
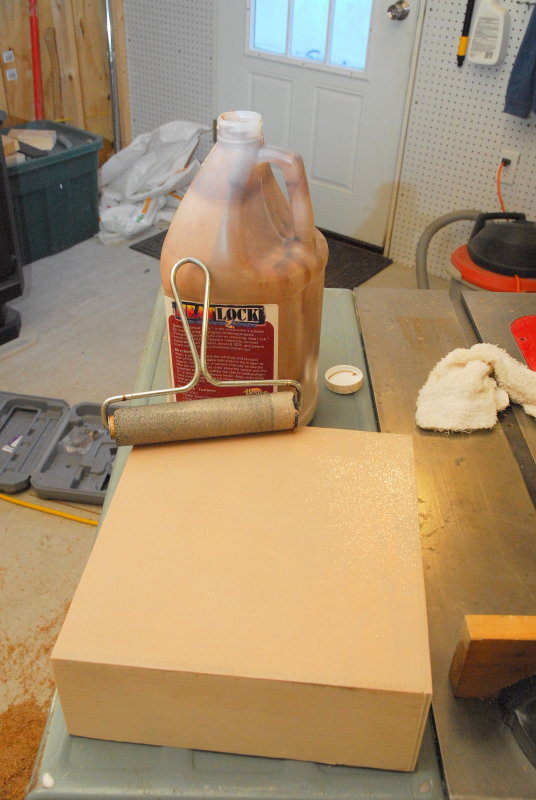
Apply The Veneer Glue
Tim had a really neat glue product I had never used nor heard of called "Heat Lock". It is a water based veneer glue that is heat activated. I rolled two coats onto both the veneer and the enclosure letting it dry about 20 minutes in-between coats.
23-JAN-2010
After The Fist Coat of Veneer Glue
Here's some veneer, and the enclosure, after the first coat of the Heat Lock glue.
******CLICK BELOW FOR PAGE 2*******
23-JAN-2010
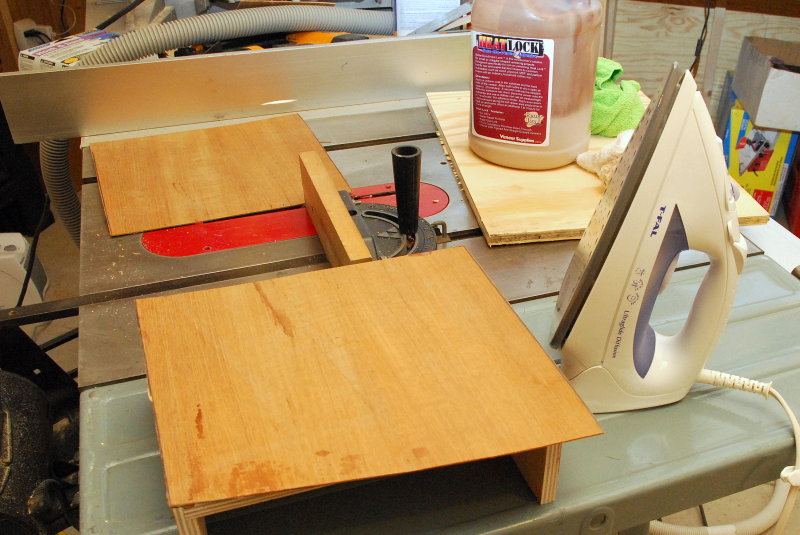
Glue The Veneer To The Plywood
Once the second coat is dry you position the veneer, and orient the grain to your liking, then use an iron, on high steam, to seal the veneer to the plywood. It could not be simpler. After one use of Heat Lock I am a convert. I will likely never use contact cement, or wood glue, for veneer work again. I used to really dislike veneer work but this stuff makes it very easy.
Once the veneer and wood cooled I used my router and a bearing guided flush cut laminate bit to trim the edges. You'll want to orient the veneers edges best for your situation. I had the sides over hang the bottom as no-one will be looking at the bottom and they will be seeing the sides. Oh and don't tell my wife what I do with her iron..
23-JAN-2010
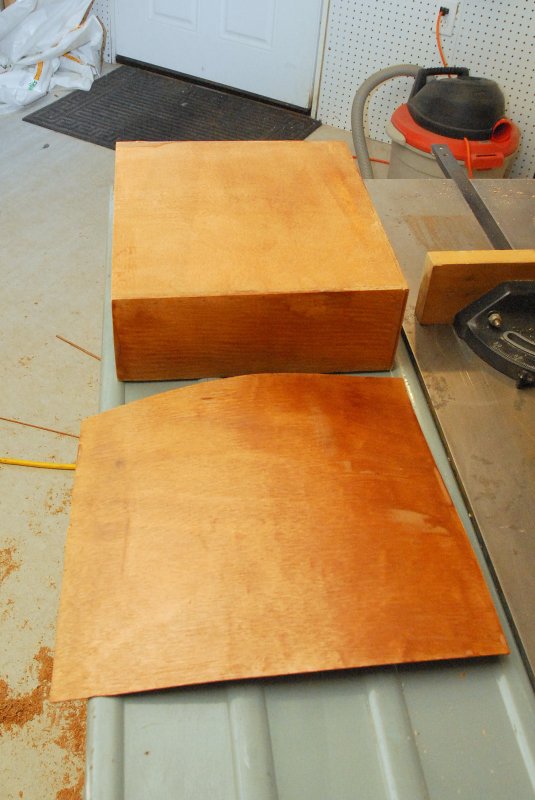
Before Finishing
This is the finished stereo enclosure. I still need to do a final sanding, acetone wipe then varnish it to match the interior of the boat. The veneer Tim gave me is beautiful, quarter sawn, and quite thick. It came from Boulter Plywood in Somerville, MA.
05-FEB-2010
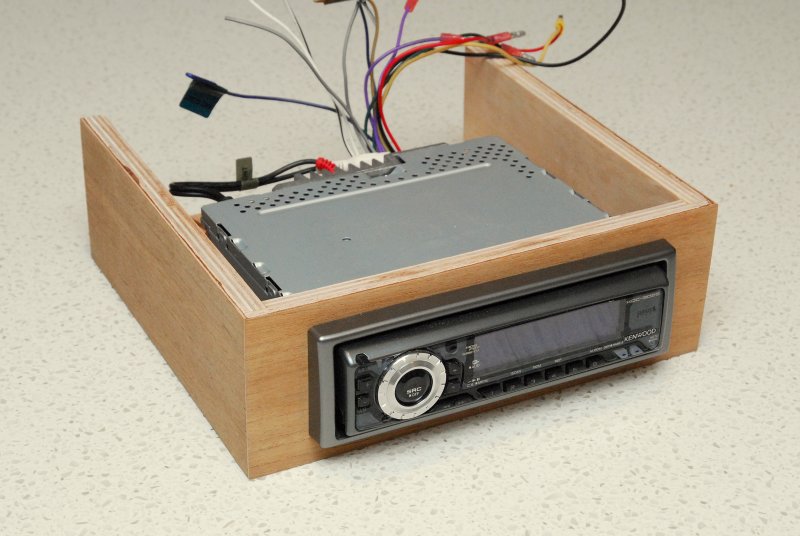
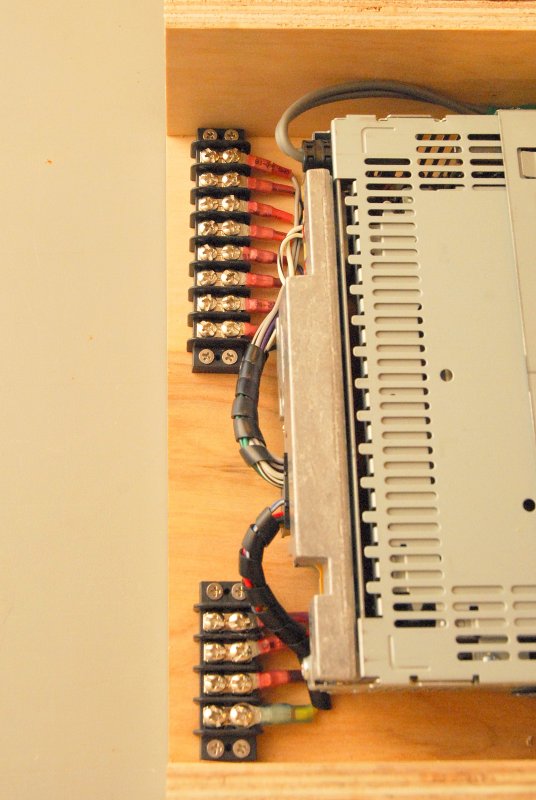
Wiring
For my wiring I wanted it neat and clean. I used adhesive lined heat shrink crimp connectors and nickel plated brass terminal strips from Blue Sea Systems. The speakers are all on the longer t-strip and the power & ground on the other to make it simple & neat.
05-FEB-2010
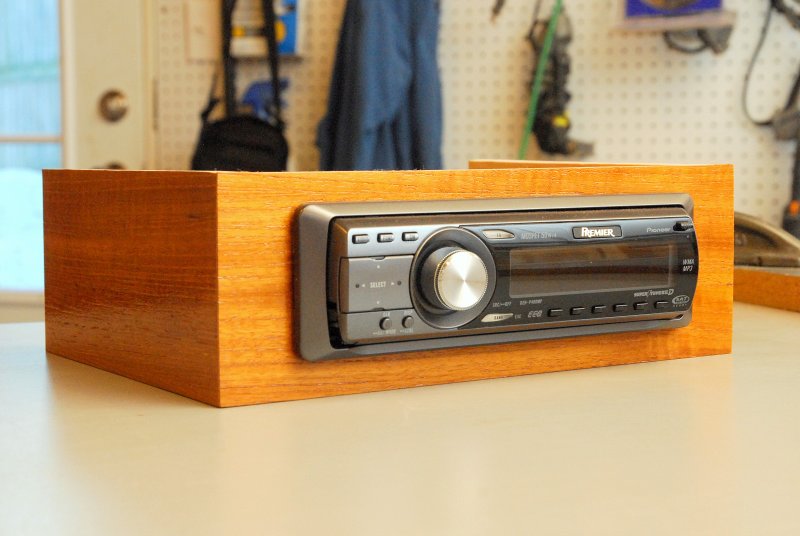
The Finished Product
Ok not technically "finished", as I will put a few more coats of varnish on. I wanted to complete the wiring and fitting first then I will sand and add a couple more coats. I've learned over the years that a coat or two in the shop is not a bad thing as it prevents handling stains from greasy fingers or some errant grease on a work bench that can mess up a beautiful piece of teak.
Over all the whole thing took me about two hours to complete but certainly looks a lot better, IMHO, than the plastic stereo housings sold at West Marine etc.. This is an easy way to learn veneer work and a cheap enough project that you don't go broke on teak veneer if you mess up. A 2' X 4' sheet of quarter sawn teak veneer from Boulter runs about $33.00.
MAY-2006
Help Support This Site
Like what you saw or read in this article? Was it helpful? Could the information save you some money? Would you like to see more articles like this?
If so feel free to donate, support the site, and keep it growing. Please DO NOT feel obligated at all. If you like it and want to make a donation, please do. Your donations help keep the content coming and also help keep it FREE.
Click the DONATE button below if you would like to make a donation via PayPal.