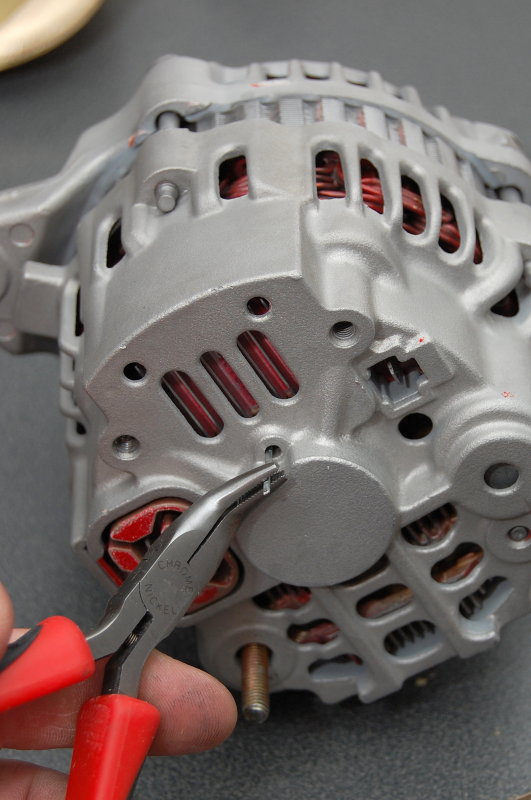
Remember when I showed you the tiny hole in the rear case? Well this is how it works. You re-assemble the alt then pull out the brad nail or what ever you used to retain the brushes.
13-MAR-2009
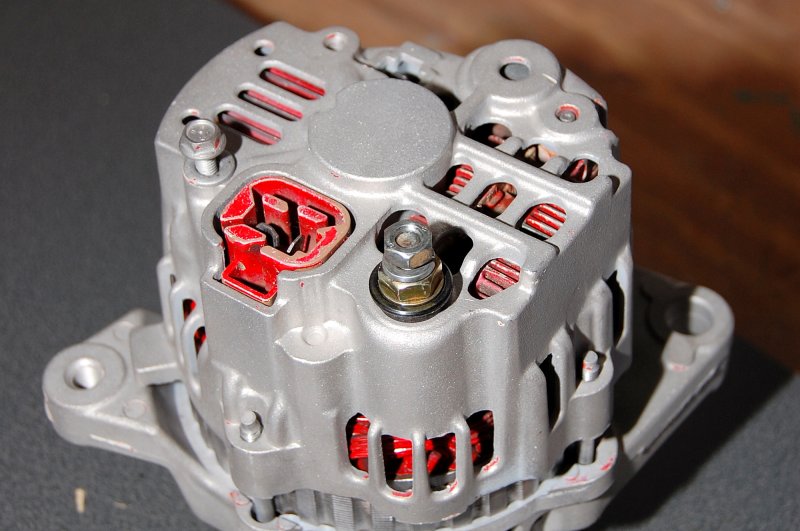
Output Post Insulator
The black plastic ring is to insulate the alternators 12V output stud from the grounded alternator case. Do not forget to reinstall this or you could have a direct short to ground.
13-MAR-2009
Ground Screw & Output Stud
Here you can see that I have reinstalled the ground screw and the retaining bolts for the 12V output stud so the back end is done!
13-MAR-2009
All Done
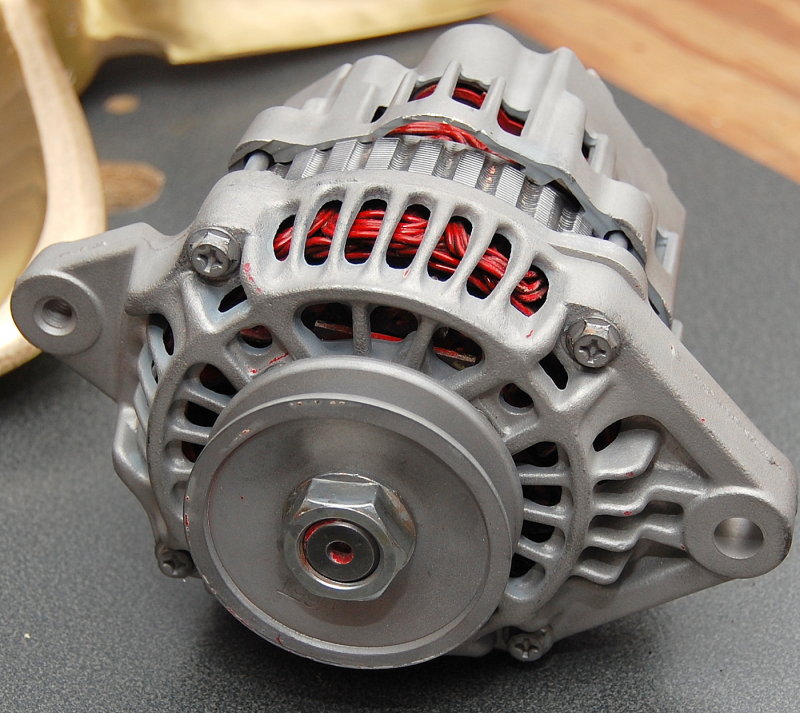
With the front bearing replaced, the internals cleaned, and the case bead blasted and put back together she is ready for a new coat of paint and 2800 more hours.
This is not a difficult job and most any local alternator shop should be able order you the parts you need. I got my front bearing from the local auto electric shop here in Maine for $12.00..
MAY-2006
Help Support This Site
Like what you saw or read in this article? Was it helpful? Could the information save you some money? Would you like to see more articles like this?
If so feel free to donate, support the site, and keep it growing. Please DO NOT feel obligated at all. If you like it and want to make a donation, please do. Your donations help keep the content coming and also help keep it FREE.
Click the DONATE button below if you would like to make a donation via PayPal.