01-Mar-2015
Welding finished on carrier
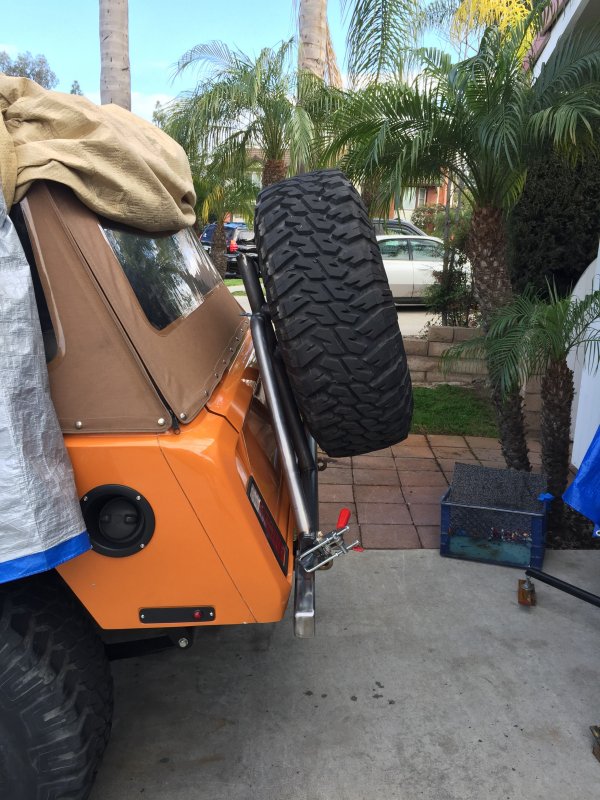
Once the welding was complete on the tire carrier I installed the wheel and the carrier swings out nice and easy thanks to the heavy duty spindle with it's beefy bearing on top and bottom.
01-Mar-2015
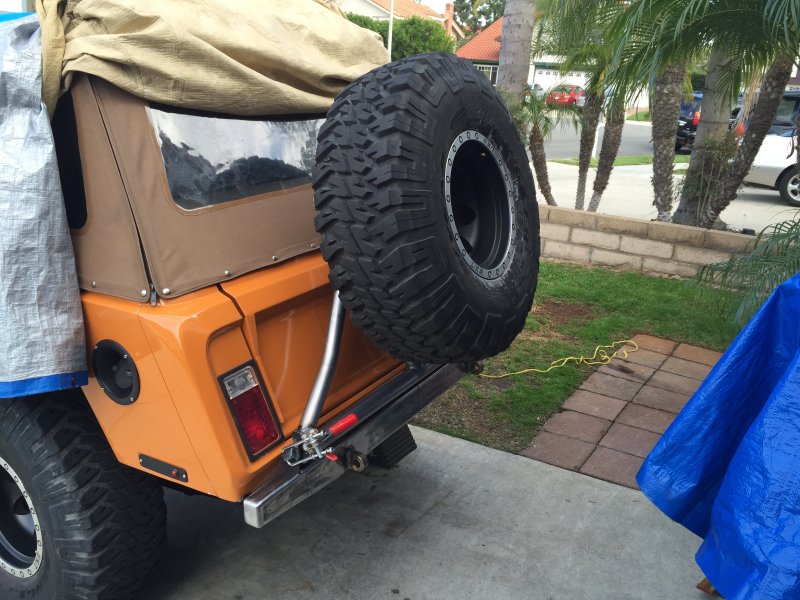
With the wheel/tire mounted
The spare sits nicely up and out of the way from scraping.
01-Mar-2015
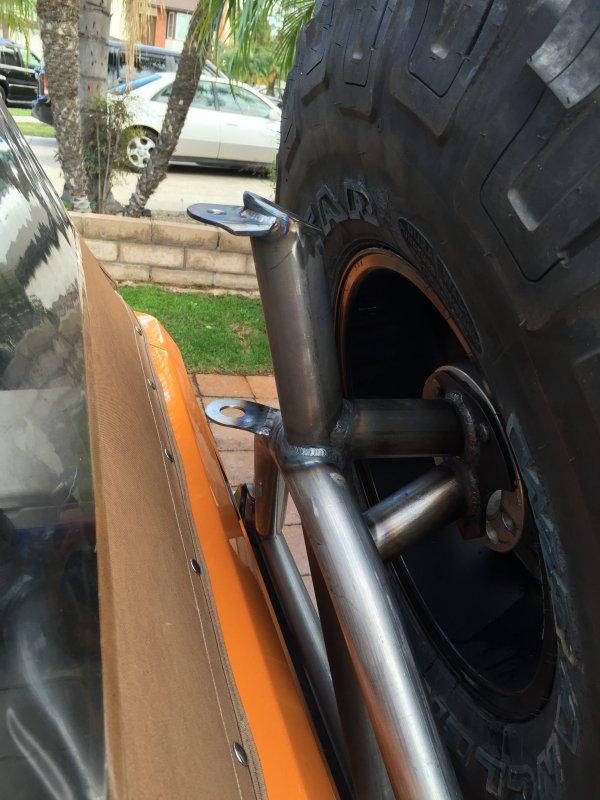
Clearance between the tailgate
This space between the carrier and the tailgate should allow for some flexing.
01-Mar-2015
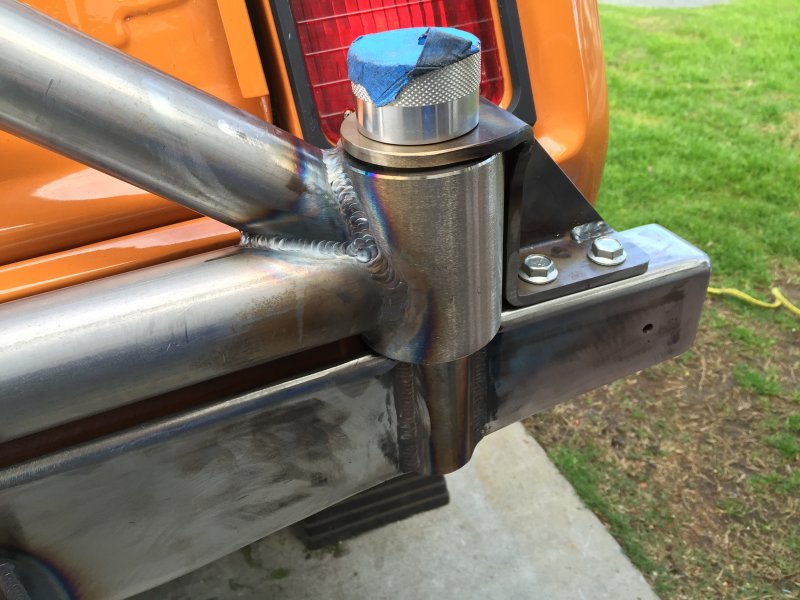
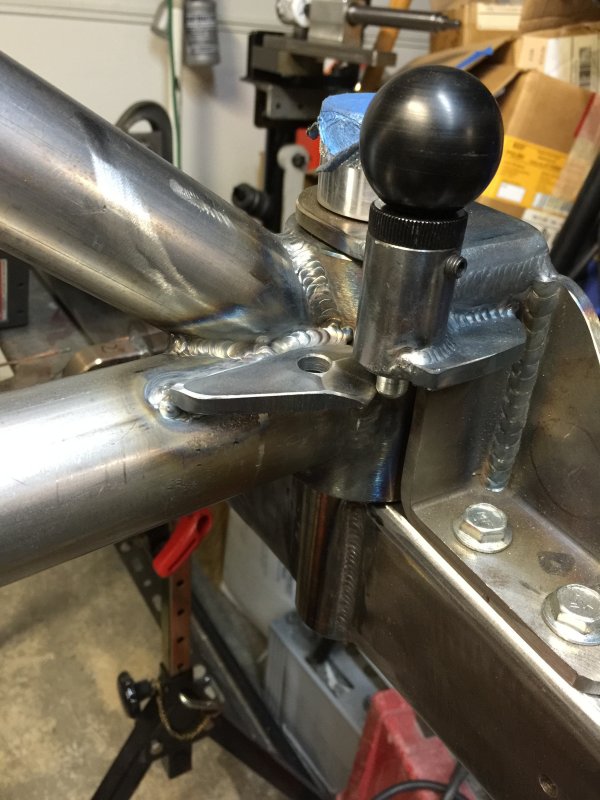
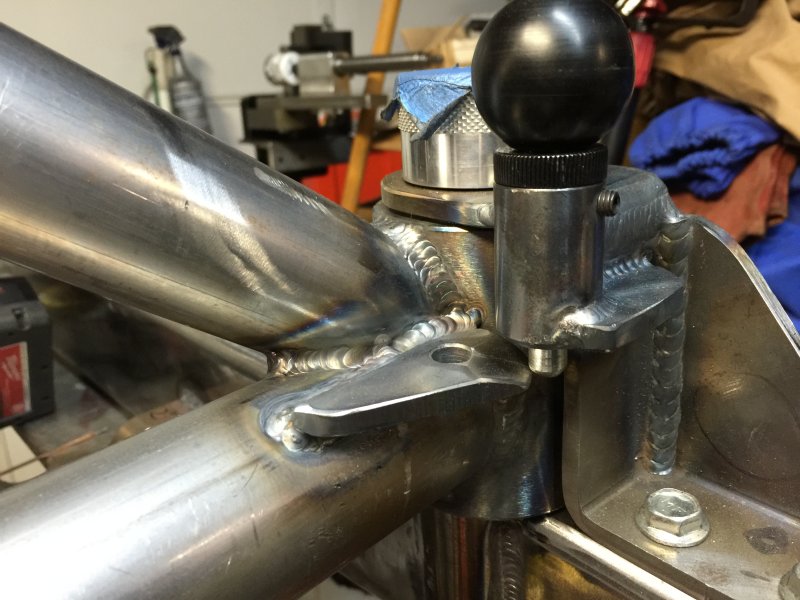
Beefy hinge with double shear
This spindle is very beefy and the double shear bracket adds to the strength by sharing the load.
01-Mar-2015
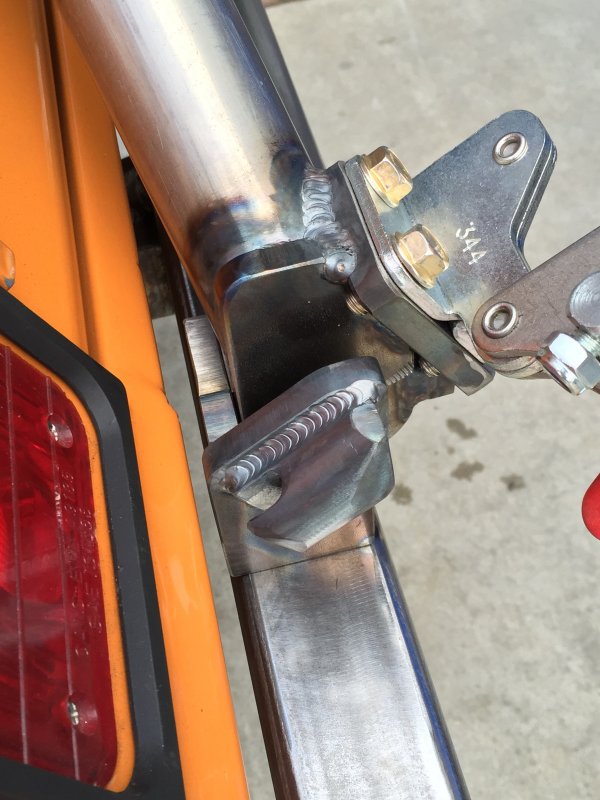
Clamp end
I made a heavy duty hook for the latch. I wanted the tire carrier latch end to be pulled down and forward. A 2000 lb latch was used.
01-Mar-2015
Teflon rest for bumper
I'm adding a Teflon slide/rest on top of the bumper for the carrier to rest on while in the closed position.
01-Mar-2015
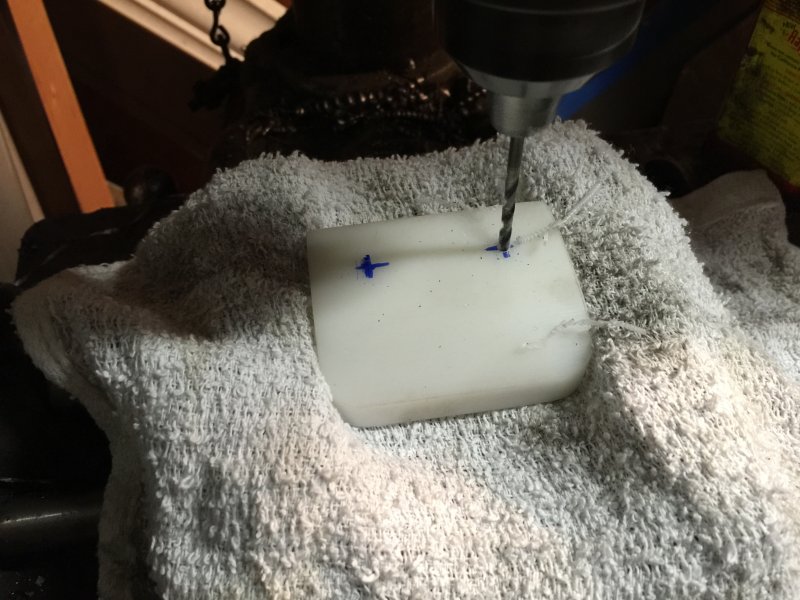
Drilling the mounting holes
I'm going to use some 3/8" button head bolts to secure the slide In place. I'll counterbore the the top side so that the heads are below the surface.
01-Mar-2015
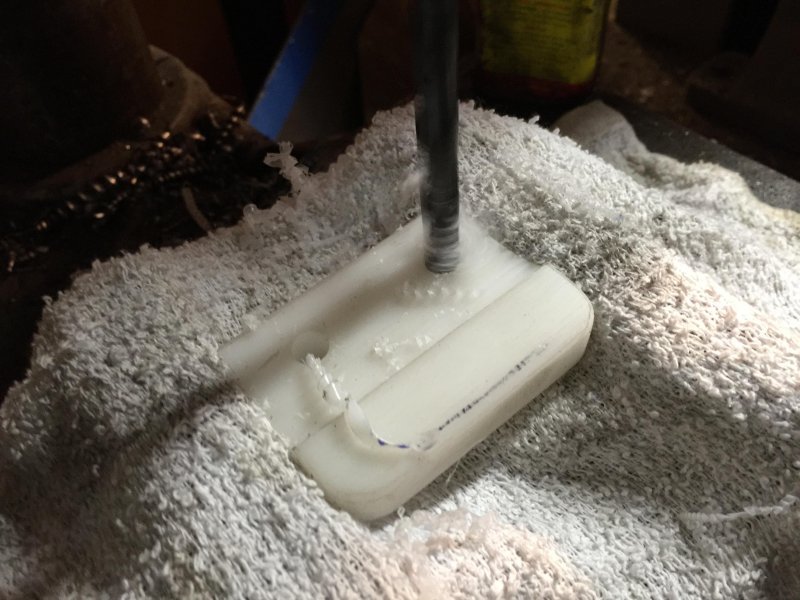
Slide bolted on with recessed bolts
I contoured the base of the Teflon to match the contour of the bumper.
01-Mar-2015
Teflon rest bolted in place
The Teflon rest will be added support for the weight of the tire carrier.
01-Mar-2015
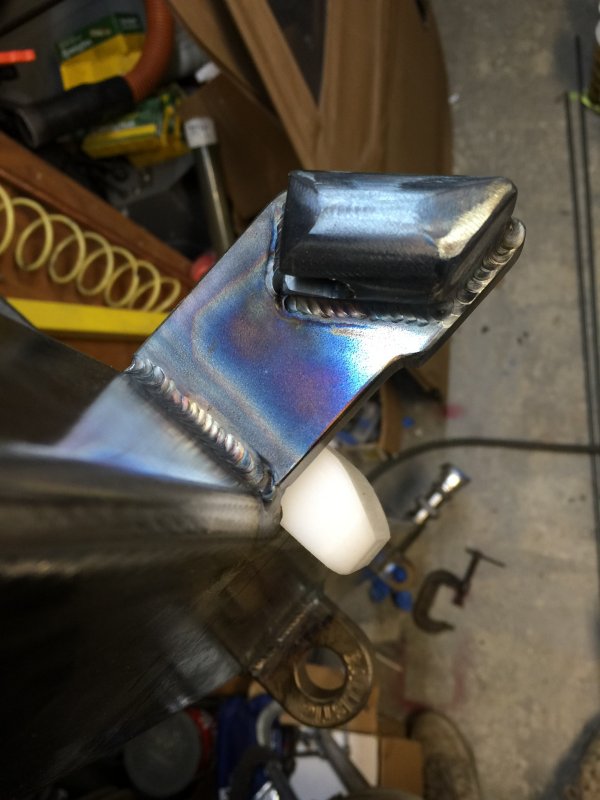
Heavy duty latch hook and Teflon slide
The latch hook turned out very strong and will aid in pulling the tire carrier down and forward into the Teflon slide.
03-Mar-2015
Spring latch
I added a spring latch to help hold the tire carrier in the open position.
03-Mar-2015
Closeup of the spring latch
I made the female part of the latch with a nice smooth the ramp so that it sets easy in the open position. The pin has good depth in the hole and holds it firmly even at an angle.