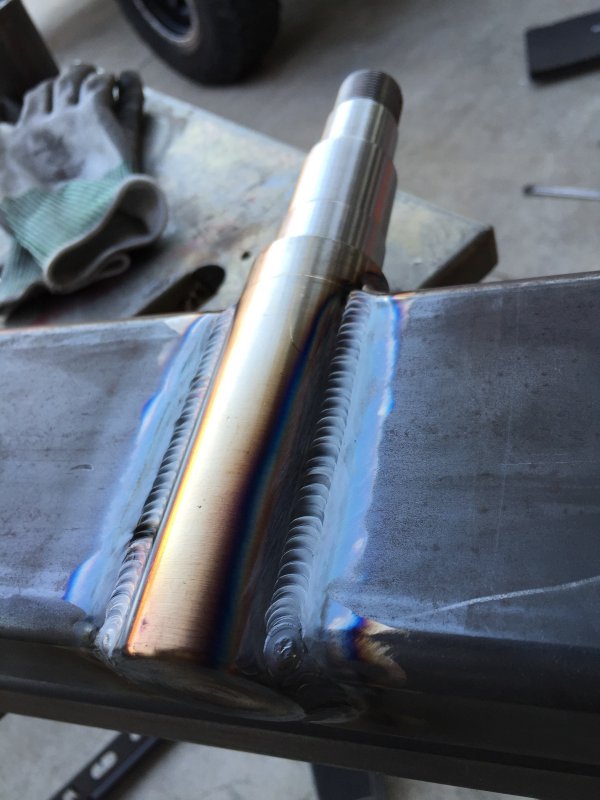
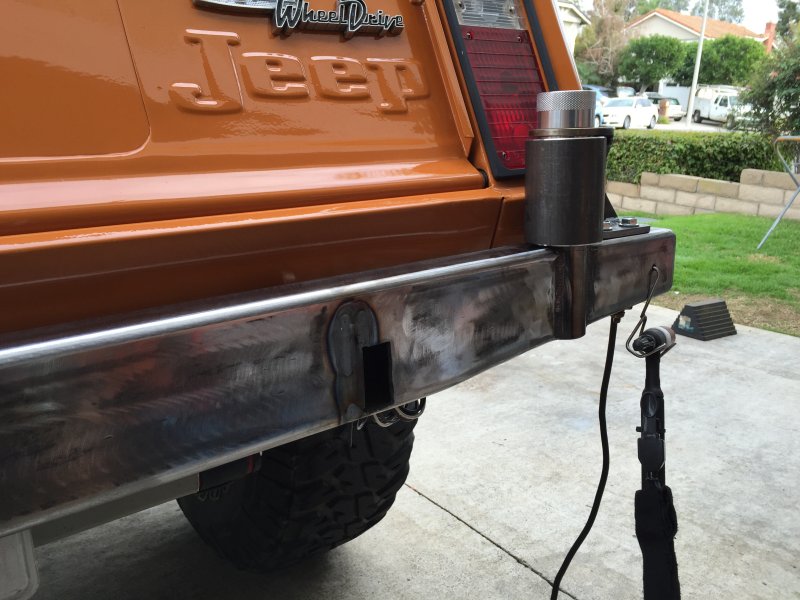
16-Feb-2015
Spindle welded
I welded the spindle in place all the way around making sure that I have good penetration to the two materials.
16-Feb-2015
Welding complete on the spindle
I had to clamp a piece of 2x4 steel to the backside of the bumper to keep the metal from moving too much when I welded the spindle. I let it cool like this and when the 2x4 was removed it showed that bumper material did move a little but not enough to worry about.
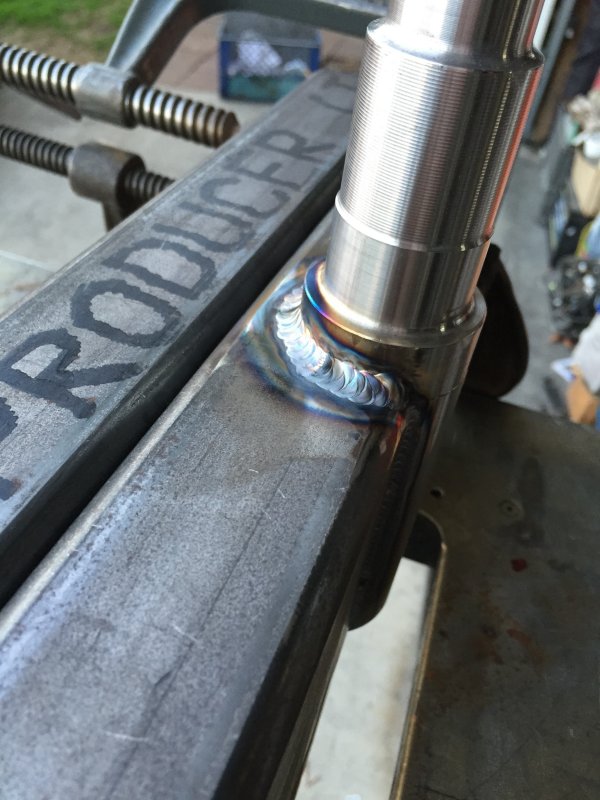
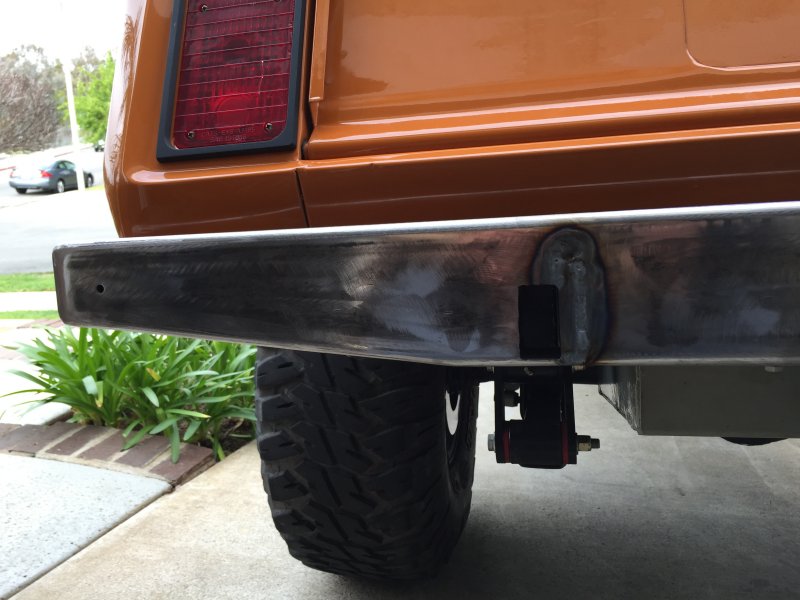
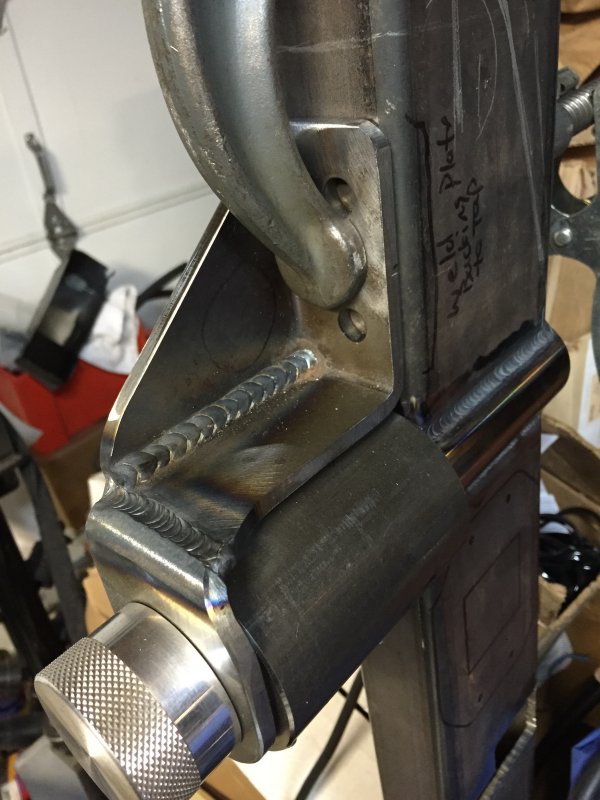
Welding the mounting brackets
All of the welding on the mounting brackets is complete
Back side of clevis/shackle mounts
The clevis mount is welded solid to the mounting brackets.
20-Feb-2015
Drilling the 1.75" hole
I am going to incorporate the quarter panel rock sliders into the rear bumper.
20-Feb-2015
1.75" holes for sliders drilled
Both of the holes for the sliders are drilled
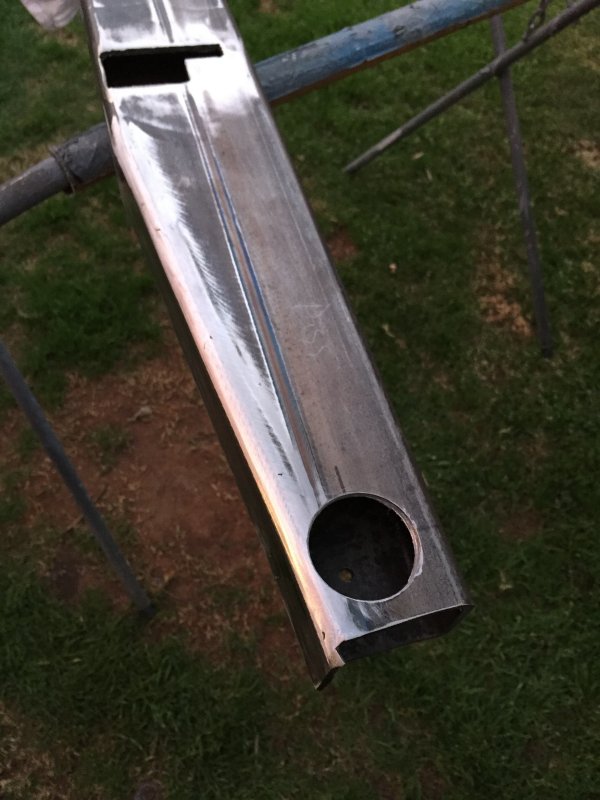
20-Feb-2015
Hole drilled and ready to finish welding
Now that the slider hole is drilled and bottom angles are cut I can add the end caps and complete the welding.
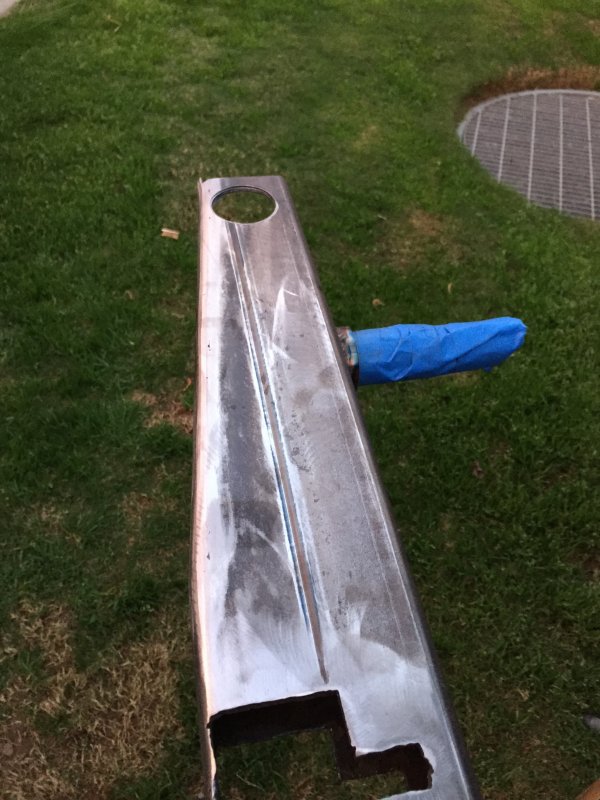
21-Feb-2015
Final design of bumper ends
I figured out what angle would work best for maximum clearance.
21-Feb-2015
Spindle side bumper end
I ended up having to cut thru the thick 1.5" spindle to make the angle correct.
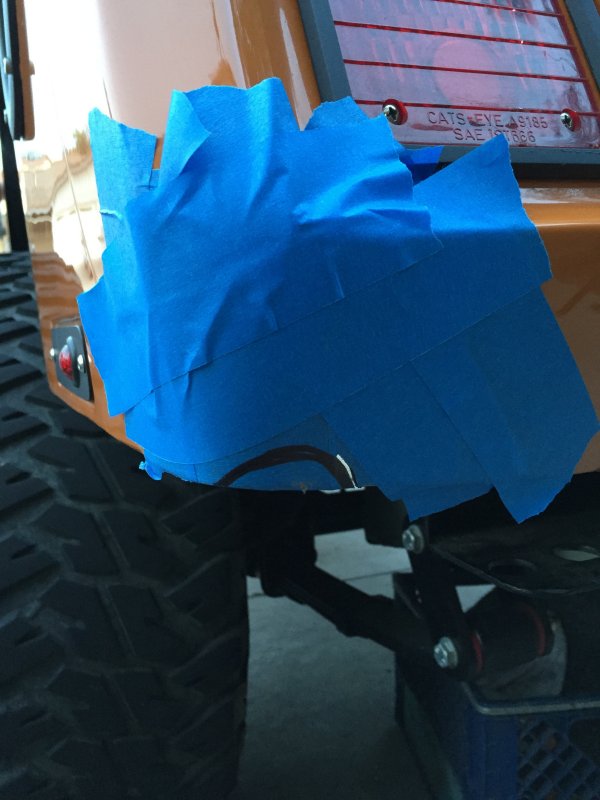
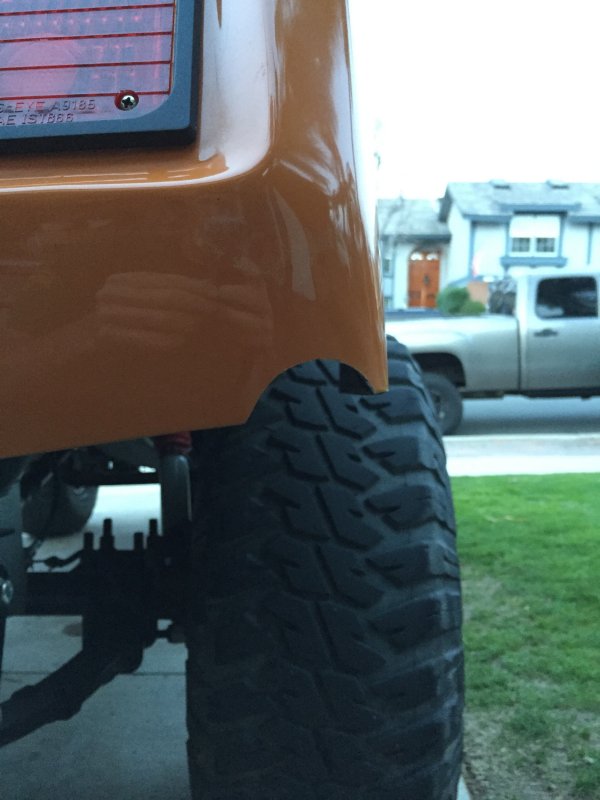
18-Feb-2015
Cutting the rear slider cut outs
After taping the paint for protection I still scratched it! (where there was no tape)
18-Feb-2015
Cut out for slider done
The 1.75" DOM tube should fit nicely in this cut out.
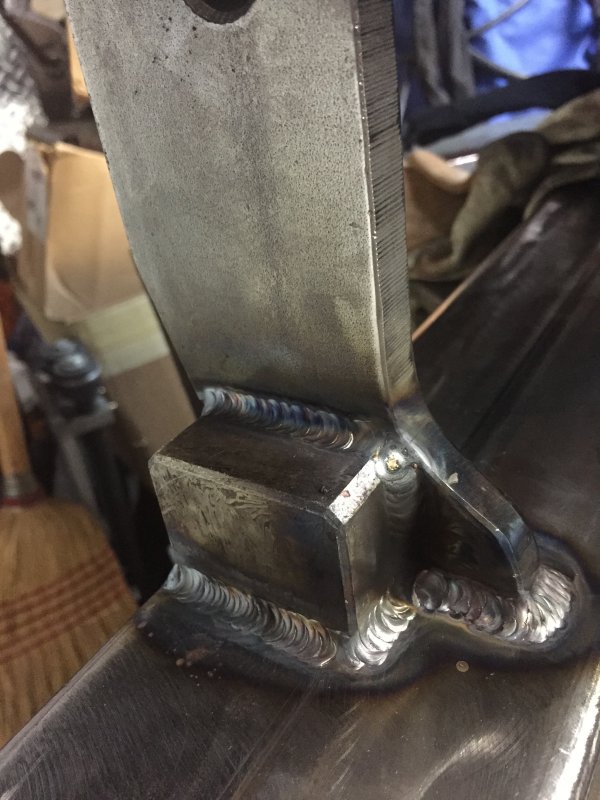
17-Feb-2015
Trimming the bracket
The double shear bracket was made for a three inch bumper so I needed to trim it to fit my 2" wide bumper.