15-Feb-2015
The amplifier has landed!
This was really the only location that I could mount the amplifier.
15-Feb-2015
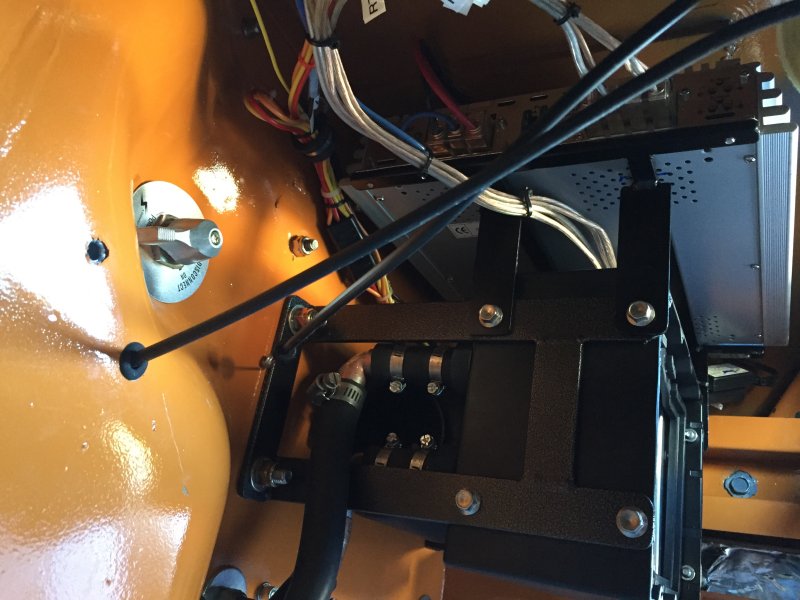
Amplifier mounted
The 1400 watt amplifier is now in it's new location, high up and out of the way of anything!
15-Feb-2015
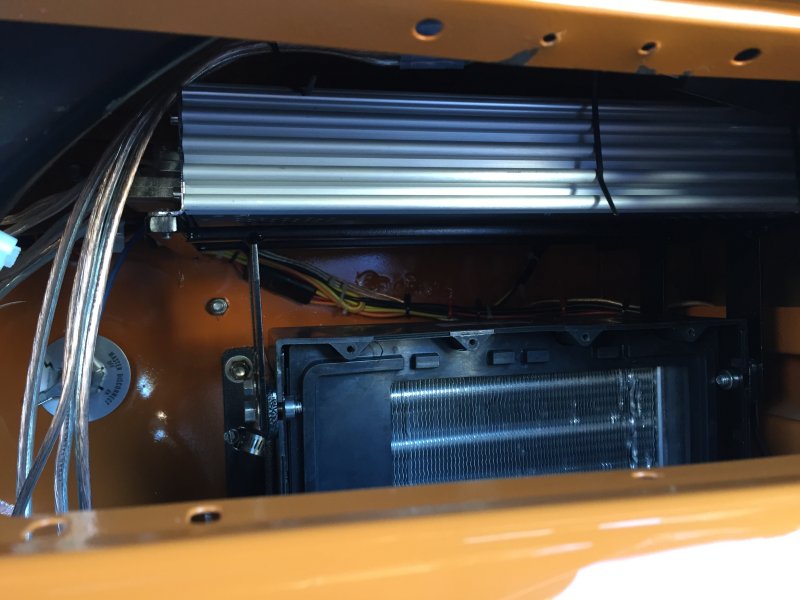
Heat and vent controls
I mounted some heat and vent control cables. One controls the heater valve that is installed in-line with the hear core and the other will control the airflow between the heater vents and defroster vents.
16-Feb-2015
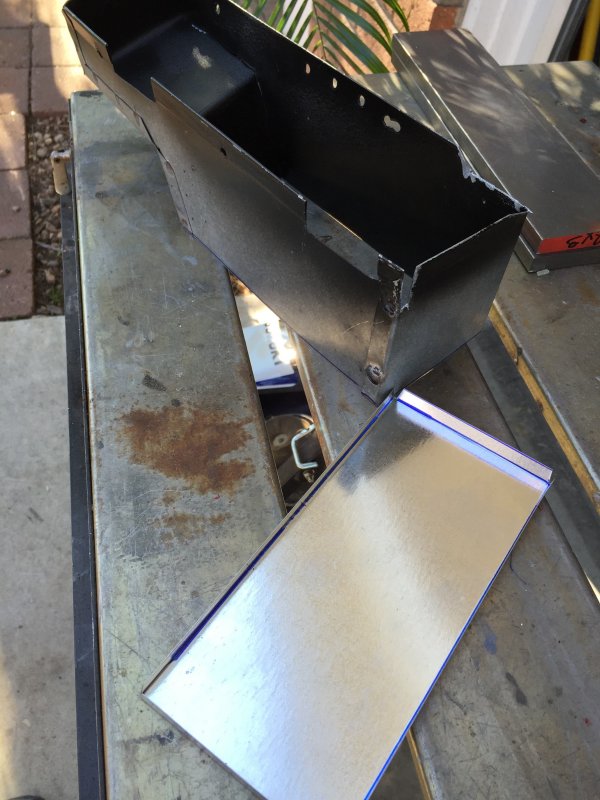
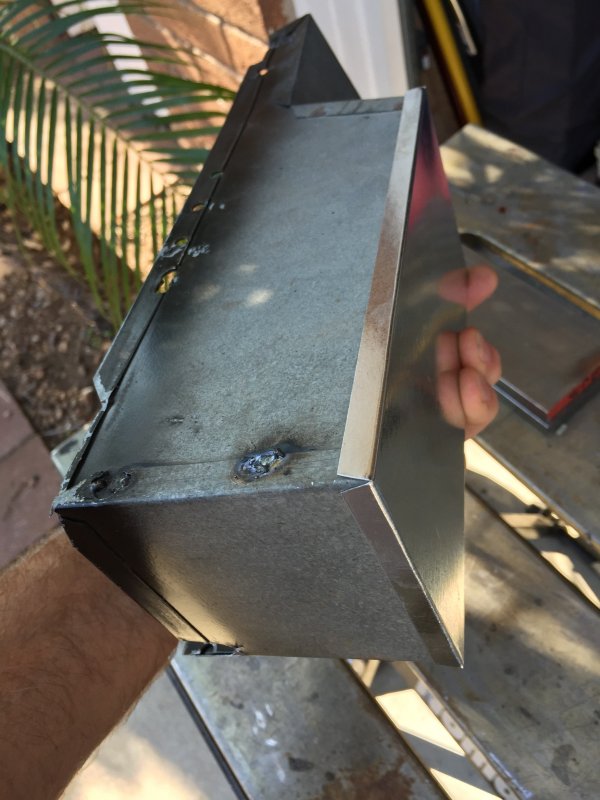
Glovebox alteration
Since I added an amplifier above the heater and changed the heater outlet tubes, the glovebox needed to be shortened up a bit. I used some thin sheet metal to box in the section that I cut off.
16-Feb-2015
After bending the sheet metal
I spot welded it to the shortened glovebox box with the MIG welder.
16-Feb-2015
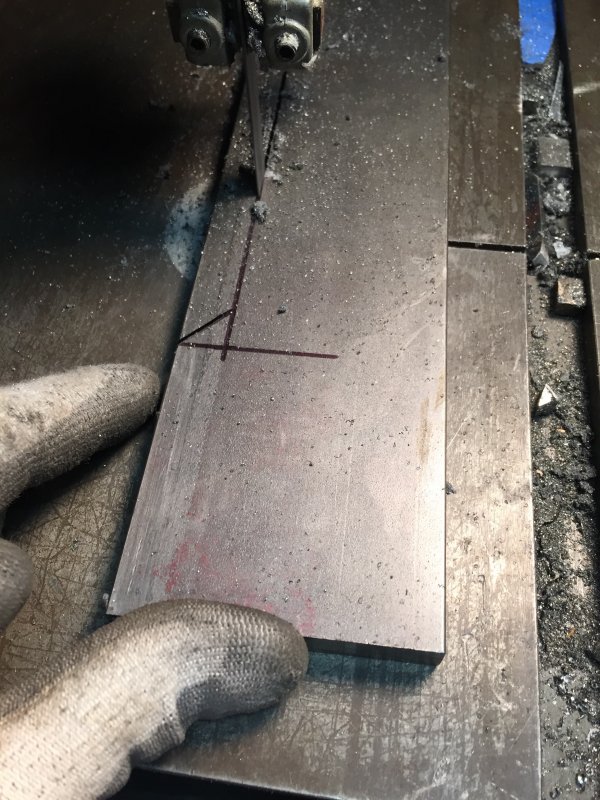
Cutting the rear bumper frame brackets
Trying to get the rear bumper high up as possible, I designed the brackets to get the Bumper up high. Similar to the front bumper, I'm using 1/2" thick 3" wide flat bar.
16-Feb-2015
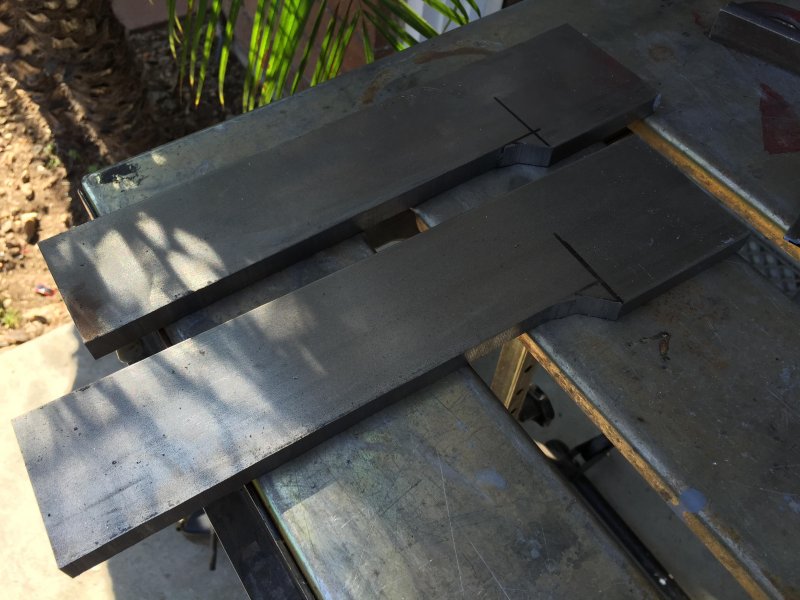
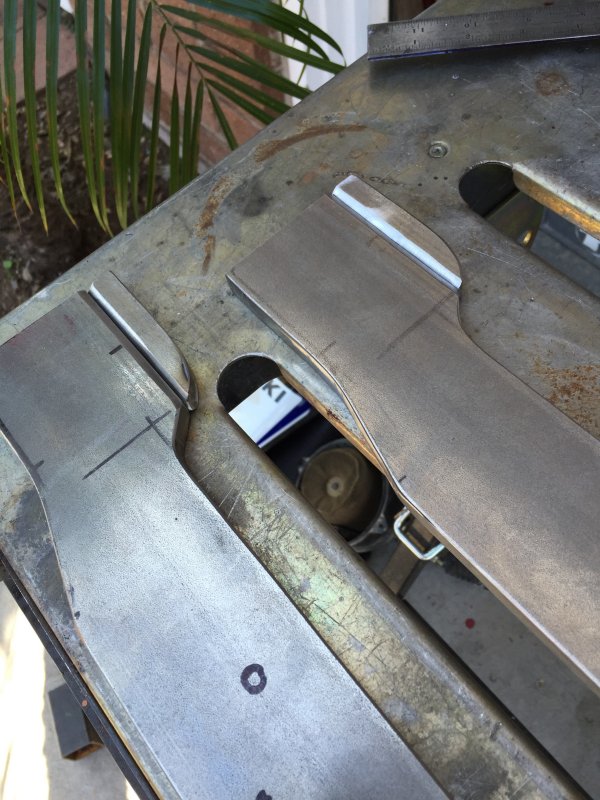
Further modification needed
I will need to add a little material to the top of the bracket.
16-Feb-2015
Addition after cutting
I needed to add a little "meat" to the upper part of the bracket.
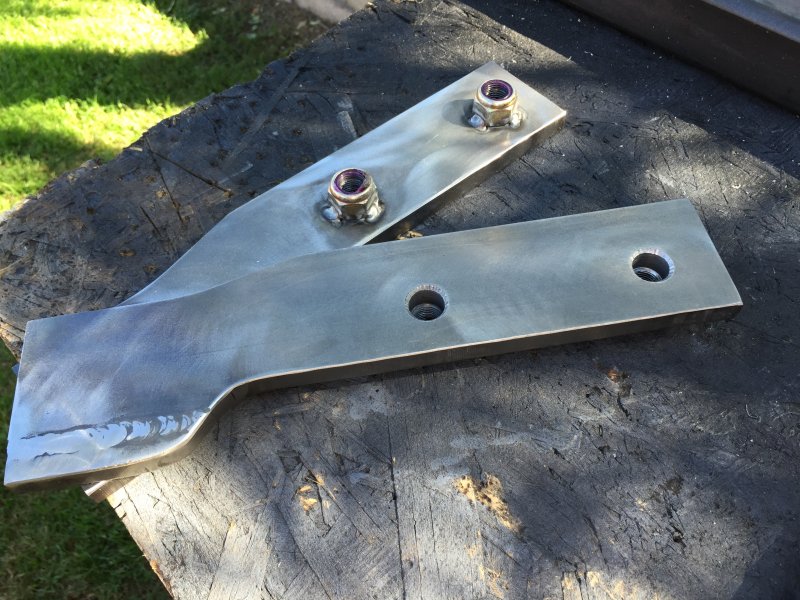
16-Feb-2015
Mounting nuts welded
After making the final design modification I fit the brackets inside the frame and welded the mounting nuts to he brackets. I will use 9/16" grade 8 bolts to mount the bumper.
16-Feb-2015
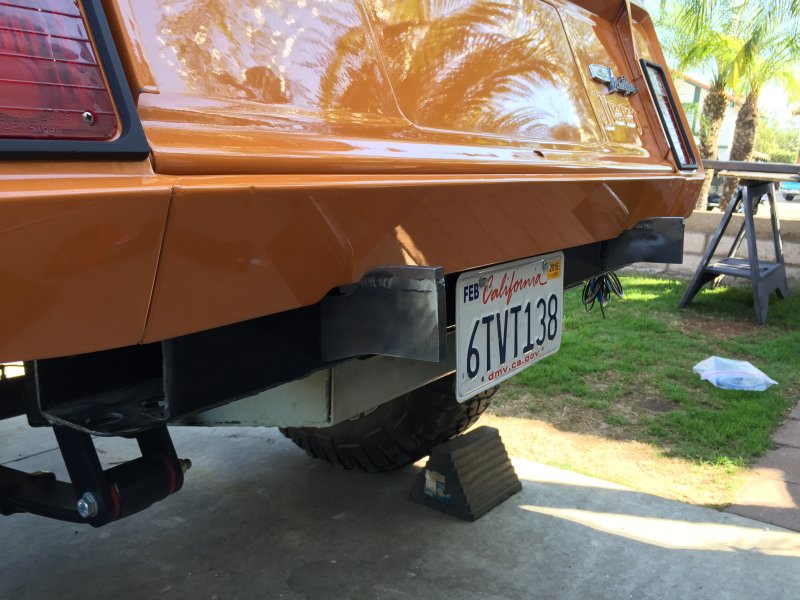
Bumper brackets mounted
The brackets are mounted solid to the frame. This is the highest I could get the brackets without the bumper hitting the body.
16-Feb-2015
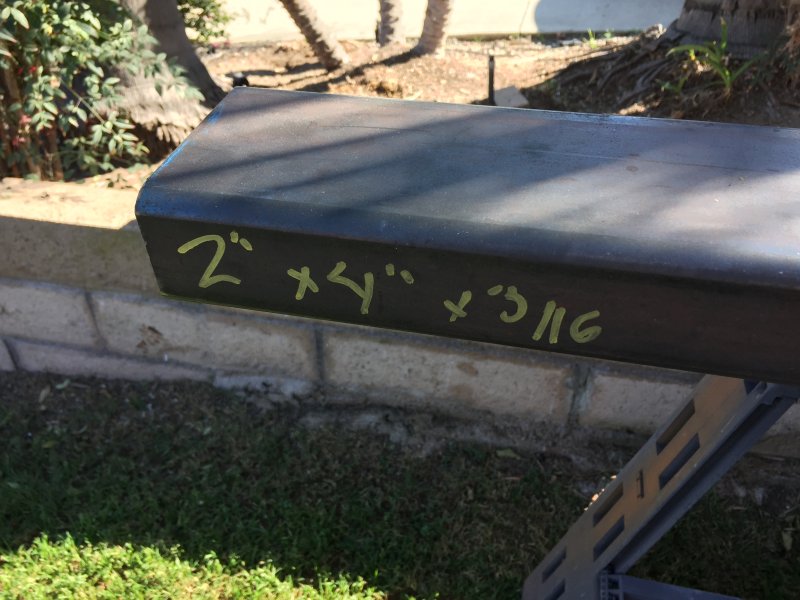
Smaller than the front bumper
I chose some 2"x4"x3/16" for the rear bumper. There is not an easy way to get the bumper up high in the rear because of how the frame sits lower than the body.
16-Feb-2015
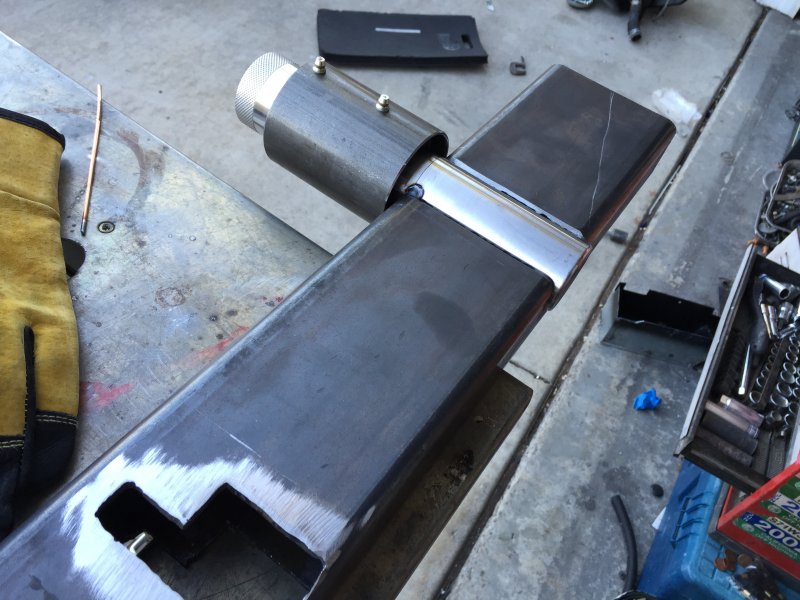
Tire carrier spindle tacked in place
After measuring numerous times I decided how high the spindle needed to be mounted so I tacked it in place.