07-Feb-2015
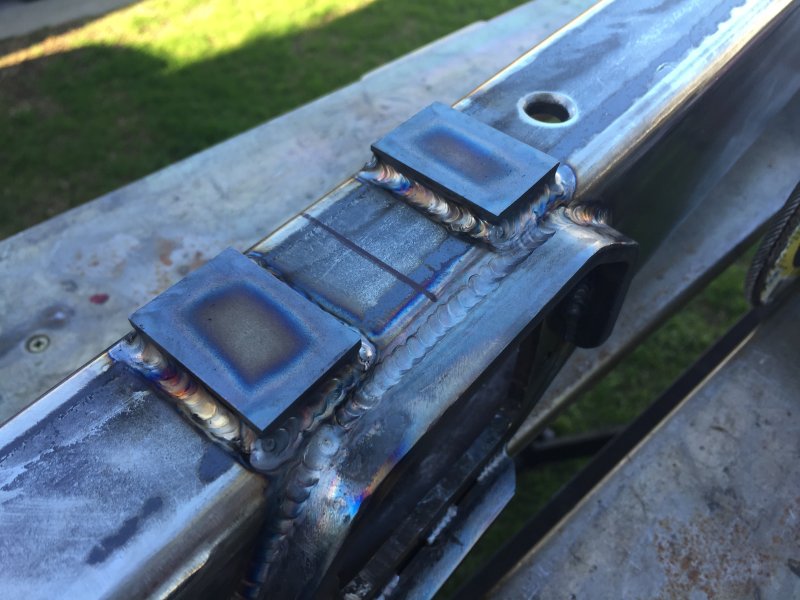
Jacking points
The jacking points are actually located directly under the LED lights. The light guards will prevent any damage to the LED lights.
07-Feb-2015
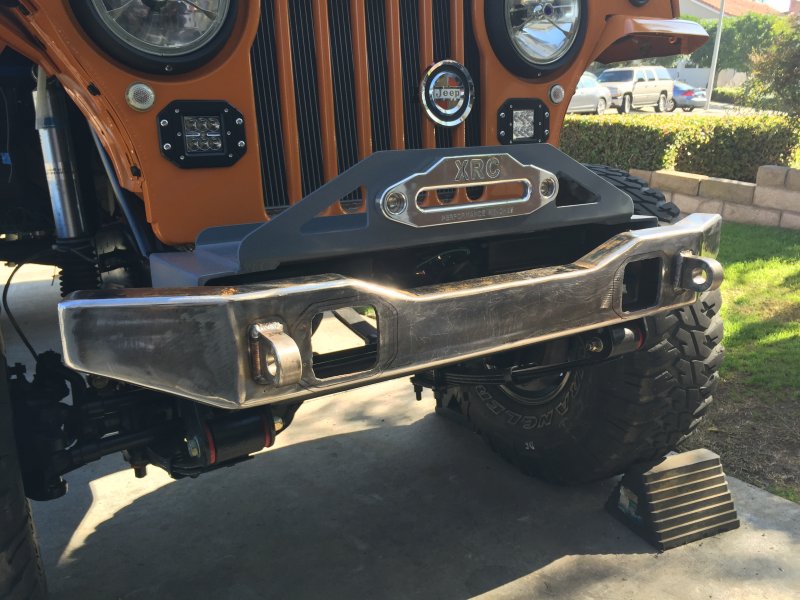
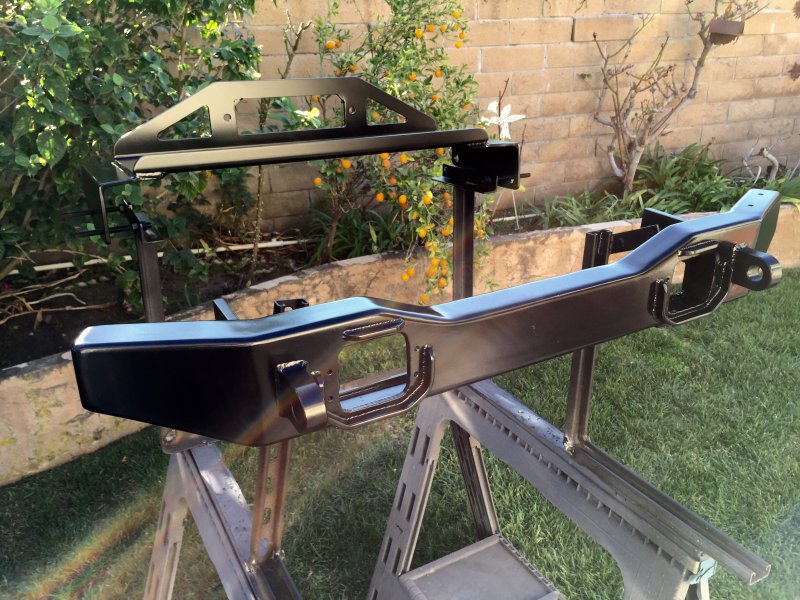
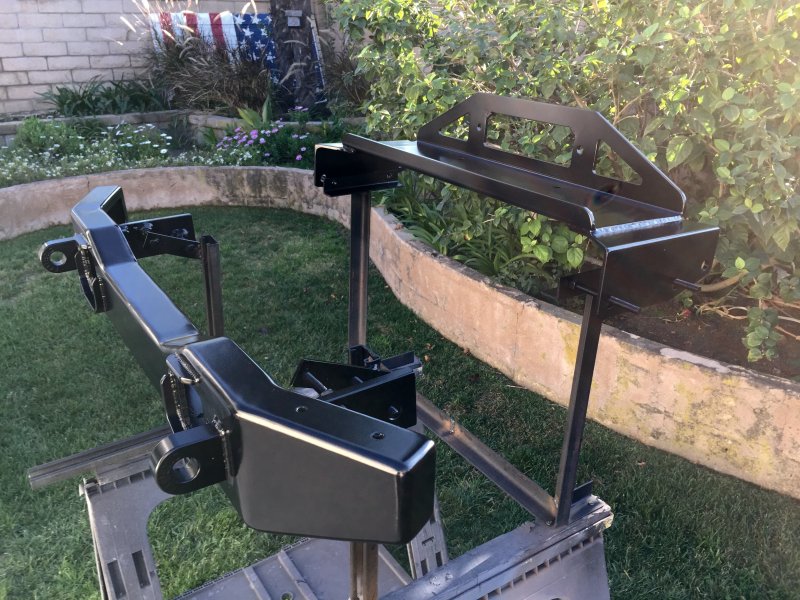
A mock up and final fit
Everything seems to line up and fit great after all the welding is now complete.
07-Feb-2015
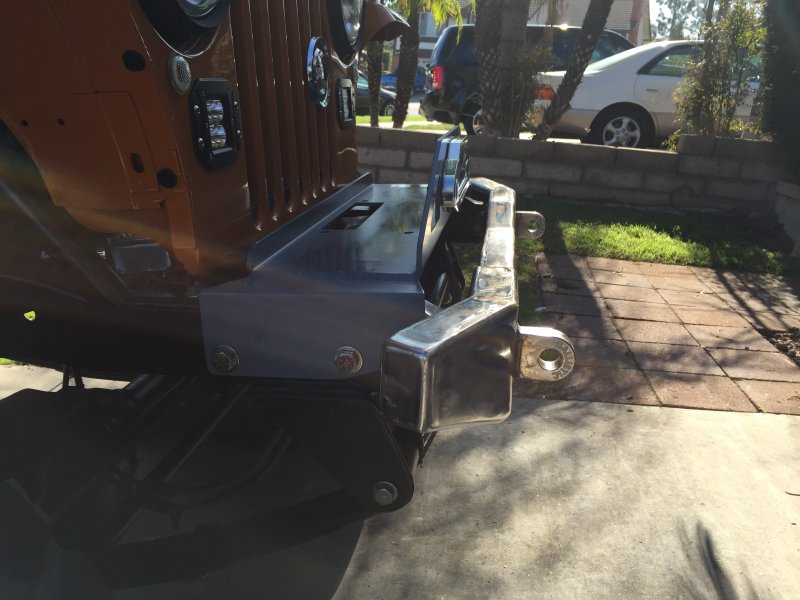
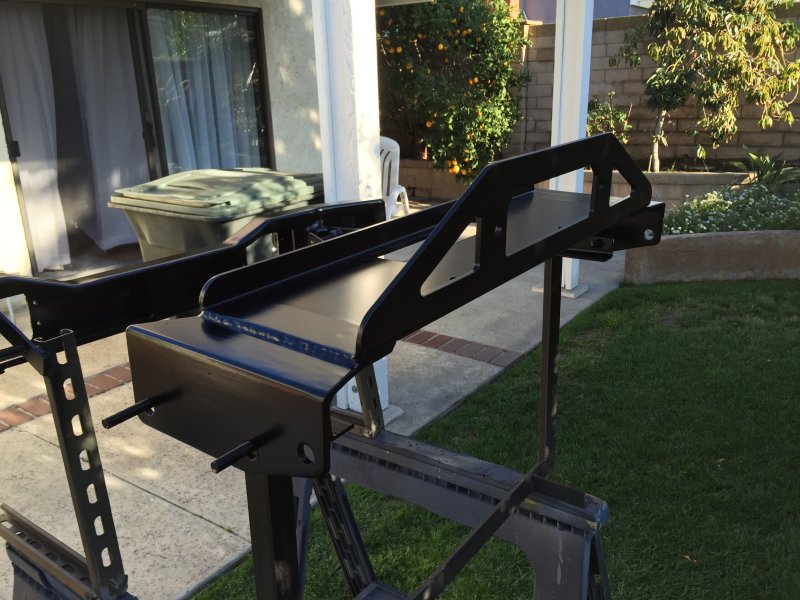
Side view of bumper installed
This side view shows that the bumper doesn't stick out too far and the length doesn't protrude too far out on the sides.
08-Feb-2015
The final paint complete
The finish came out good even with the bug that decided to swim throught the clear coat on the bumper!
08-Feb-2015
Final paint finish on front bumper
I shot three coats of black paint on the bumper and winch mount then shot two coats of top coat DuPont clear with a flattening agent for a satin finish.
08-Feb-2015
Satin finish on bumper and winch plate
The satin clear turned out pretty nice and should have decent durability.
09-Feb-2015
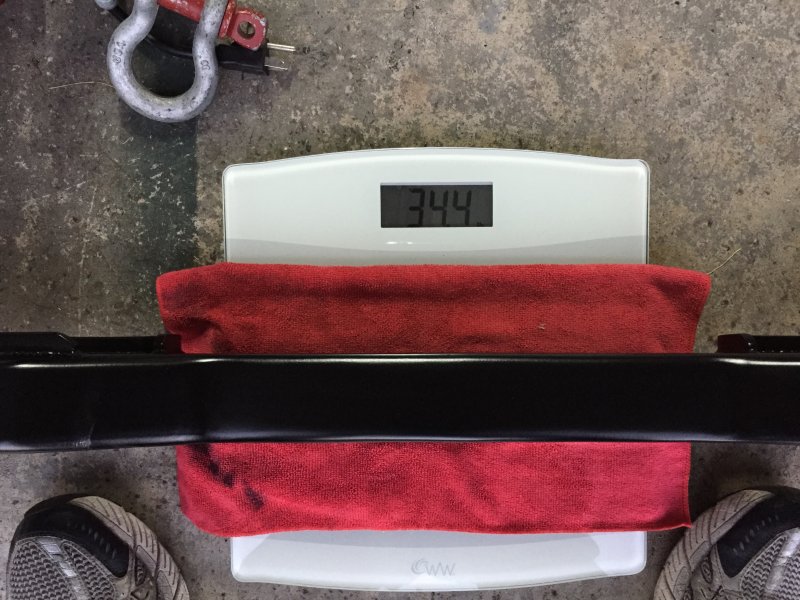
Final bumper weight
Now that all the welding is done in the month or is painted the final weight is just about 4 pounds lighter than the original raw material.
09-Feb-2015
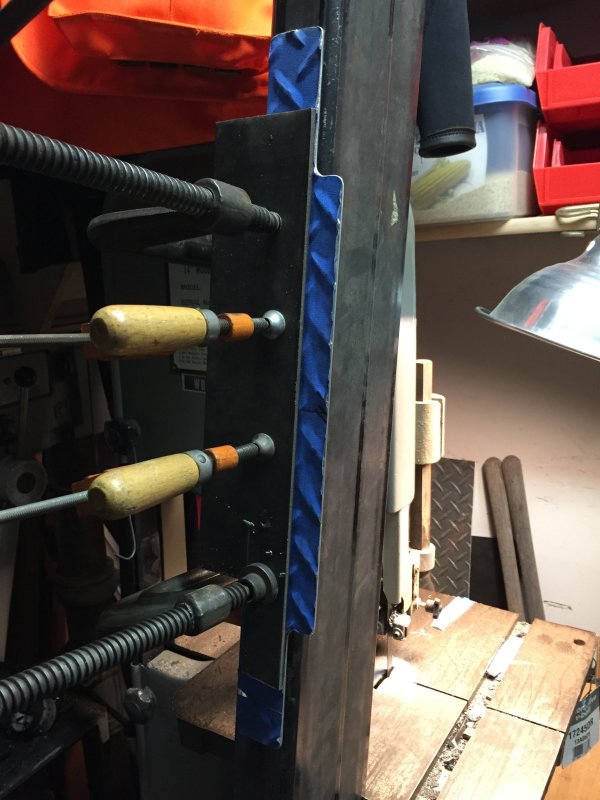
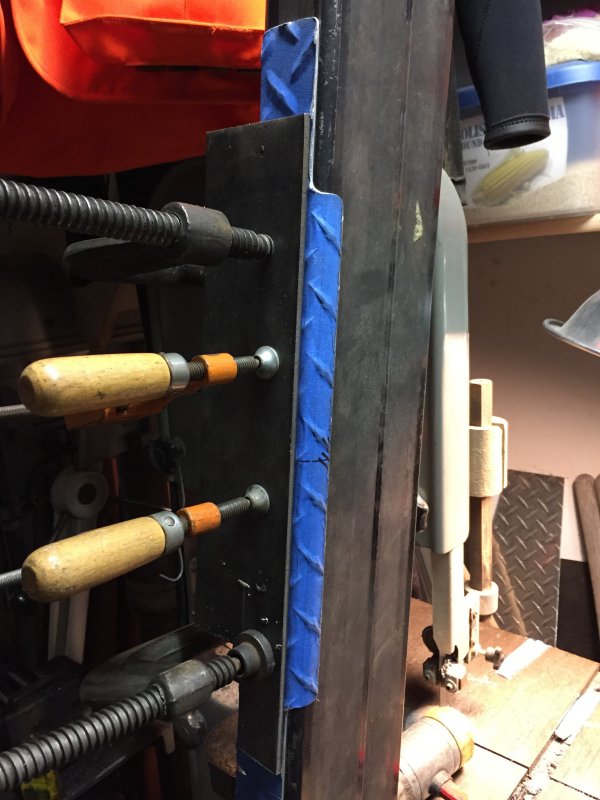
A bending jig for my bumper step
After cutting a piece of thin aluminum diamond plate to be used as a step for the front bumper I use the same material and clamped the diamond plate so that I could use the radius as a template.
09-Feb-2015
Template Jig worked fine
After securing the LMM with the clamps I gently move the metal with a soft rubber mallet. The radius worked out perfect with the aluminum having a nice tight fit around the edge.
09-Feb-2015
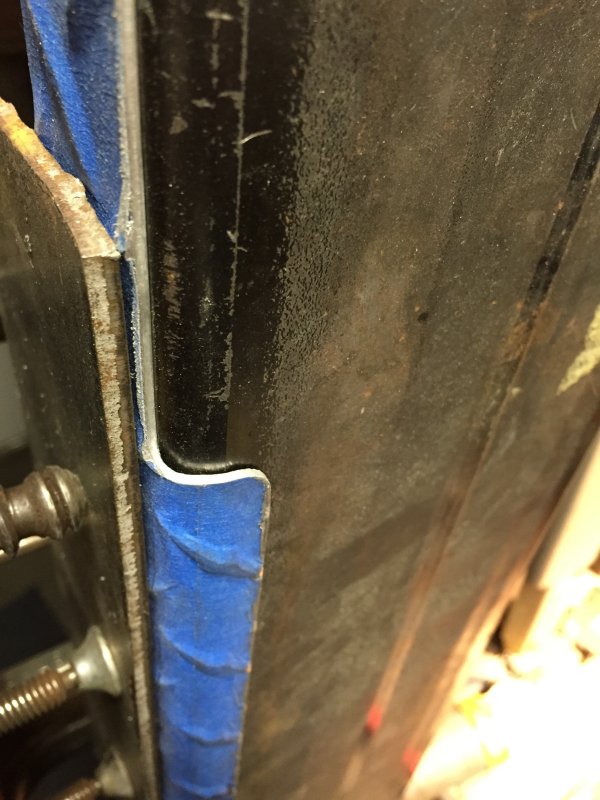
Bend radius
The jig worked good with the bend radius hugging tightly around the steel.
11-Feb-2015
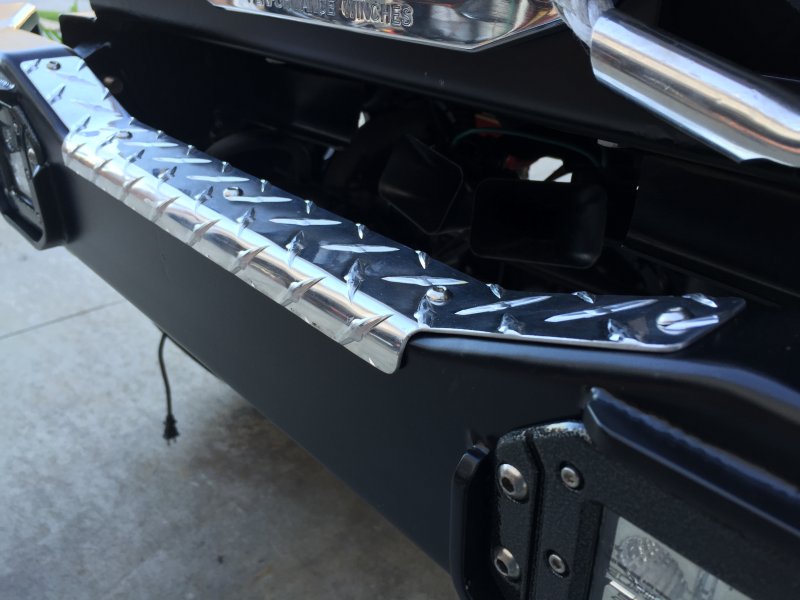
Close-up of the diamond plate step
After bending the aluminum I drilled a few holes and tap the bumper and secured it with a couple button head stainless machine screws.
11-Feb-2015
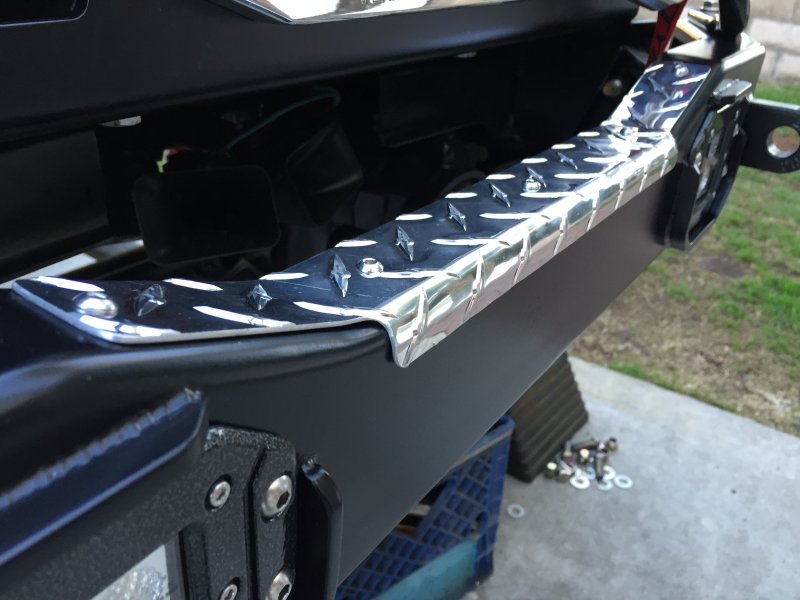
Passenger side view of aluminum step plate
This view shows the contour of the bumper matched by the aluminum diamond plate step.