07-Sep-2014
Interior going back together
Now that the liner is dry I am able to start putting some of the interior panels together. These panels need to go in befor the cage goes back in
07-Sep-2014
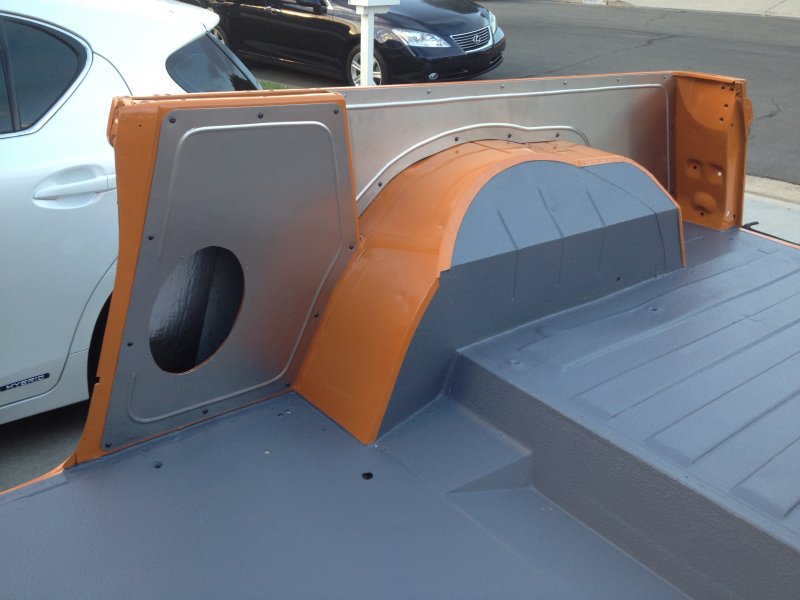
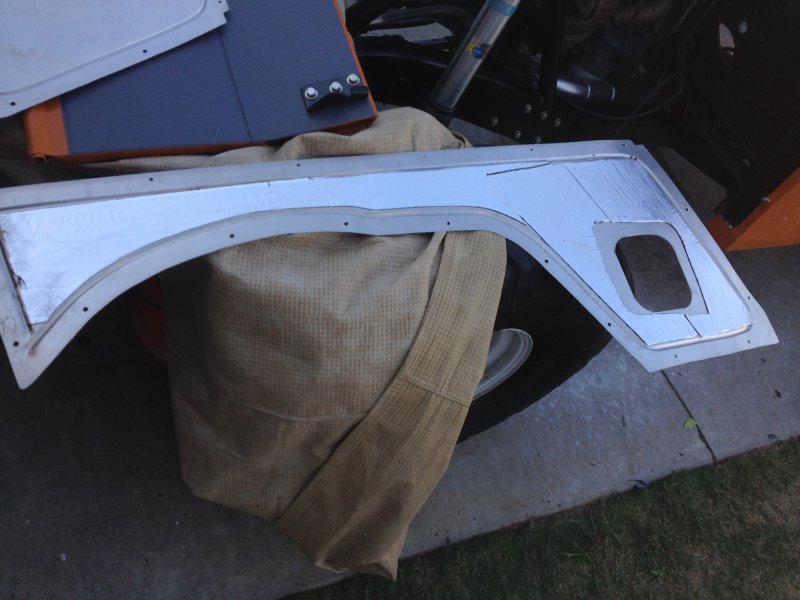
Aluminum panels
The rear panels are in with the exception of the drivers side rear panel. I need to cut the opening for the gas fill.
07-Sep-2014
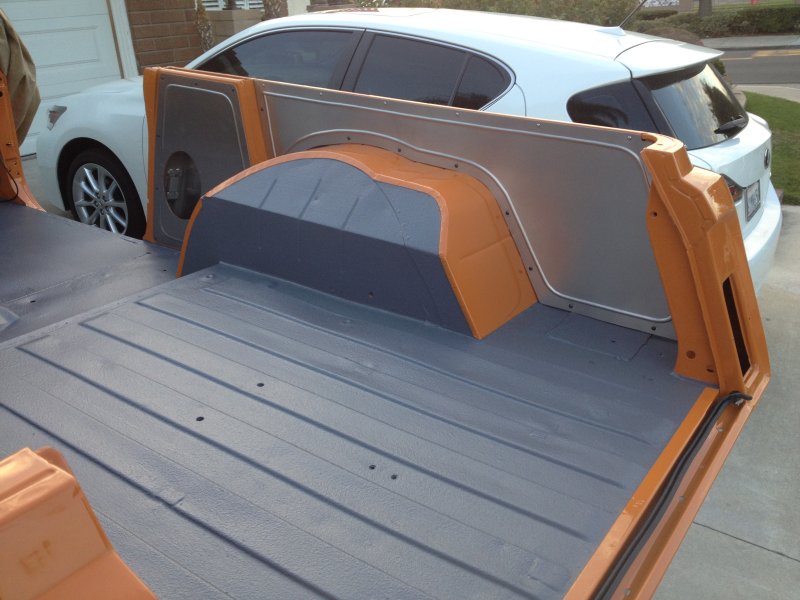
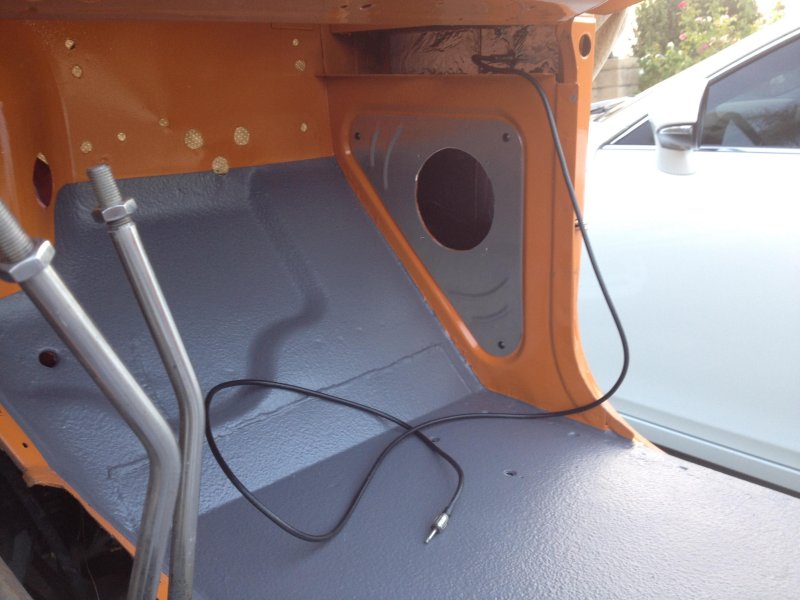
Front speaker panels
The front speaker panels are bolted in place.
13-Sep-2014
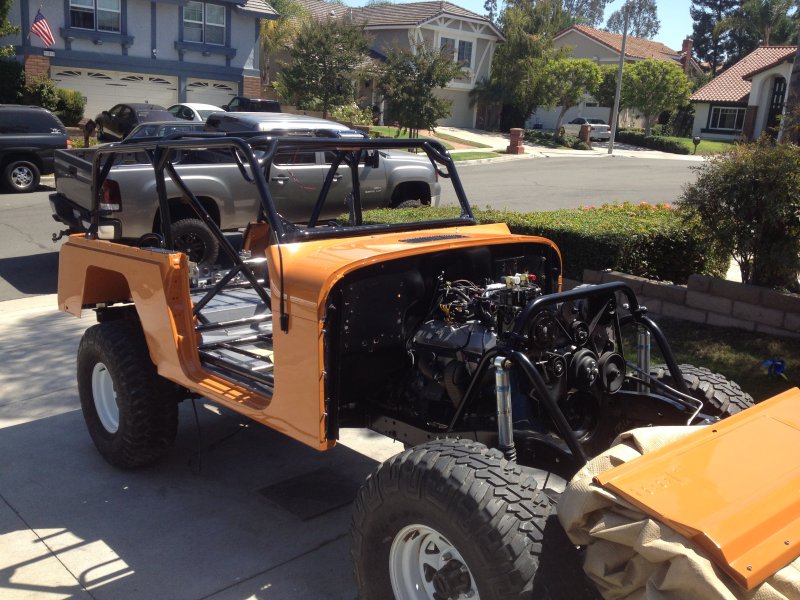
Cage back in!
I recruited a handful of my friends to come over and give me a hand moving the cage out of my back yard, over a fence, and down an incline. Once we made it past all of that, it slid into the Jeep like butter.
Having six other guys there to help me made re-installing the cage very easy.
13-Sep-2014
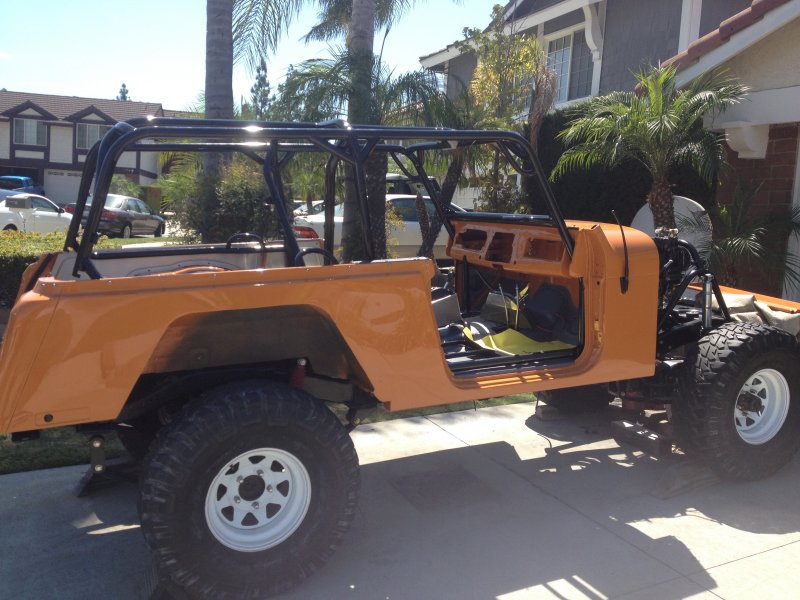
Looking like a vehicle again!
Now with the cage back in the Jeepster it's starting to look like a vehicle again.
13-Sep-2014
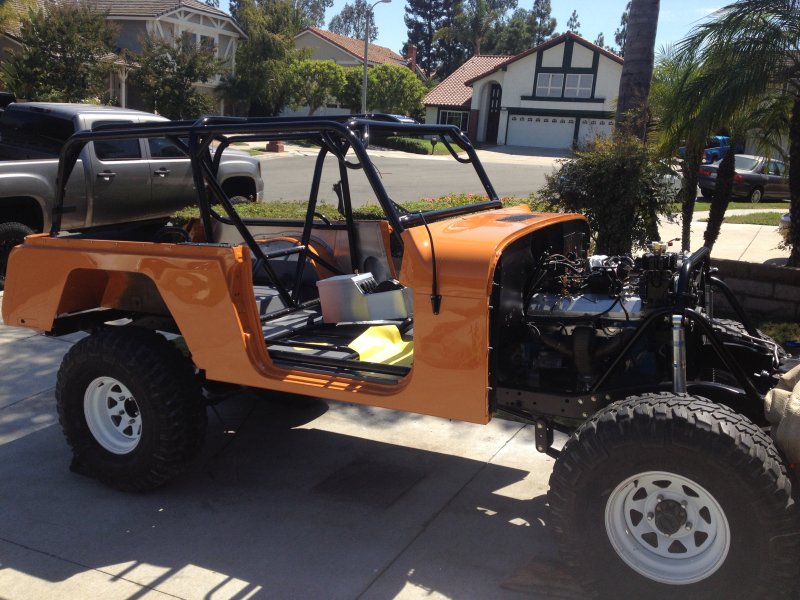
Getting closer to completion
Now that the cage is back in the Jeep I can start the re-assembly of everything that on and around it.
14-Sep-2014
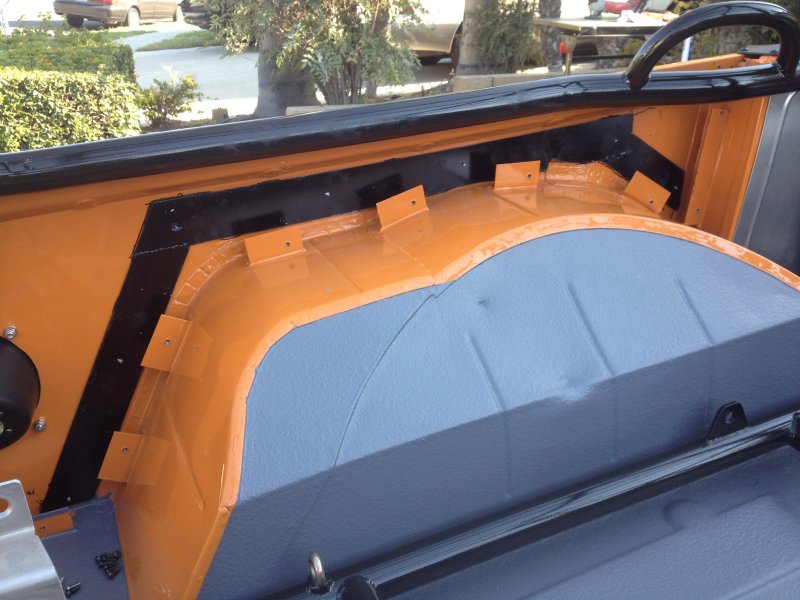
Backing plates installed
After I installed the cage I realized that the horizontal cage bar in he back went right across the mounting screws for the rear aluminum panels. The problem is that I was putting off some backing plating that I needed to install until after the cage was installed, so with this new problem I needed to take care of this before I bolt the cage down to the floor.
I had to take out all of the cage mounting bolts and lift the back of the cage up about 2 1/2" to access the mounting screws on the rear panels.
I used some 1/8" cold rolled steel plate to be used as backing plates for some tube flares that I will be building. Once they were made, I painted them and then sealed them to the inside of the body using pop rivets to hold the plates firmly in place.
It wasn't much fun drilling thru my rear fenders right into the new paint! Once I build the flares the rivets will be removed and replaced with mounting bolts.
14-Sep-2014
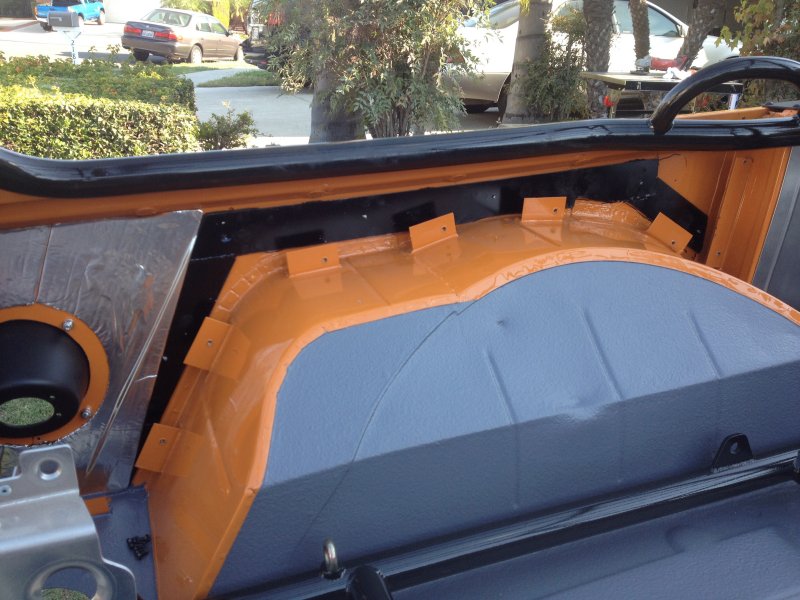
Sound deadening
I used a little sound deadening material to try and keep rattles down. I know it's a Jeep but a little less rattle in the rattle department is always good
14-Sep-2014
Both sets of backing plates done
Both sides are complete and sound deadened.
14-Sep-2014
More sound deadening
I installed some mat on the aluminum panels to stop the tinny sound that comes from panels like this.
14-Sep-2014
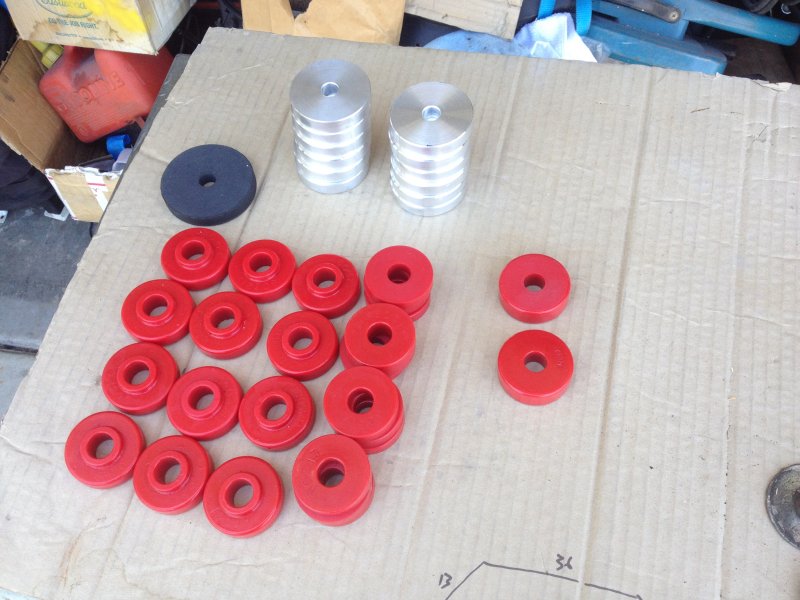
New body mounts
Now that the frame is all painted I can remove the old worn rubber body mounts and be done with the 1 1/2" body lift. I machined some 1/2" thick body washers that will actually give the body 1/2" spacing.
Tonight I removed all of the old junk and all of this new hardware was installed with some new grade 8 mounting bolts. The body is now buttoned up tight and I can now mount the fenders and grille.
09-Sep-2014
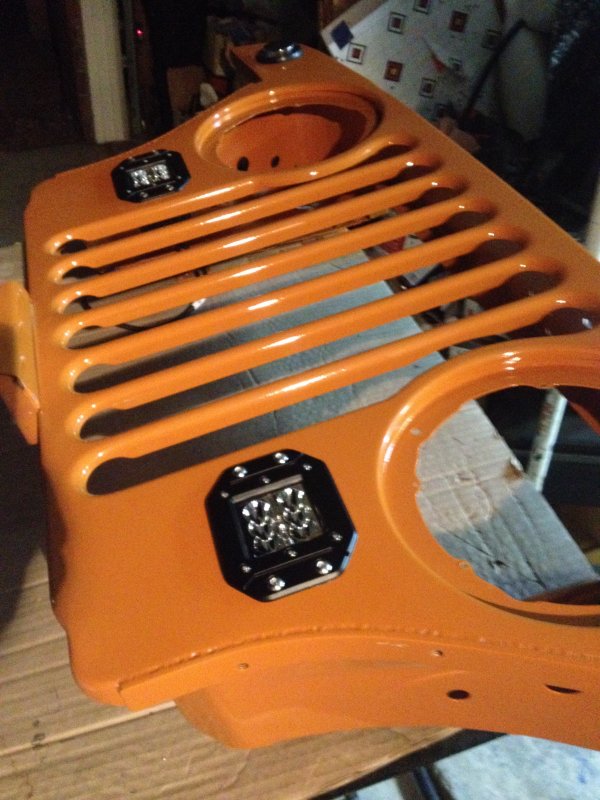
Bolting on some accessories
This is the fun part, bolting on all of the little accessories that were planned throughout the build.