28-SEP-2013
A problem that needs correcting
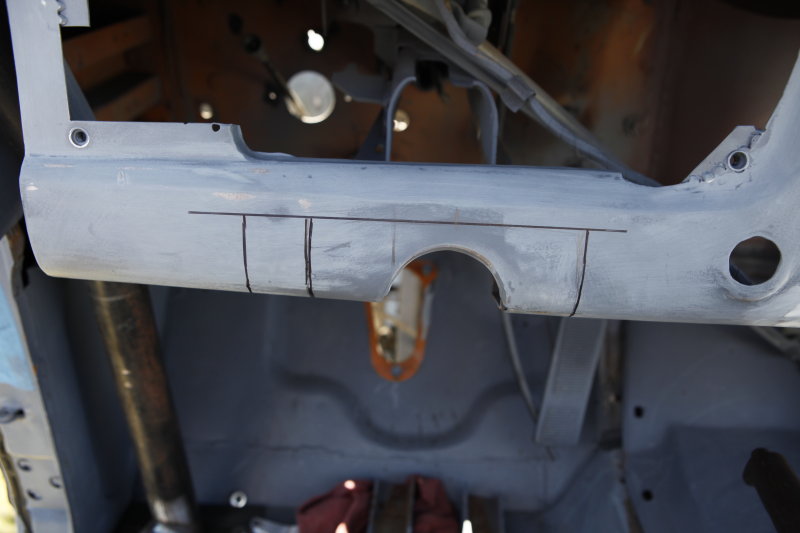
There has been something in the Jeepster that has bothered me for a while and I really didn't notice it until I really sat in the driver's seat and started fitting things within the reach of the driver. Now I can only assume that this problem existed before I changed the steering column but I didn't notice it because I just didn't spend very much time in the jeep. When sitting in the drivers seat the steering wheel is facing slightly right towards the passenger. After measuring the base location and measuring the under dash mount, the problem was clear. The top mount is 1 3/8" towards the right from where the base mount is thus pushing the steering wheel to the right.
I called another Jeepster owner and his top and bottom mounts measured the same dimension. The only difference I could figure out is that mine is a 1972 and his is a 1967.
28-SEP-2013
Time to move the mount
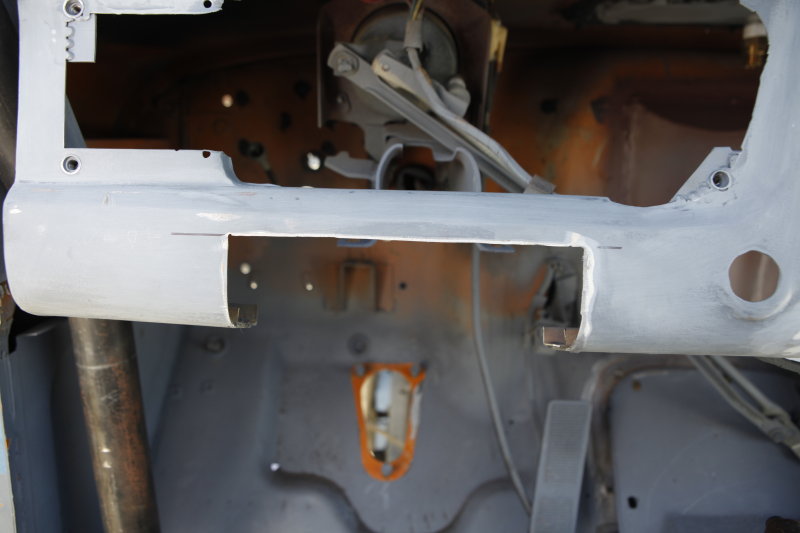
I decided to move the upper mount and make it correct because if I didn't fix it now it will always bug me. The steering column has a big sturdy mount coming off the firewall and that will have to be cut and moved as well. Moving the bottom mount would have been much easier but there were two problems with moving the bottom mount. One problem is that the steering shaft that connects to the steering box would hit the header and the other problem is that the brake pedal is already too close to the column shaft and if the base was moved over to the right the pedal would hit the column.
So I opted to move the top mount over by 1 3/8". A test fit made the wheel perfectly straight and a much better feel.
28-SEP-2013
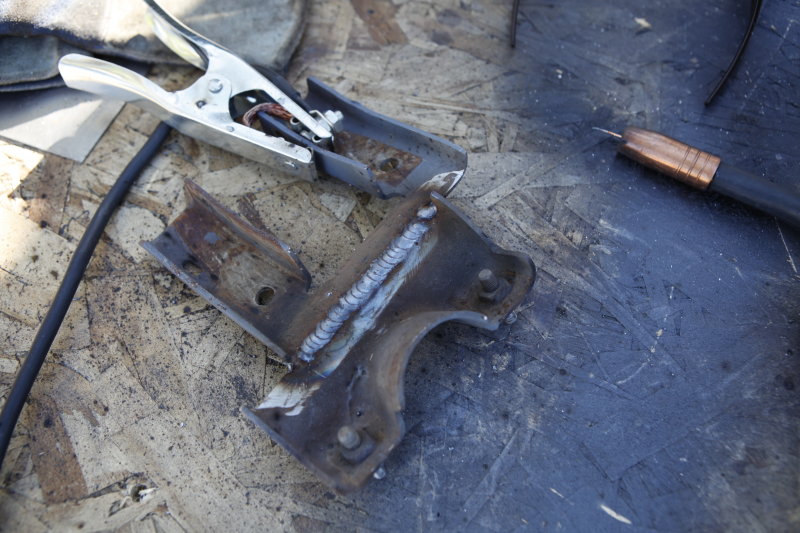
Clamped for welding
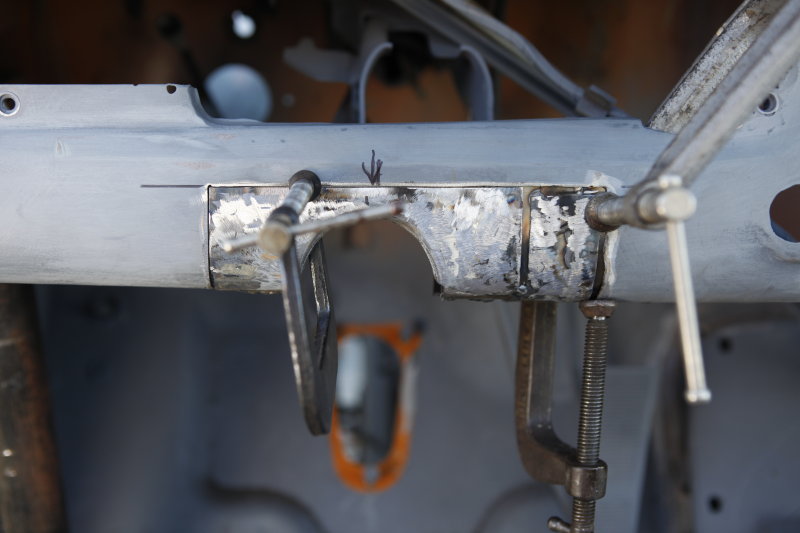
I made some backing material out of 18 ga sheet metal because the dash metal was thin like about 20 ga. I clamped it all into place and then proceeded to tack it in place.
28-SEP-2013
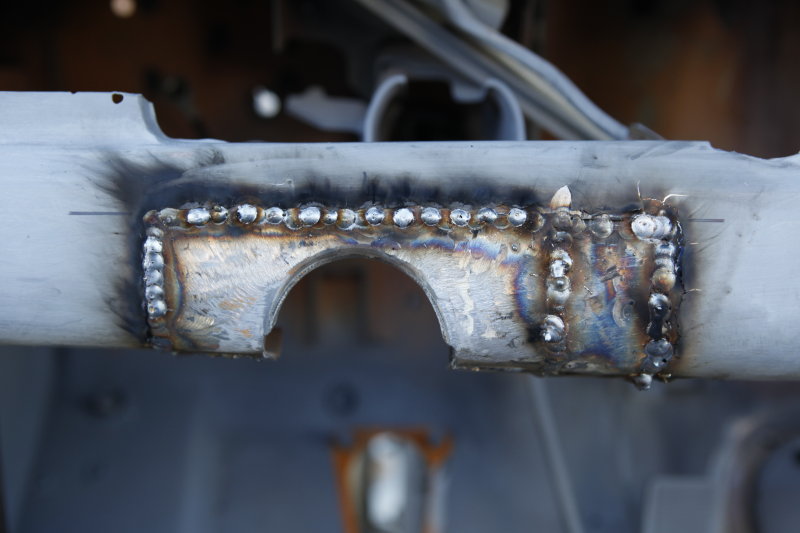
Welded solid for strength
I was able to weld the new moved mount with the help of the 18 ga backing strips. Everything lined up well and the backing gave some good material to weld to.
28-SEP-2013
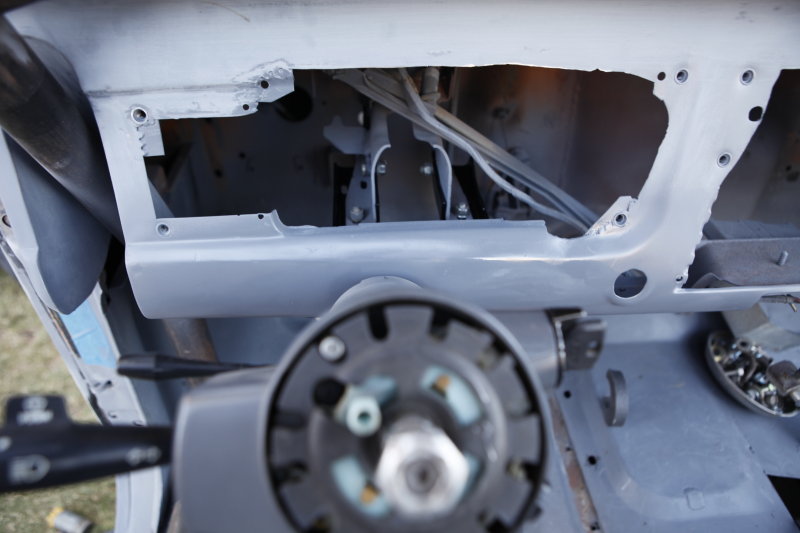
Main steering bracket
Once I moved the radius in the dash I needed to cut and weld the main support bracket to fit correctly. I was going to lay down a small piece of flat bar for added strength but I feel that by welding both sides that it should be good and strong.
28-SEP-2013
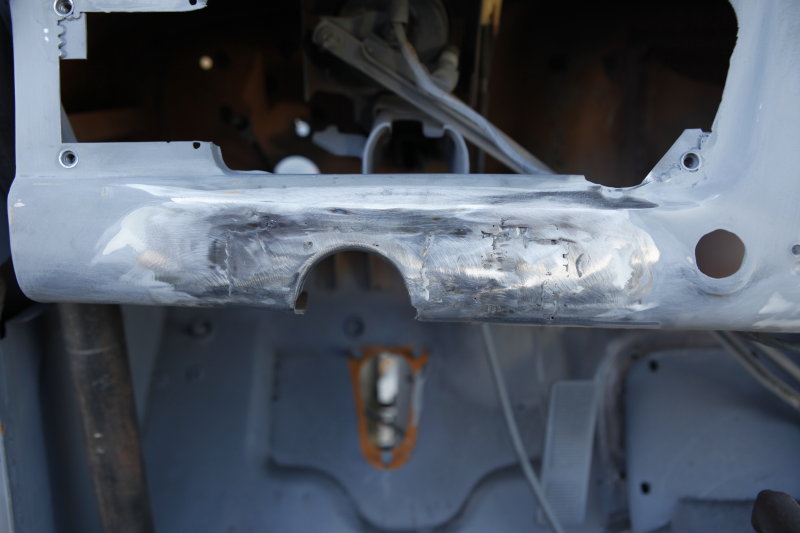
Welded and ground smooth
I ground down the welds smooth and everything seems pretty straight, not perfect but straight. A thin coat of plastic filler and some sanding and it should look pretty good.
29-SEP-2013
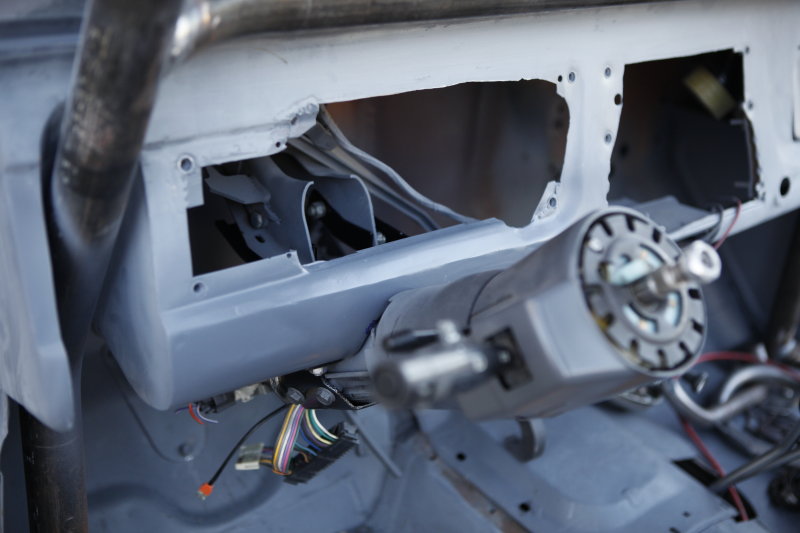
Straight steering column!
I installed the column but not before re-drilling the column bracket to fit the new straight position. I also installed the seat back in, threw on the steering wheel and it is now in the center of the seat and the steering wheel is straight.
Now i'm not bugged by the column anymore!
29-SEP-2013
Filler and primer
I used a thin layer of body filler to get the area straight and then I shot it with three coats of epoxy primer over the bare metal and to to use a base to sand smooth.
29-SEP-2013
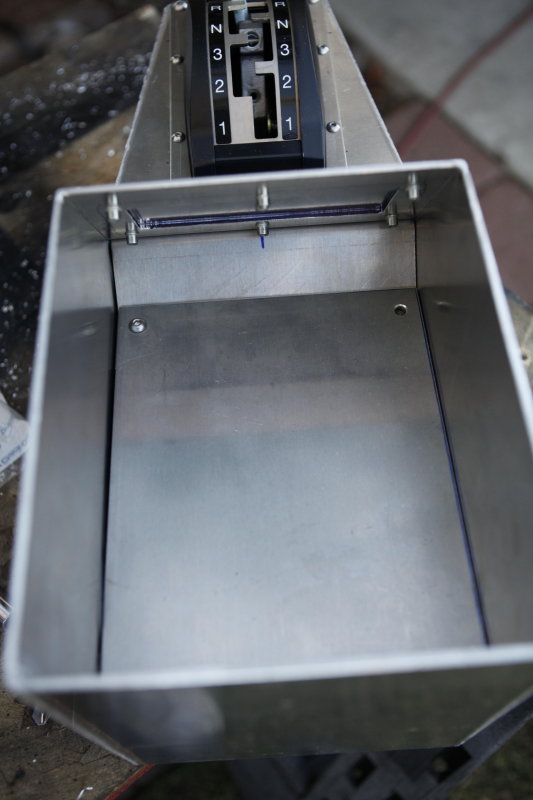
Center console tray
Because I need to access the mounting bolts for the console and the linkage for the shifter I needed to make the glove box tray in the console removable so I bent some supports and welded them in. I used some 1/4-28 nutserts in the brackets to be able to bolt in the tray.
I also used nutserts to fasten the switch plate in place.
29-SEP-2013
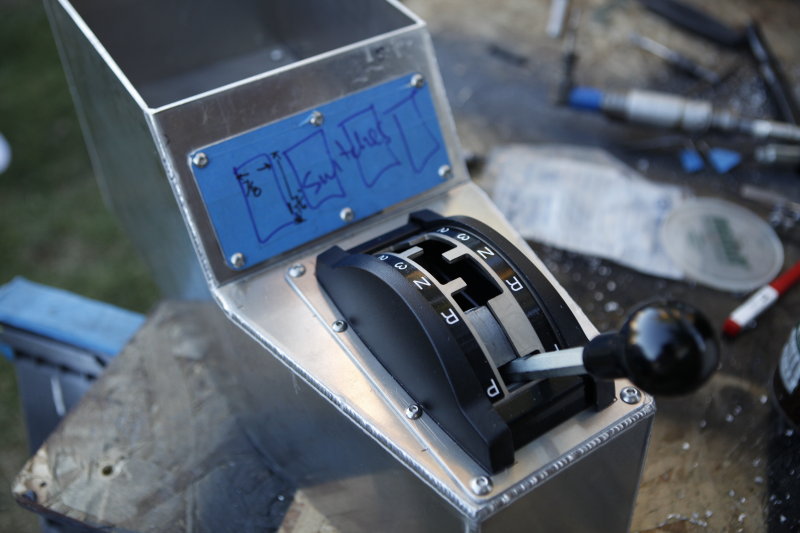
Bolted in shifter
I used two different sized nutserts for the shifter mounting plate, 1/4-28 on the corners and 10-32 for the center mounts. I probably would have been fine just using the 1/4" hardware but I was in the mindset that more is better!
17-OCT-2013
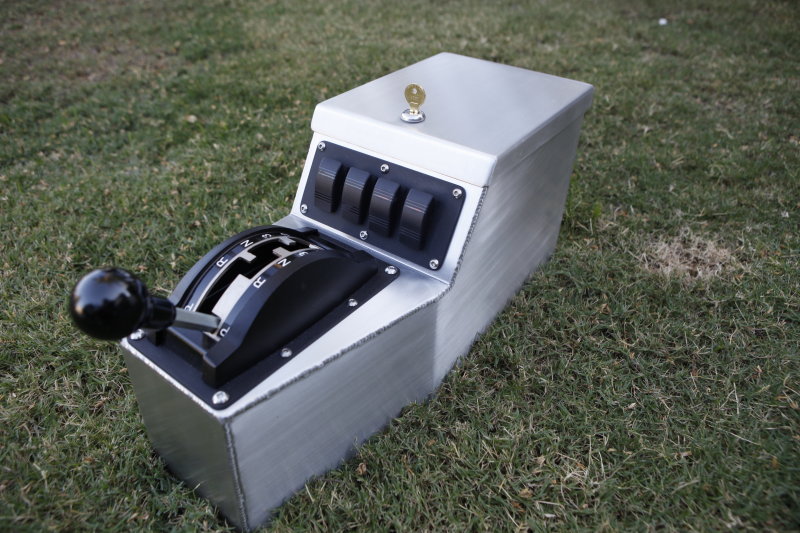
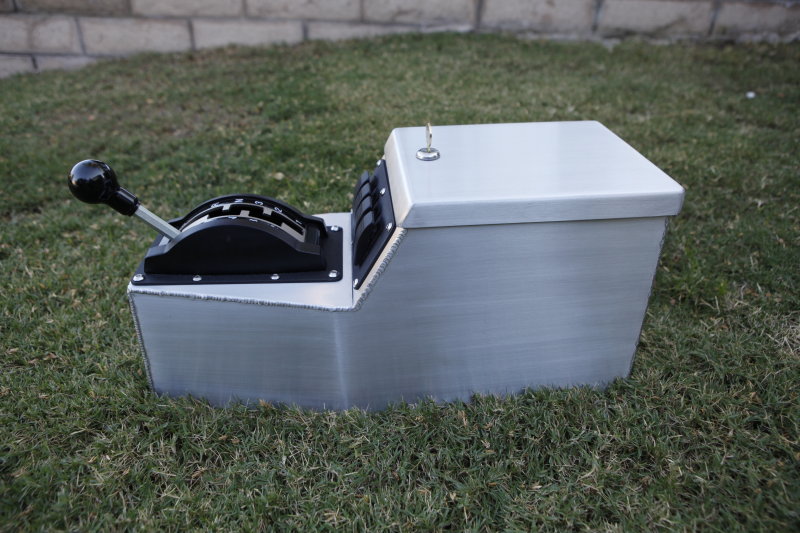
Console complete
I was able to finish all of my powder coating for the console pieces, sand the scratches out, finish the lid, weld the hinge to the lid, and install the lock.
17-OCT-2013
Sanded finish
I was able to sand a uniform grain in the aluminum and then seal it with a product called Shark Hide. It prevents oxidation and corrosion of aluminum so maybe this finish will last for a few weeks!