


|
|
|
|
|
|
| James V. Roy | profile | all galleries >> Guitars and stuff >> The Projects >> Building a Telecaster | tree view | thumbnails | slideshow |
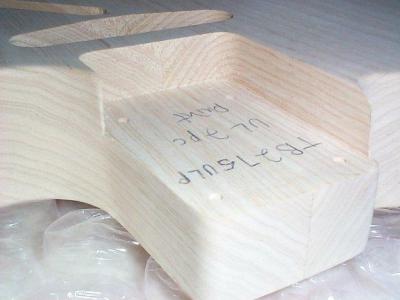
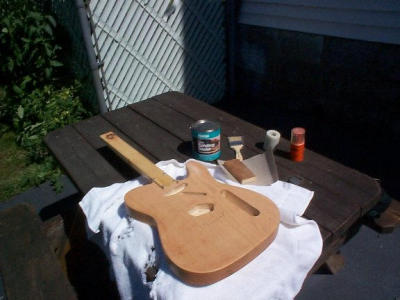
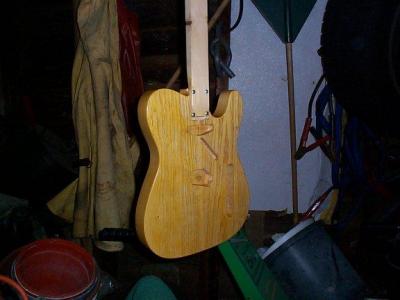
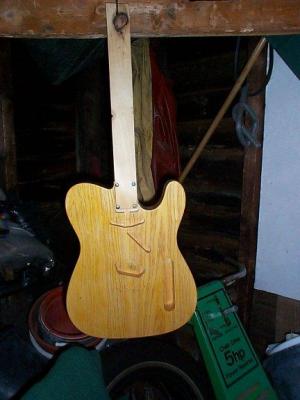
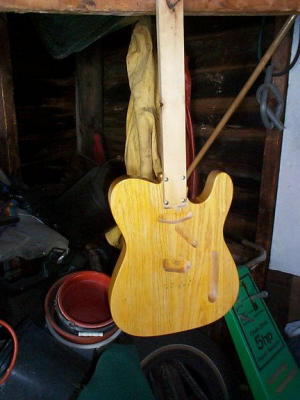
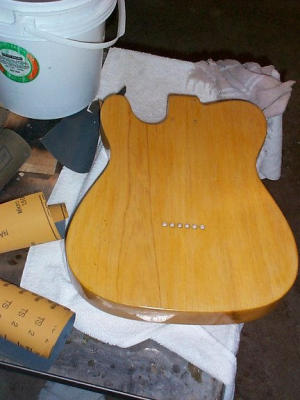
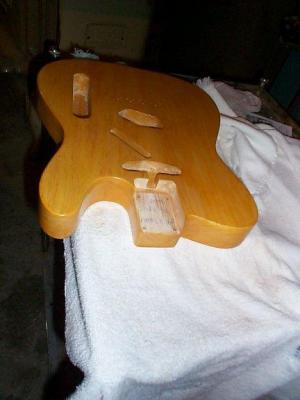
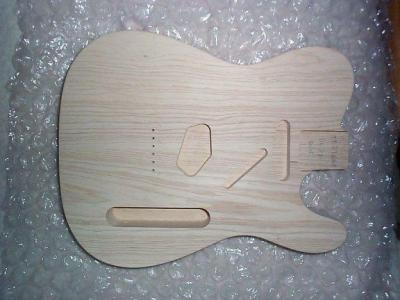 50's style 2 piece ash body from MusiKraft in Sicklerville, NJ |
 I started this project intending to just replace another body for this one. |
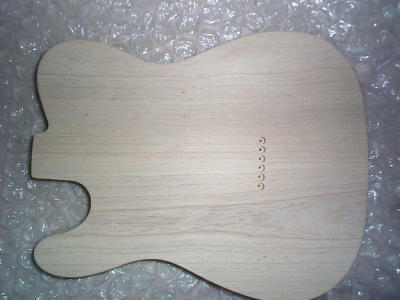
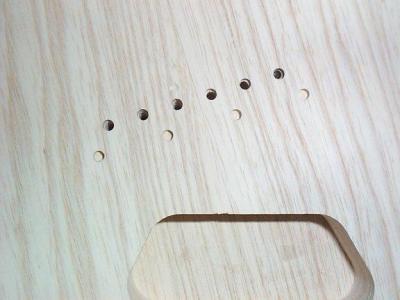
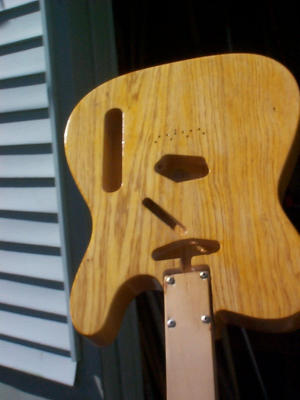
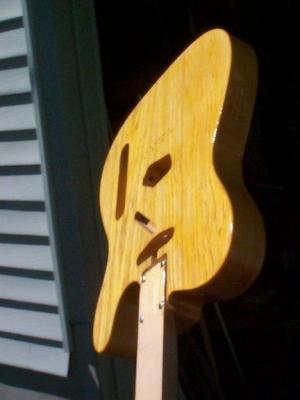
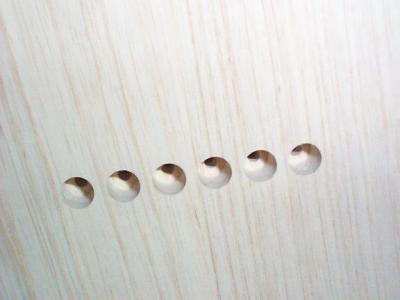 The holes for the string ferruls did not come countersunk |
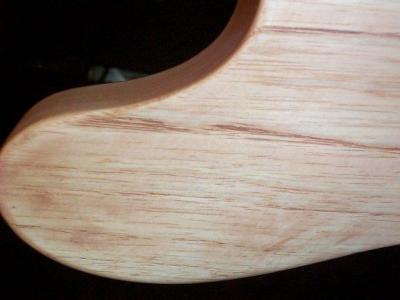
 I like the squared off edges and edge radius similar to early Fenders |
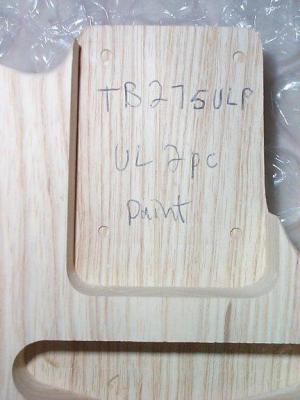 This body was considered paint grade and therefore only cost about a $100 |
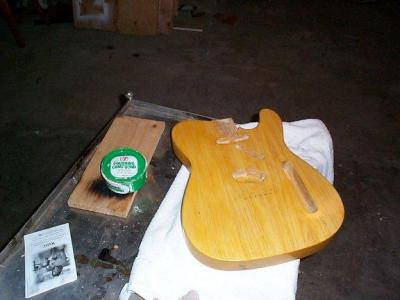
 The bridge mounting holes were tapped but not drilled (as were the neck) |
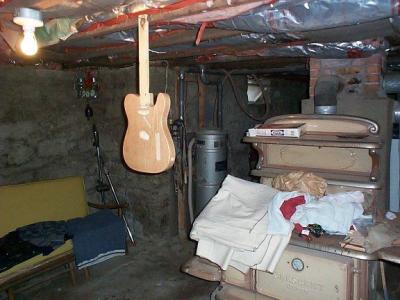
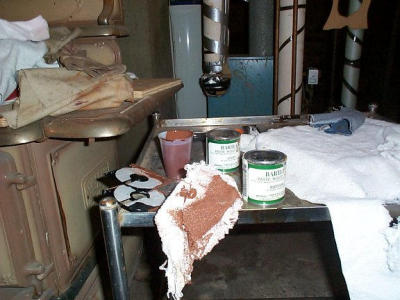 Note my super clean work area. |
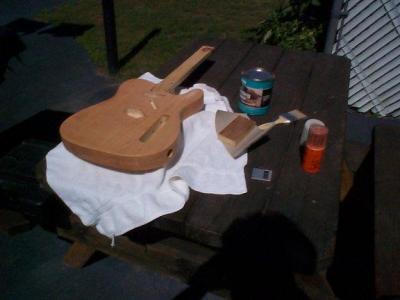
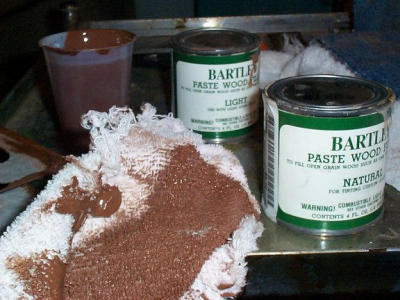 To get the proper shade of filler for the ash I mix light with natural |
 The filler is applied into the grain and the excess wiped off |
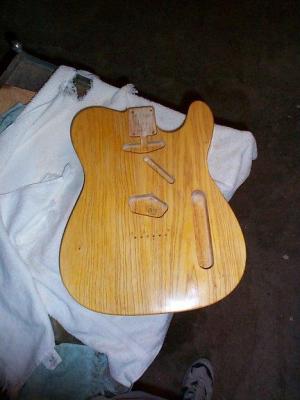
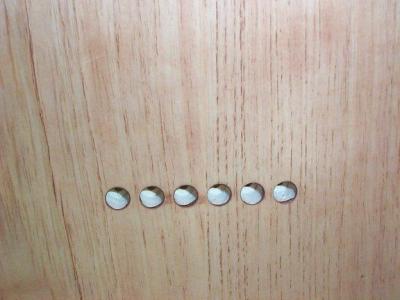 I'll clean the ferrul holes out later |
 It will hang to dry overnight |
 At this stage neatness is not a big concern |
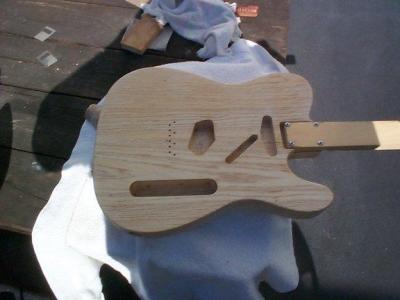
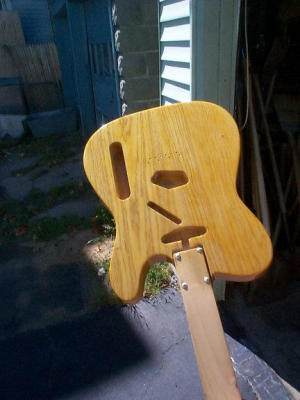
 The next day I've taken it outside to sand the excess filler off |
 I'll remove the filler from the surface leaving the pores and grain filled |
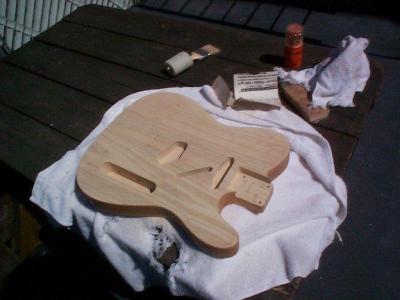 A sanding block helps keep the surface flat |
 A vibrating sander speeds things up |
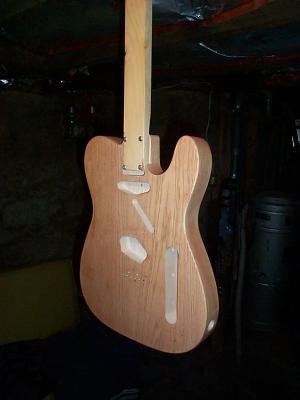
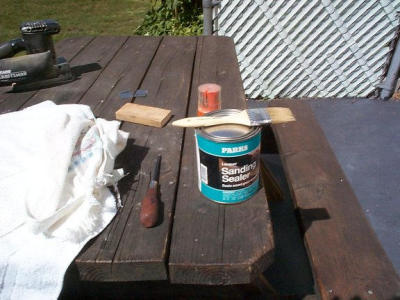 I'm now ready to apply a lacquer sanding sealer. |
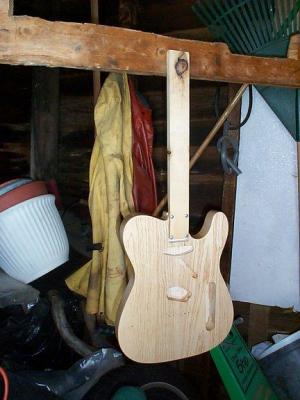 Brushed on it will hang to dry overnight |
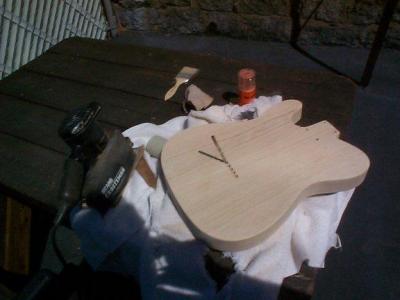
 Back outside again to sand off the sealer from the surface |
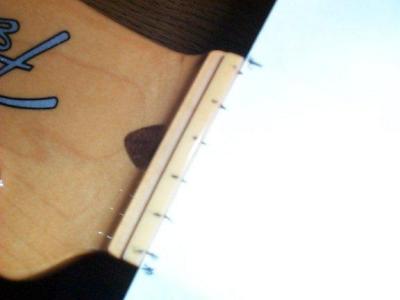
 Nearly messed it up trying to rub on a tint coat (I also added the channel to the neck) |
 The lacquer is strong so will hang in the garage overnight |
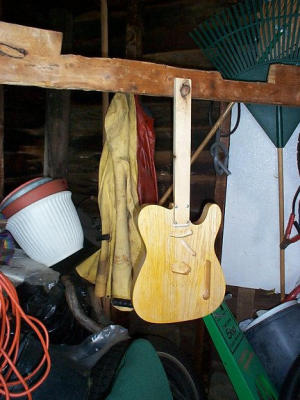
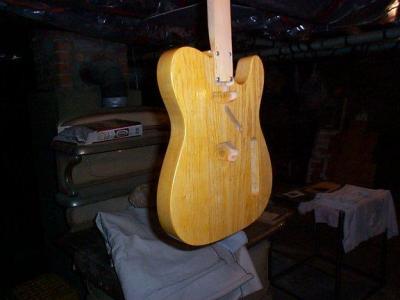
 Using a foam brush I was able to tint it a little more consistently |
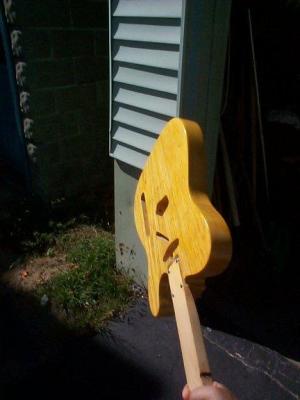
 I now begin to spray several coats of clear nitro cellulose lacquer |
 It helps doing this in the sunlight lacking a proper booth |
 a couple of coats, sanding in between and I let it harden overnight |
 Back outside for a few more coats |
 A lot of the coats will come off during the wetsanding process |
 That's about it for spraying |
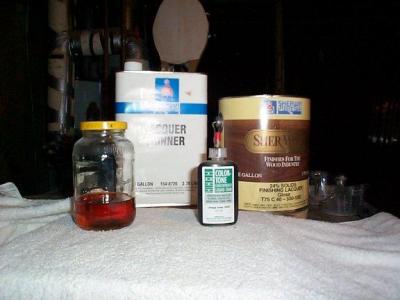 I used a Sherwin Williams lacquer and and amber tint |
 after drying overnight outside its back in the cellar for a week |
 A week or 2 (I forget) to cure and I'm ready for sanding |
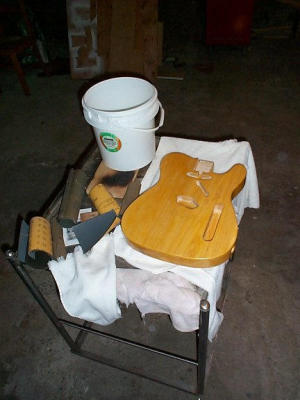 Different grades will be used to smooth the finish |
 The bucket of water is there to keep the paper clean and wet |
 I do the top, back and then the sides |
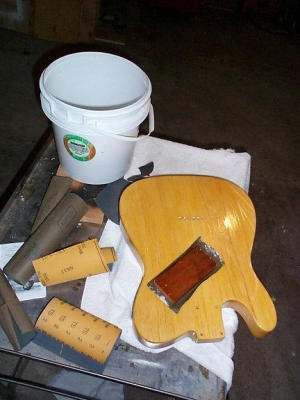
 After the sanding comes the rubbing compound |
 Its pretty much the same as automobile finishing |
 Lots of elbow grease |
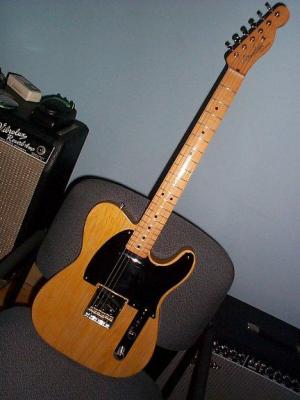
 Well, we got a body. Might as well finish it. |
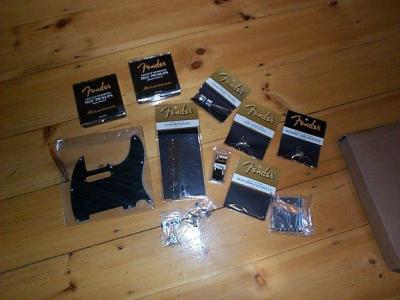 I most of the other parts (Fender) from Smart Parts (the pickguard will go back) |
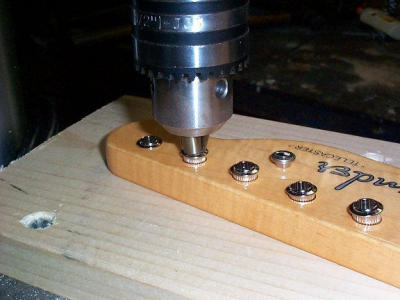
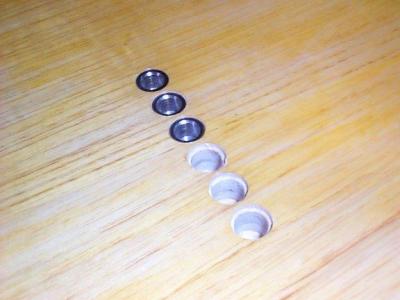 A freind had a tool that allowed us to counter sik the ferrul holes very accurately |
 I had to mod the pickup cavity a litlle to get things to line up |
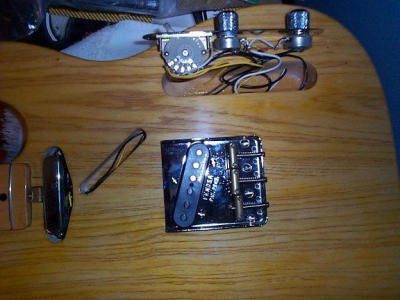
 I drill a hole to run a bridge ground before installing the bridge |
 I chose a vintage 3 saddle bridge with the Fender Noiseless pickups |
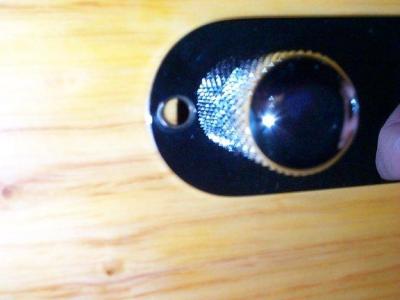
 I begin to assenble the control plate but am awaiting a 4-way switch |
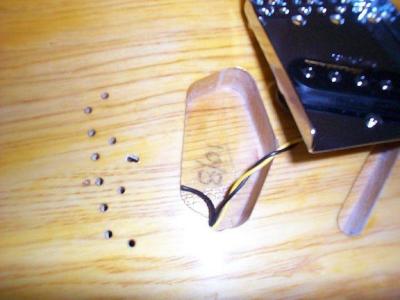
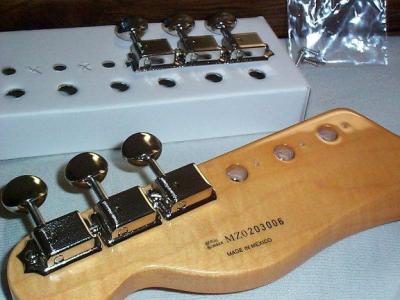
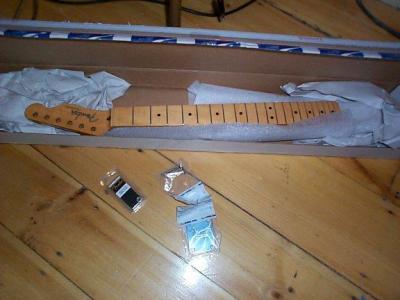 I got a Fender 50's MIM neck on ebay (this saved a lot of work) |
 The neck came finished, with a serial number and tuner screw holes drilled |
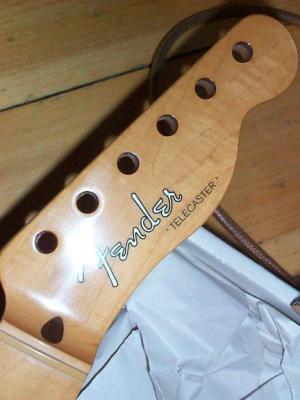 There is even a logo from the factory |
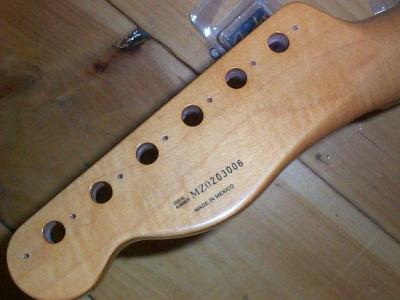
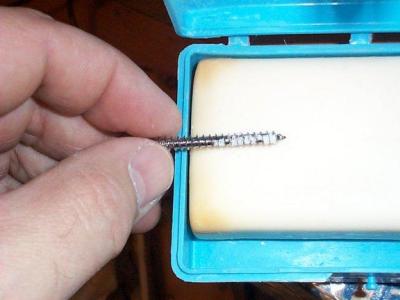 After drilling neck holes I soap the neck screws for easier installation |
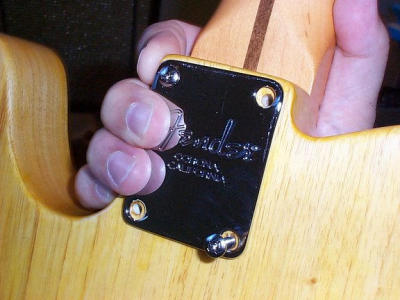 The neck also came with a Fender neck plate and nickel plated screws (not slotted though) |
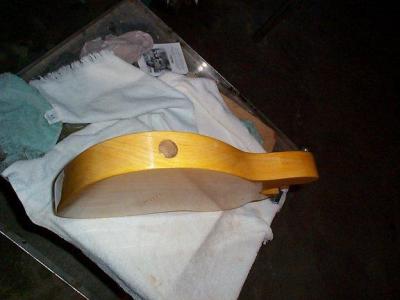
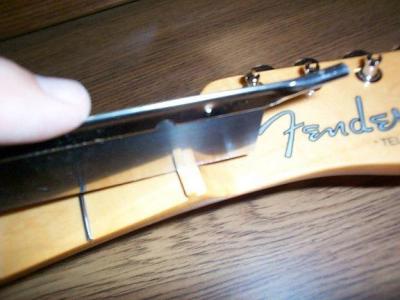
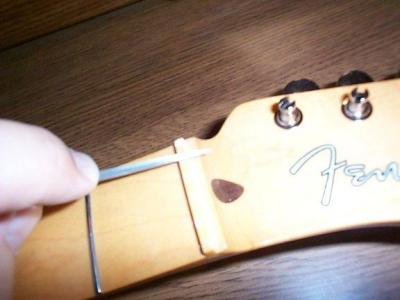
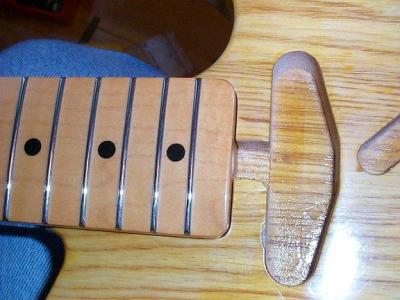 The necks on. The channel aids in truss rod access |
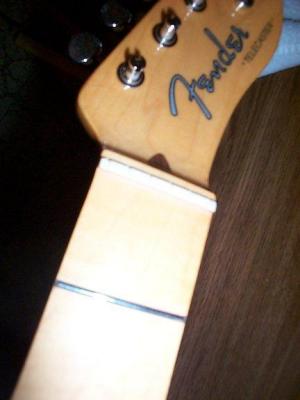
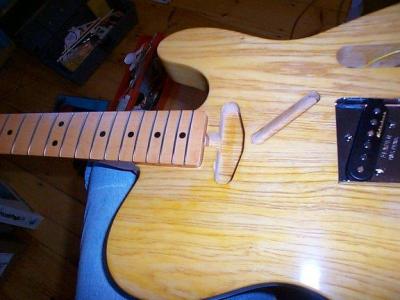 Getting there. |
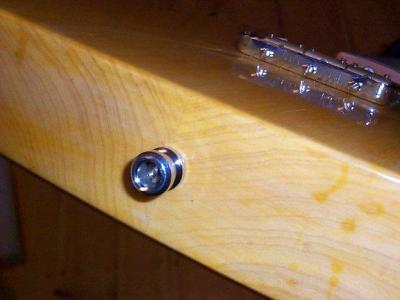 I had some strap buttons, the locking kind (but no locks) |
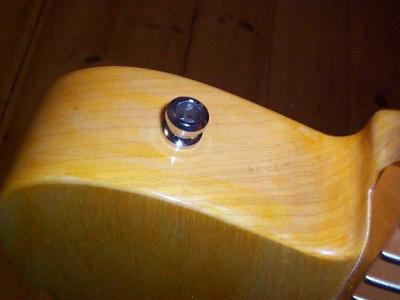 They'll do fine |
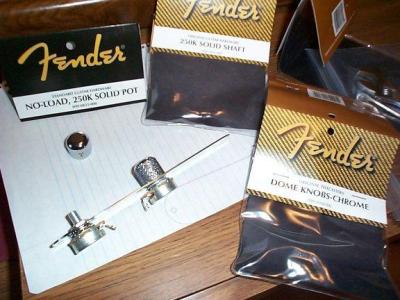
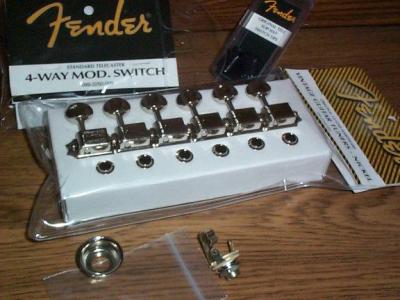 The rest of the parts are here |
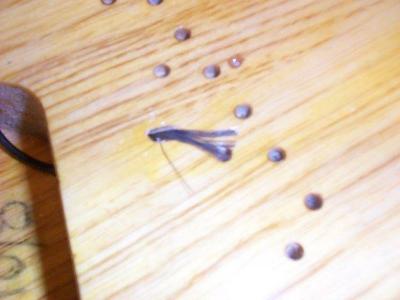
 The drill press comes in handy pressing the tuner bushings in |
 The Vintage style tuners just screw on (slotted) |
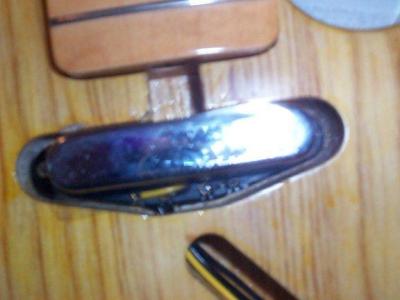
 With the VN pickup I found it necessary to dig out the the cavity a bit |
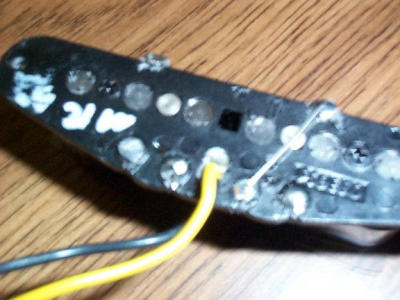 The ground strap will be removed and a third wire soldered as per 4-way switch spec. |
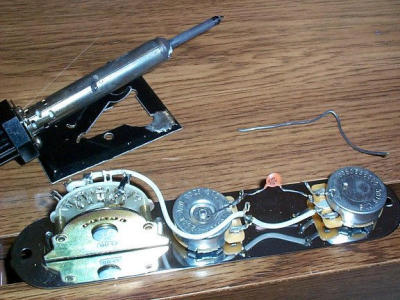 The only non fender component is the RS ceramic .047 cap |
 All soldered up and nowhere to go (4 way switch and a No-load tone pot) |
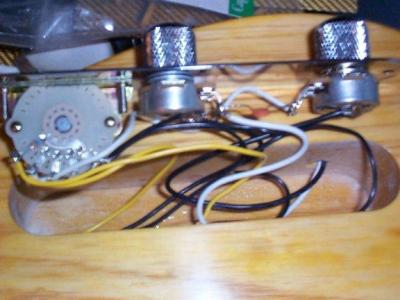 I've don't want to mount the controls without the pickguard |
 The guard was on special order, but I cancelled and bought a 52 RI instead |
 As I thought, the control cavity is too far back |
 I will have to mod the cavity to mount the plate |
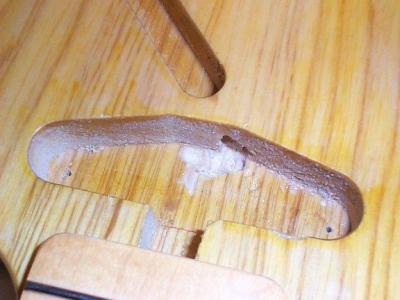
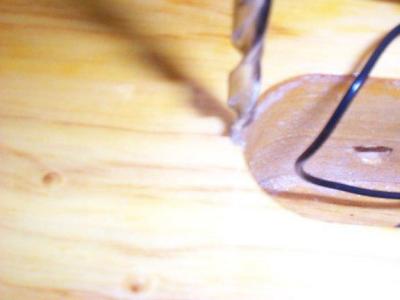
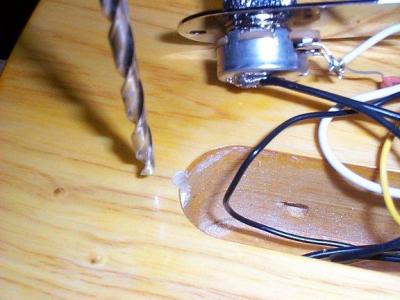 I drill a hole with the press out of the ledge of the cavity |
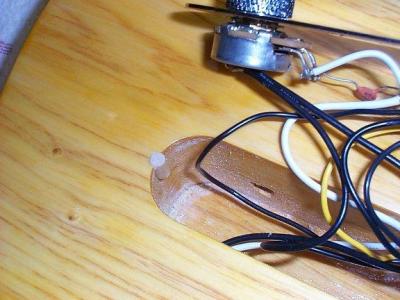 I then glue a piece of dowel in to build up the ledge |
 Using another guitar as a template I've marked the slot positions on the nut |
 I start by cutting slots with a razor saw |
 I use aneedle file set for the thicker string guages |
 I now have rough cut the nut |
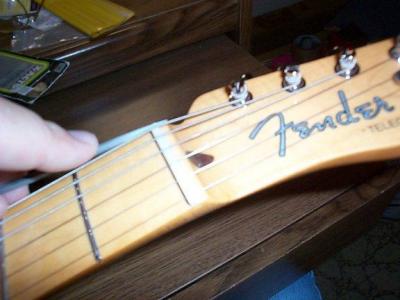 with strings installed I fine cut the nut slot depth |
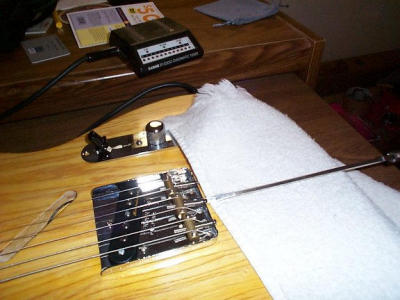 Protecting the finish I intonate it |
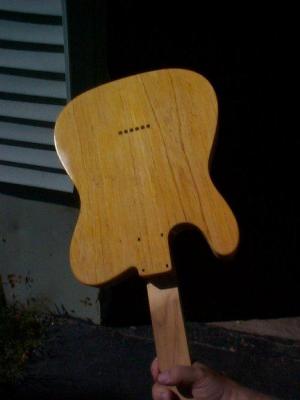
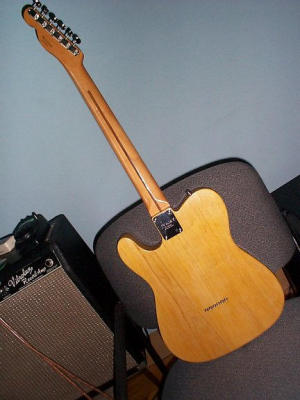 From the back its complete |
 After finishing it, I loaned it to a studio for a couple of weeks and then 6 months later sold it. |
| Roger | 21-Apr-2006 17:20 | |
| massimo terfani | 19-Dec-2005 18:36 | |
| Terry Norman | 15-Dec-2005 04:17 | |
| zak | 19-Nov-2005 22:59 | |
| Gregg in KanzaCity | 02-May-2005 21:03 | |
| Laurence S. Moore | 23-Jan-2005 14:56 | |
| Rick C. | 05-Sep-2004 22:13 | |
| Pat Fenis | 29-Aug-2004 02:11 | |