photo sharing and upload picture albums photo forums search pictures popular photos photography help login
jetdoctor | profile | all galleries >> Deadhorse Cycles >> KE100 Seat Rehab tree view | thumbnails | slideshow

KE100 Seat Rehab

The stock seat on my 1980 KE100 looks great, but after an hour or so, the seat pan is imprinted in your butt. The foam is soft, and the passenger strap is also irritating. I put a seat off of a 1998 KE100 on, which is better, but still gets uncomfortable. It is taller and narrower than the early seats, and the foam is thicker. Like most seats, the foam had started to deteriorate and needed some help. It also had a passenger strap which I removed, but still left an imprint in the foam and cover.
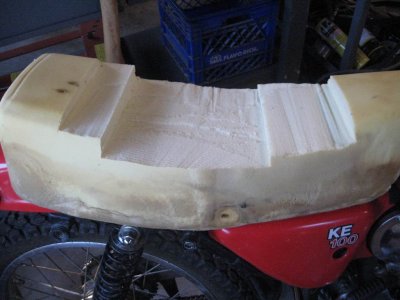
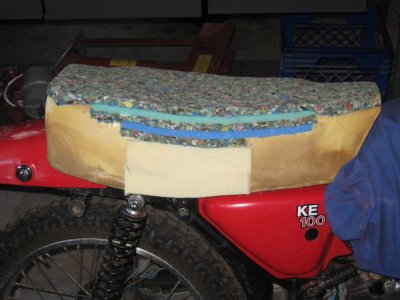
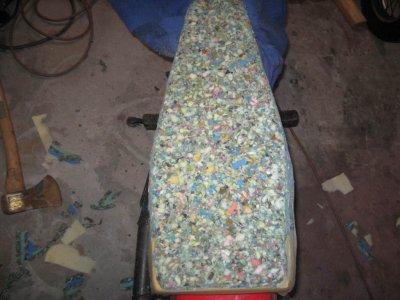
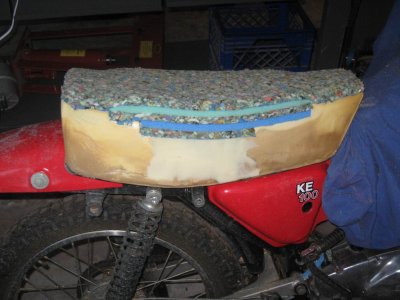
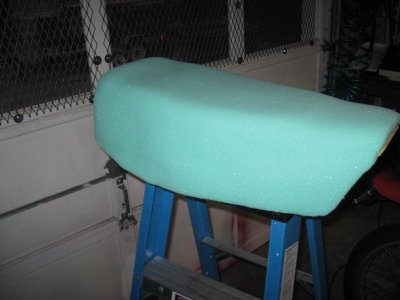
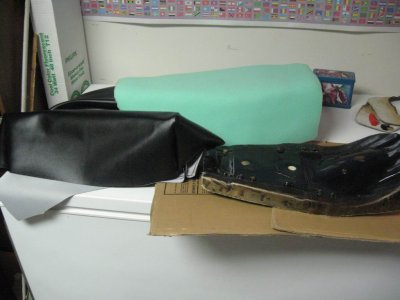
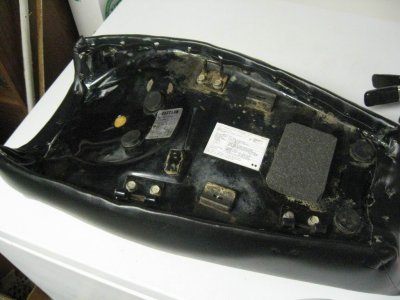
After doing some research on redoing seats, I dove in on this one. First the old cover was removed, being careful not to break off any of the hold down points. The foam was then cut out with an electric carving knife I picked up at Walmart. A mixture of several foams filled the cutouts. The rebond foam is carpet padding from Lowes. The green foam is from Joanne Fabrics. It was glued together with 3M spray contact cement. The seat is about 1" taller and 2" wider where I normally sit. Final shaping was done with a flap wheel on a 4.5 inch grinder. It was then covered in .50 high density foam and recovered. Adding this layer of foam is important. It smooths out the foam and allows the seat cover to lay flat with no bulges. This extra layer required making a larger seat cover. If you intend on using a stock seat cover, then you will have to use a thinner foam top layer, or cut down the base foam.
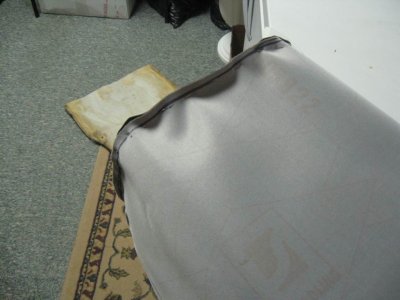
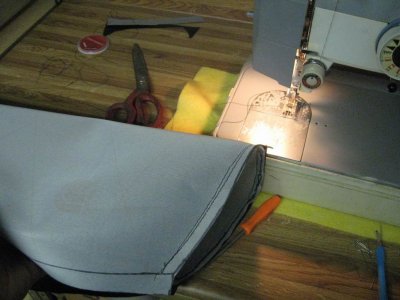
This was my first attempt at sewing a seat cover. It is made from marine vinyl from Joanne Fabrics. I used the old seat cover as a pattern after cutting it apart, and added about .75" all the way around. I also added about 1.5" to the height. A 1" wide strip was sewn around the bottom to give more strength where the cover attaches. I pinned the seat cover together before sewing. There is probably a better way--the pins caused a couple of puckers in the seams. On my next seat cover, I may try some basting tape. My old White sewing machine pulled through again. I used a straight stitch, and made 2 passes.
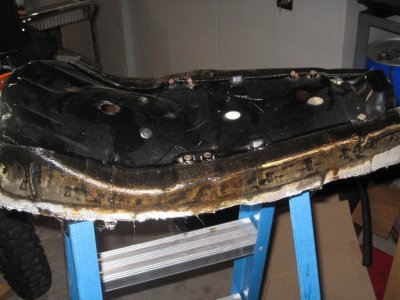
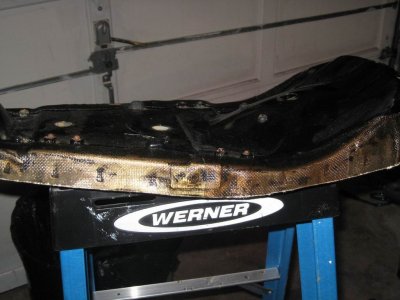
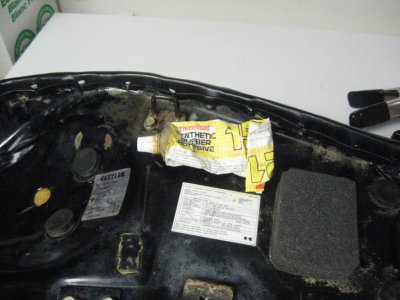
The cover was attached with glue and the points. The pan had a couple of cracks around where the hold down points were punched in the pan, so I straightened the pan out and fiberglassed the edges before recovering. As I stretched the cover, I used a xacto knife to make small cuts for the points to pass through and bent them over. The cover was still pulling away in places so I glued it down with some trim adhesive.
The result is a much more comfortable seat. The seat is wide enough to support my butt, and taller which helps my long legs. Adding the stiffer foam also gives more support and absorbs shock.
previous pagepages 1 2 ALL next page
IMG_3016.JPG
IMG_3016.JPG
IMG_3017.JPG
IMG_3017.JPG
IMG_3018.JPG
IMG_3018.JPG
IMG_3019.JPG
IMG_3019.JPG
IMG_3020.JPG
IMG_3020.JPG
IMG_3022.JPG
IMG_3022.JPG
IMG_3026.JPG
IMG_3026.JPG
IMG_3024.JPG
IMG_3024.JPG
IMG_3028.JPG
IMG_3028.JPG
IMG_3029.JPG
IMG_3029.JPG
IMG_3030.JPG
IMG_3030.JPG
IMG_3031.JPG
IMG_3031.JPG
previous pagepages 1 2 ALL next page