


|
|
|
|
|
|
| fred harmon | profile | all galleries >> Galleries >> tireplug | tree view | thumbnails | slideshow |
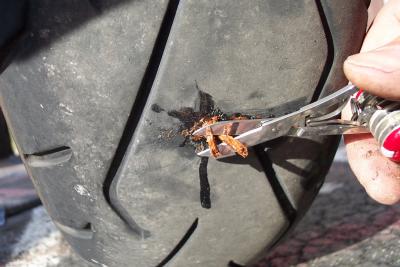
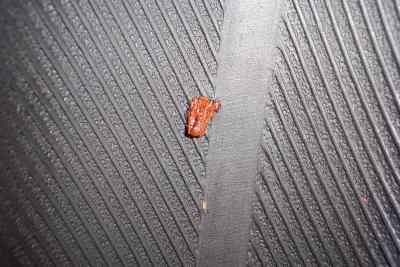
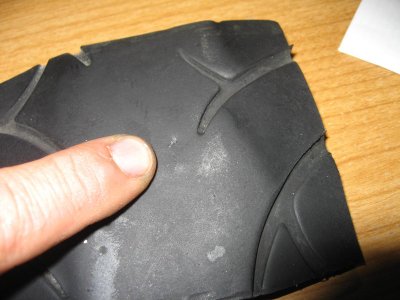
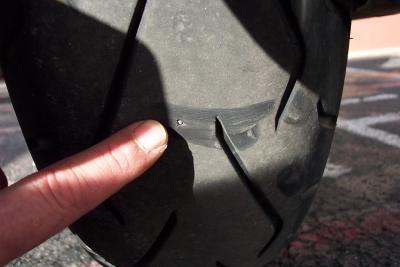 Here is the piece of metal in my tire |
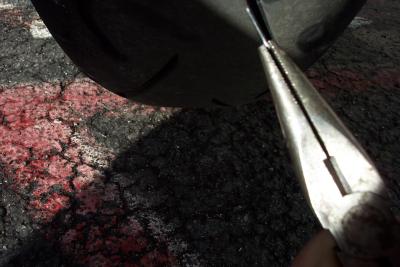
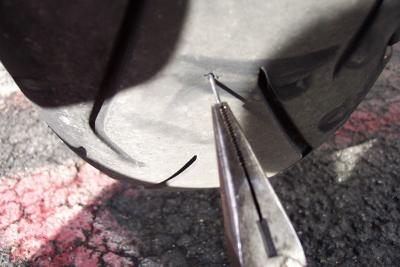 I first pull it out with needle nose pliers |
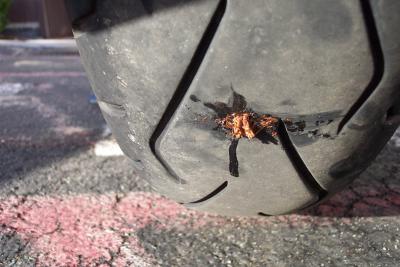
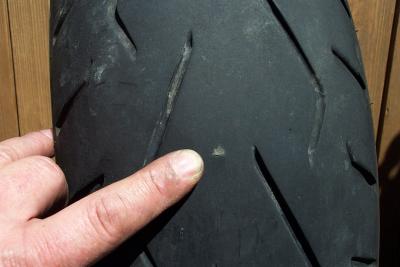
 Then I let ALL the air blow out the hole |
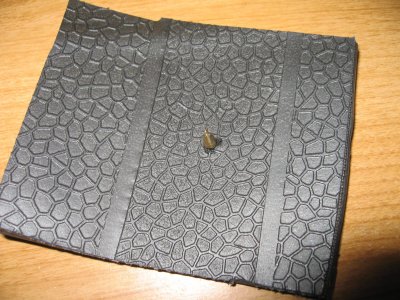
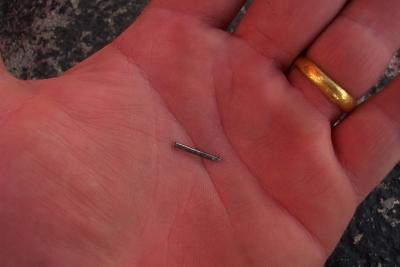 Here is a look at the culprit |
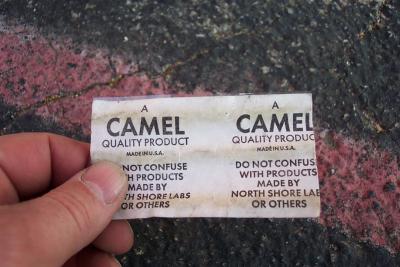 Now I pull out my Camel brand tire plugs |
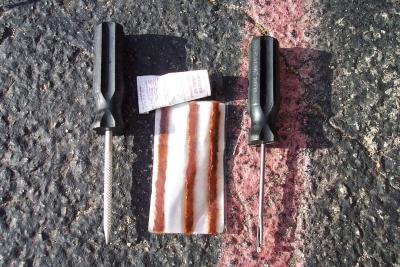 Here is the whole kit |
 I remove one string plug and load it onto the insertion tool |
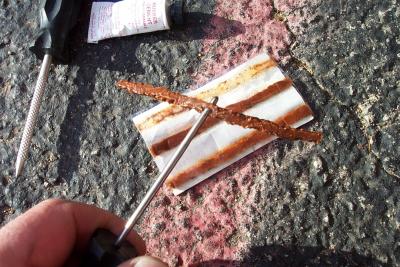
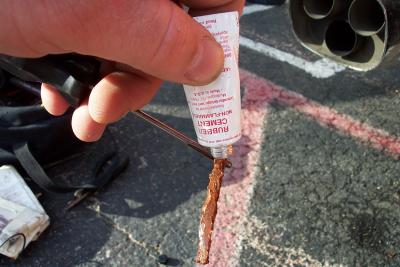 I smear the glue all over it |
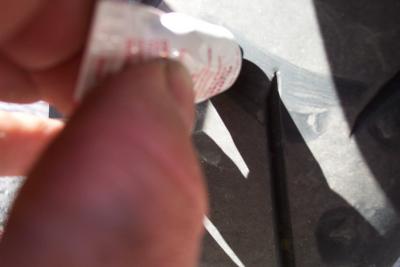 I also put some glue on the hole |
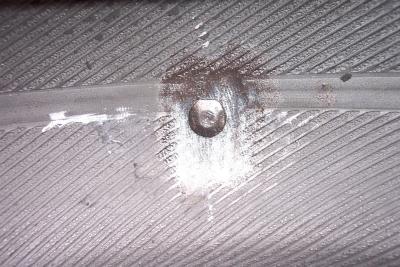
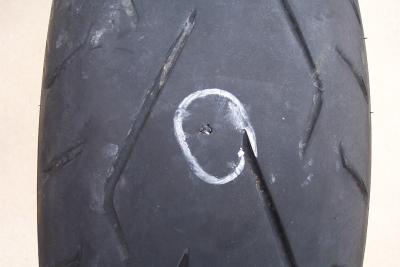
 Only use the reamer tool if you have to in order to get the insertion tool it, as it tends to make the hole larger. |
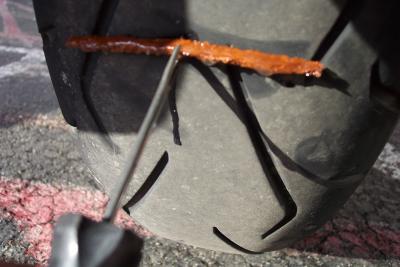 Insert the tool and plug |
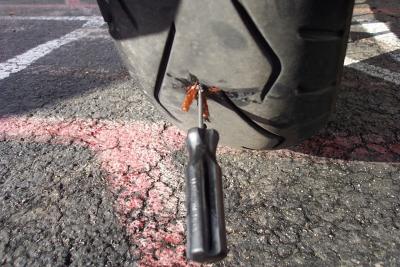 Once inserted, twist the tool 1/4 of a turn and pull it out slowly making sure the plug stays in place |
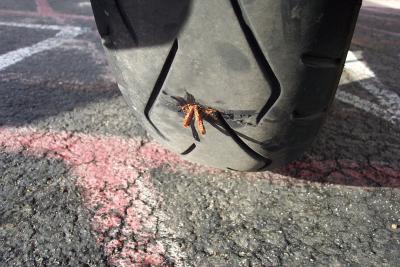 Once the tool is removed it should look like this |
 Trim off all but about 1/4 inch of the plug |
 Now let it dry for at least 30 minutes before refilling. |
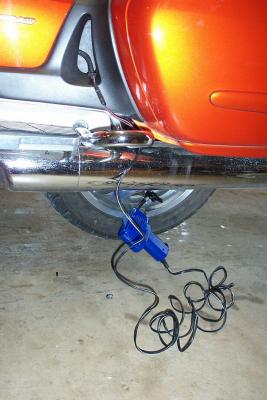 I fill with air using my portable compressor and with the engine running so I don't run down the battery. |
 After a short ride to seat the plug, this is how it will look. |
 When I got home I pulled the tire off the rim. Here is a look at the plug from the inside. |
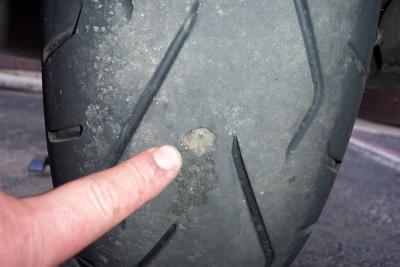
 Here is the plug after about 300 miles |
 Here is the Dunlop after I put a small T patch on it |
 Here is a look at the outside of the Dunlop with T patch installed |
 And here is a look at some more T patches. You can get em at Pep Boys or most auto parts store |
 100_1221a.JPG |
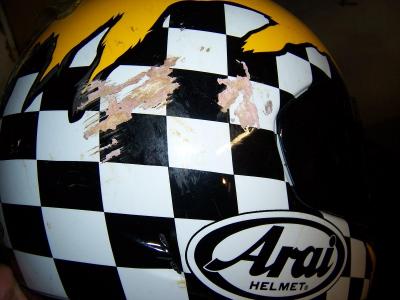 Arai helmet after accident |
 Arai helmet after accident |
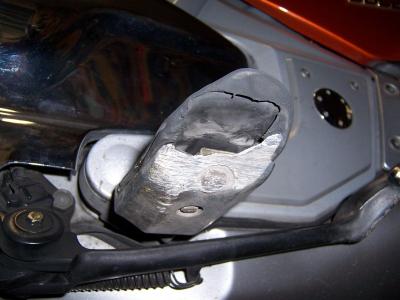
 DynaPlug3a.JPG |
 DynaPlug 001a.JPG |