


|
|
|
|
|
|
| fred harmon | profile | all galleries >> Galleries >> stembearings | tree view | thumbnails | slideshow |
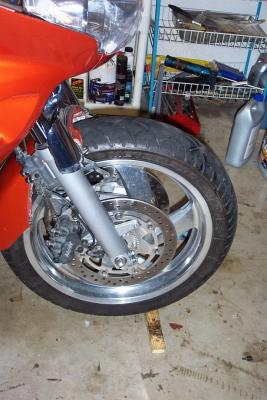
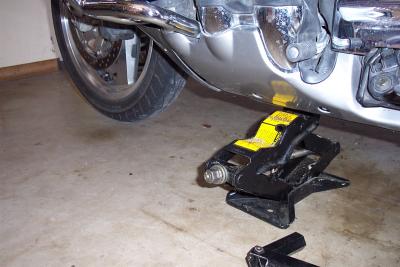 First, jack the bike just enough that the front wheel is off the ground |
 Now remove the instrument panel cover. Take out the bolts and push rivets under the speaker grills |
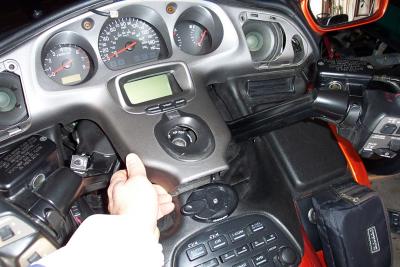 Lift up on the bottom of the panel to remove |
 Push out on the tab on the electical connection under the panel and dissconnect the connector |
 Here you can see the connector after the panel is removed. |
 Here is the other side of the connector on the bottom of the instrument cover panel |
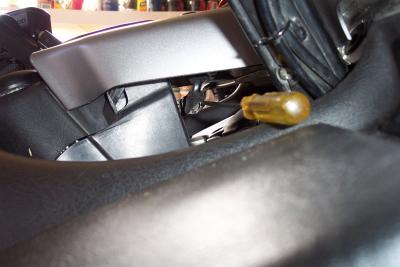
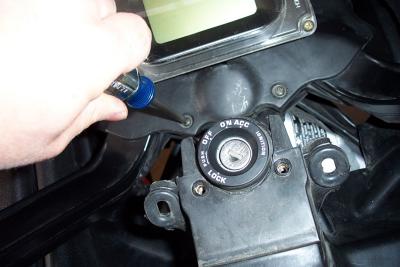 Remove the screws holding the fork cover on. |
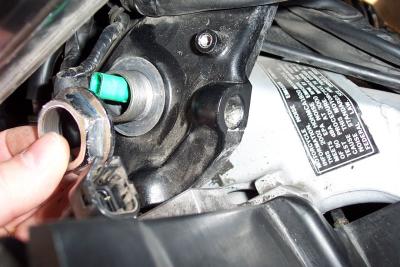
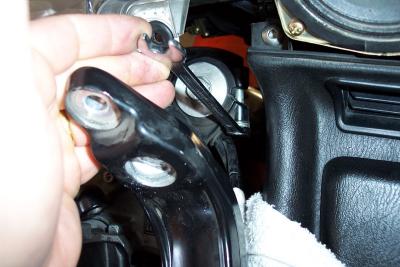
 Pull out the black plastic fork end cap cover |
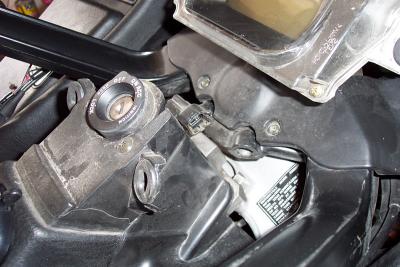
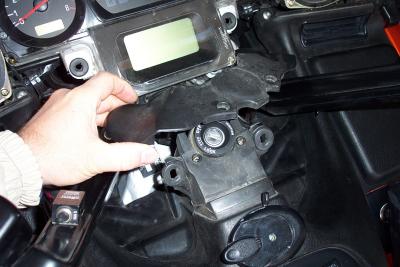
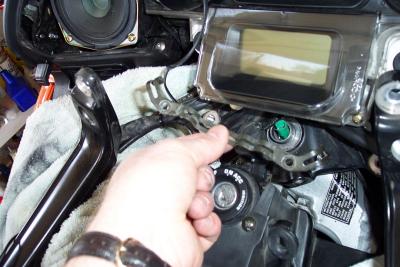
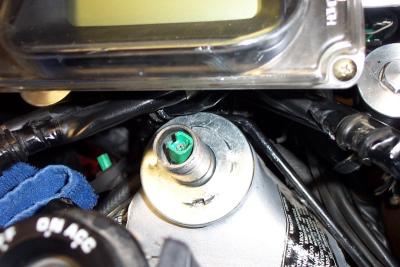
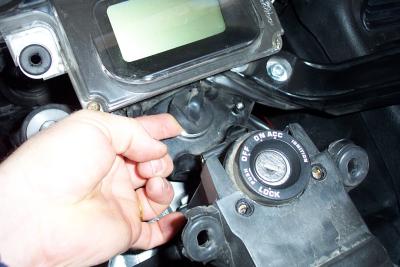 Lift up on the rubber cover for the stem nut and turn signal cancelling unit |
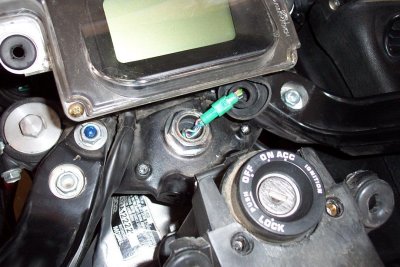 Pull out the turn signal canceling circuits connector |
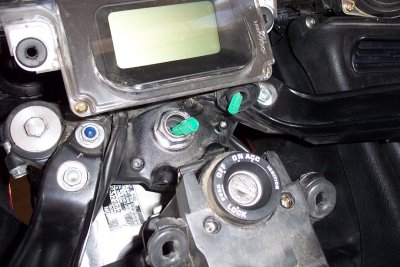 Disconnect the connector and push aside |
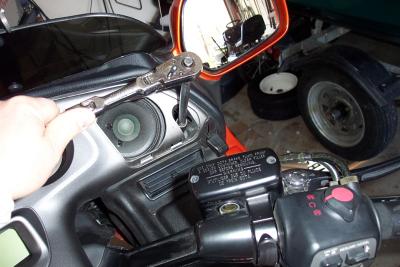
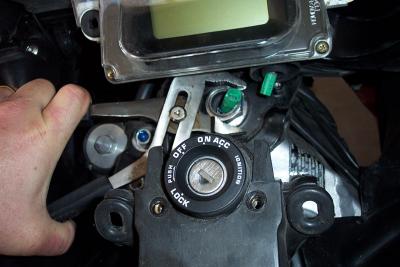 Remove the 30 mm stem nut. A large crescent wrench or pliers (if you're desperate like me) will work, a 30mm socket works better |
 Remove the stem lock nut |
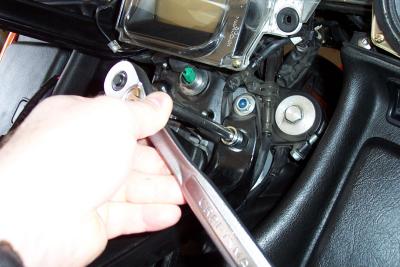
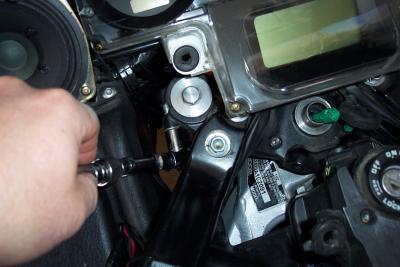 Now, loosen the upper triple clamp bolts. A 12mm socket and ratchet is used here on the left triple clamp. |
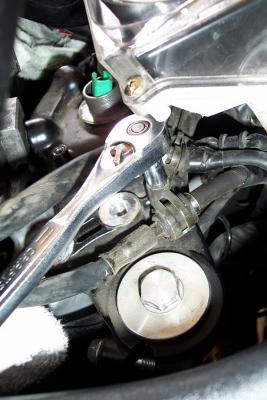
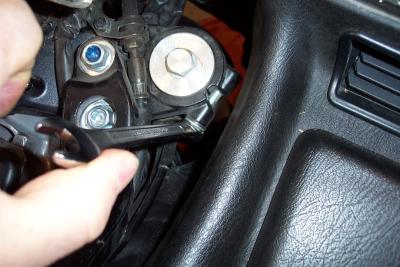 Here I am using a box end 12mm to loosen the right side triple clamp bolt. |
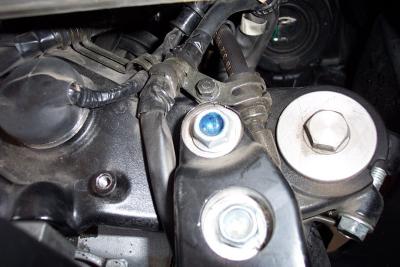 Take note of how the cables and hoses are routed so you can get them back in their homes when you are done |
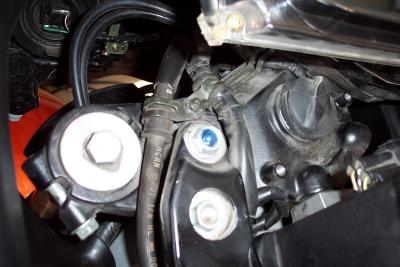 Here is a look at the cables & hoses on the left side |
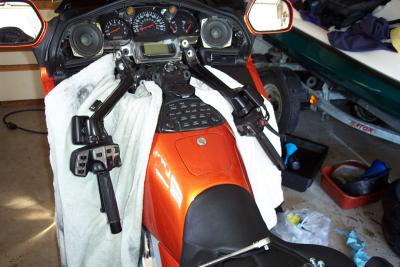
 Now remove the bolts that hold the bars on the top bridge |
 Use a cloth to protect the bike and carefully lay the bar to the side |
 Do the same with the other side. |
 Now remove the cables support clamp |
 pull the clamp free, being careful to note which hoses went where, and how the clamp was oriented (throttle cable UNDER bridge) |
 Loosen the top triple tree clamps for the forks on the top bridge |
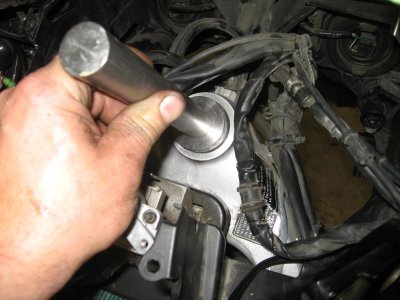
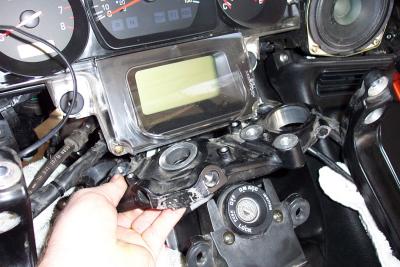 Rock the top bridge back and forth to free it, then maneuver it out the top |
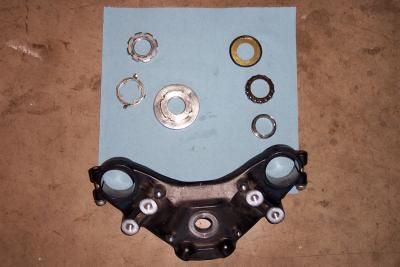
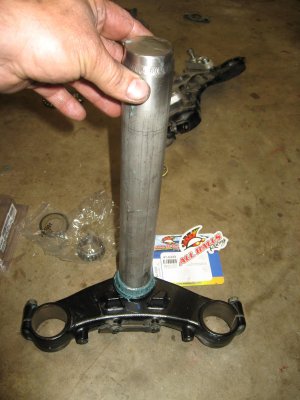
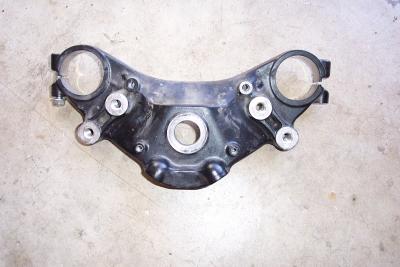 Here is a look at the top bridge after removal |
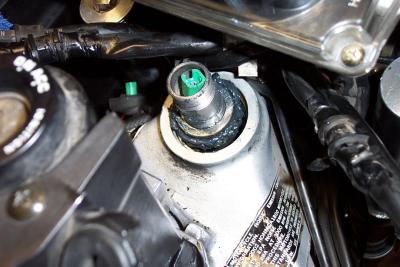
 Now you have good access to adjust the bearings using the Honda Tool. Torque to 20ft/lbs |
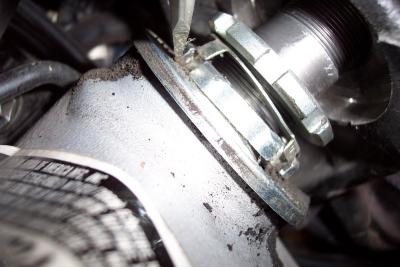 This lockwasher has two prongs that point up onto the locknut and two that are bent down onto the adjuster nut. |
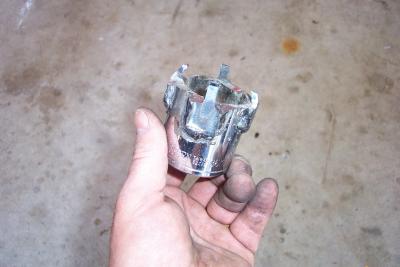 This is my home made tool for adjusting the bearings. Honda sells a prettier one for $45 |
 This page shows how to re-pack the upper and lower bearings with grease |
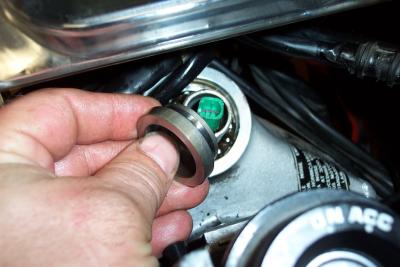 Here is the top race being removed |
 Here is the top bearing being removed |
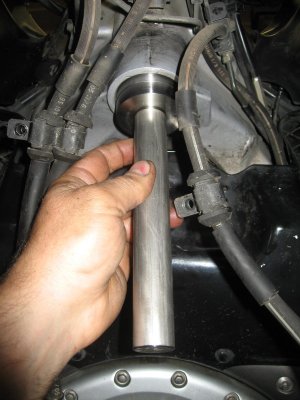
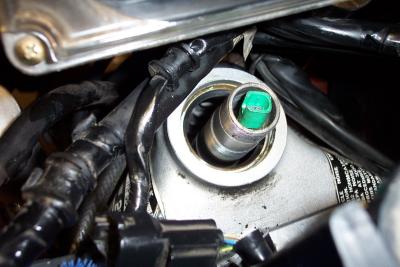 Here is the stem with the bearing and race removed. The front wheel has to be chocked and on the ground, or the stem will drop |
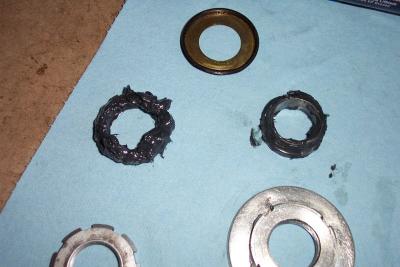
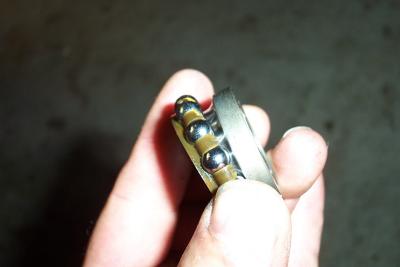 This is the top bearing and the top bearing outer race |
 Here are the top bearing components removed |
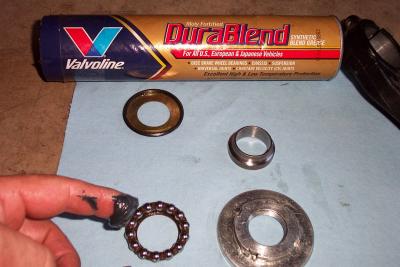 I put on lots of high quality synthetic moly grease on the bearings |
 Bearing and top race loaded up with grease and ready to install |
 Note front wheel is chocked to hold bottom of steering stem in place |
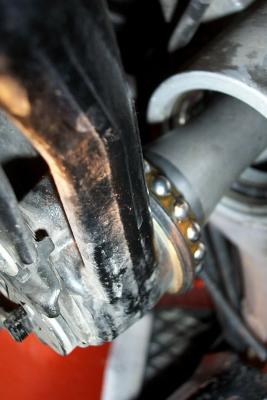 Here I have the top bearing removed, turn signal cancel arm dissconnected, and the stem slid down to expose lower bearing |
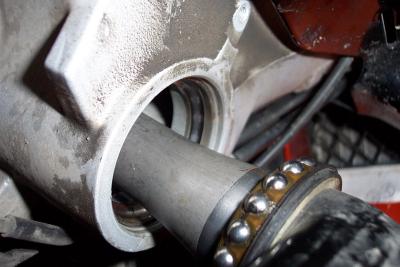 Here is another view of bottom bearing. Notice it is dry and needs to be greased. I greased it and pushed the stem back up |
 Here is the upper bearing greased and re-installed |
 Once in place, I filled the void with grease and really packed it in |
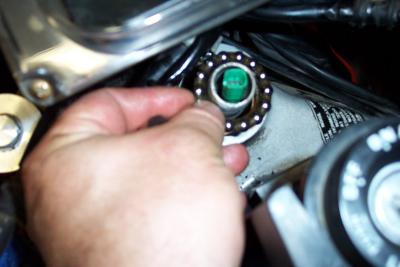
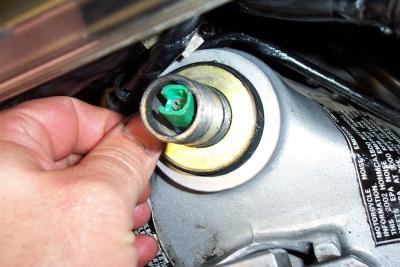 Now I re-install the seal. |
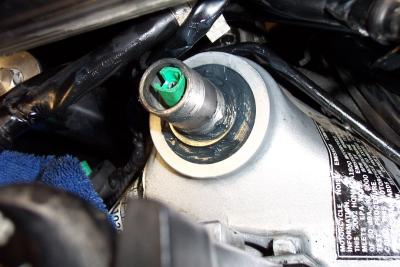
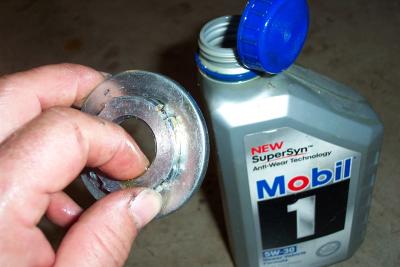 I lubed the bearing adjustment nut with oil so I could get a nice 20 ft lb torque on it |
 Bearing nut re-installed and ready to be torqued to 20 ft lbs |
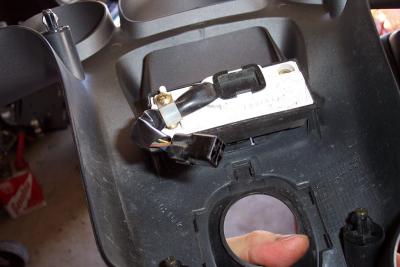
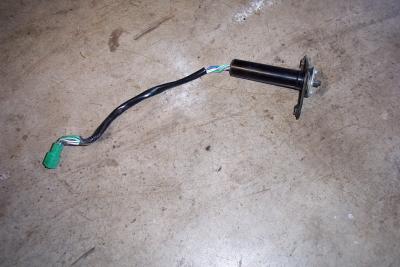 Here is the turn signal cancel unit removed from the bike |
 The tab on the bottom of the cancel unit gets pushed onto the wiper arm |
 DriverTool.JPG |
 DriverTool2.JPG |
 DriverTool3.JPG |