


|
|
|
|
|
|
| fred harmon | profile | all galleries >> Galleries >> Rear Drive removal and replace | tree view | thumbnails | slideshow |
 Rear Drive |
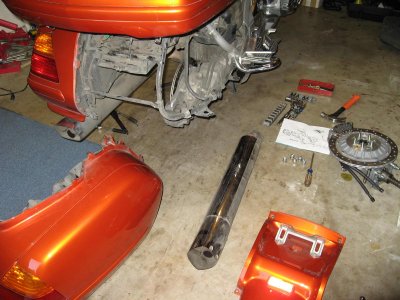 Preparing for Rear Drive, removed saddlebag, muffler, seat, and wheel |
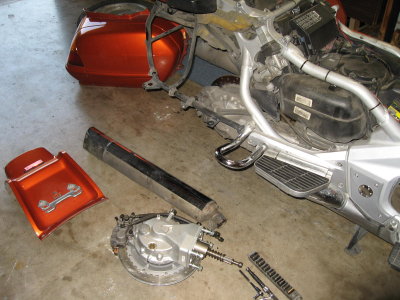 New RearDrive ready for install |
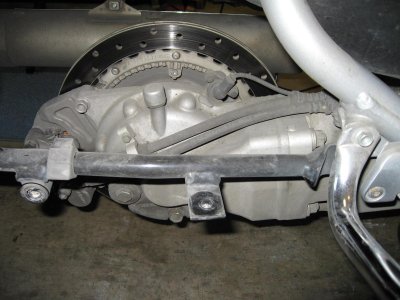
 Remove both caliper bolts that hold the caliper to the rear drive |
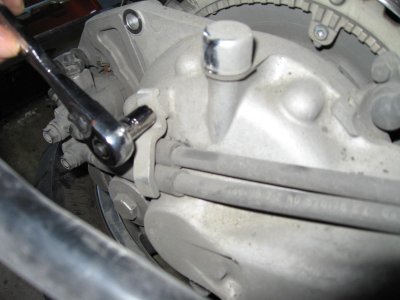 Remove hose clamp |
 Lift off caliper once both bolts and hose clamp are removed and rest it on saddlebag stay |
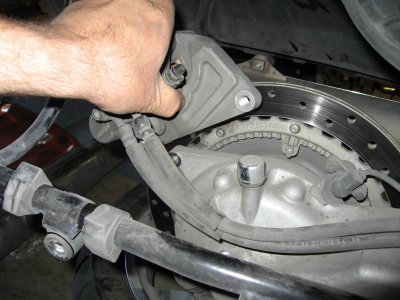
 Remove both ABS sensor bolts |
 Remove ABS sensor |
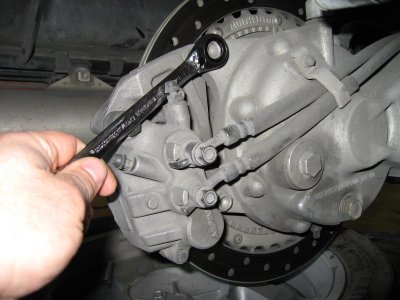
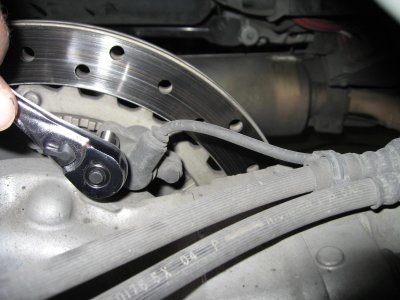
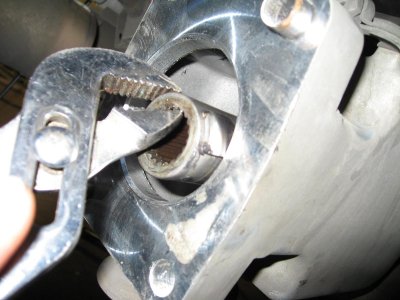
 Loosen and remove 4 nuts holding on rear drive |
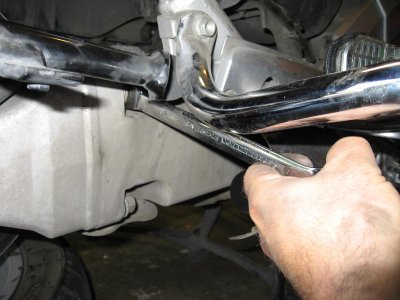 This nut is a bit hard to reach. A ratcheting box wrench helps here |
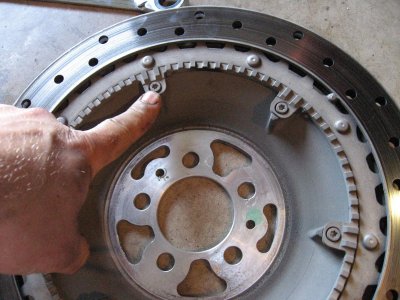
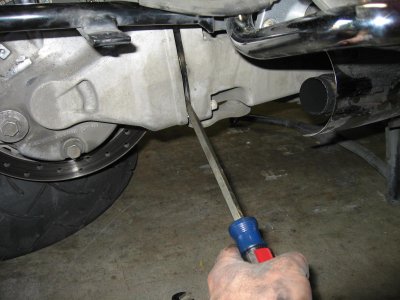 Slowly and carefully seperate rear drive |
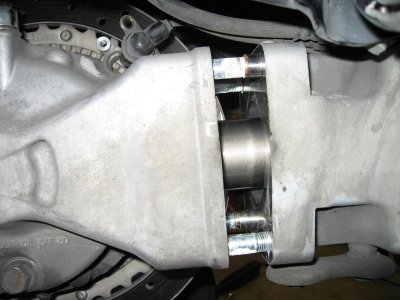 Note there are guide pins that will either stay with the drive or with the swingarm |
 Drive is free, guide pins stayed in swingarm |
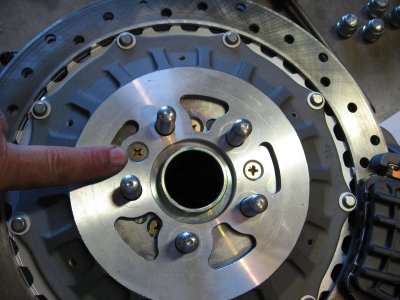 These screws have to come off to remove the rotor so I can get to the ABS ring to transfer it |
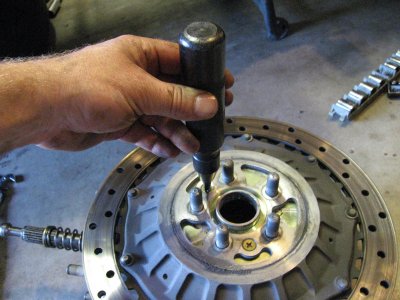 You need an impact wrench to remove the screws on the rotor |
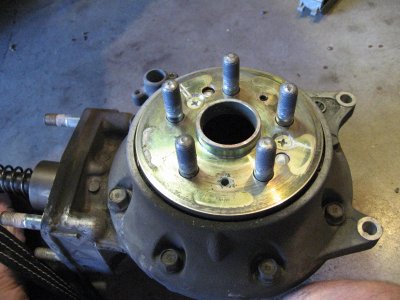 Rotor removed from drive |
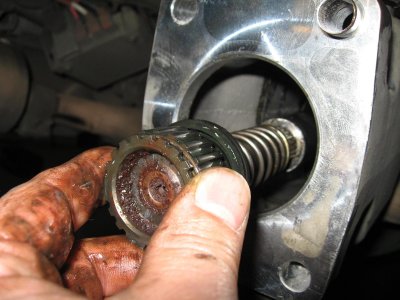
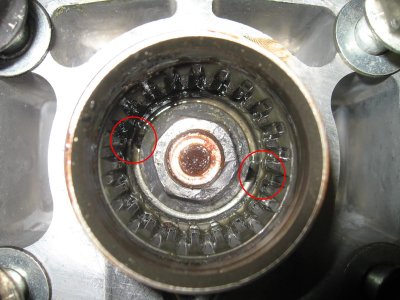
 You need a Torx drive to remove the ABS ring |
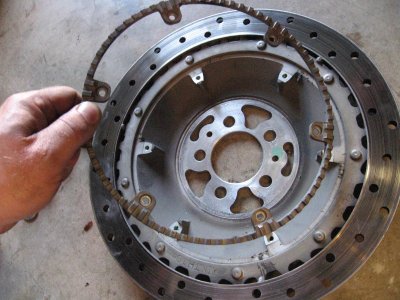 ABS ring removed ready for transfer to the new drive |
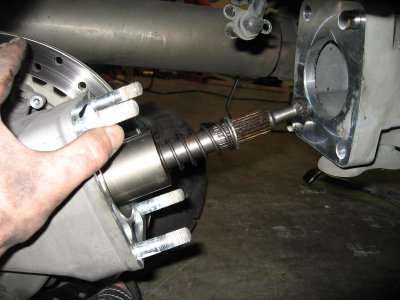
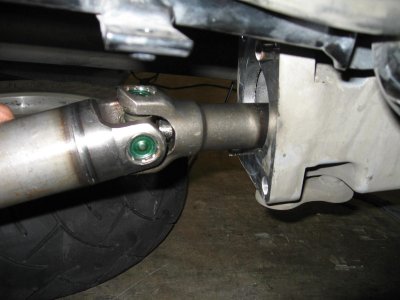
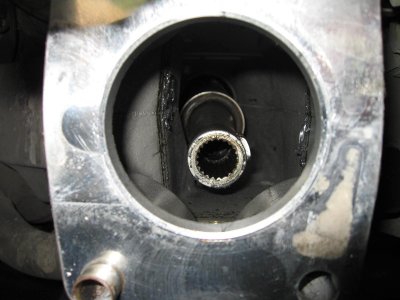 Here is the end of the driveshaft in the swingarm |
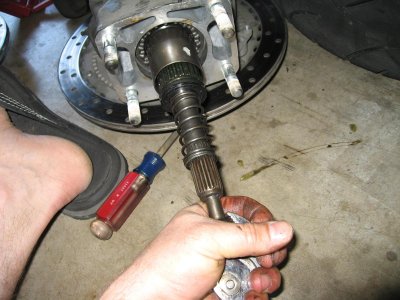
 Remove drive shaft by gently pulling it out |
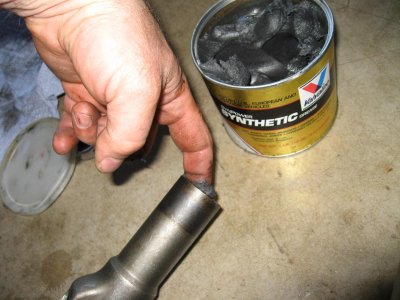 Grease splines on BOTH ends of shaft |
 Grease splines on input shaft of rear drive |
 Reinsert drive shaft with U joint forward |
 Pushing drive shaft into place |
 If you aren't going to re-use the old drive, you can remove the input shaft to use to help you guide drive shaft into place |
 Input shaft simply pulls out, with seal. You really should replace the seal if you do this. Don't remove unless you need to. |
 I used the input shaft from my old drive to help me guide the front of the driveshaft onto the output shaft of the transmission |
 My new drive already had guide pins in it, so I removed the ones that stayed in the swingarm |
 New rear drive guided into place. Note caliper is not installed. This made it easier to lift and work with |
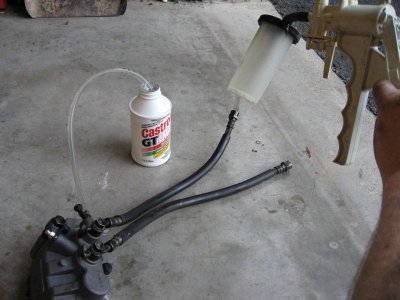 Before I installed the new caliper, I filled it and the hoses with fluid by using the MityVac to draw fluid into it. |
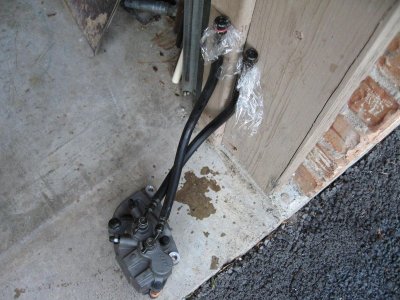 Once it was full of fluid, I closed the bleeder and covered the hoses until I was ready to hook it up. |
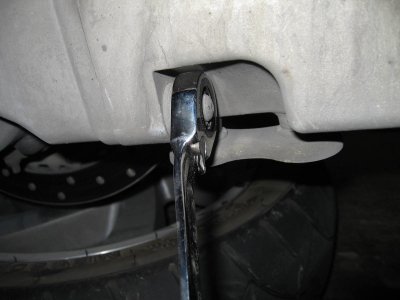
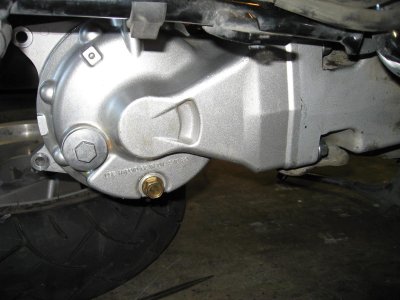
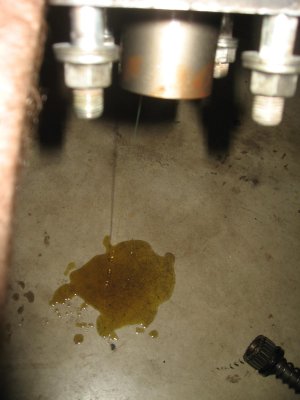
 oil weep holes |
 FinalDrive 003a.JPG |