


|
|
|
|
|
|
| fred harmon | profile | all galleries >> Galleries >> rearbrakes | tree view | thumbnails | slideshow |
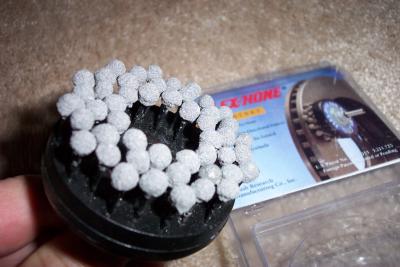 This is a rotary brush made just for brake rotors |
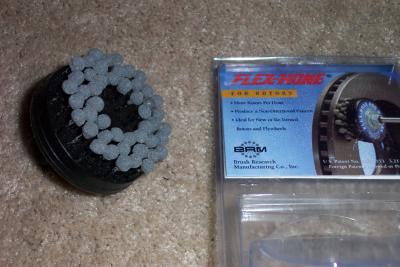 The brush is made by Brush Research and costs about $35 |
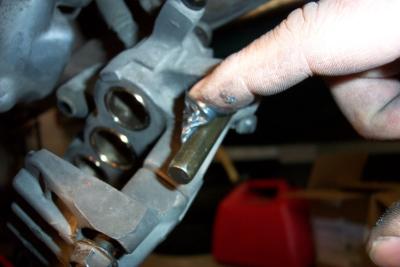
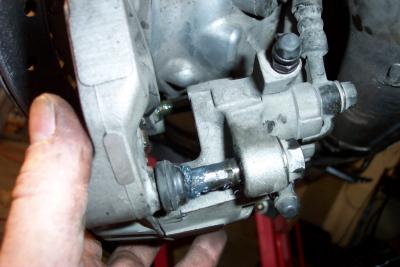
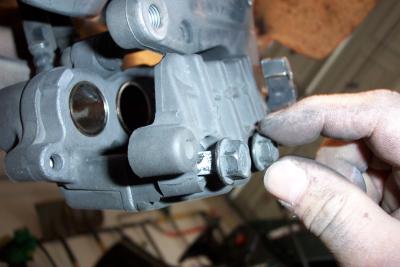
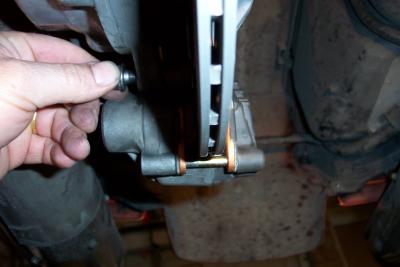
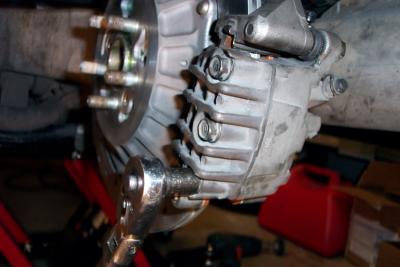 First I loosend the bolts on the back of the caliper |
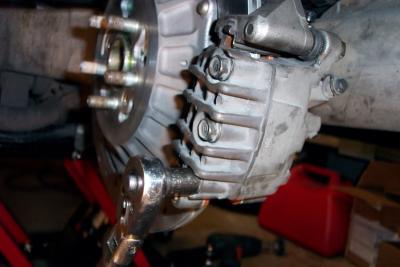
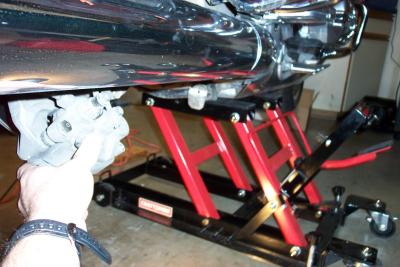 A lift really helps changing the rear brake pads. Here I have the caliper bolts off and the caliper free |
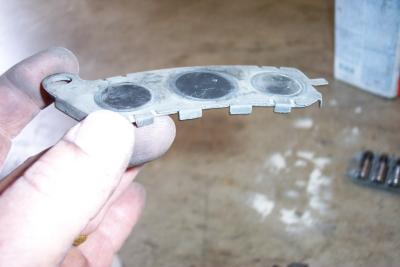
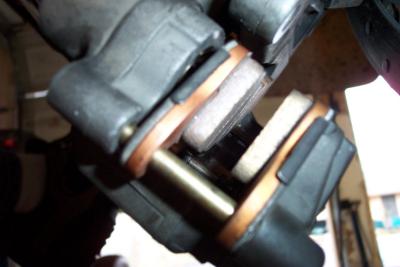
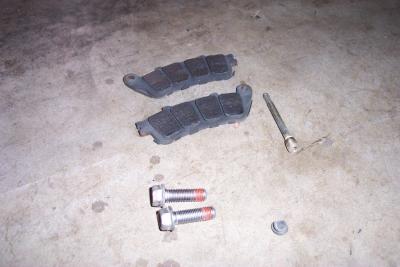 Here is a look at the two caliper bolts and the pin and pads removed |
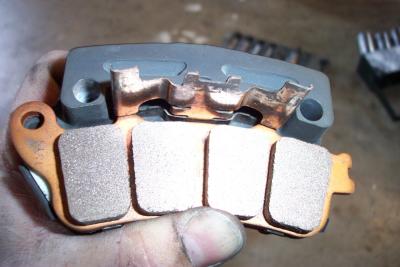
 Then I removed the rear bolts so I could seperate the back half of the caliper |
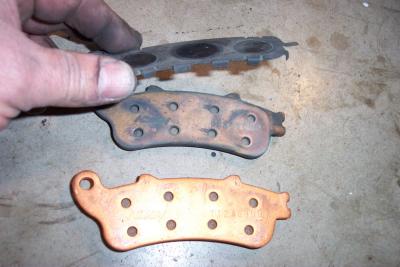
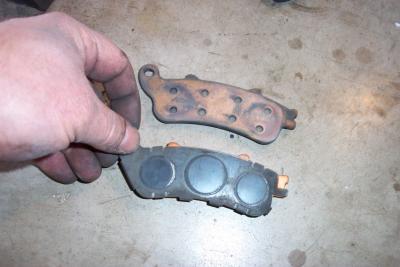
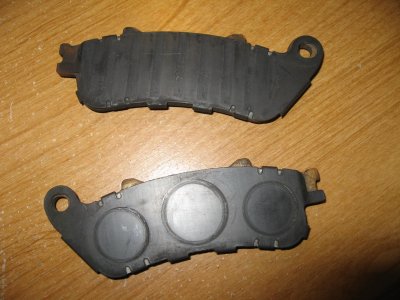
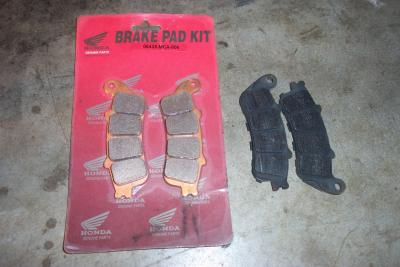 New OEM pads, from DirectLine |
 My old pads still had some life left, but I decided not to wait any longer. I had about 2mm left on them. The new pads have 6mm |
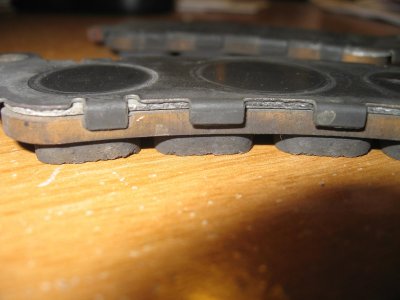
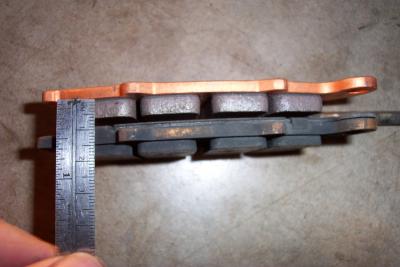 Here you can see the thickness of the old and new pads. |
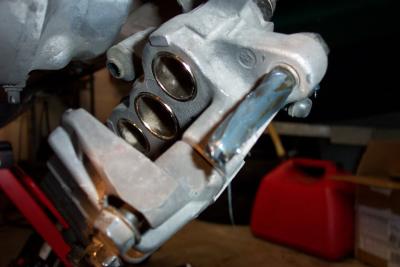
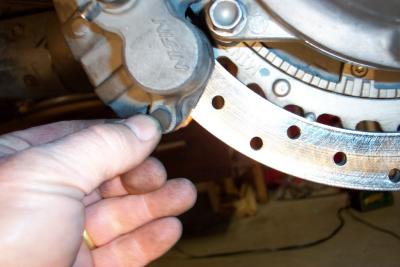
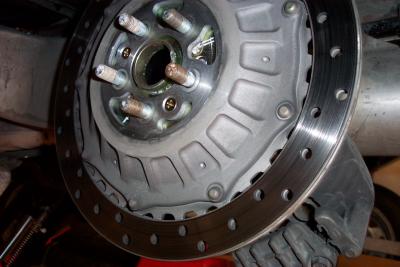 Notice the glaze on the rotor. This is what I want to remove with the brush |
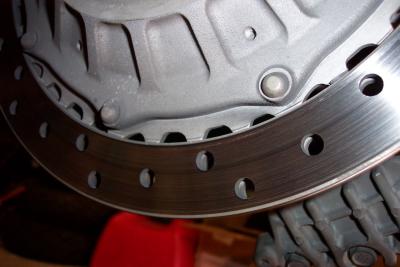 Closer picture of glazed rotor |
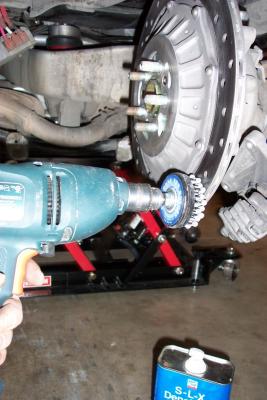 The brush is used at a low rpm with light pressure, on both sides of the rotor. I did it with the rotor still installed |
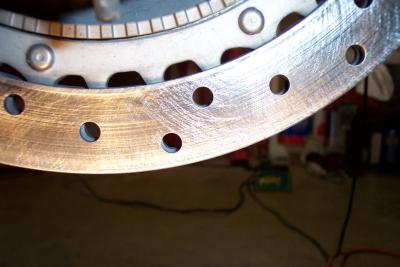 Notice the non-directional pattern afterwards. This is enough to knock off the glaze affect |
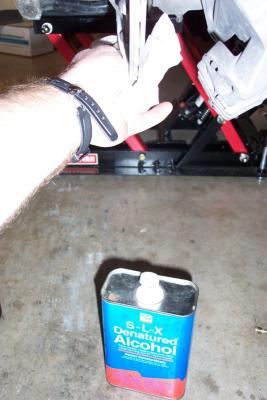 I cleaned the rotor with denatured alcohol afterwards. Brake cleaner would also work well. |
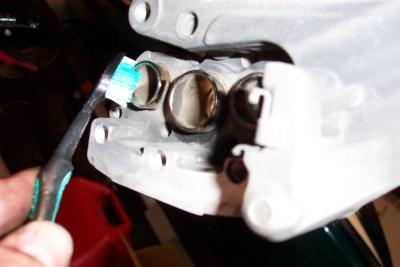 Next, I cleaned the grit off the pistons with a toothbrush and alcohol so I wouldn't push grit into the bore |
 Now I can push the pistons back in without contaiminating the seals and cylinders |
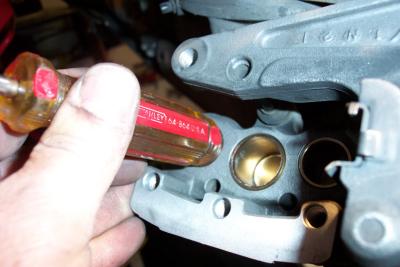 A screwdriver handle and firm pressure will push the pistons back into their bores |
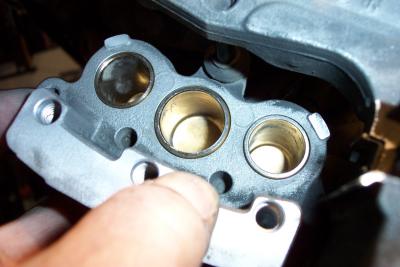 You may have to hold the other two while you force the third in, but you should be able to get them all pushed back like this |
 You need to remove the backing plate off the old pads and install it on the new ones |
 This is the anti-squel backing plate |
 It simply pushes onto the new pads |
 Here is how the new pad will fit into the back half of the caliper when it is installed |
 I also like to remove the slider and lube the slides with some grease |
 The bracket fits onto this slide so the caliper can float on the rotor and center itself. It needs to be lubed and free to move |
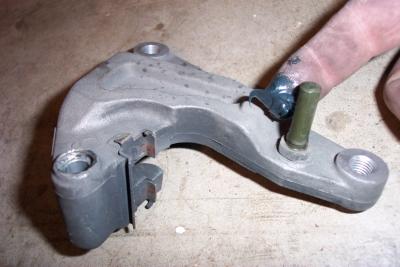 There is a second slide on the bracket itself |
 Push the bracket back into place |
 Be sure to remove any excess grease. You don't want it getting on the rotors or pads |
 Next, I reinstall the back half of the caliper |
 Tighten the rear bolts back up (see manual for torque specs) |
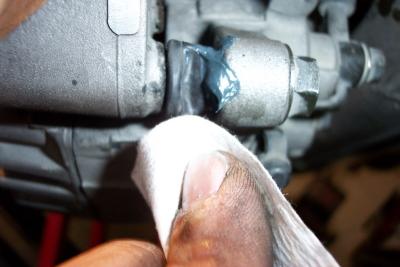
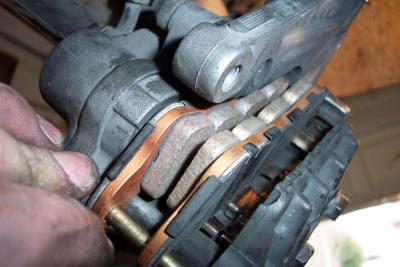
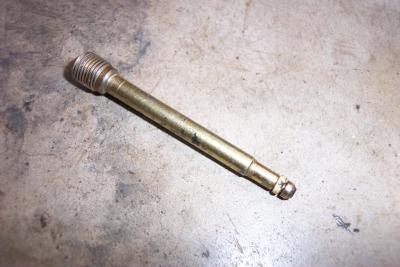 Notice the O ring on the end of the pin. I put a very tiny dab of silicone grease on it |
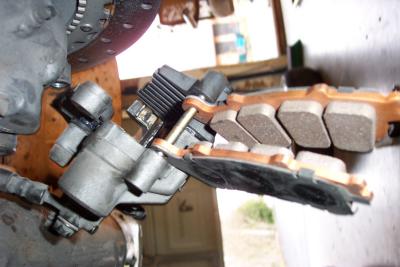 Here is a look at the pin reinstalled with the new pads hanging down. |
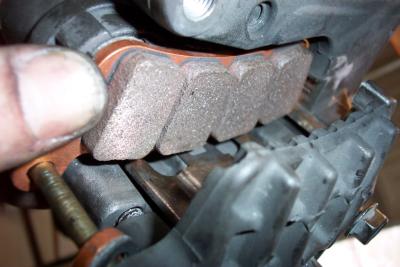 Next, I pushed the outboard pad into place |
 You have to push the pad down and into the clip on the right |
 Now the other pad is located into the caliper |
 It takes some effort, but you MUST get both pads into the retainer clips as shown. |
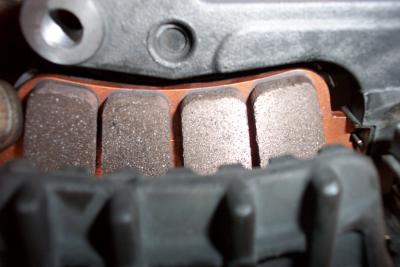
 Here is the view from below after the pads are full seated |
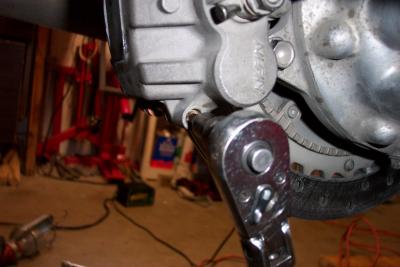
 Reinstall the caliper on the rotor, and torque the bolts to spec |
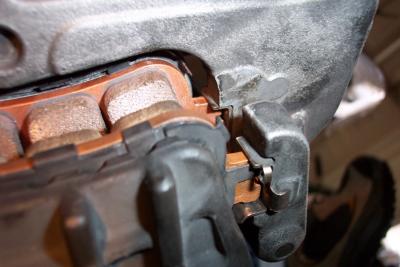
 Tightening the pin |
 Replace rubber plug, before you ride, pump the rear brake pedal to seat the pads on the caliper. Then break the pads in gently |
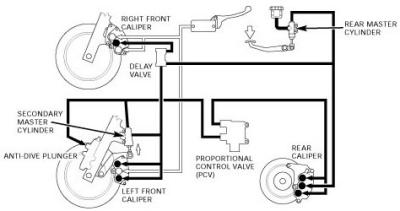 Linked Brake Diagram |
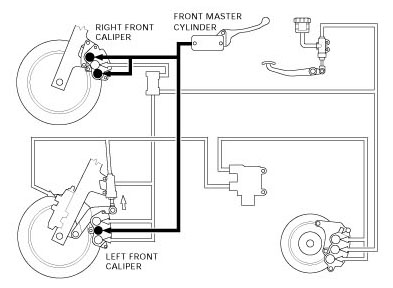 Linked Brake Diagram 2 |
 RearBrakePads 001a.JPG |
 RearBrakePads 002a.JPG |